
Deco Star Edge-to-Edge Quilting Design for Computerized Longarms
I had a real dilemma this month in deciding what to release on the first Wednesday of the month. I considered two other designs first. And then...
I got invited to a baby shower for late September, and well, you know. My plans went out the window because I had to make a baby quilt!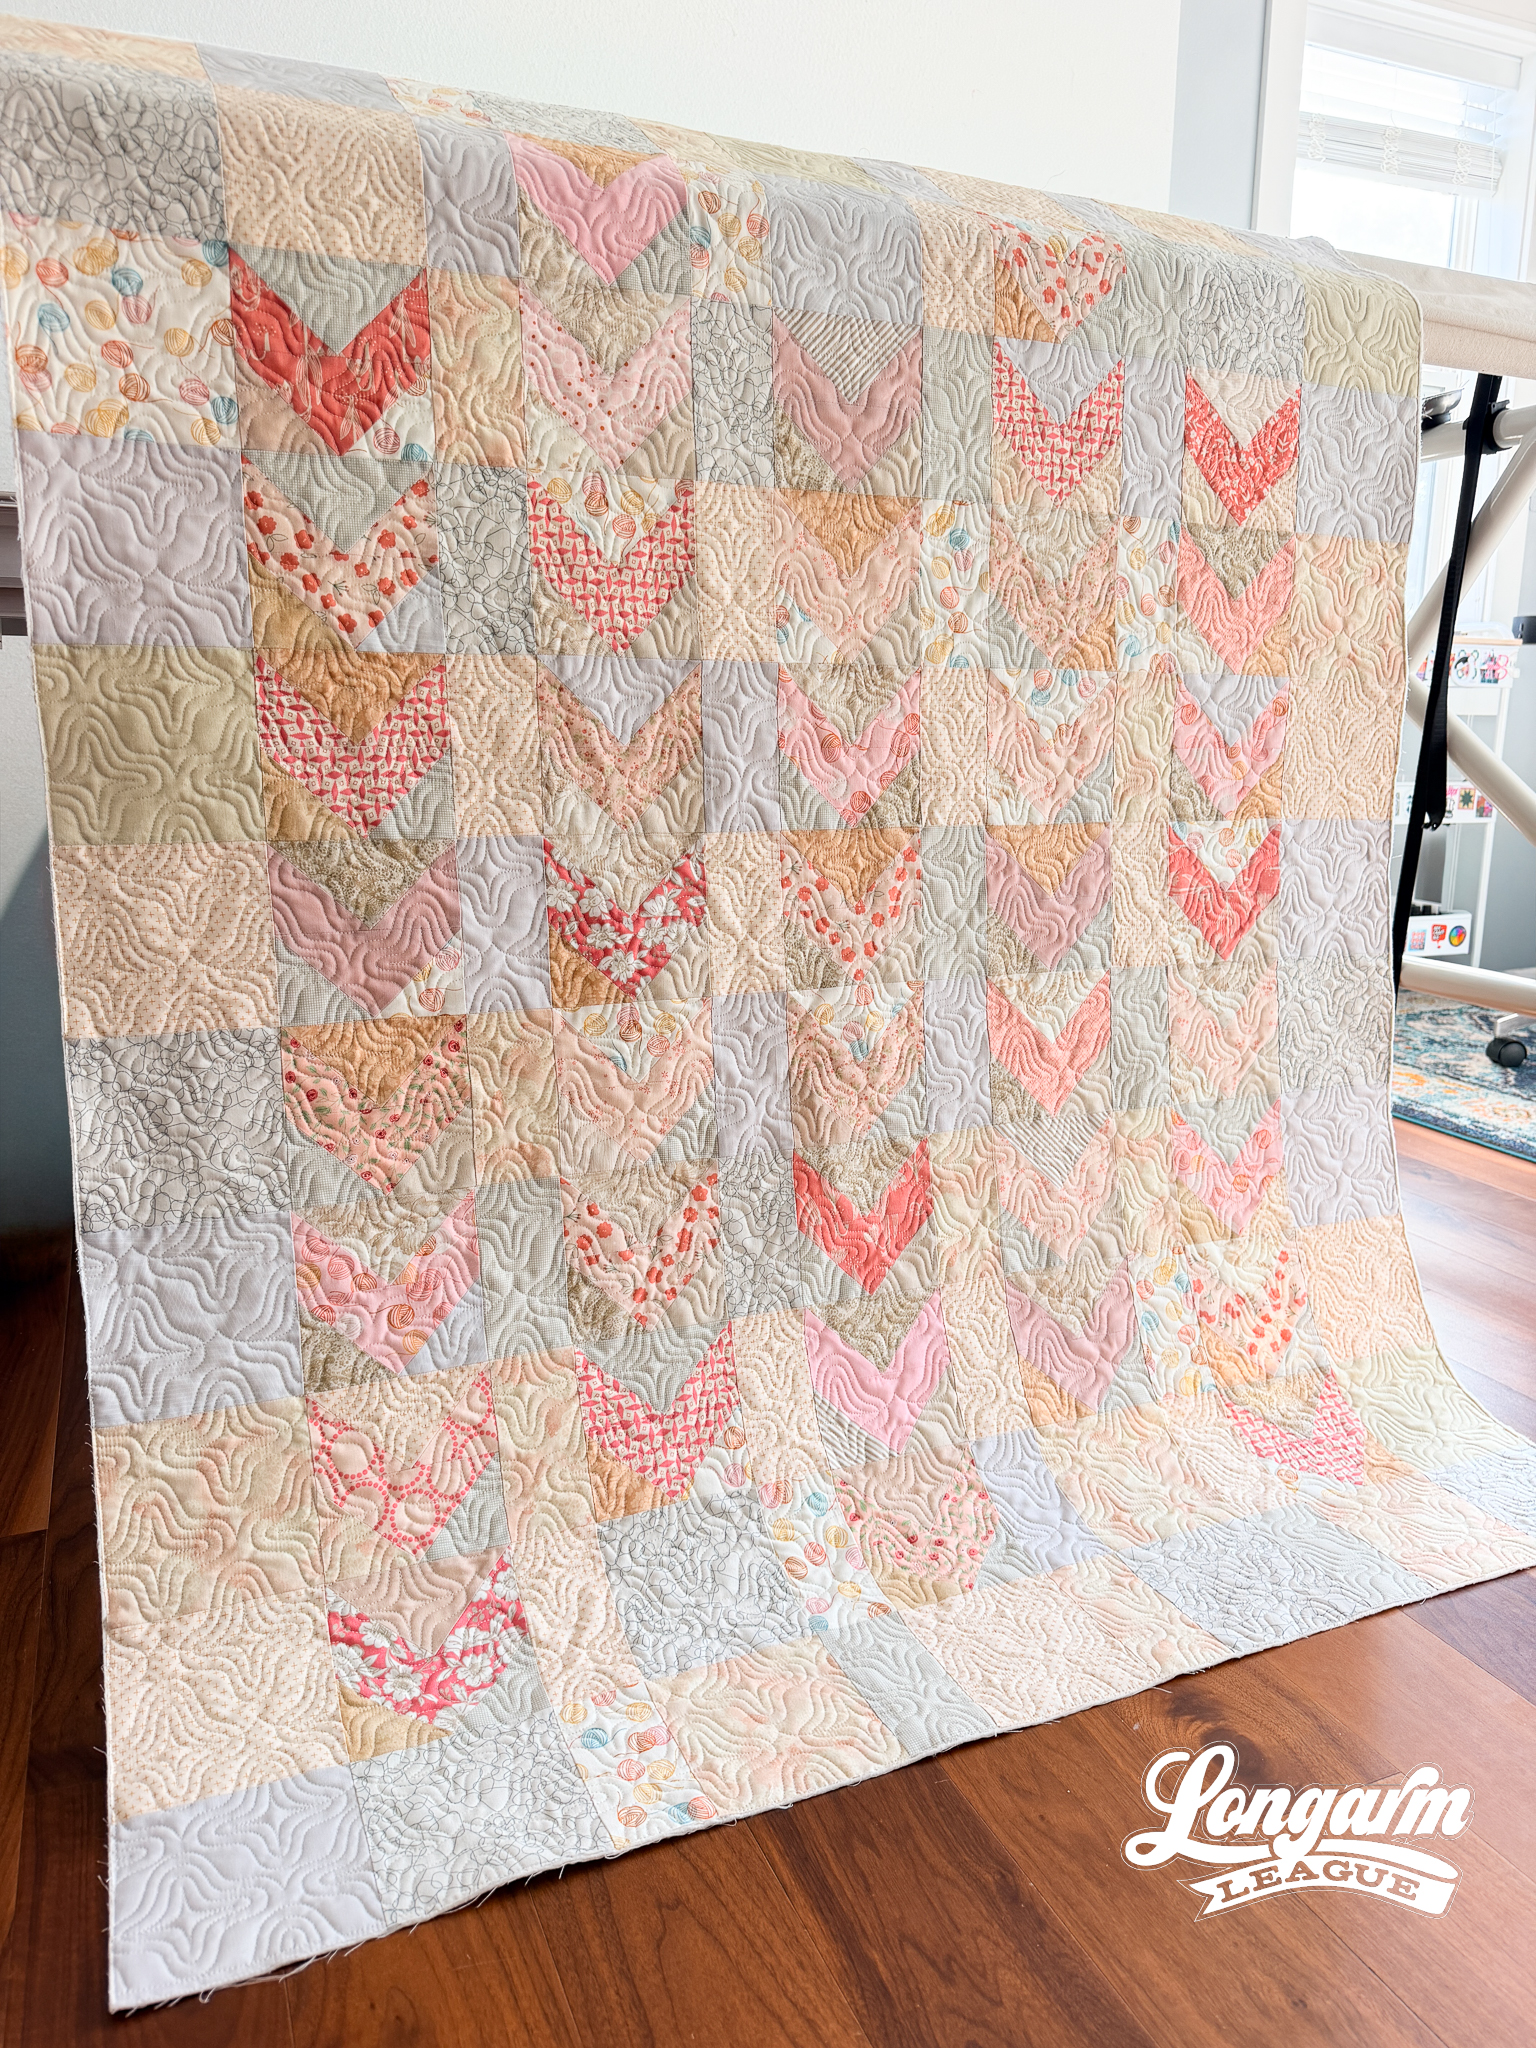
I couldn't pass up the chance to test a new digital design on a new quilt top, so you can understand why I pivoted. This quilt will be long gone by the time another month rolls around, so I wanted to make and document the process now while my memory is fresh.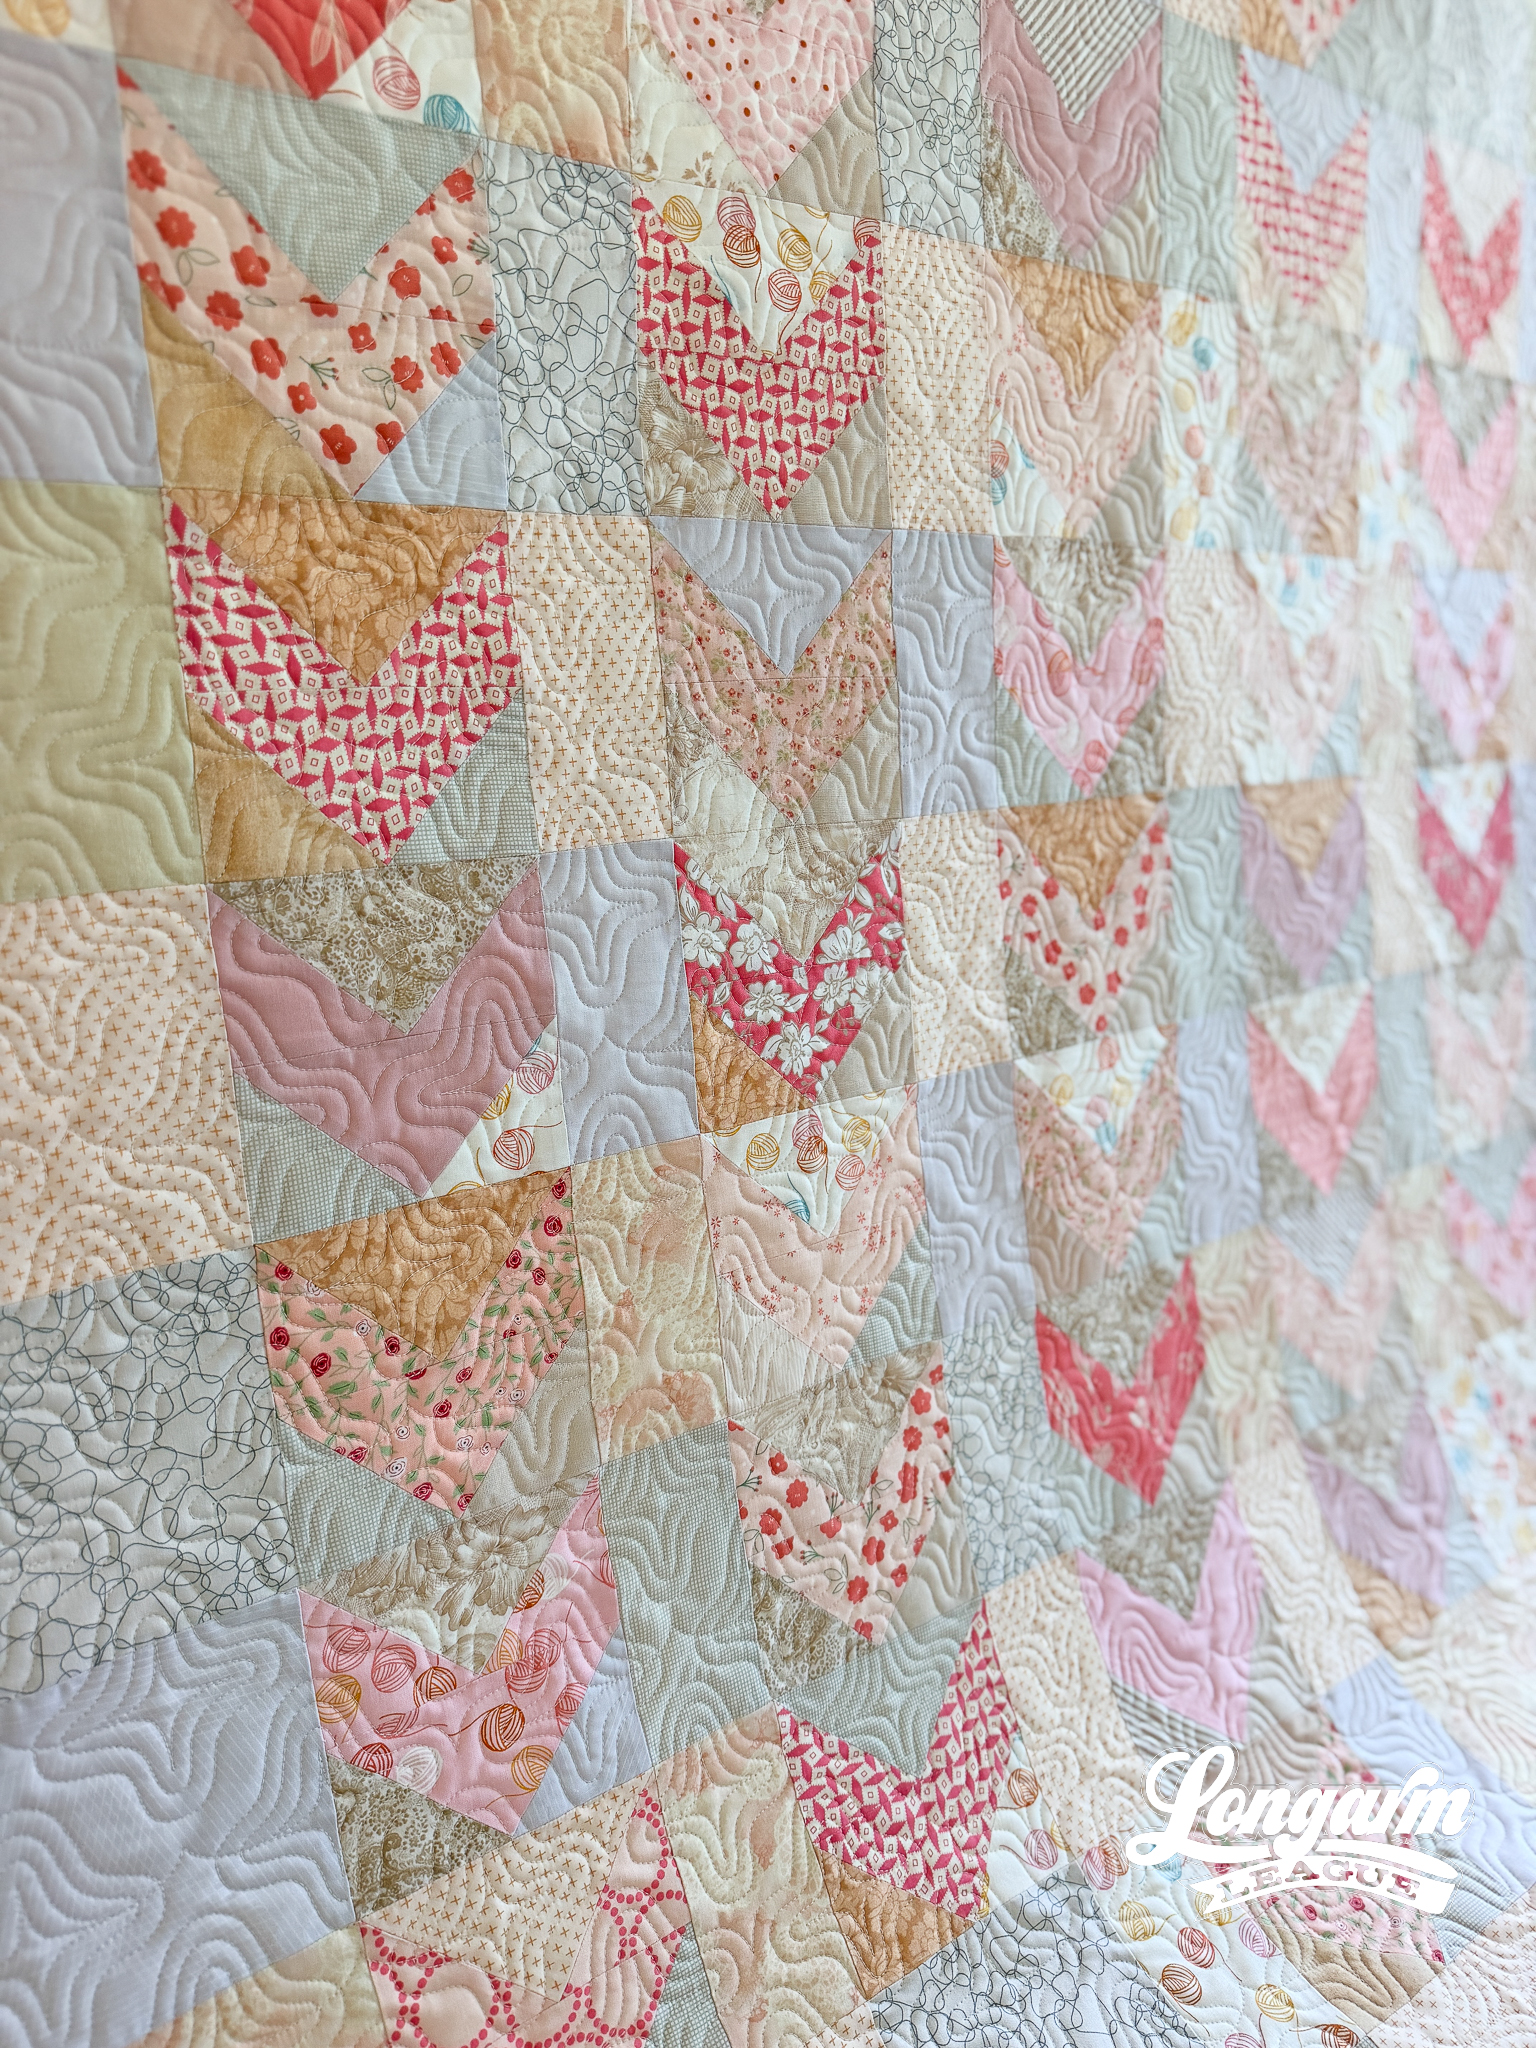
Sometimes I start new design ideas directly in Art and Stitch, the design software I use. Other times, ideas start as hand-drawn sketches on my iPad. I use the Graphic app for these kinds of rough sketches. I know how to use the pencil tool in this program, and that's about it. I literally select it and then draw with my pencil. I can't even use the eraser tool 100% consistently, so the sketches are rather crude, but I only need a seed of an idea to get going.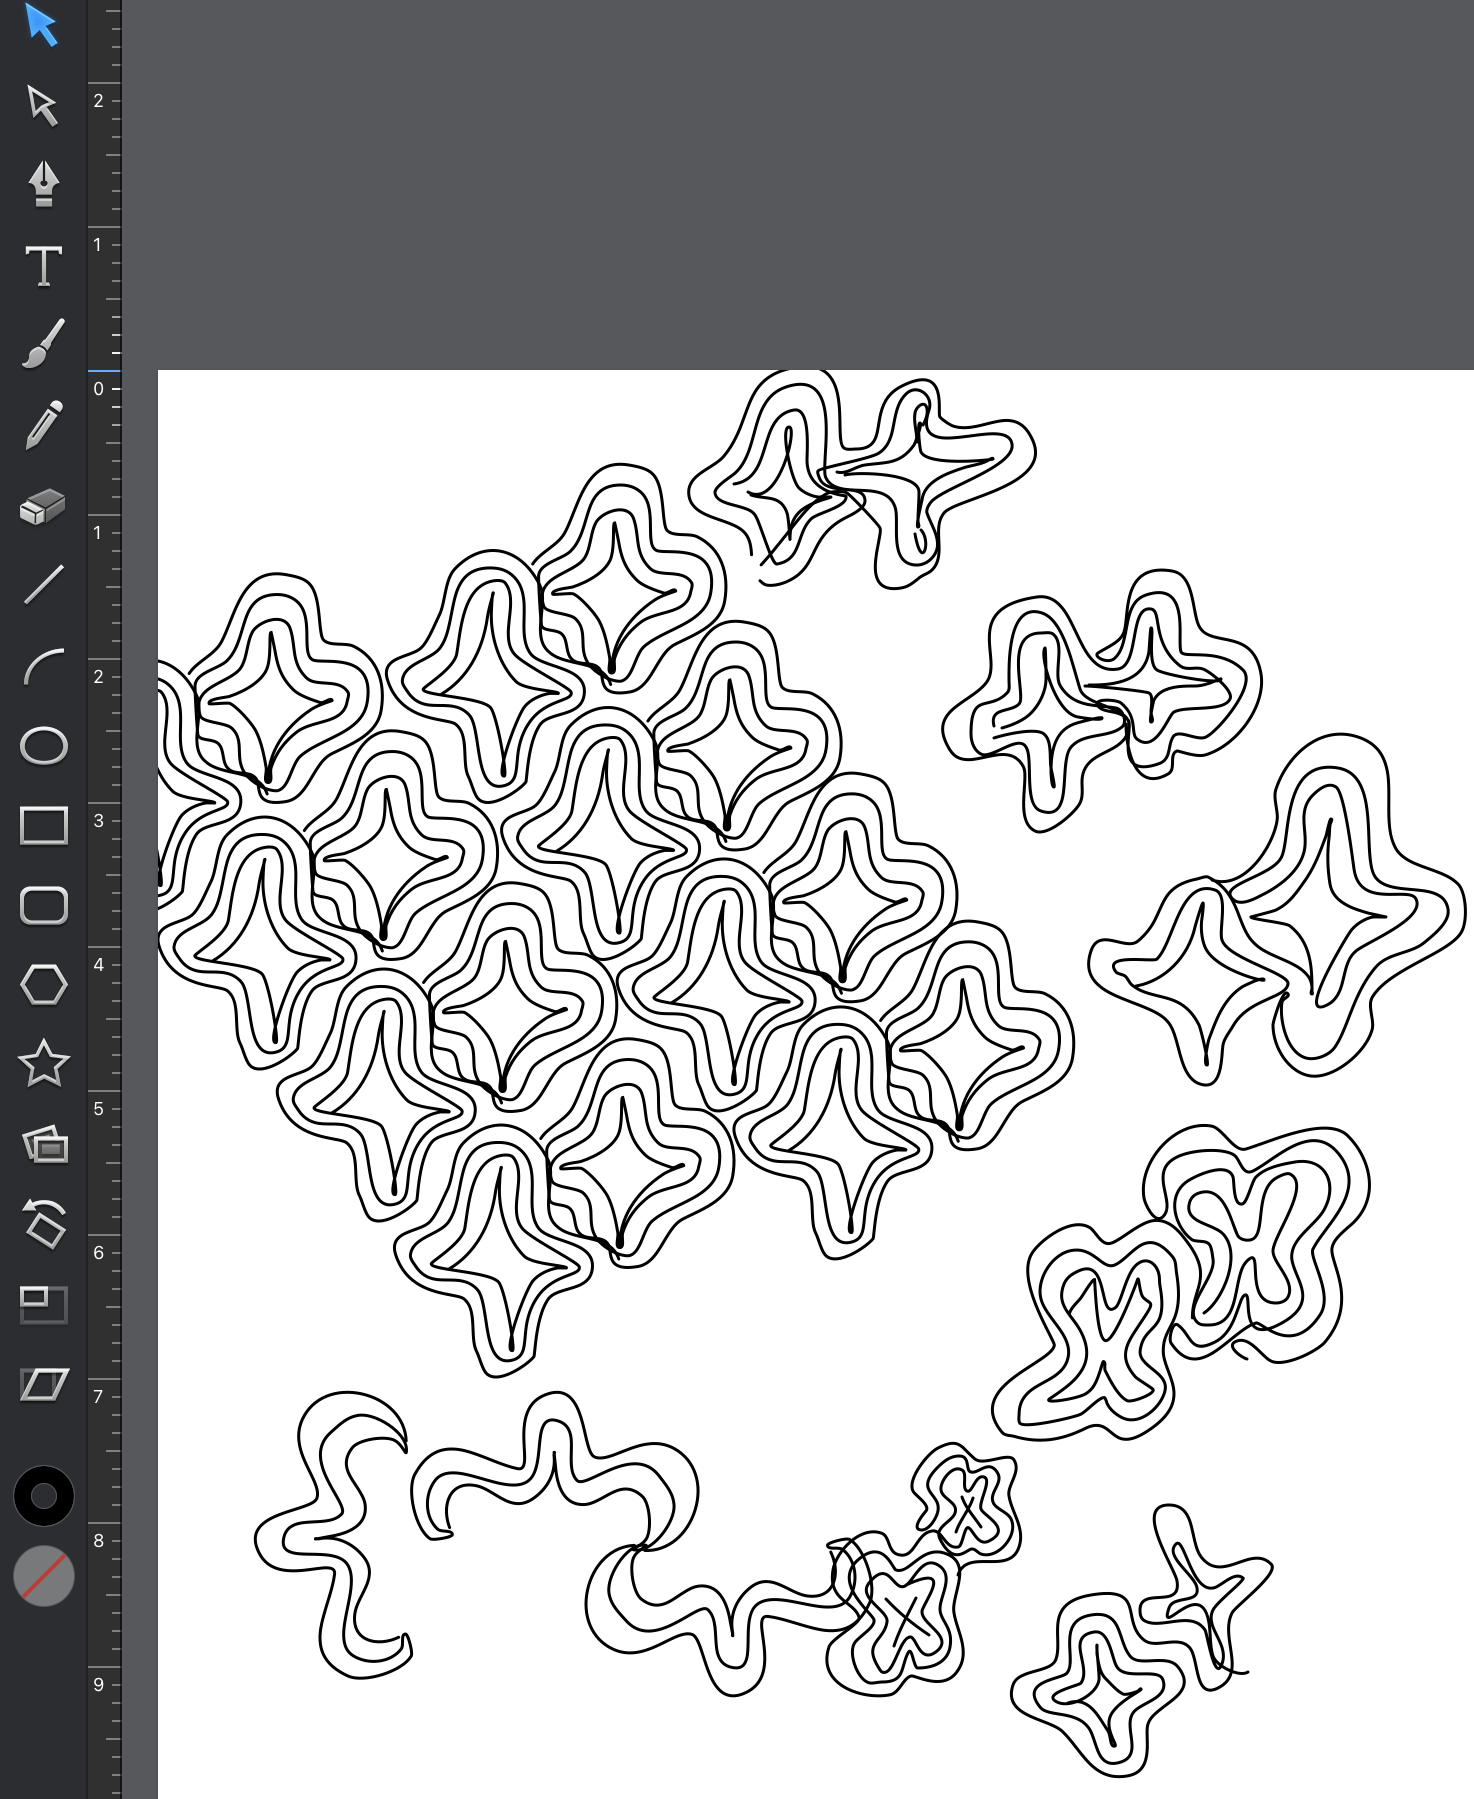
This program lets me export .svg files of my sketches, which I import into Art and Stitch, giving me a starting point to deconstruct the design. I'm usually trying to find the repeat, make it continuous, simplify it, work out the spacing, etc.
There you go! A little peek behind the scenes.
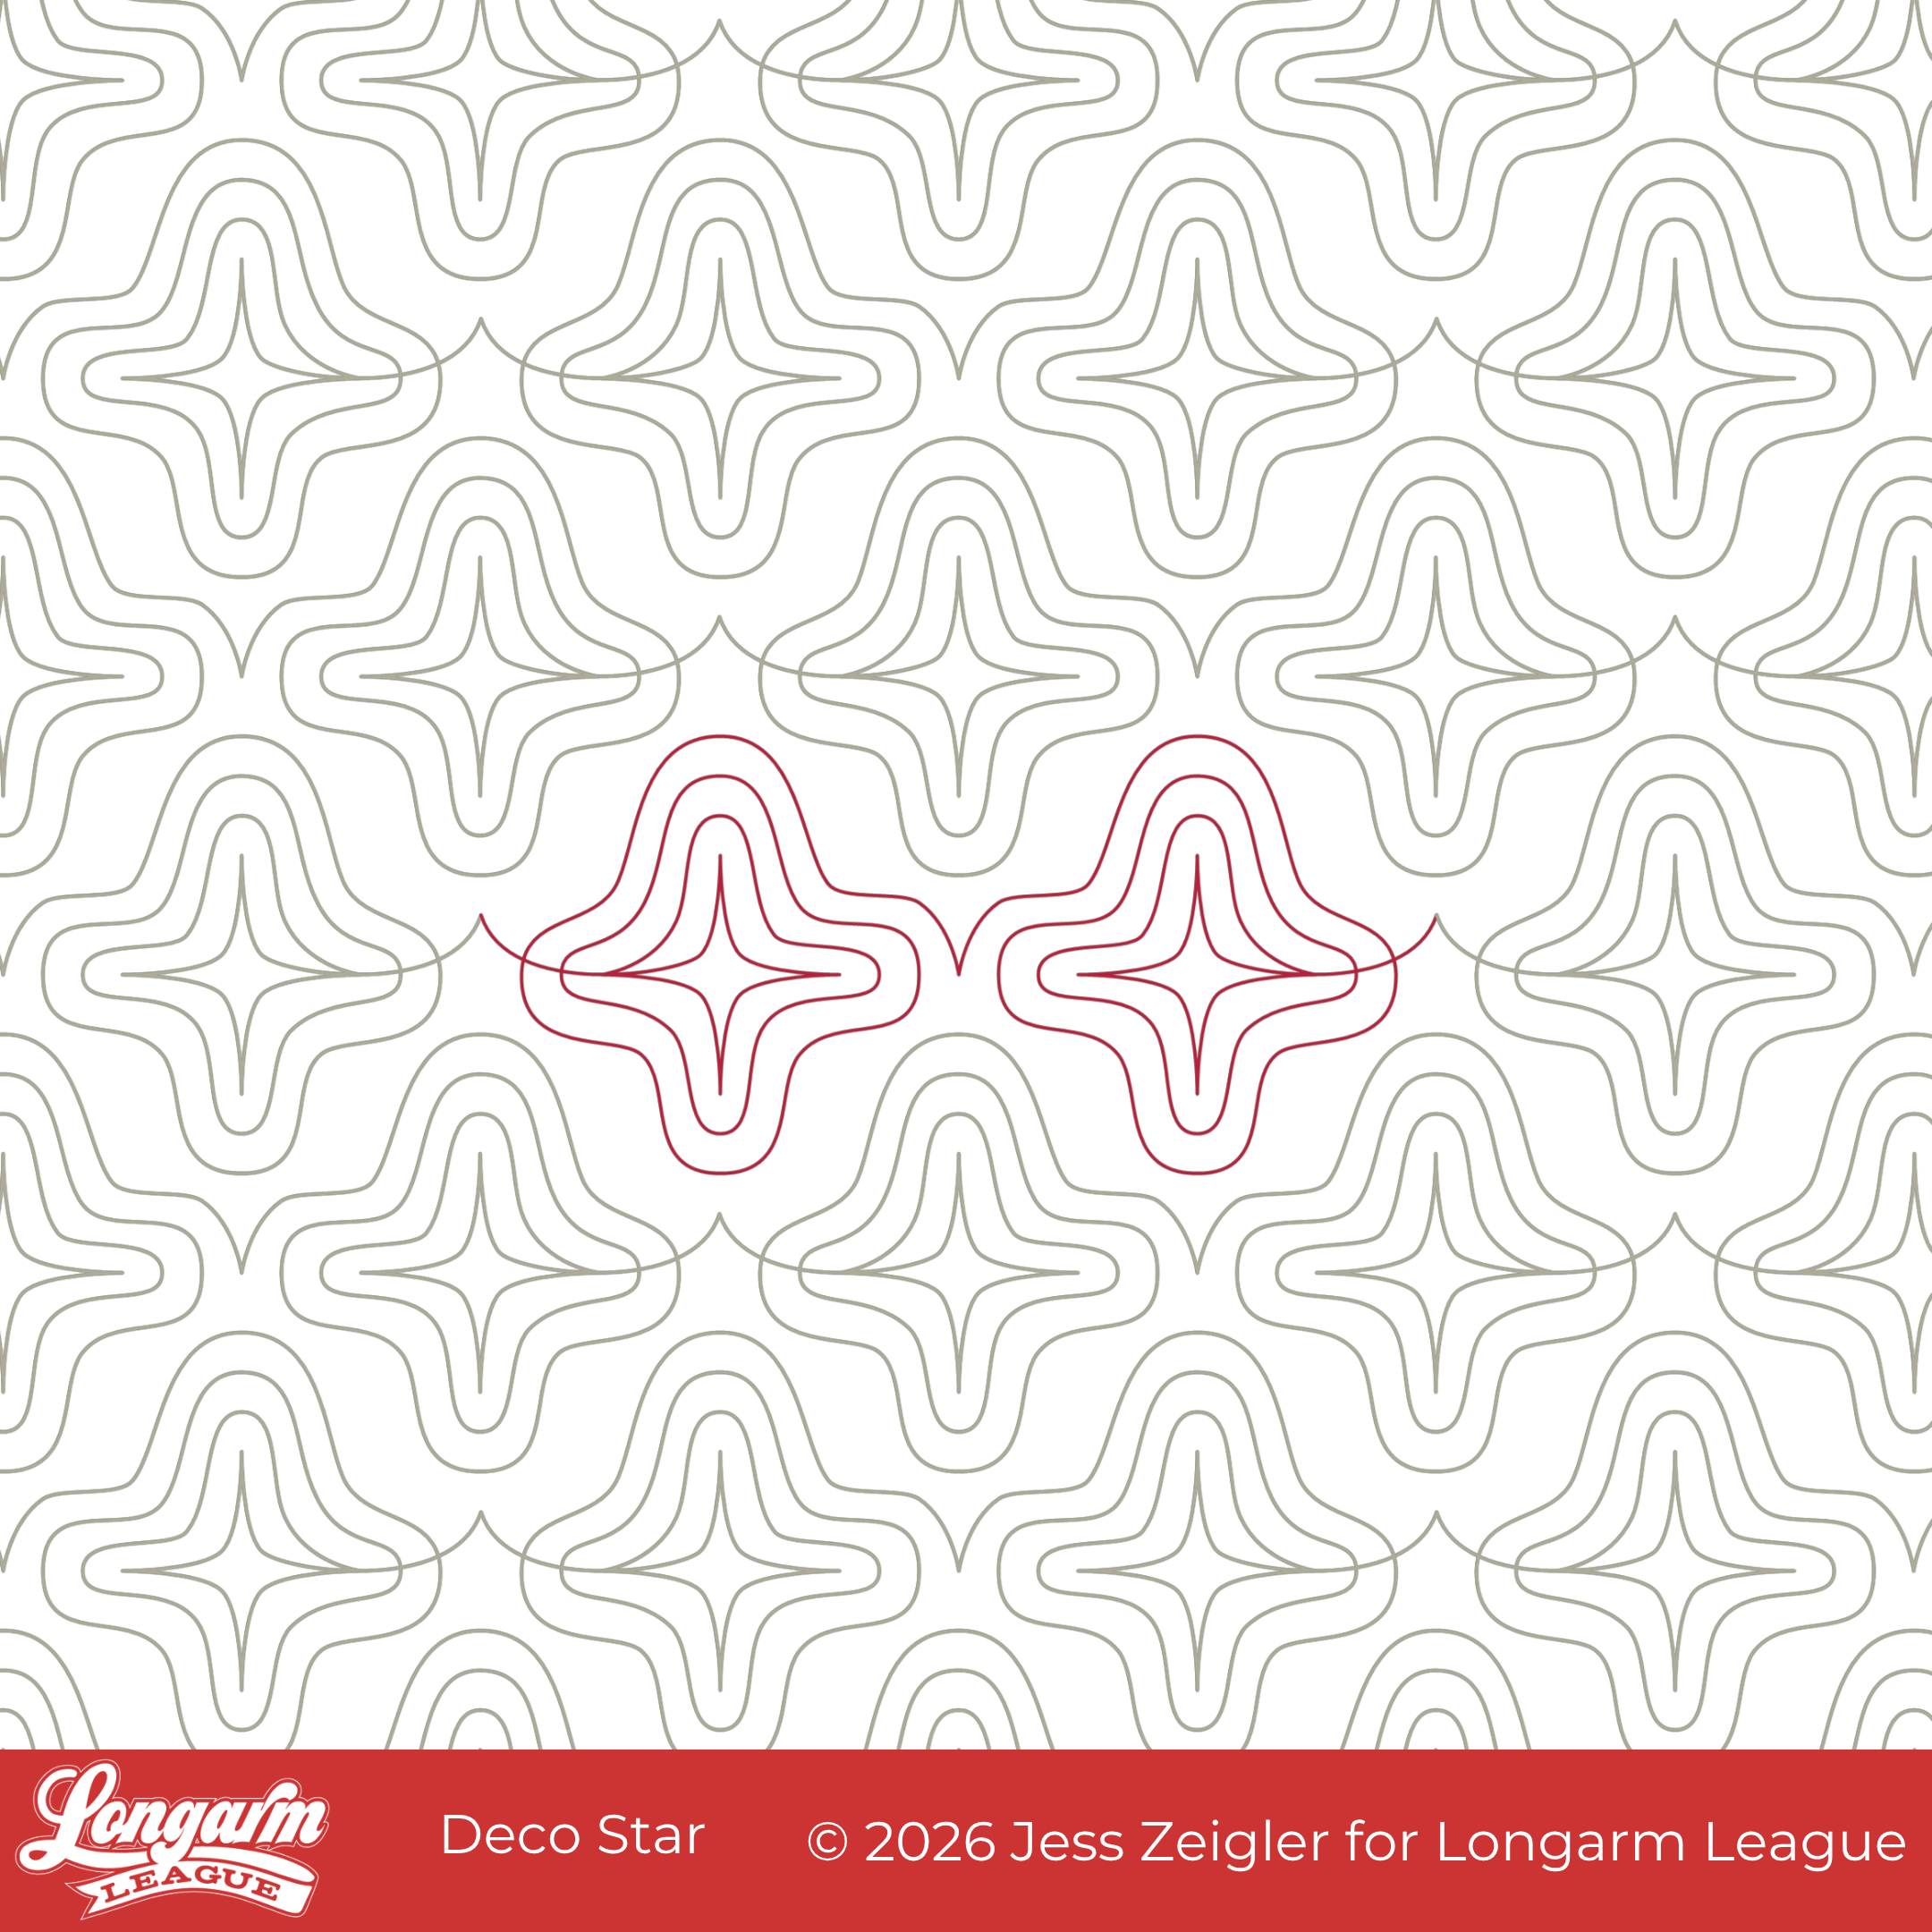
As for the final version of the design:
It has a smooth stitch path. The stitching does cross over itself, but there is no backtracking.
The negative space between the stars adds a design element, while providing a good margin so I never had to worry about the alignment being off or overlapping the last stitched row as I quilted this sample.
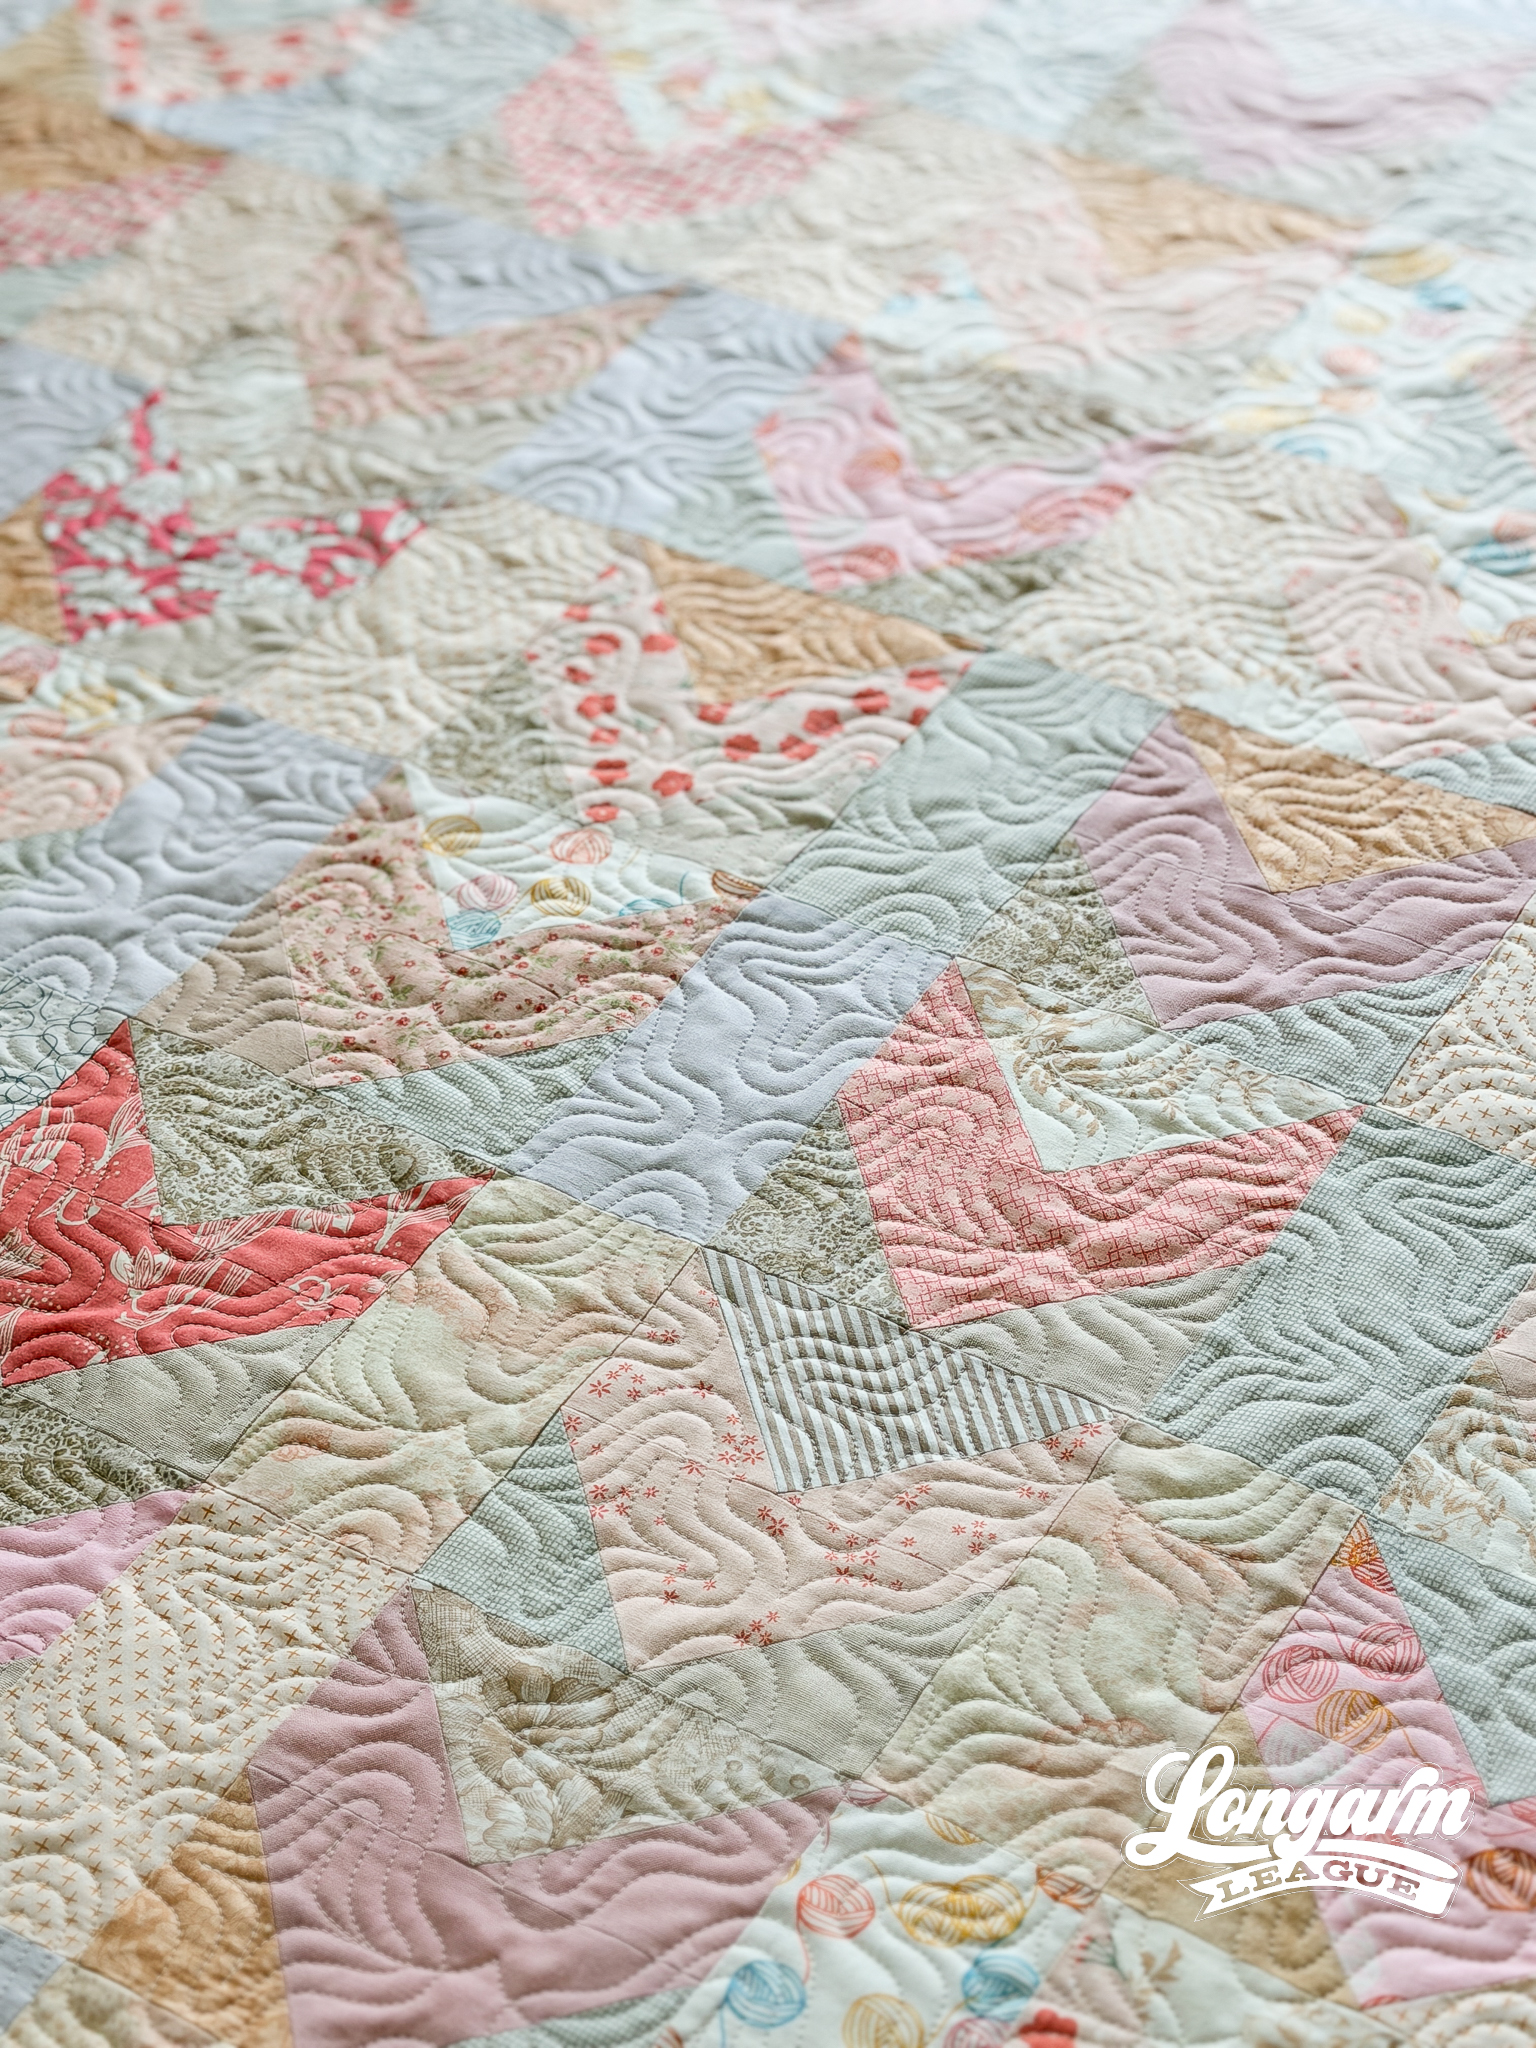
The stars are couplets, so in order to offset the design as shown, you'll need a 25% gap instead of the typical 50%.
Although loosely based on a star, the design is versatile enough that it'd work for many different kinds of quilts.
The Quilt
Quilt Pattern
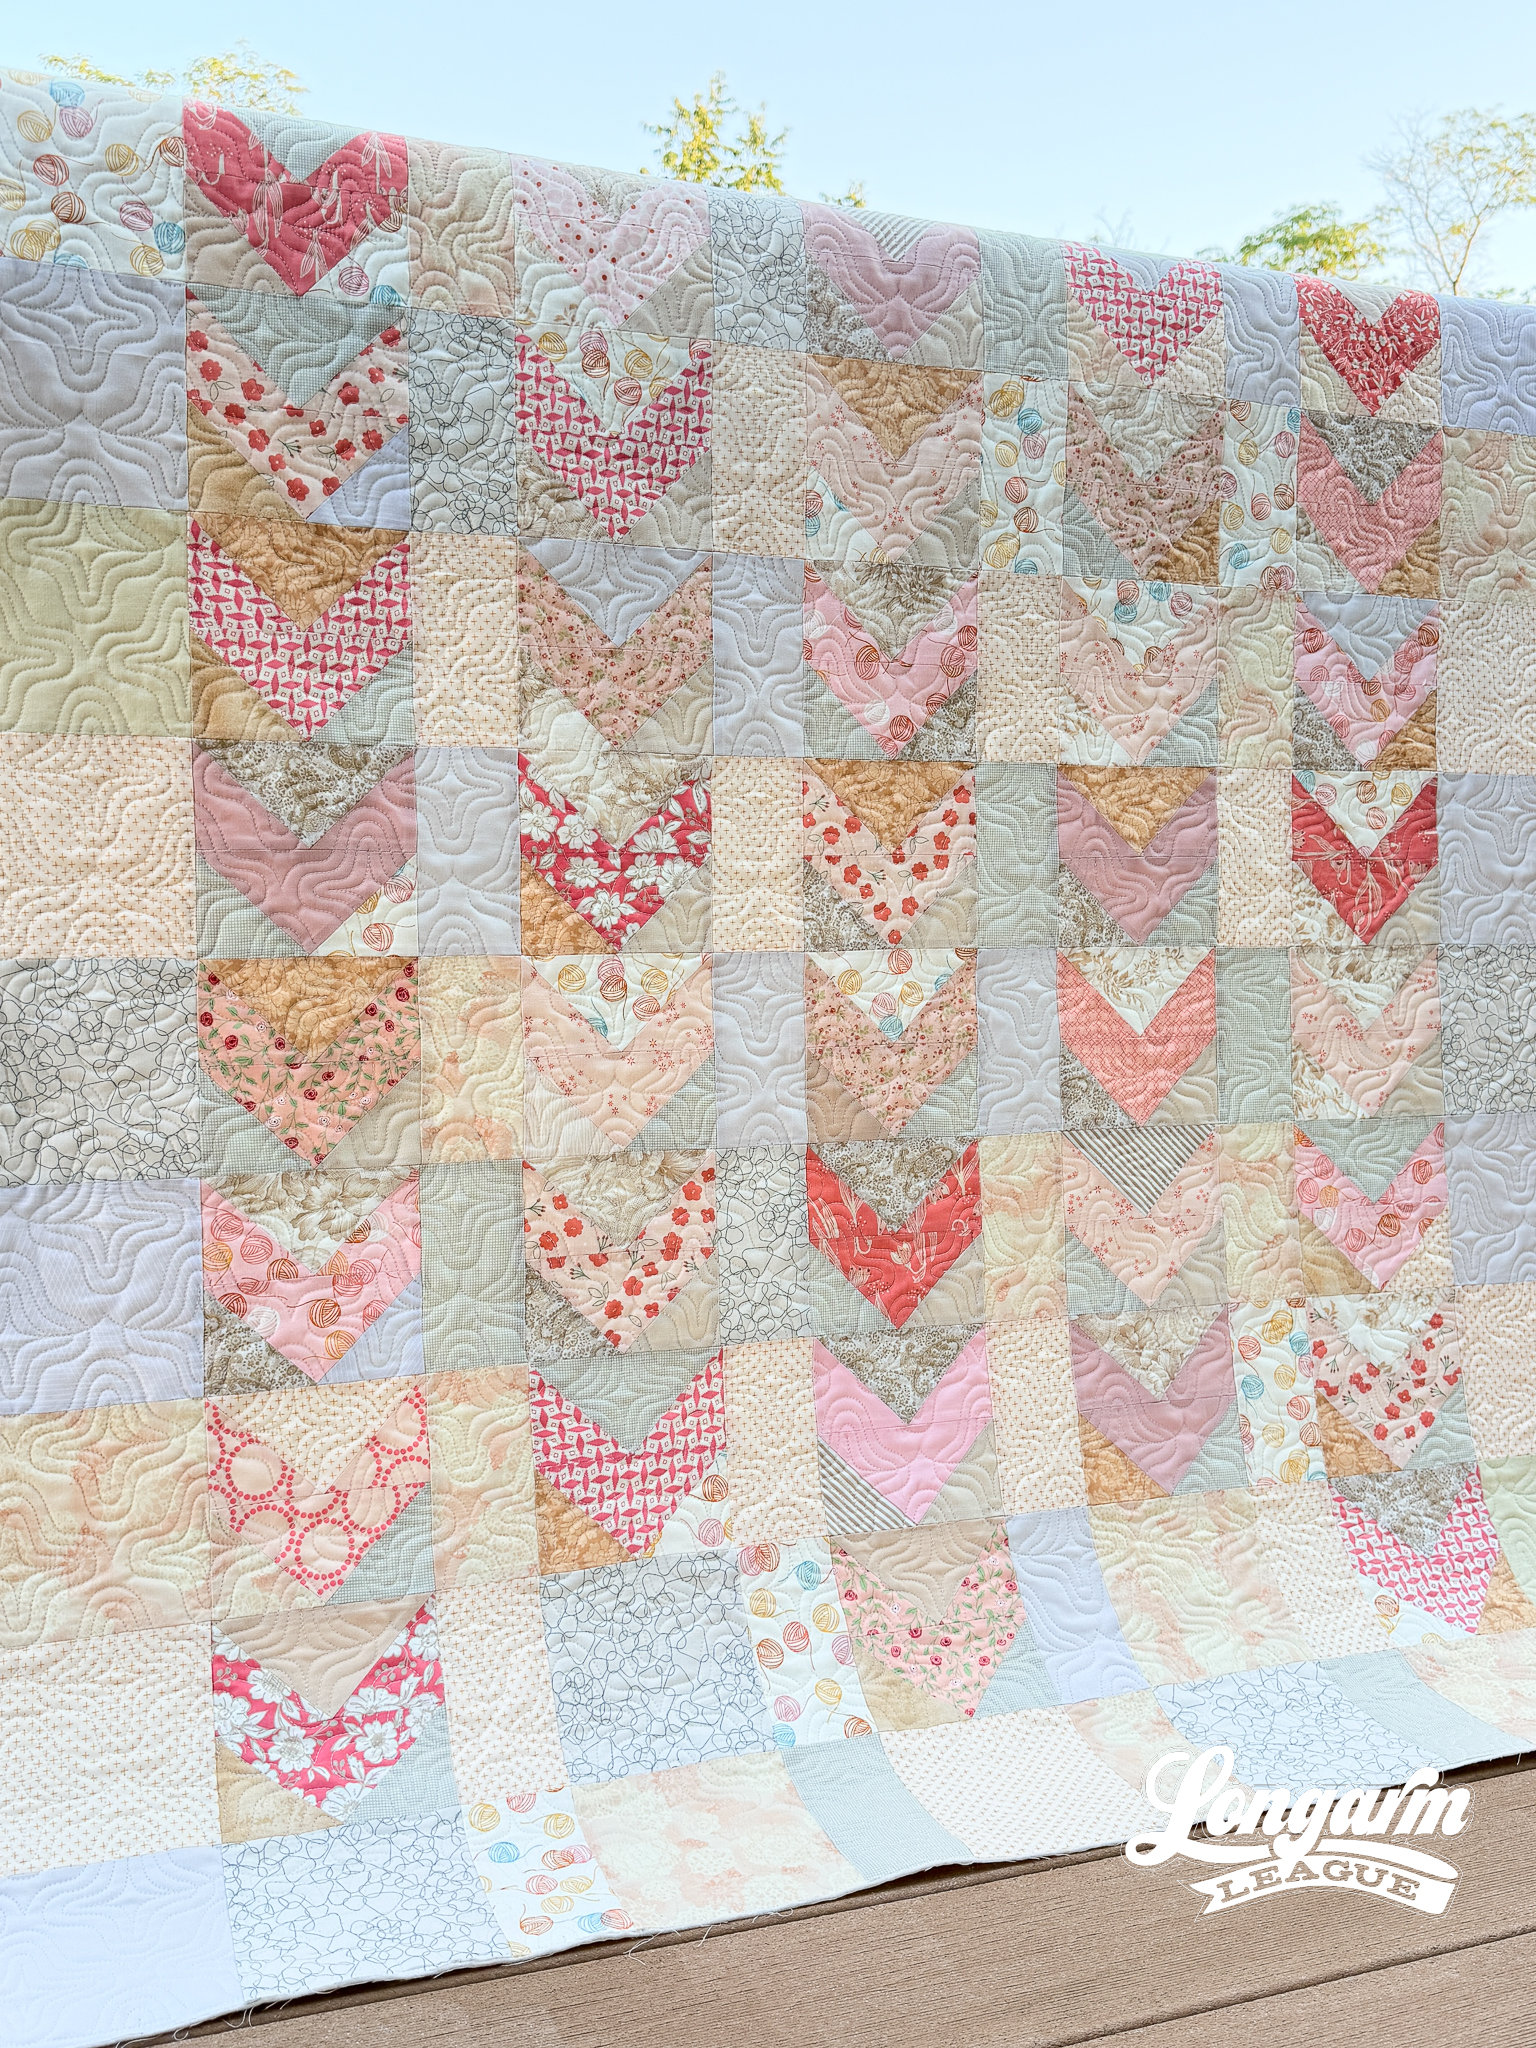
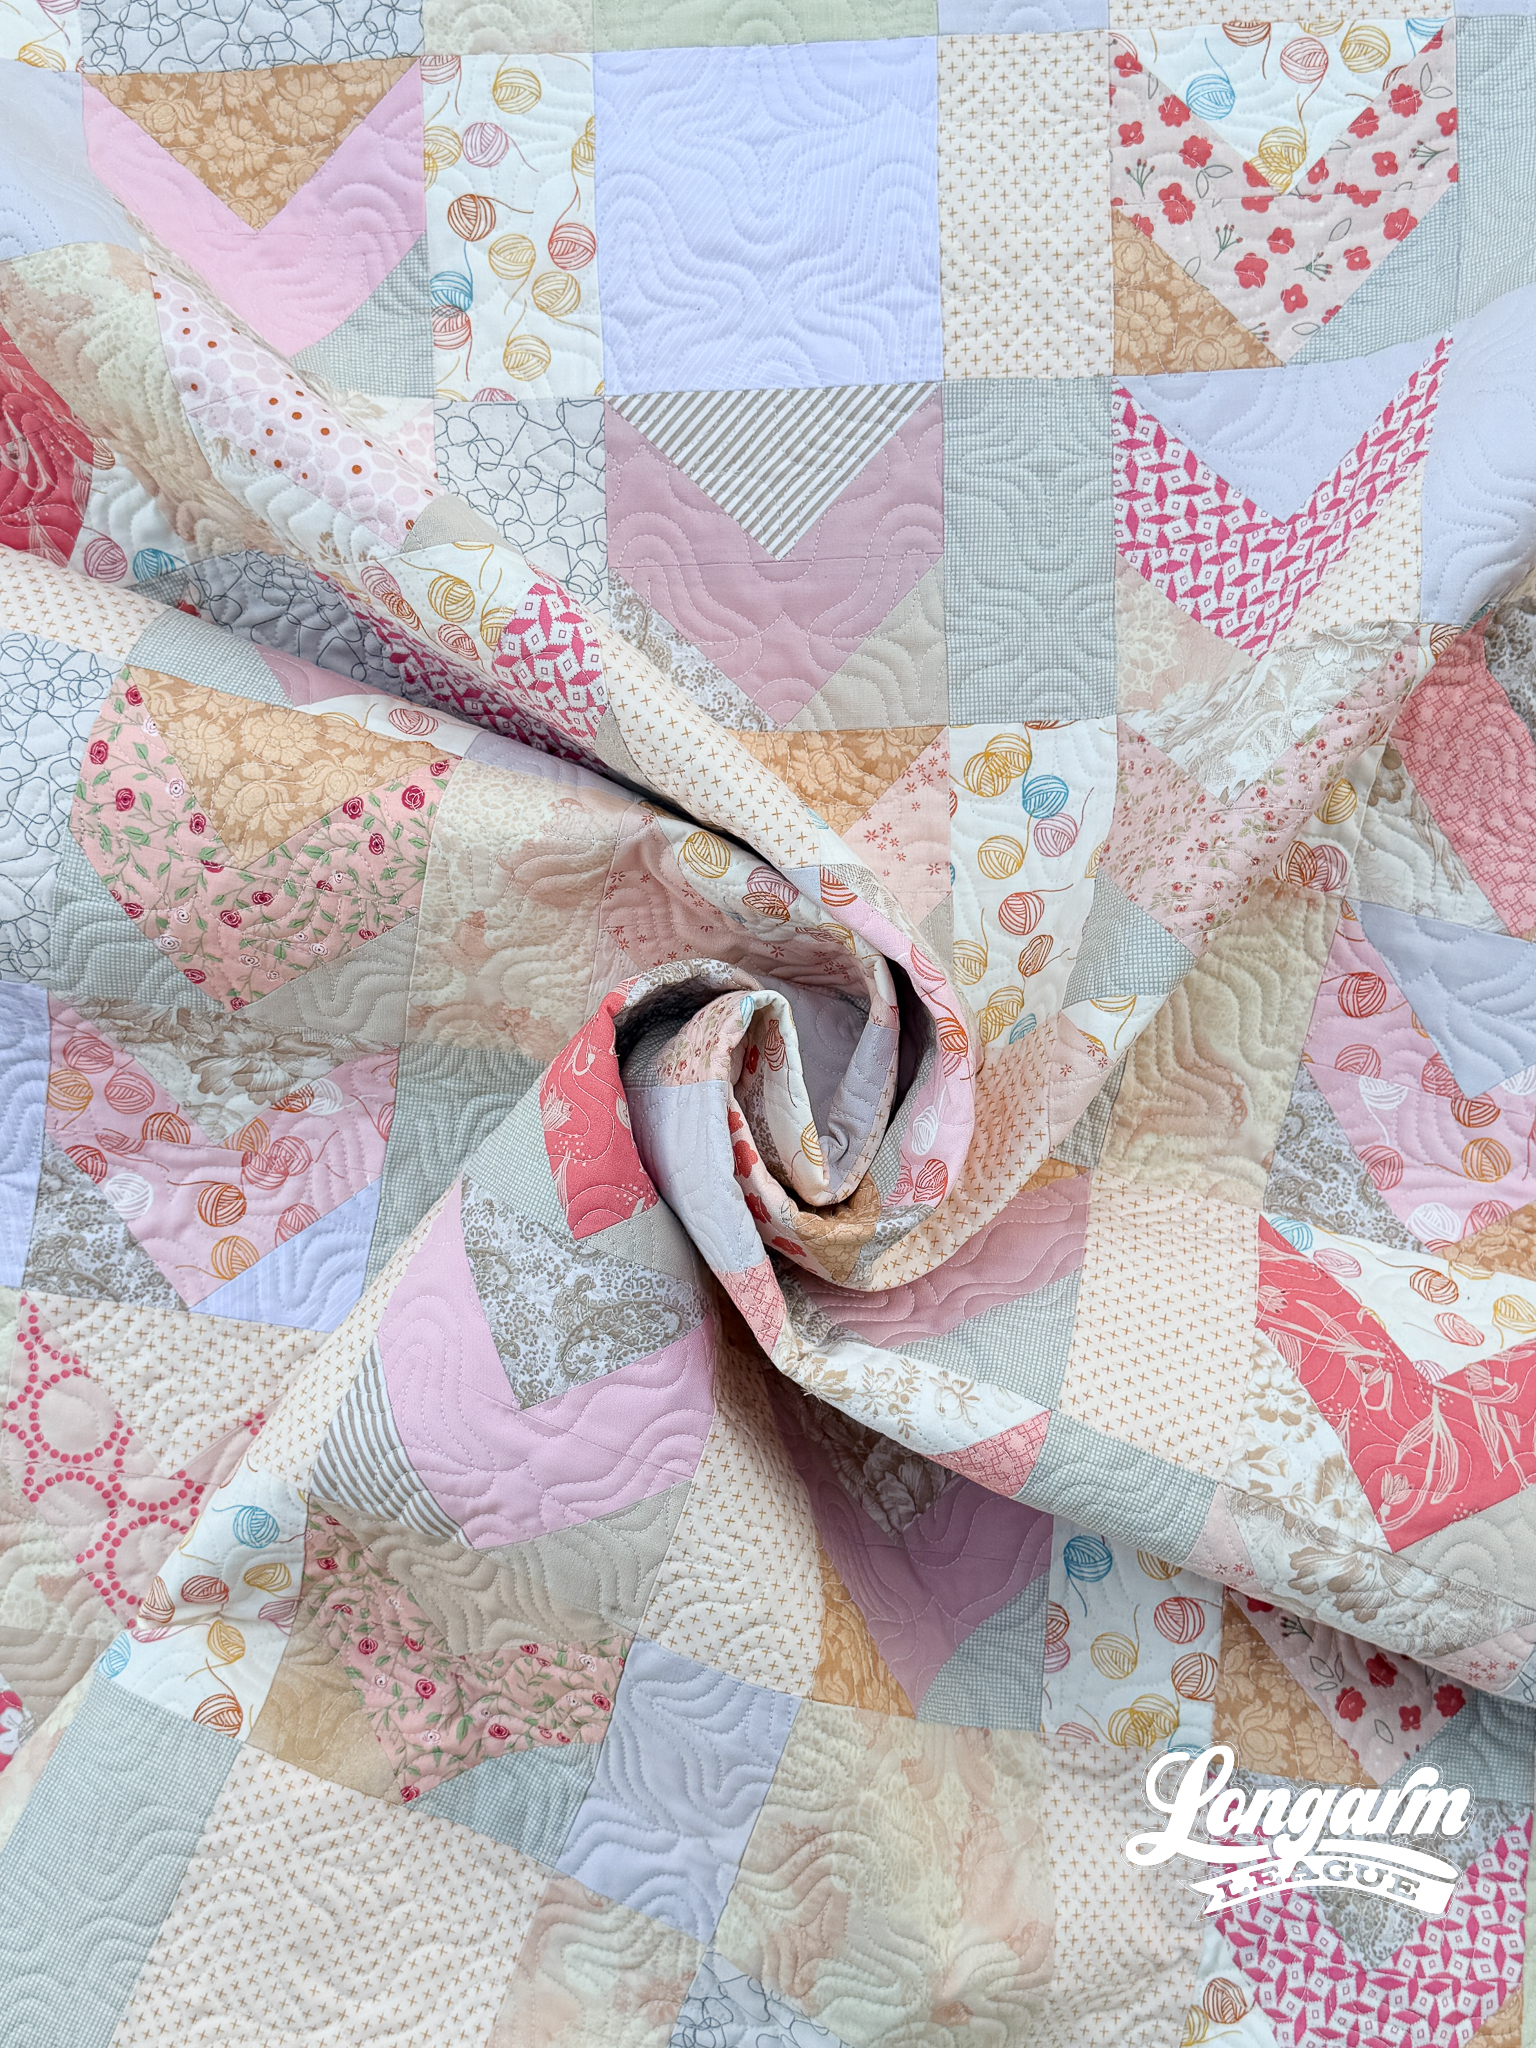
The quilt featured in this blog post is Scrappy Arrows by Quilty Love.
The sewing was famously Emily-Dennis-easy; her diagrams were on point. Oops, I should be careful throwing around that phrase among quilters! Not literally on-point, but top-notch. ;)
I purchased this pattern within the last year during a Quilty Love sale, and I thought it would fit the bill for a quick, baby-sized make.
Fabrics
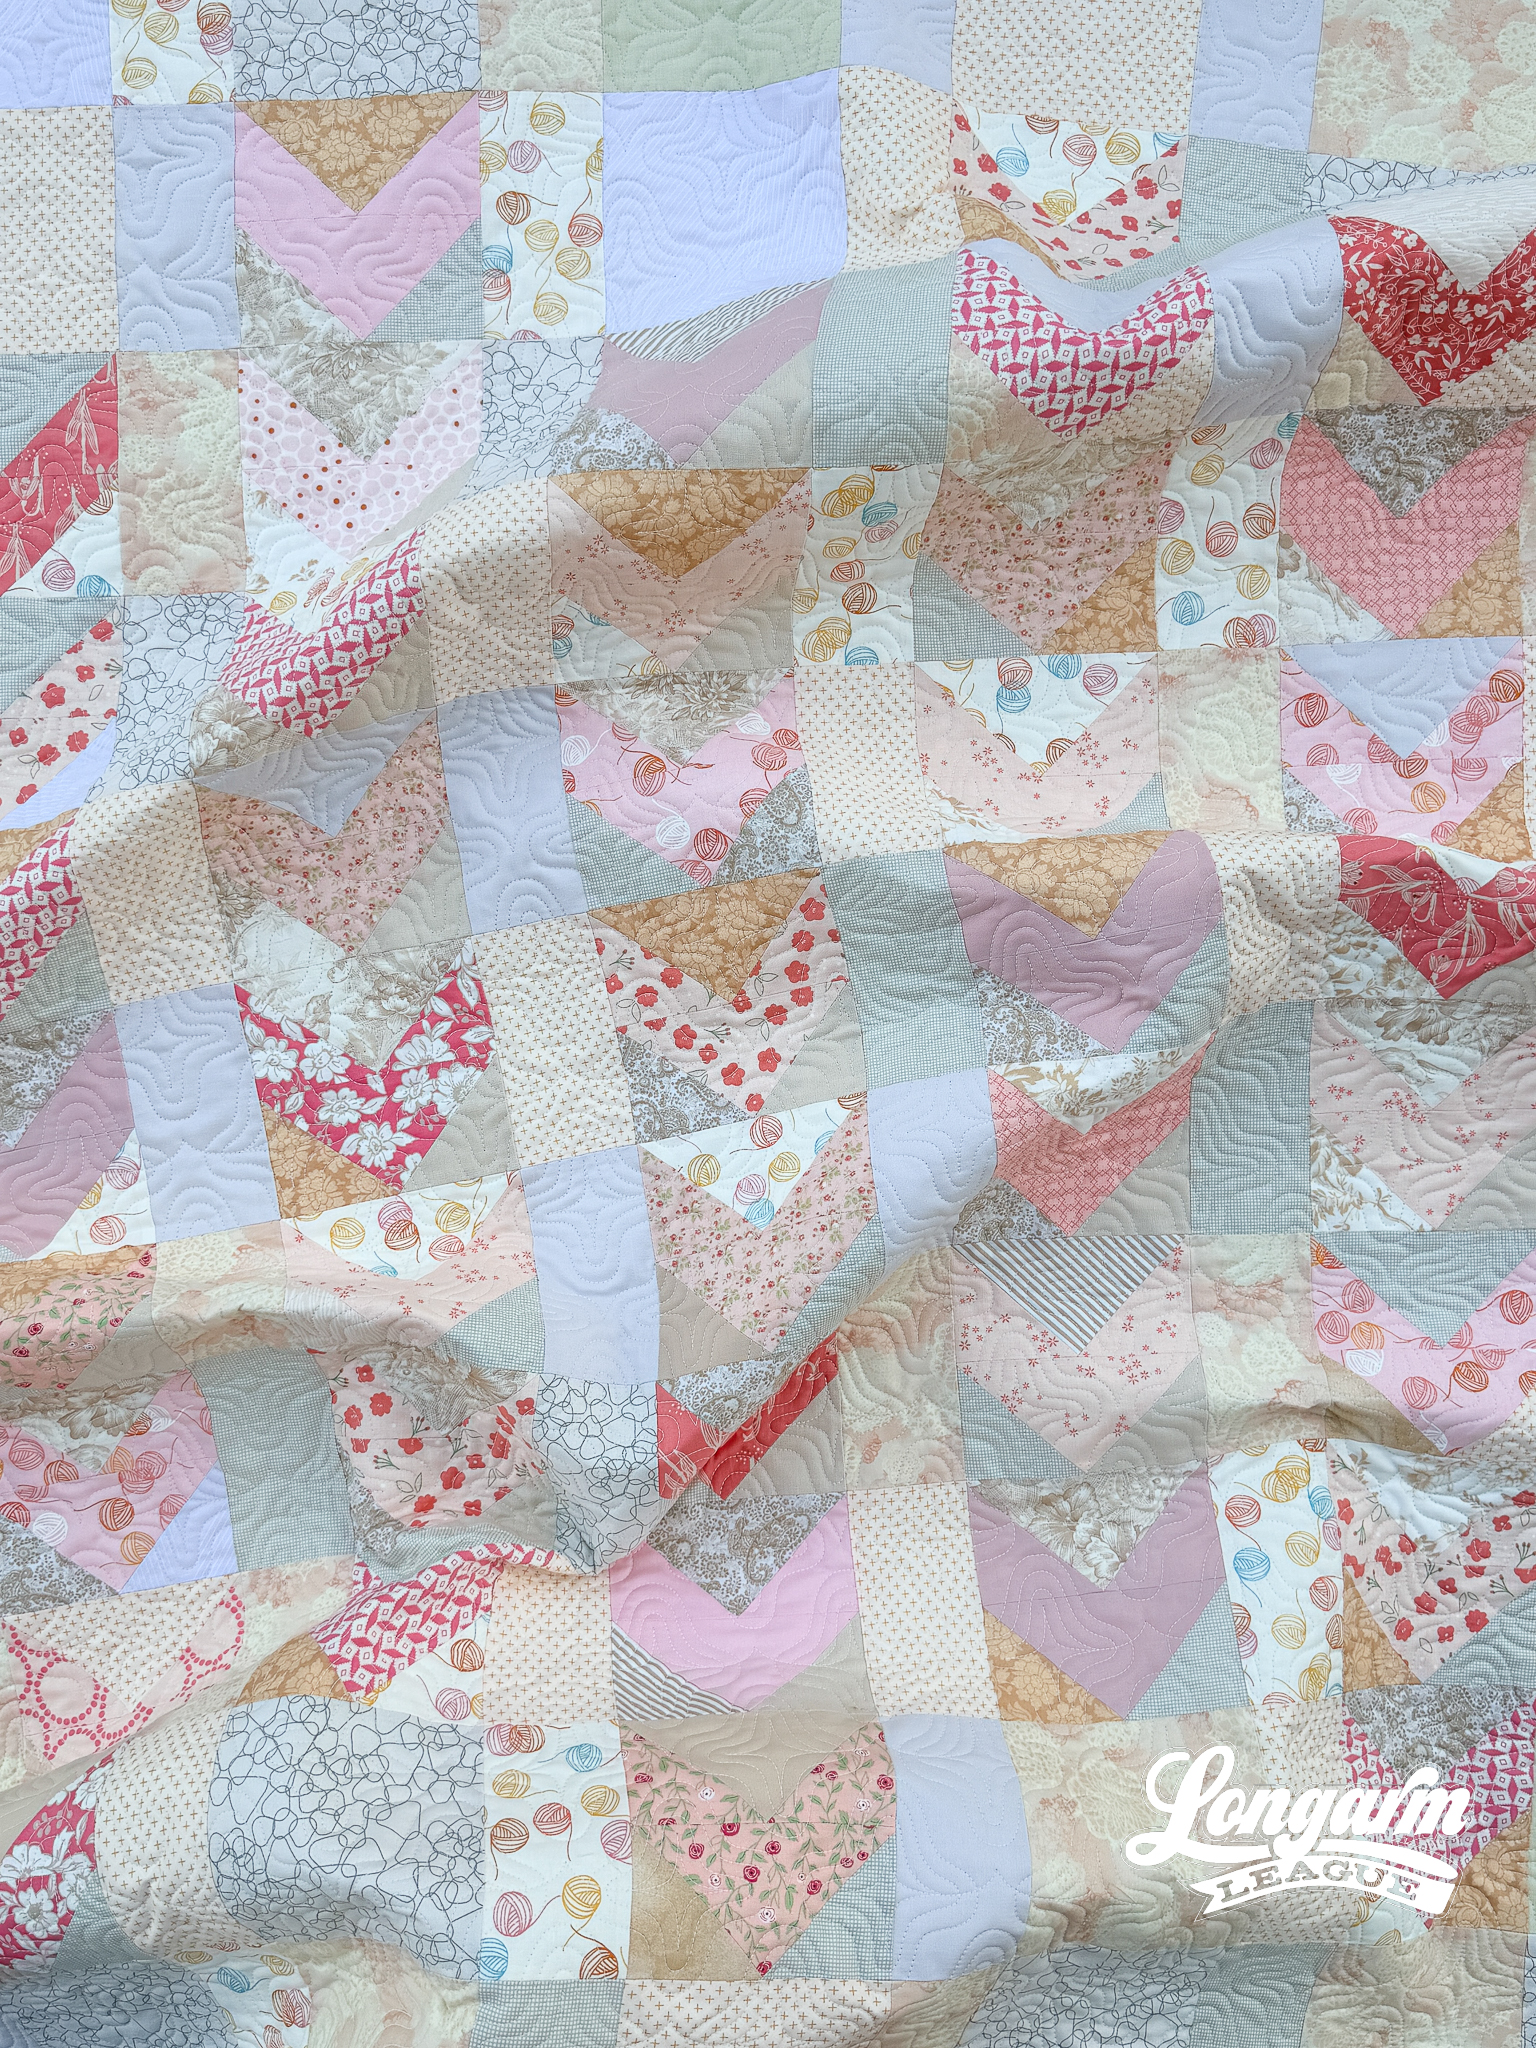
And it would have been quick, too, if I had trusted my gut! Groan! Twenty-one years into quiltmaking, and I'm still doing things the hard way, at times.
I consulted the baby shower registry to find soft pink and light tan colored items on the list. Great! I had a starting point, so I pulled all the soft pink and tan fabrics I owned and started sewing without much thought. Because God forbid I'd spend any time buying new fabric when I'm trying to work quickly.
Here's the "first draft".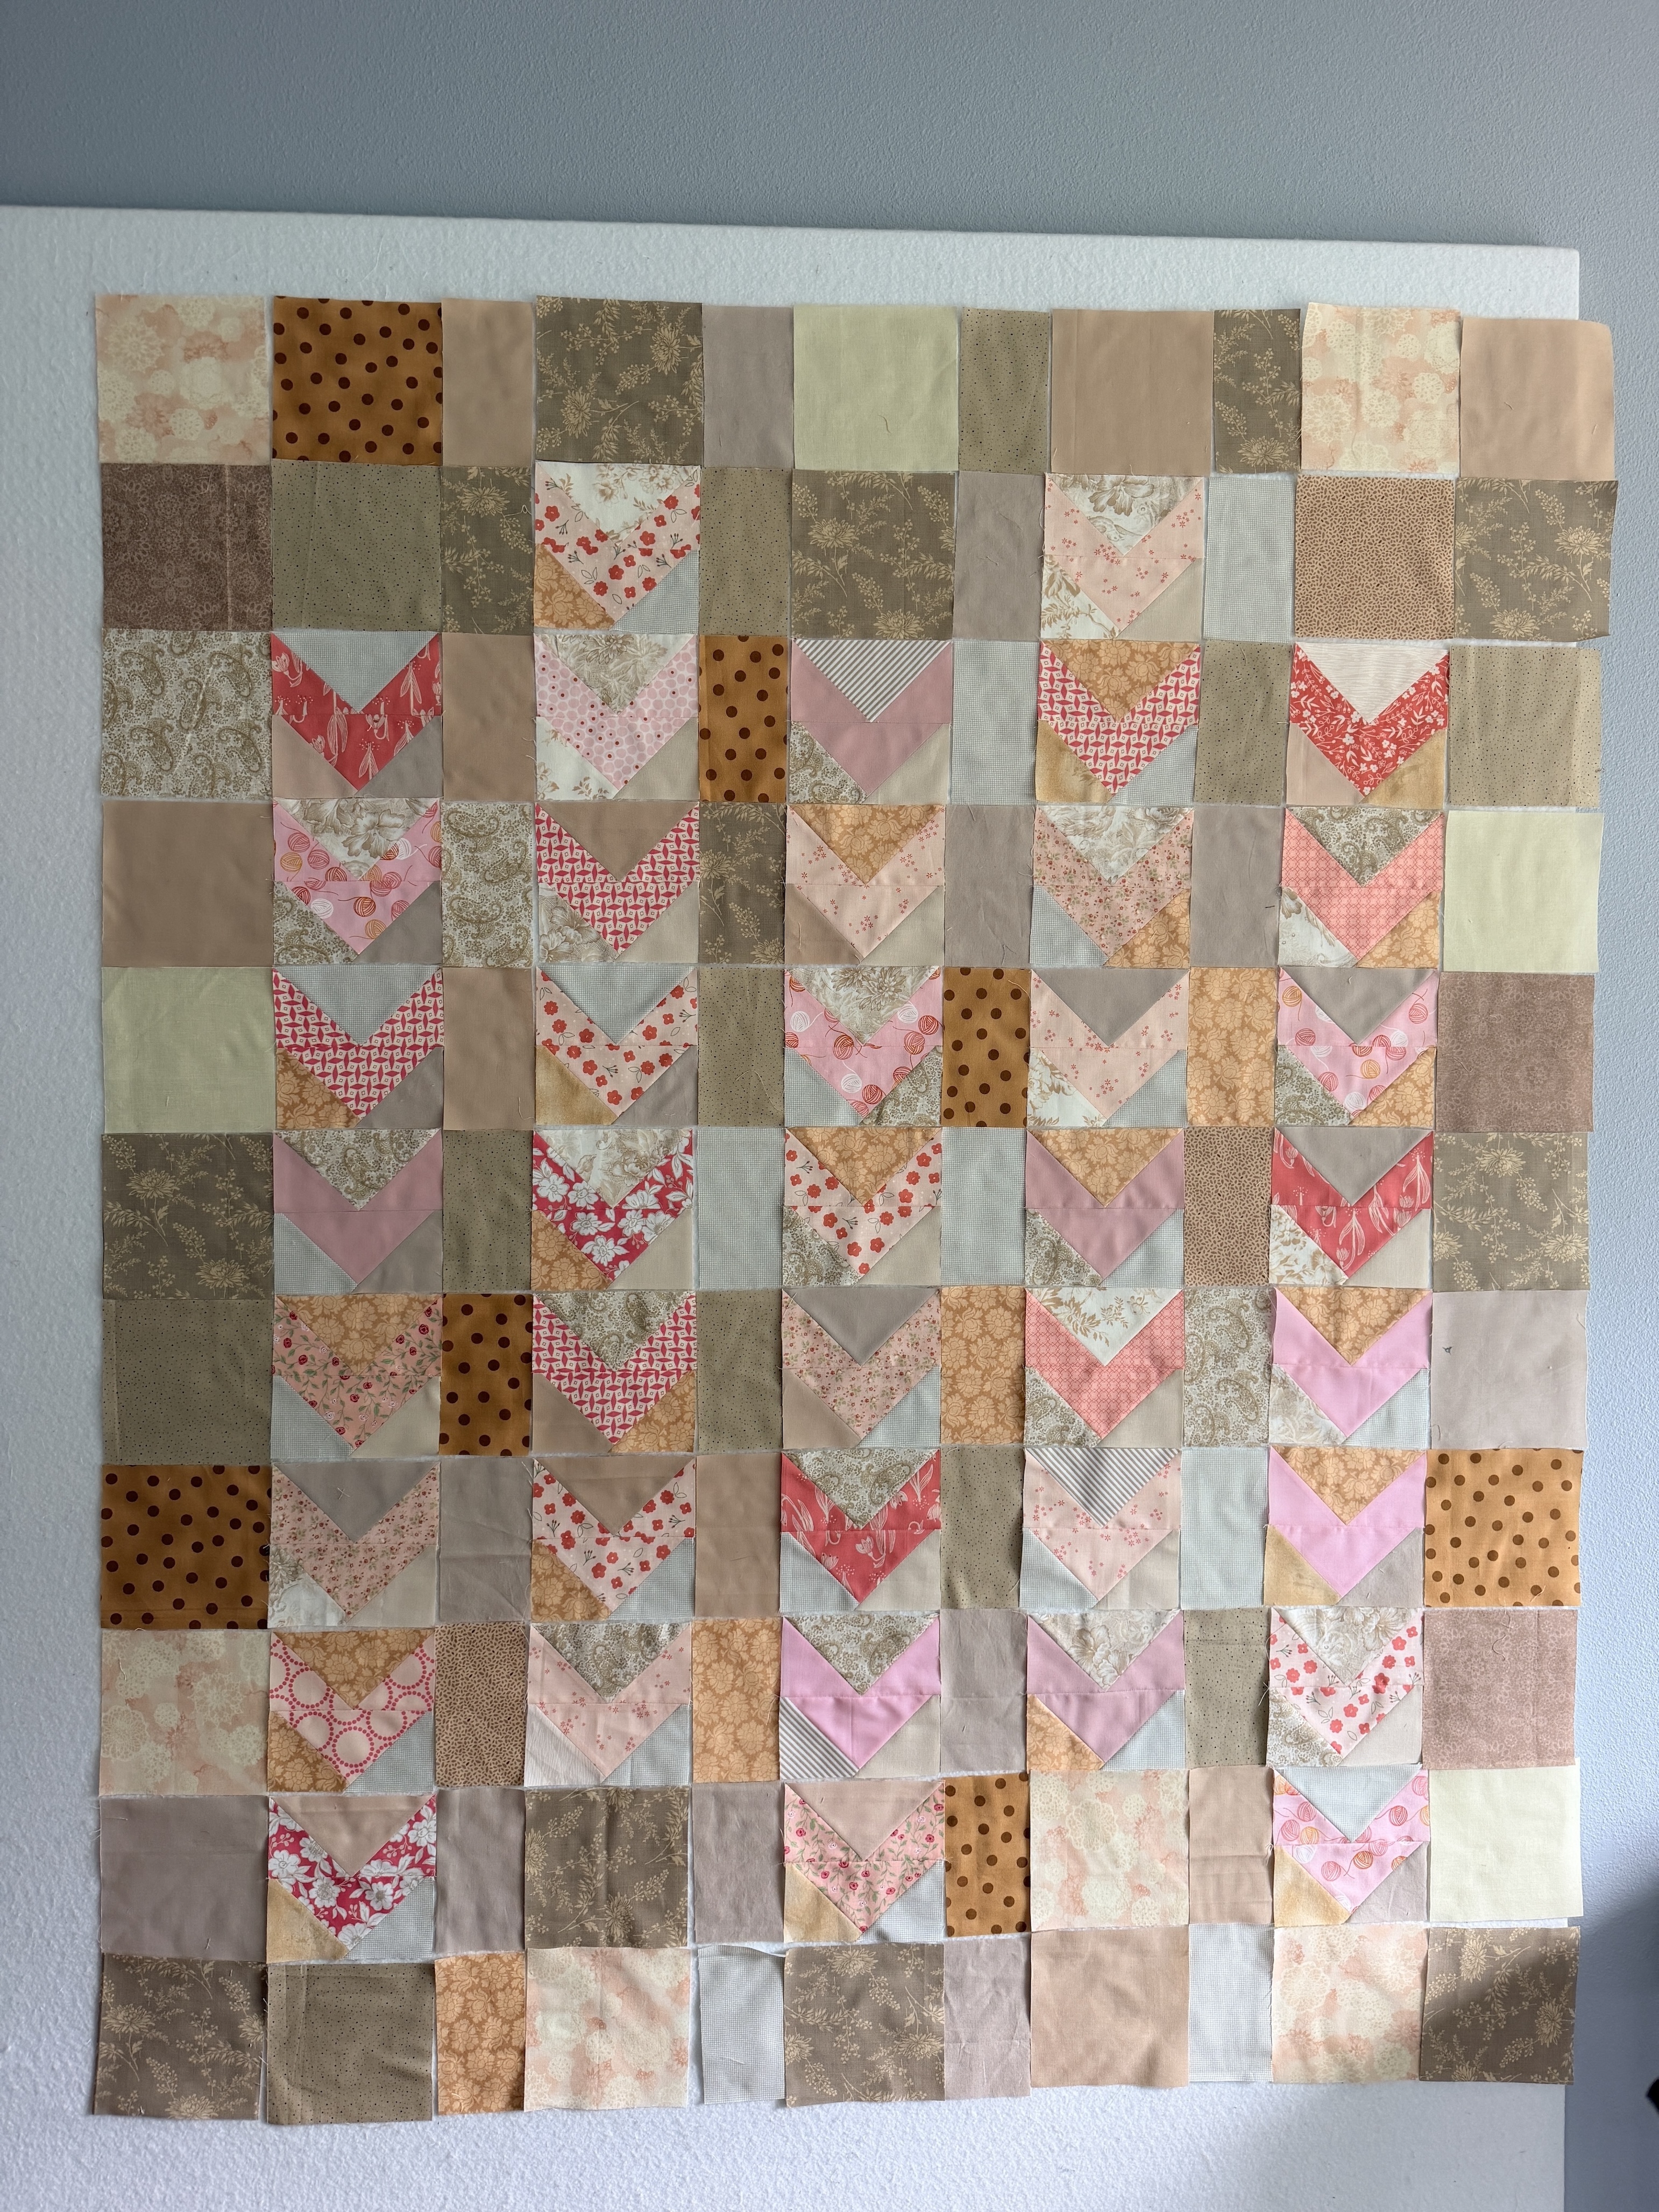
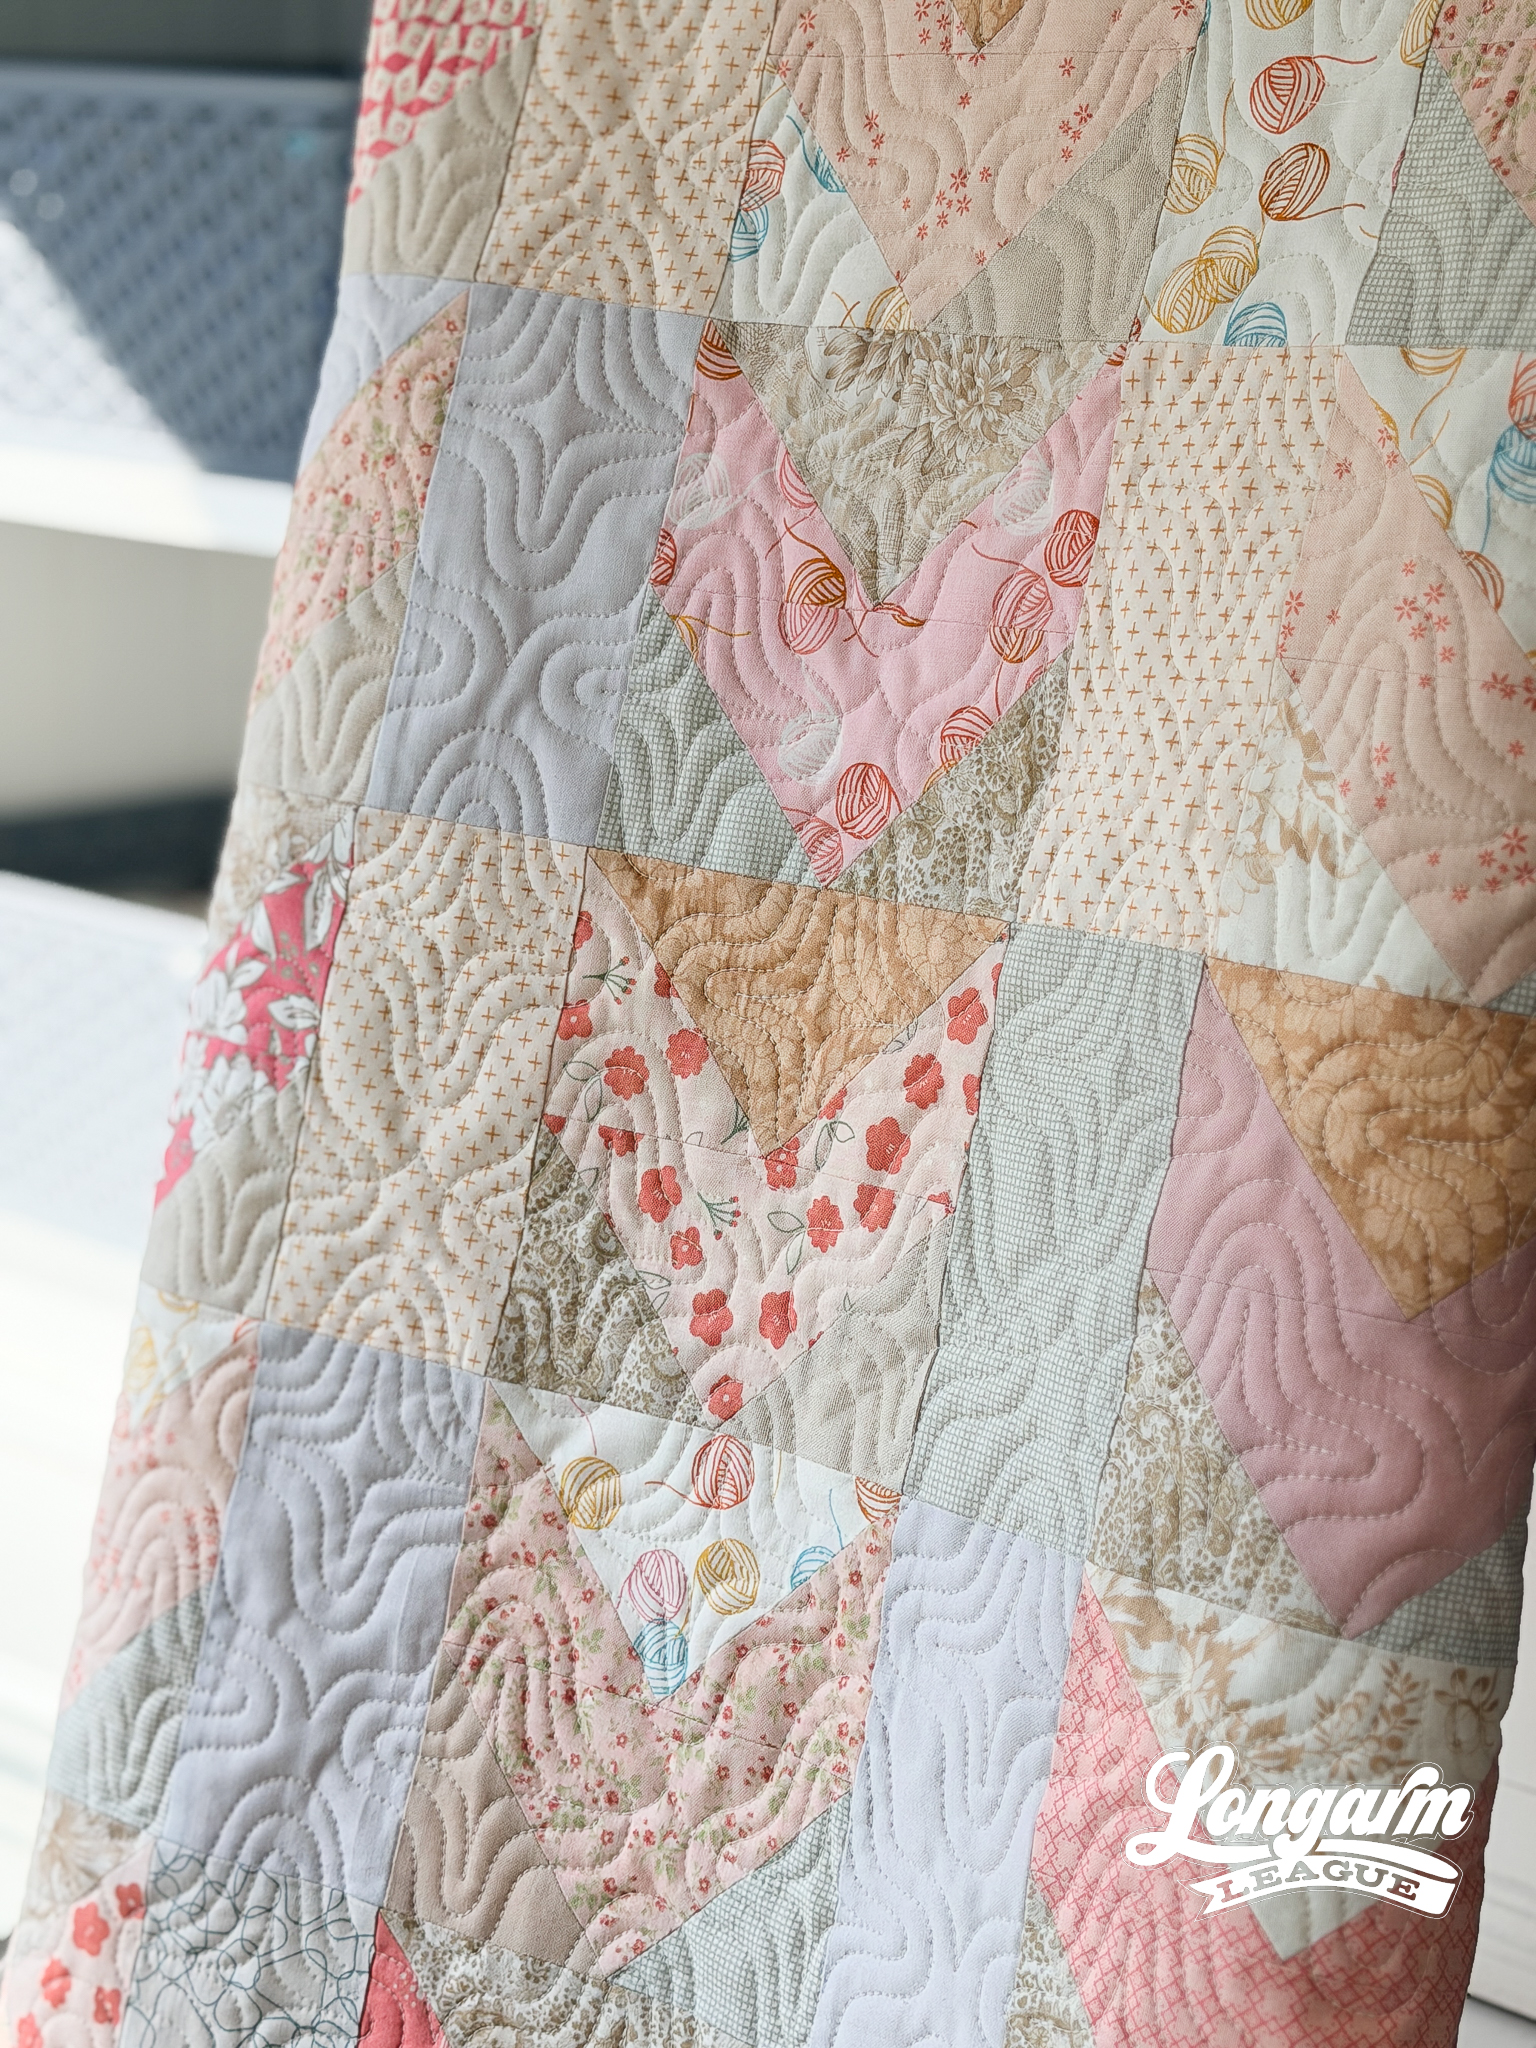
I love all the tan and brown fabrics; I just didn't love them paired with the pinks. I'd gotten off track because of my limited tan/brown color family, so I included ALL of them thinking it'd all work out somehow, and ended up far from the "color story" of the registry. So, I slowly started dipping into some of my light gold fabrics, replacing some of the starker contrasting tans, and then when I didn't have any more light golds, I went to light gray and other low-volume prints until I got a softer overall look with not as much contrast.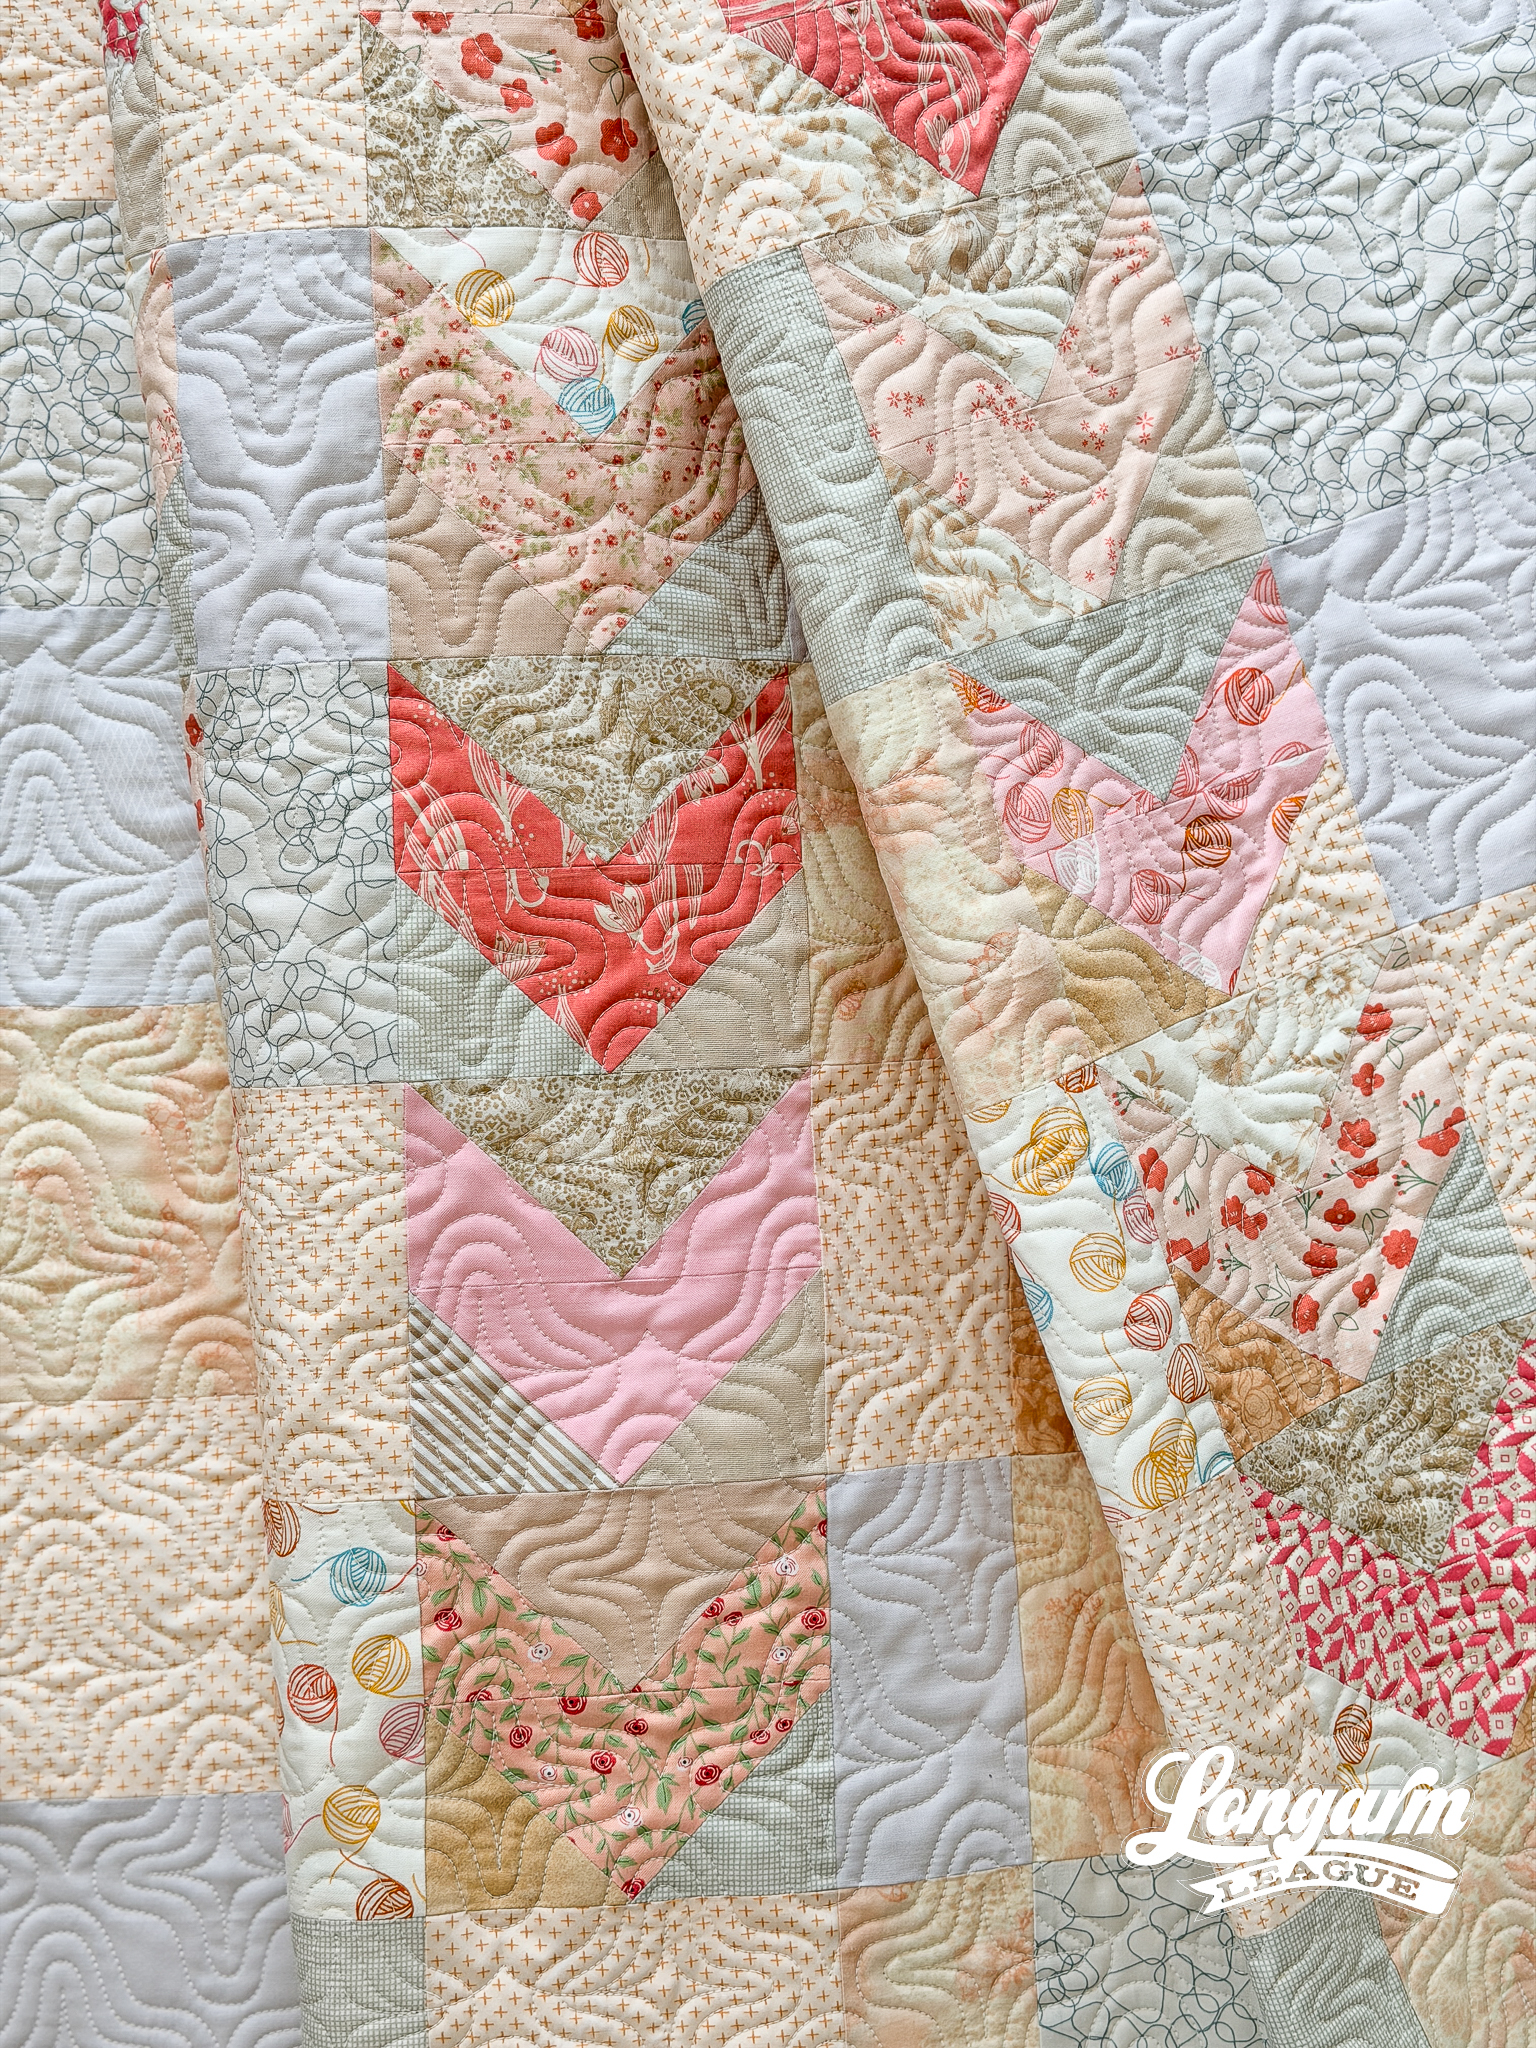
To be honest, I'd like to try this pattern again another time. I might try for a scrappy background OR scrappy stars, but not both. I did scrappy everything, and it's fine, but I think between the low contrast and the total scrappiness, the lil arrows get lost.
Backing and Batting
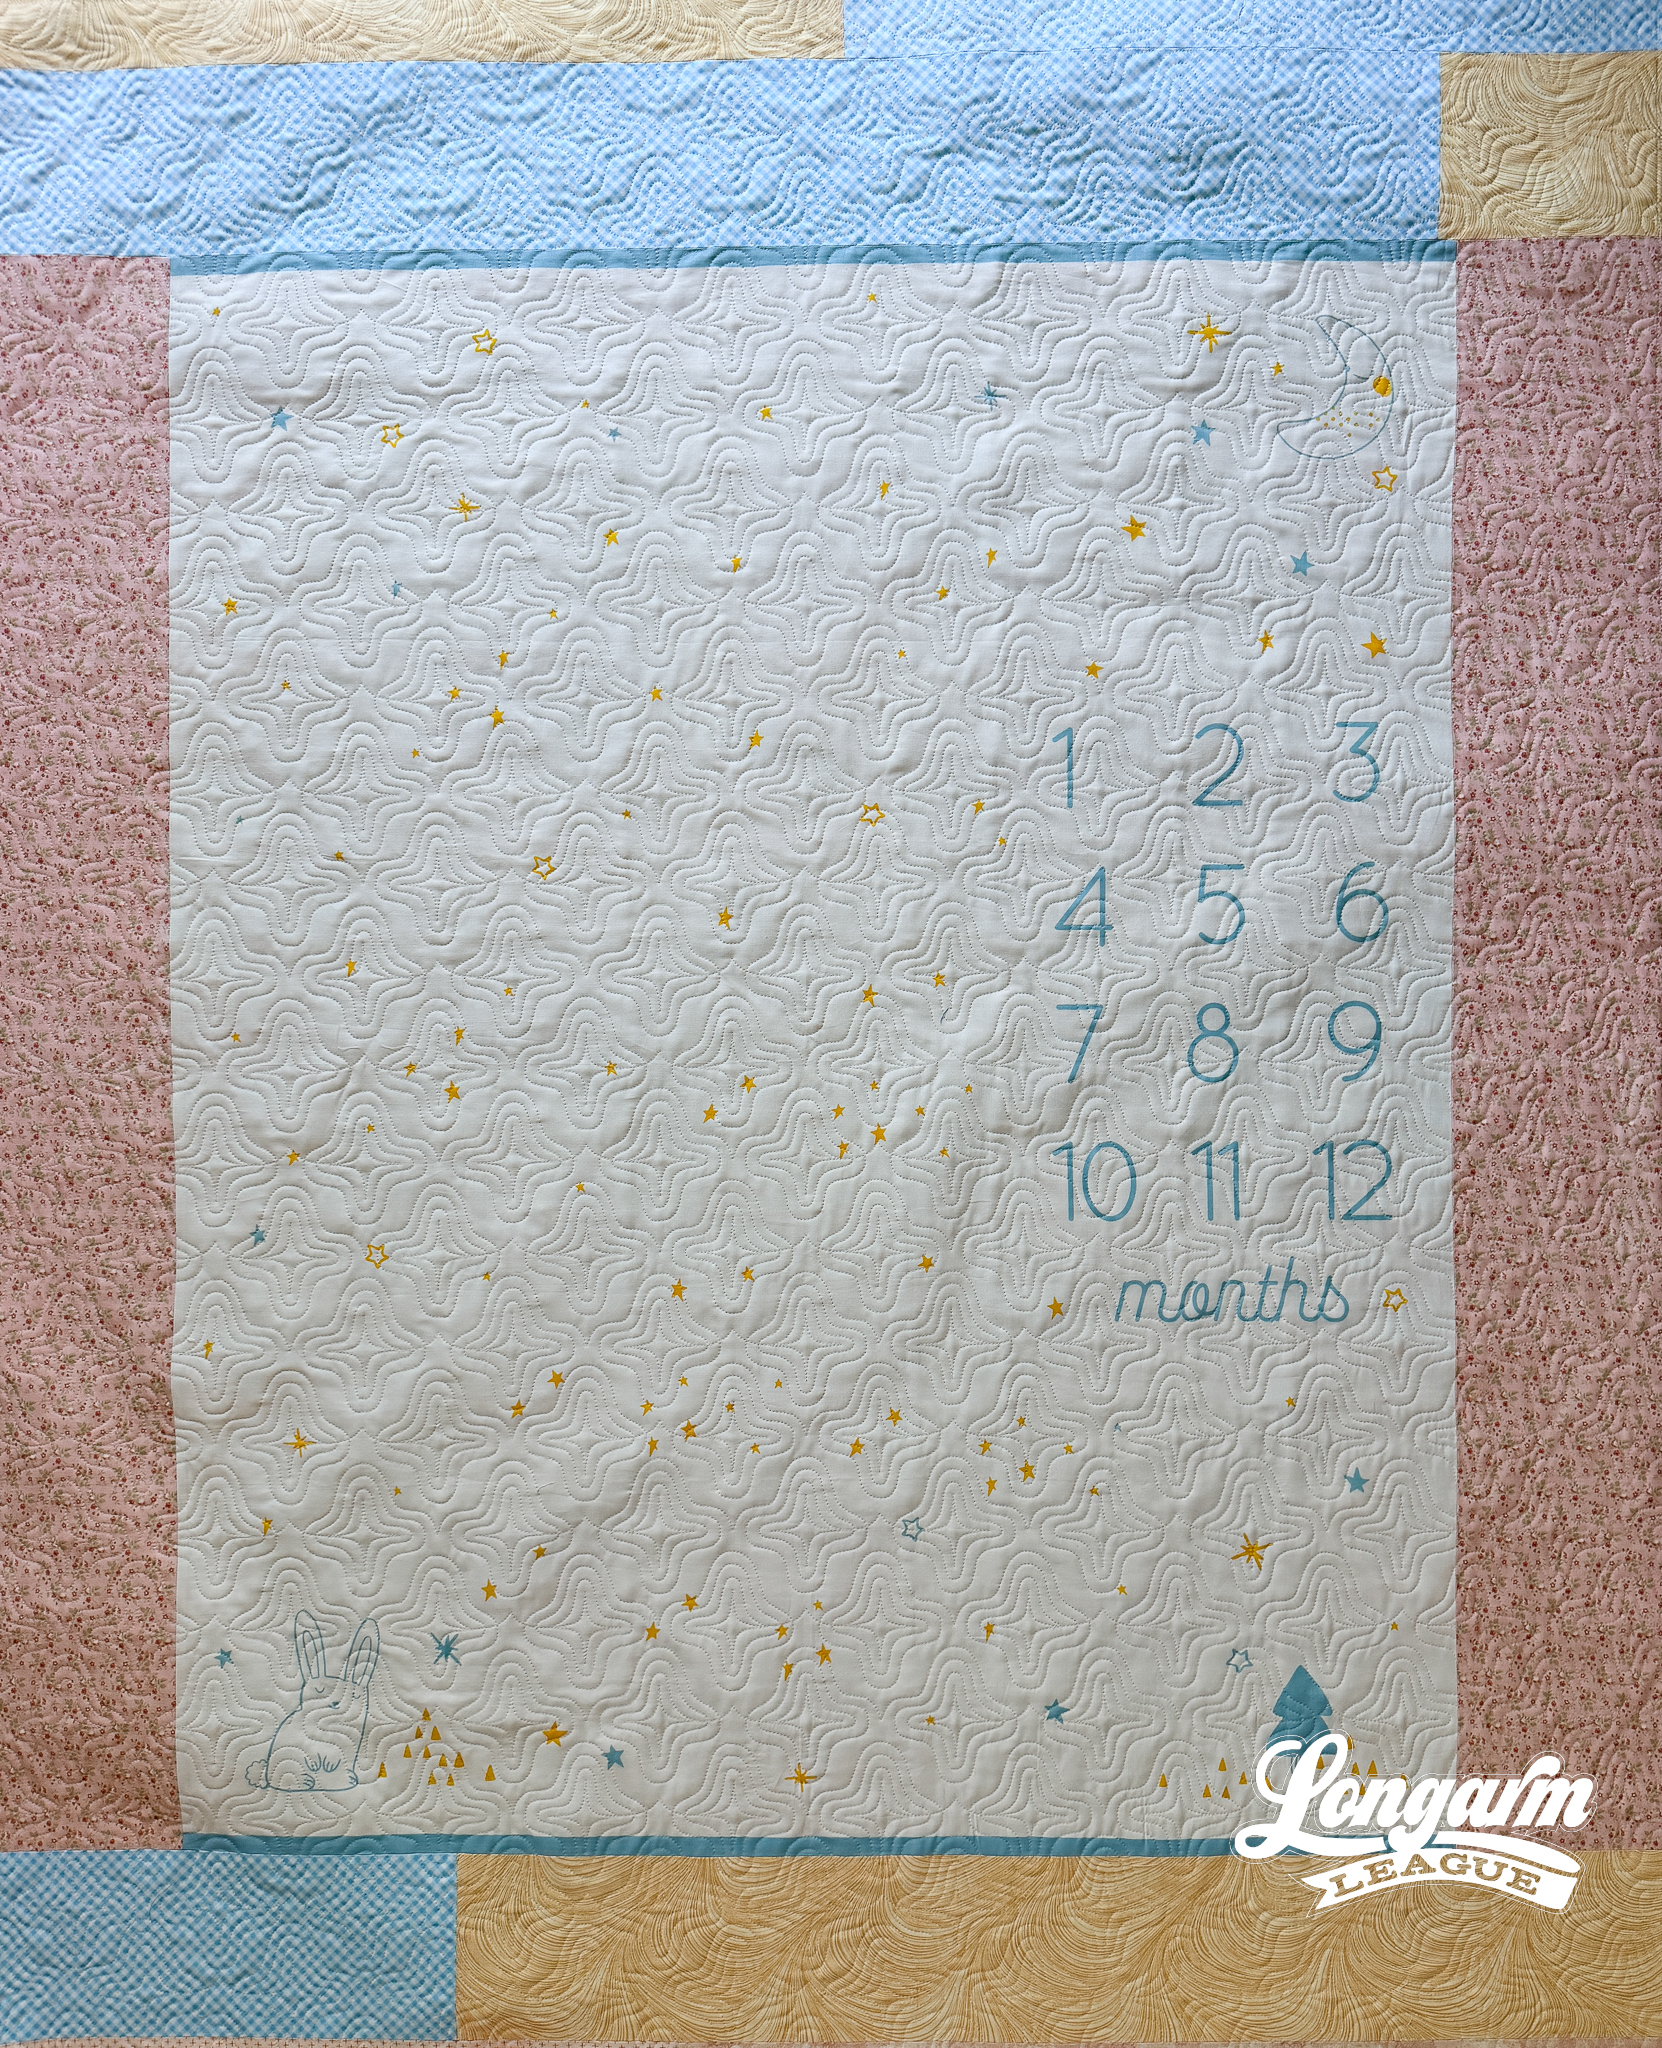
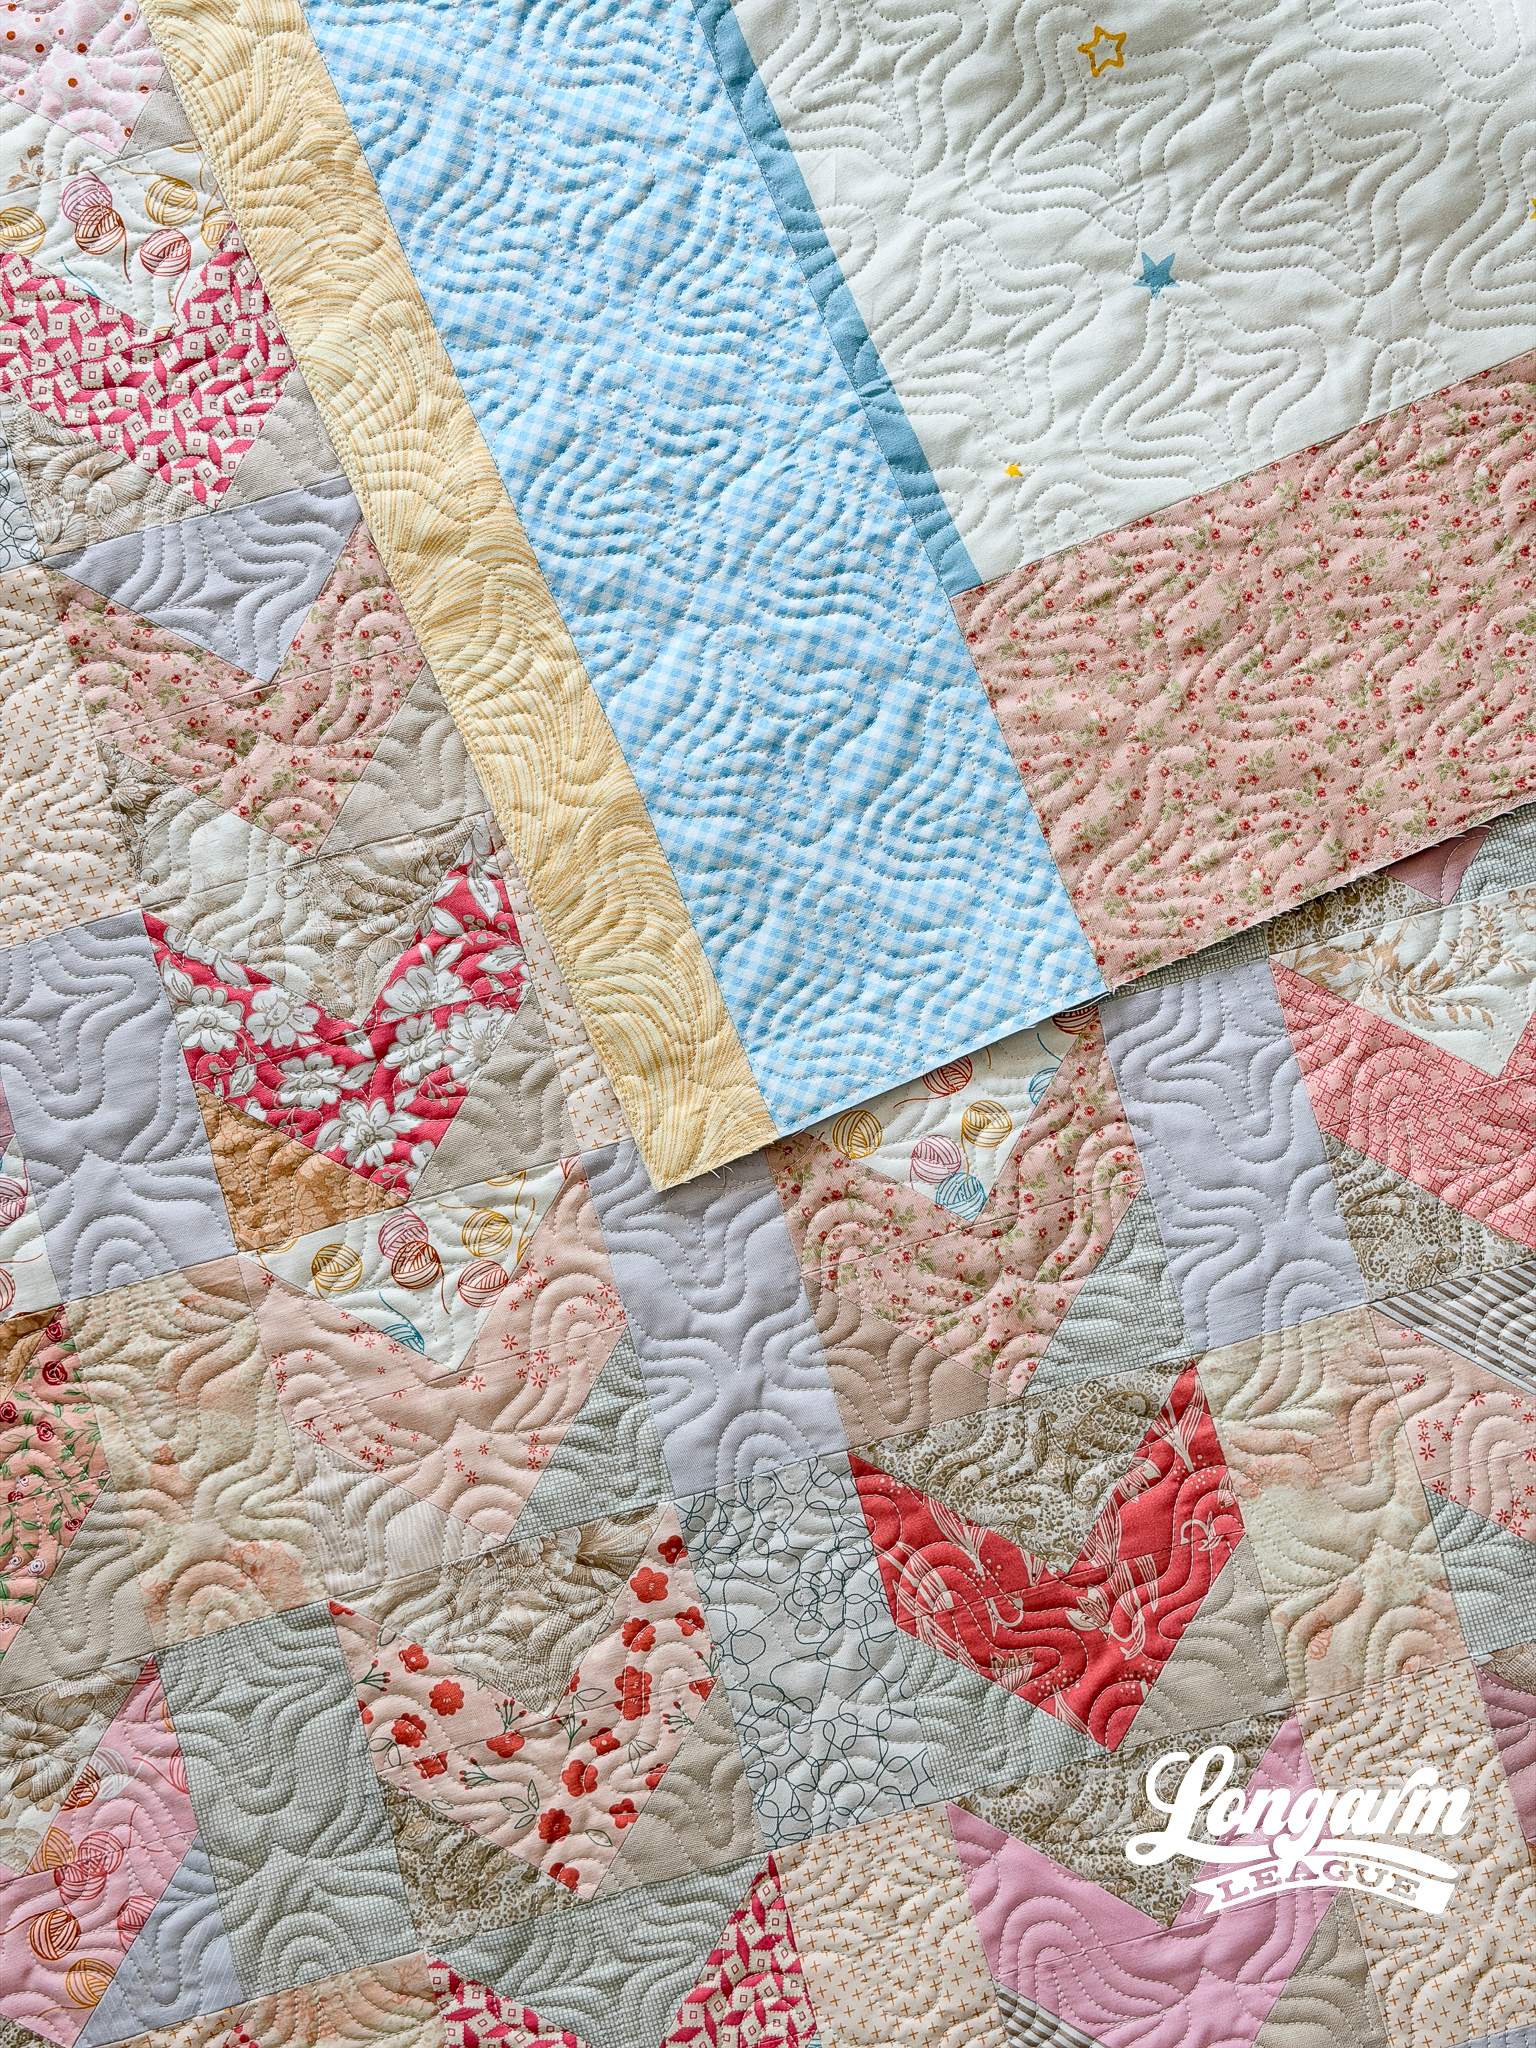
I remembered I had this panel from the Birthday fabric line, designed by Sarah Watts, for Ruby Star Society fabric. What better time to use it than for a baby shower, before the baby is born, to make full use of the photo-ready month indicators?
I also thought it was kismet that the panel included cute little stars, in keeping with the quilting design. I added borders to the panel so that it'd be large enough for the top, and then tried to center it as best as I could when I loaded it on my longarm frame.
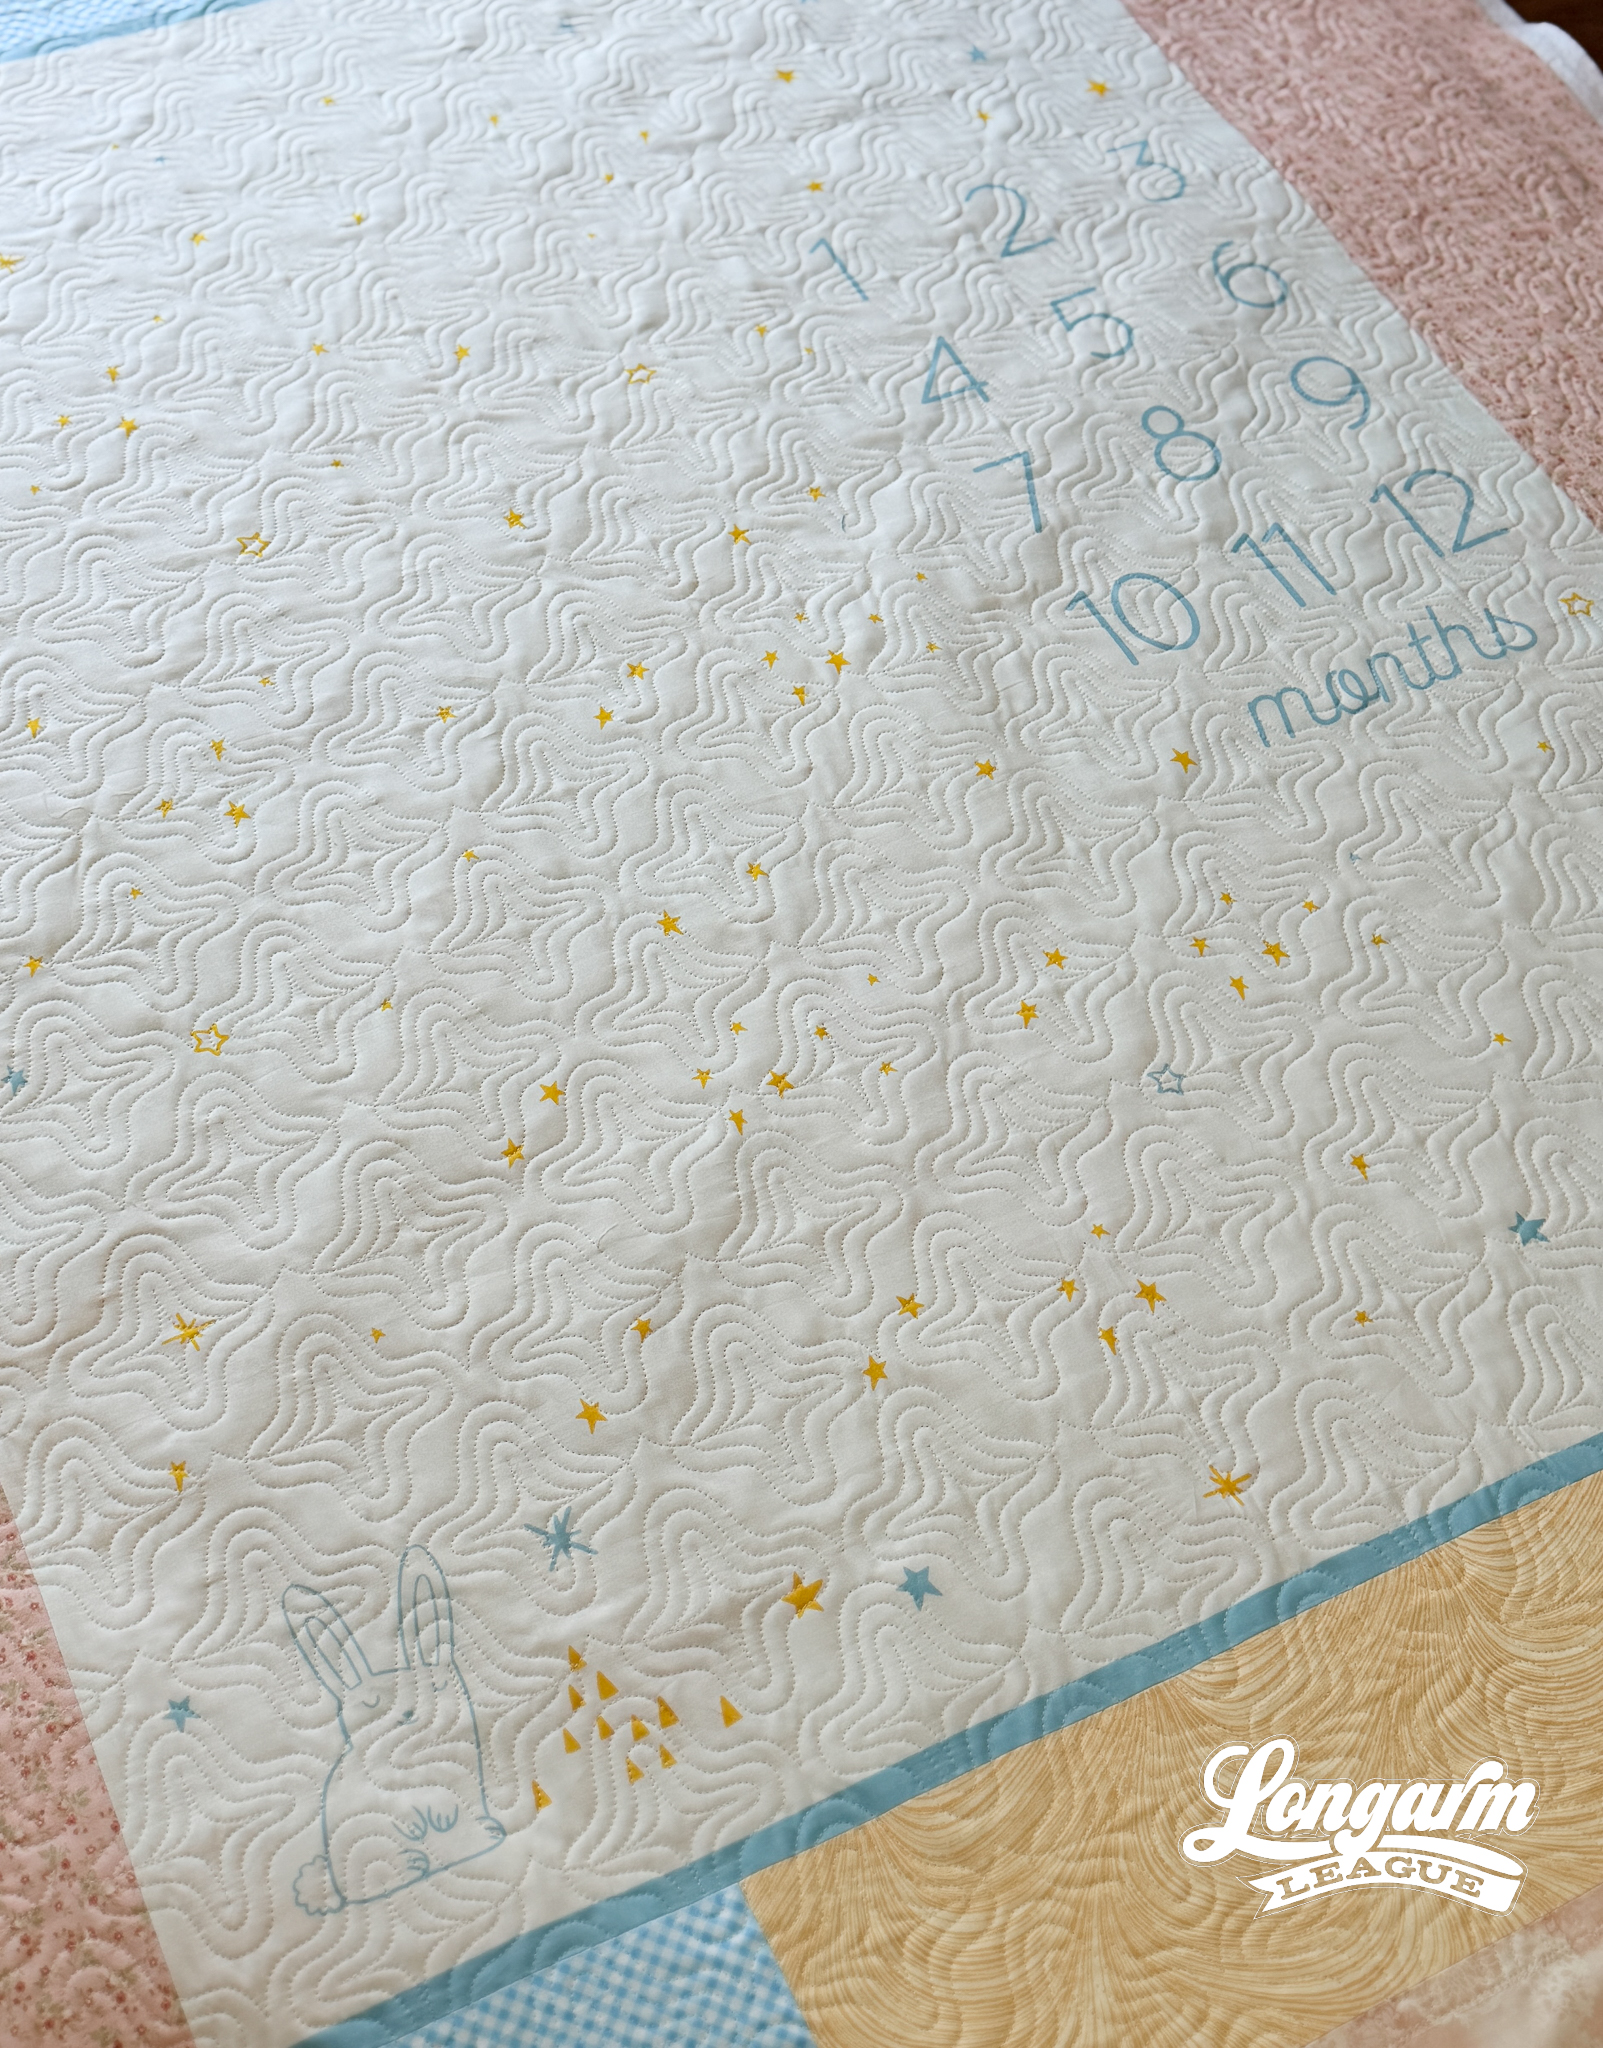
I used Quilters Dream Bamboo batting, which makes for a lightweight, drapable quilt.
I made the binding out of scrappy pink fabrics that went into the top, but I'll be honest - I haven't attached it yet. I have a few more weeks until the baby shower, so I'll save that job until there is barely any time left and then panic-finish. Because I love thrill-quilting on a deadline! Weeeee!
Remind me to use one of my pre-made labels when I attach the binding.
The Quilting Details
Difficulty Level: Easy
The trickiest thing about this design is remembering that the offset amount is 25%, which is different from most. Generally, if an offset is required with an edge-to-edge design, it's 50%. Not the case here! I didn't want the part of the stitch path where the line crosses the echoed lines to be visually the same for each star, so I made the repeating motif a couplet, which affects the offset amount.
Once your software is set up, the rows stitch quickly and easily, and aligning the quilt between passes is a cinch.
Scale
I never say this, but I wish I had scaled the design to be a little larger than what you see here, but still smaller than the default size. Because it's a baby quilt and I wanted a lot of repeats to show, I got carried away and sized it too small. I think it would have looked a bit softer (in keeping with the palette) if I had sized up a bit. At this scale, the echoed lines come in between 1/4" and 3/8" apart.
As for the stitch path, there's a short video available at the top of the blog post.
Here are the sizing specifications for how I set up this quilt using my Intelliquilter (quilt size 45" x 56"):
Row height: 2.25"
Gap: -1.123"
Pattern height: 3.623" (measurement from top to bottom of the repeat)
Offset: 25%
Backtracking: none
Here's a look at the included PDF: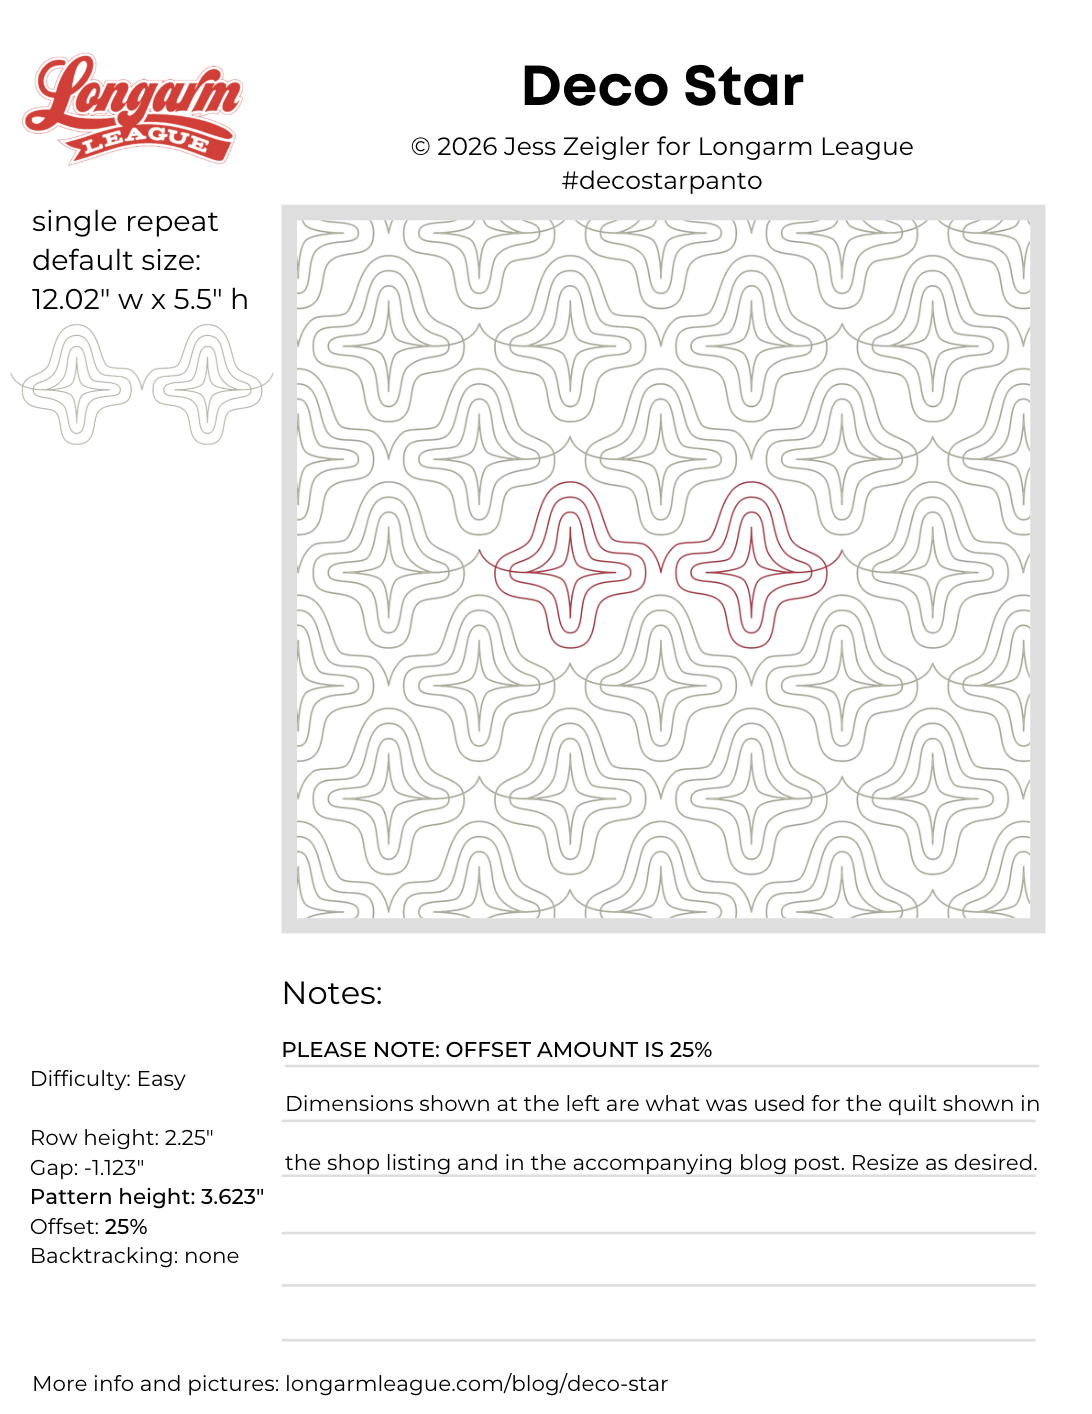
Interested in getting new digital pantograph designs like this one on the day they're released (and at a deep discount)? It now also includes online community access. Sign up for our Digital Panto Club and get them delivered directly to your inbox on the first Wednesday of each new month.

Jess Zeigler
Longarm League Commish & Owner of Threaded Quilting Studio, LLC.


