
Driftwood Extended Width Digital Quilting Design
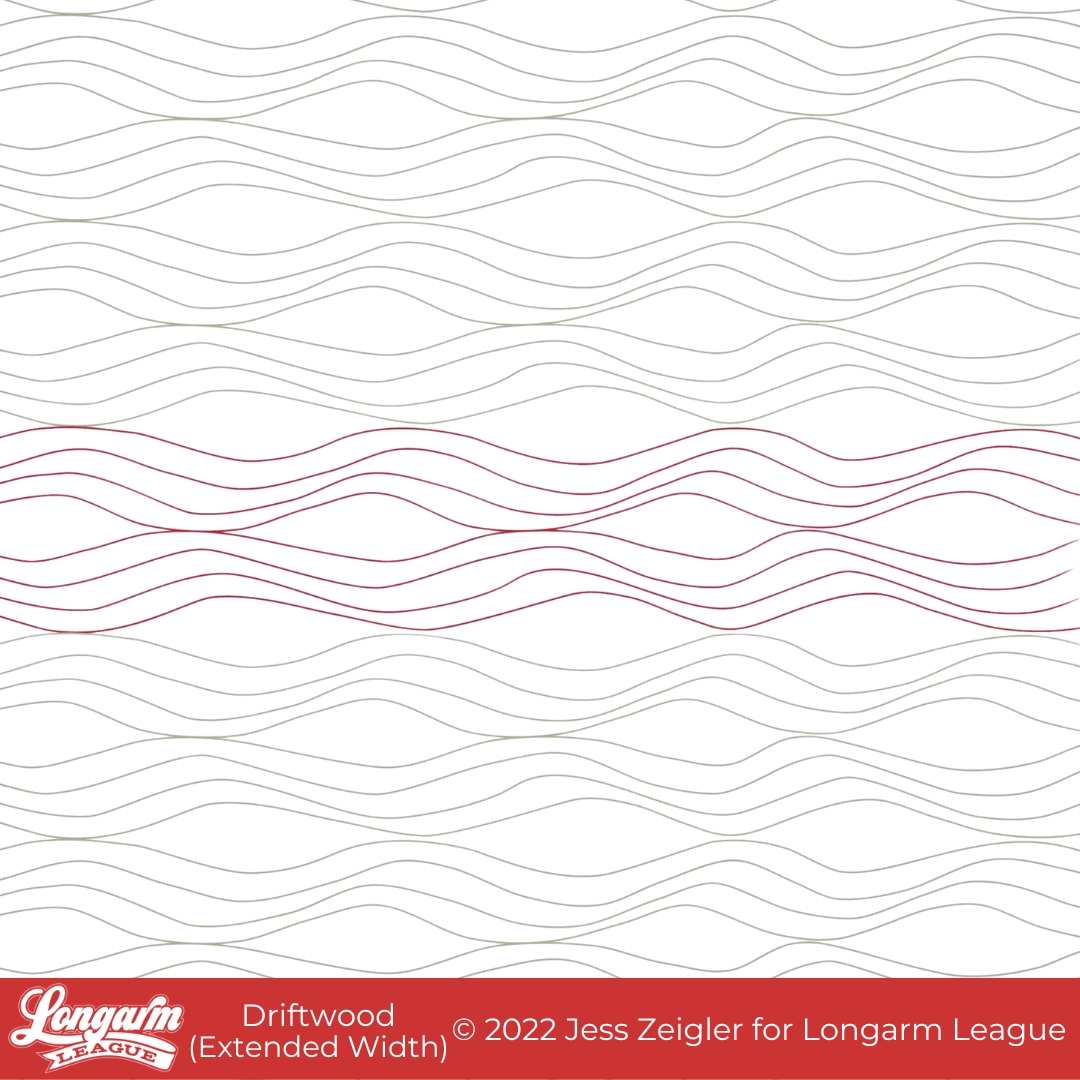
The most important thing to know about our new Driftwood design is that it's an extended width design. This means that instead of a snippet of design that's repeated side by side across the quilt, the design is actually over 100" wide. New to this type of design? You can read more about extended width designs here and see a video of me setting up an extended width design with my Intelliquilter software.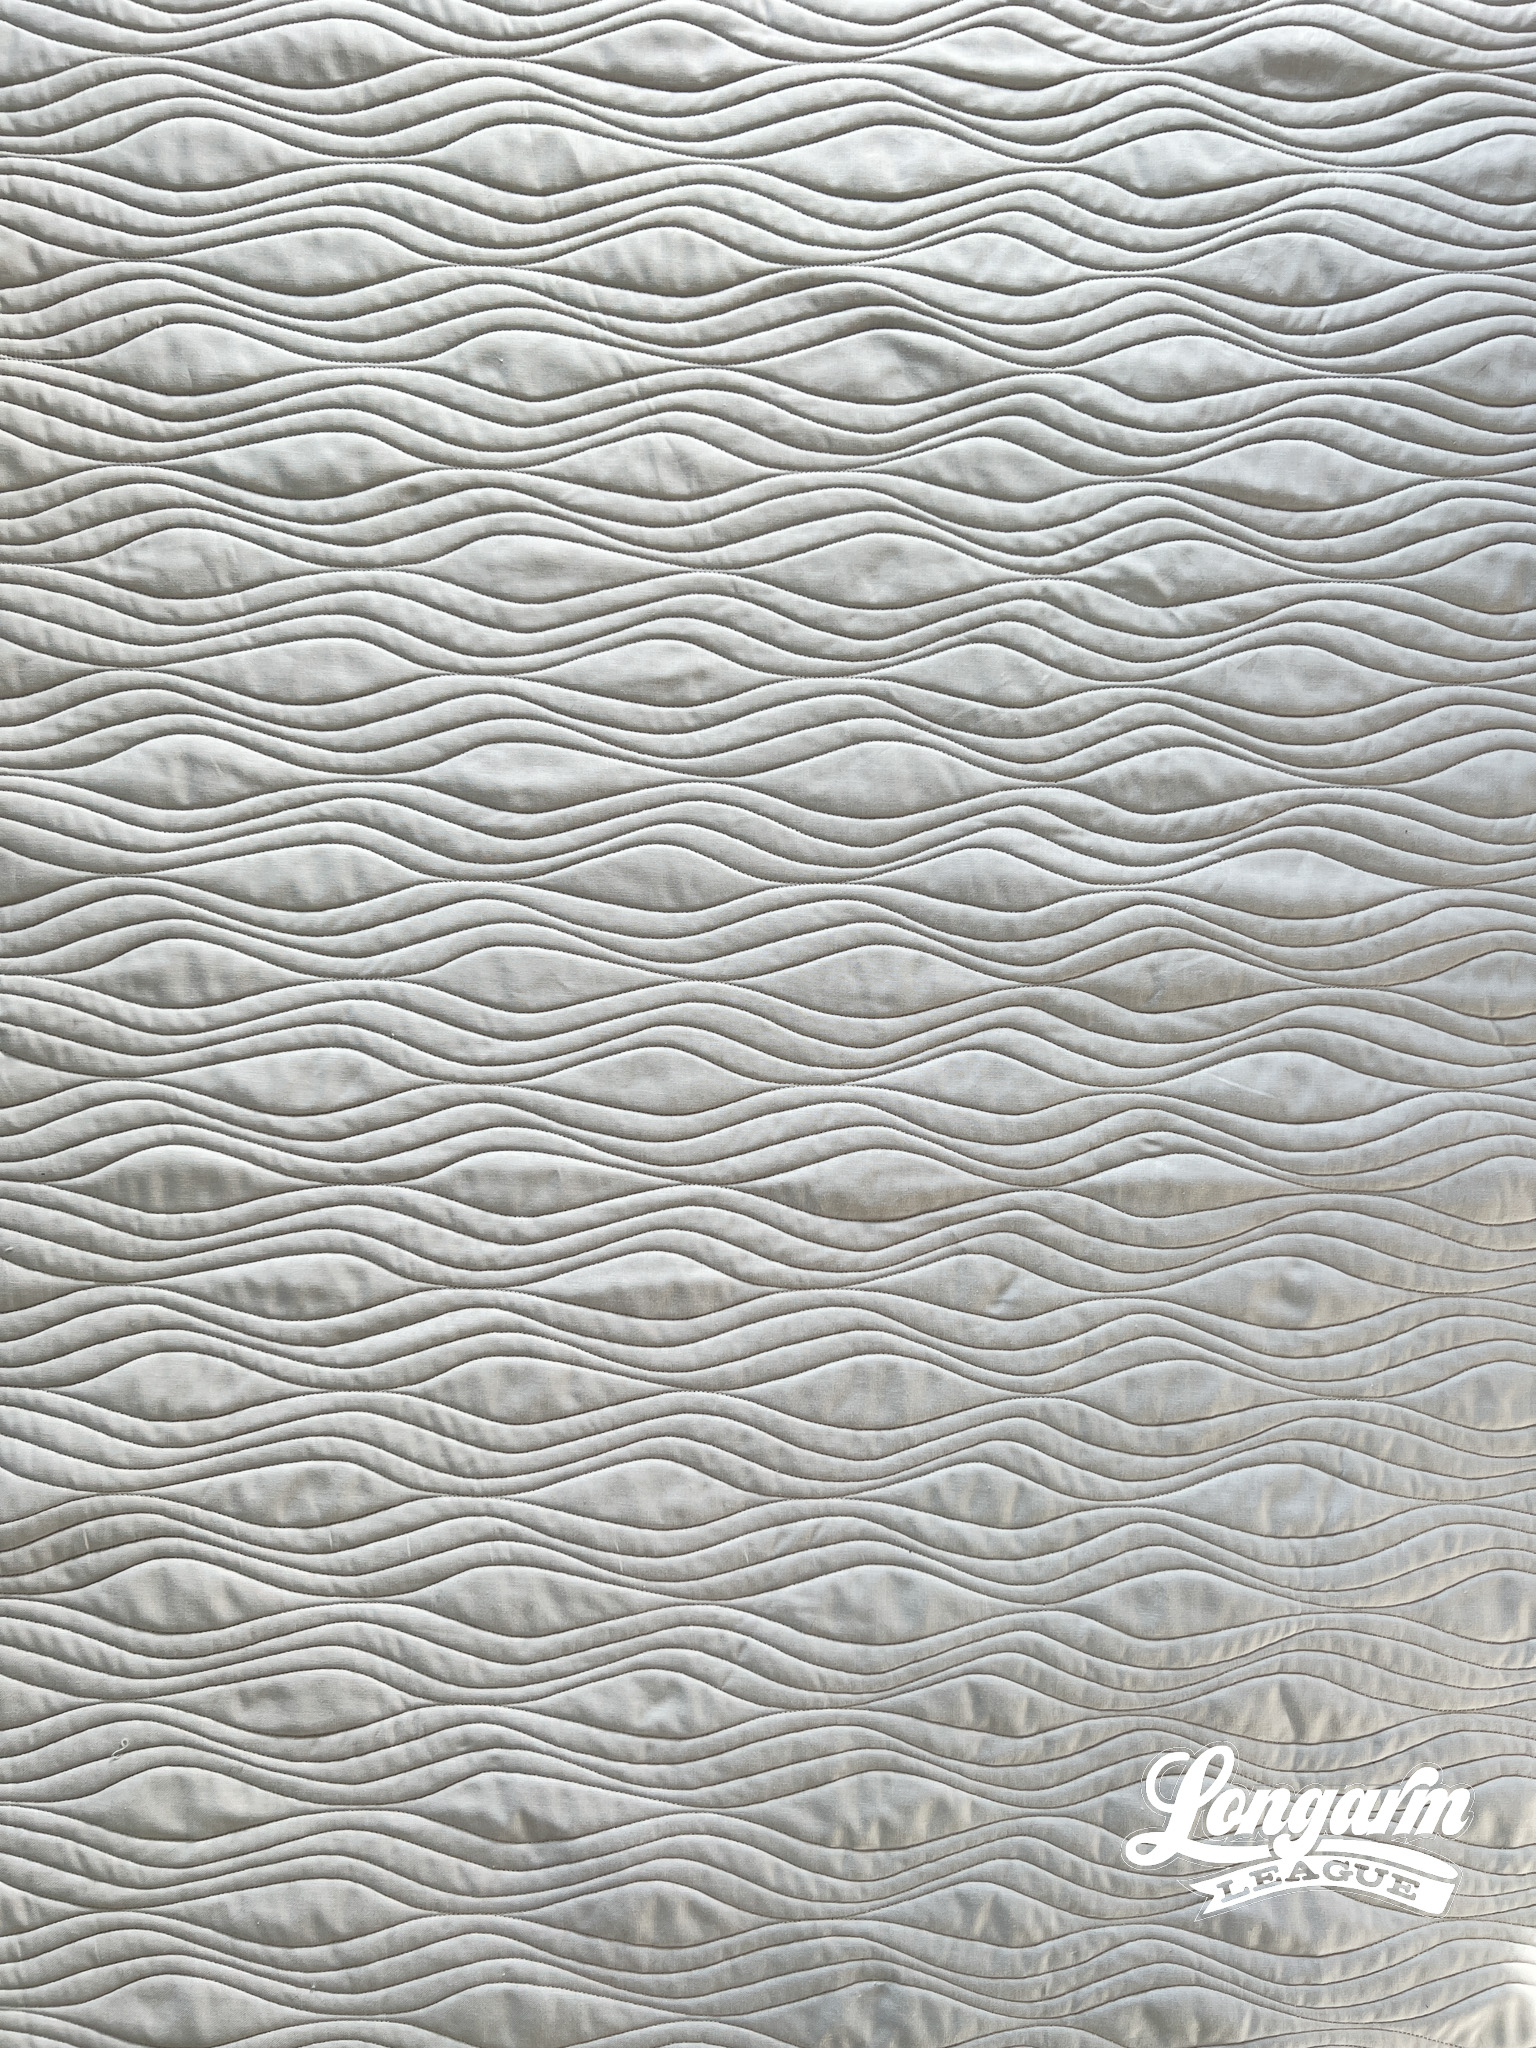
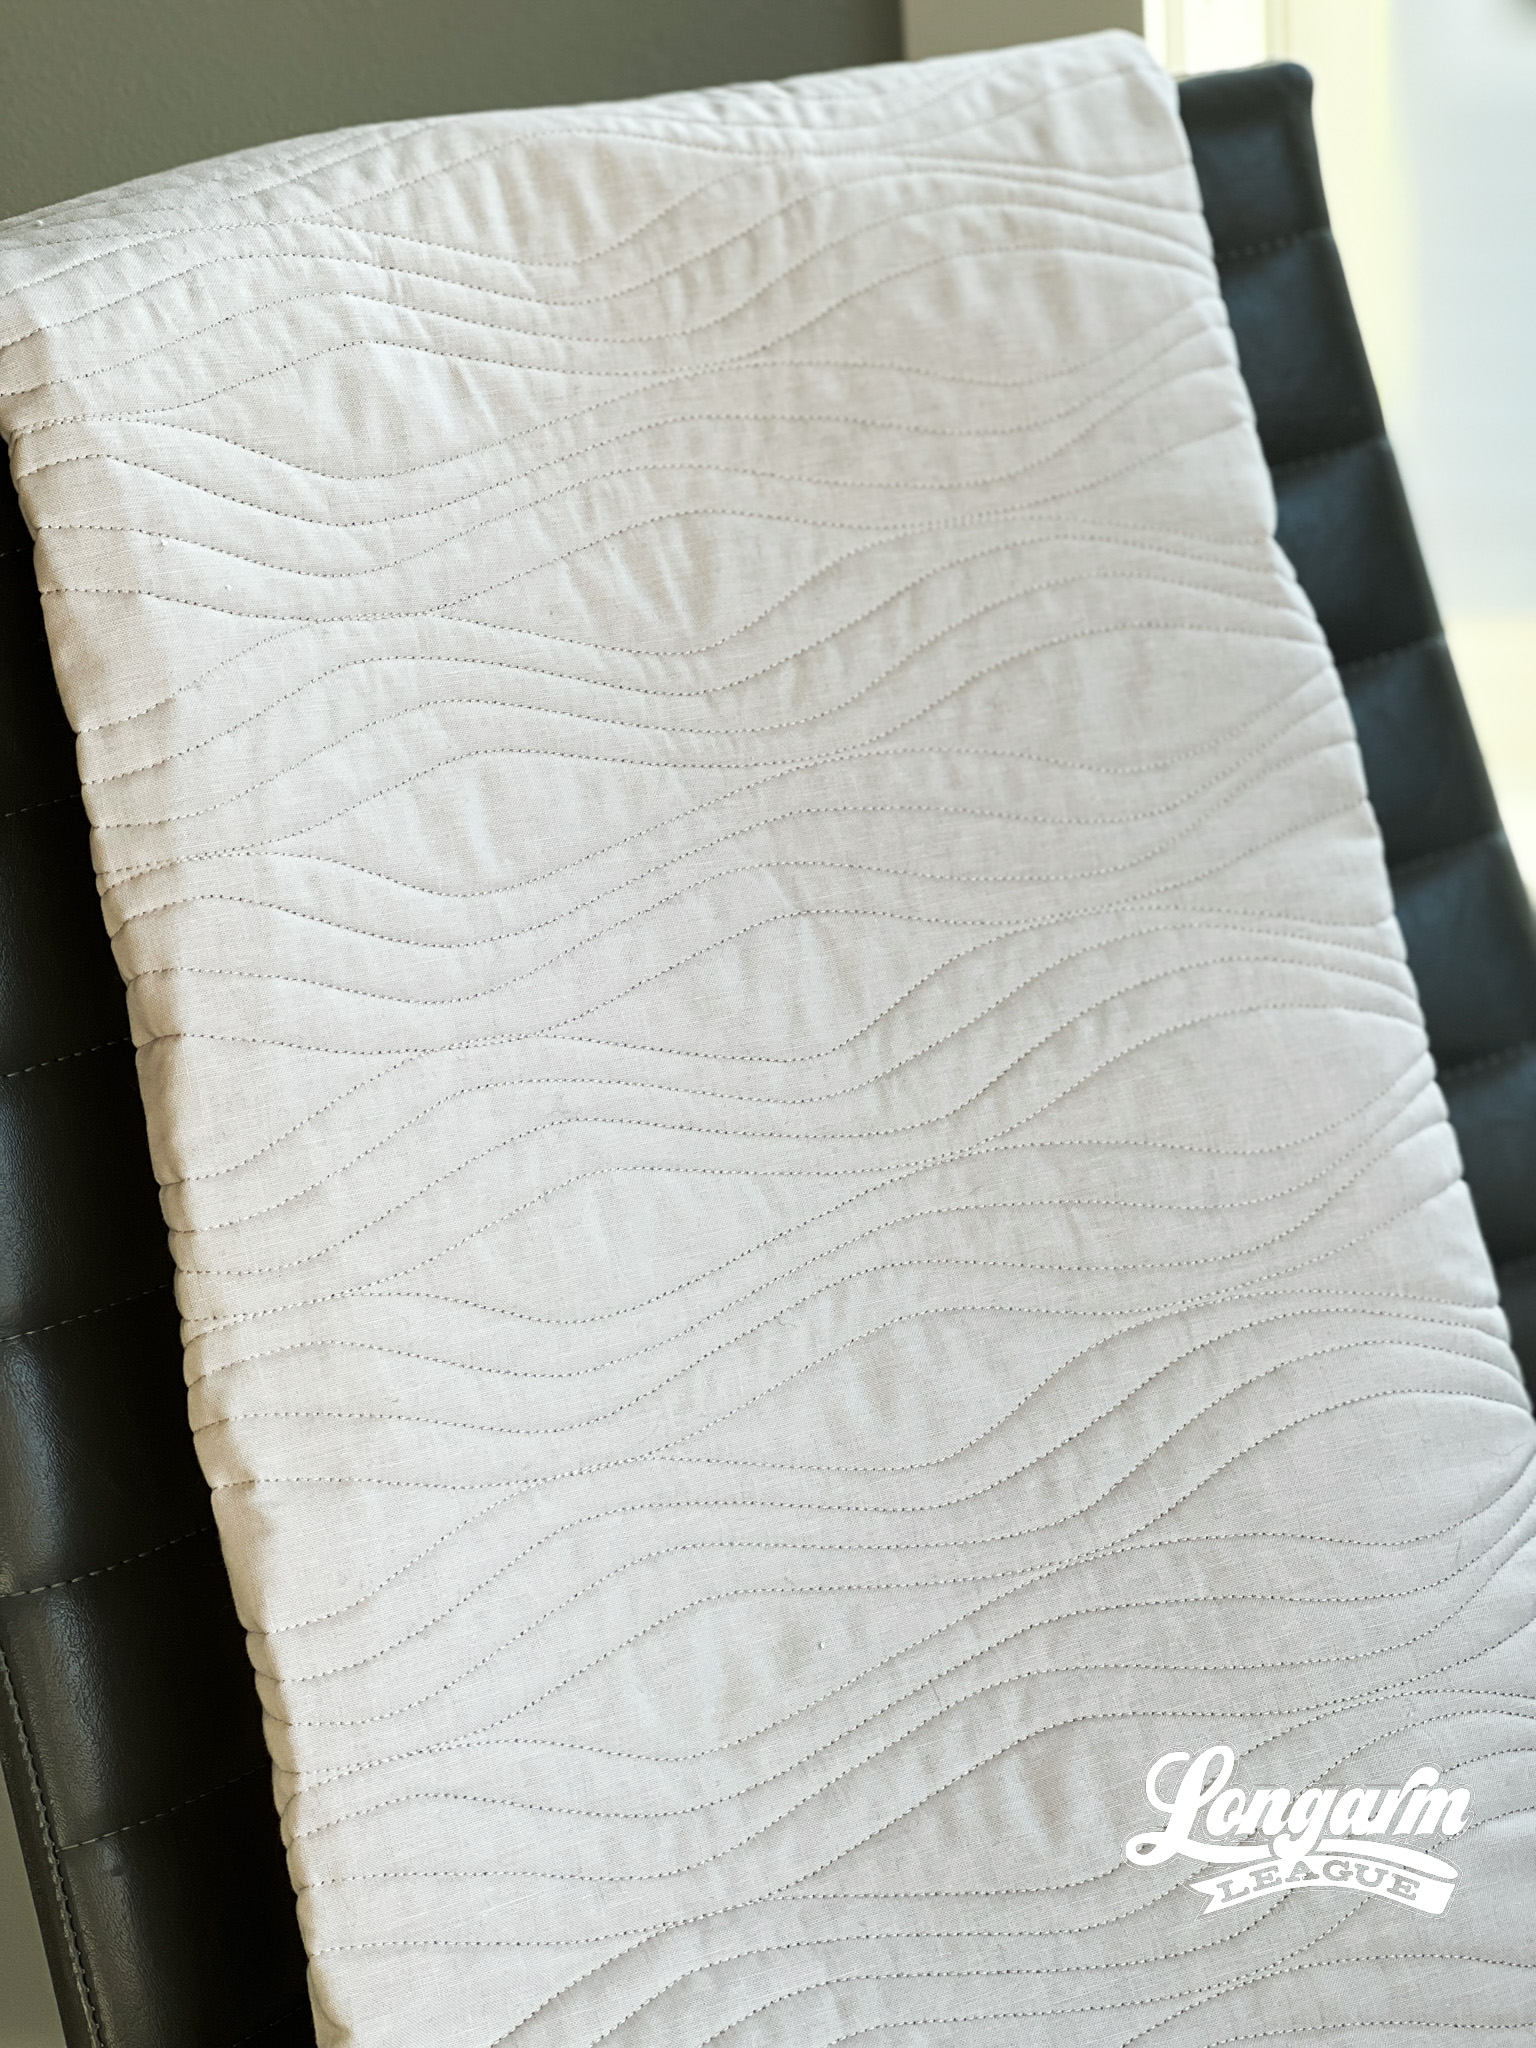
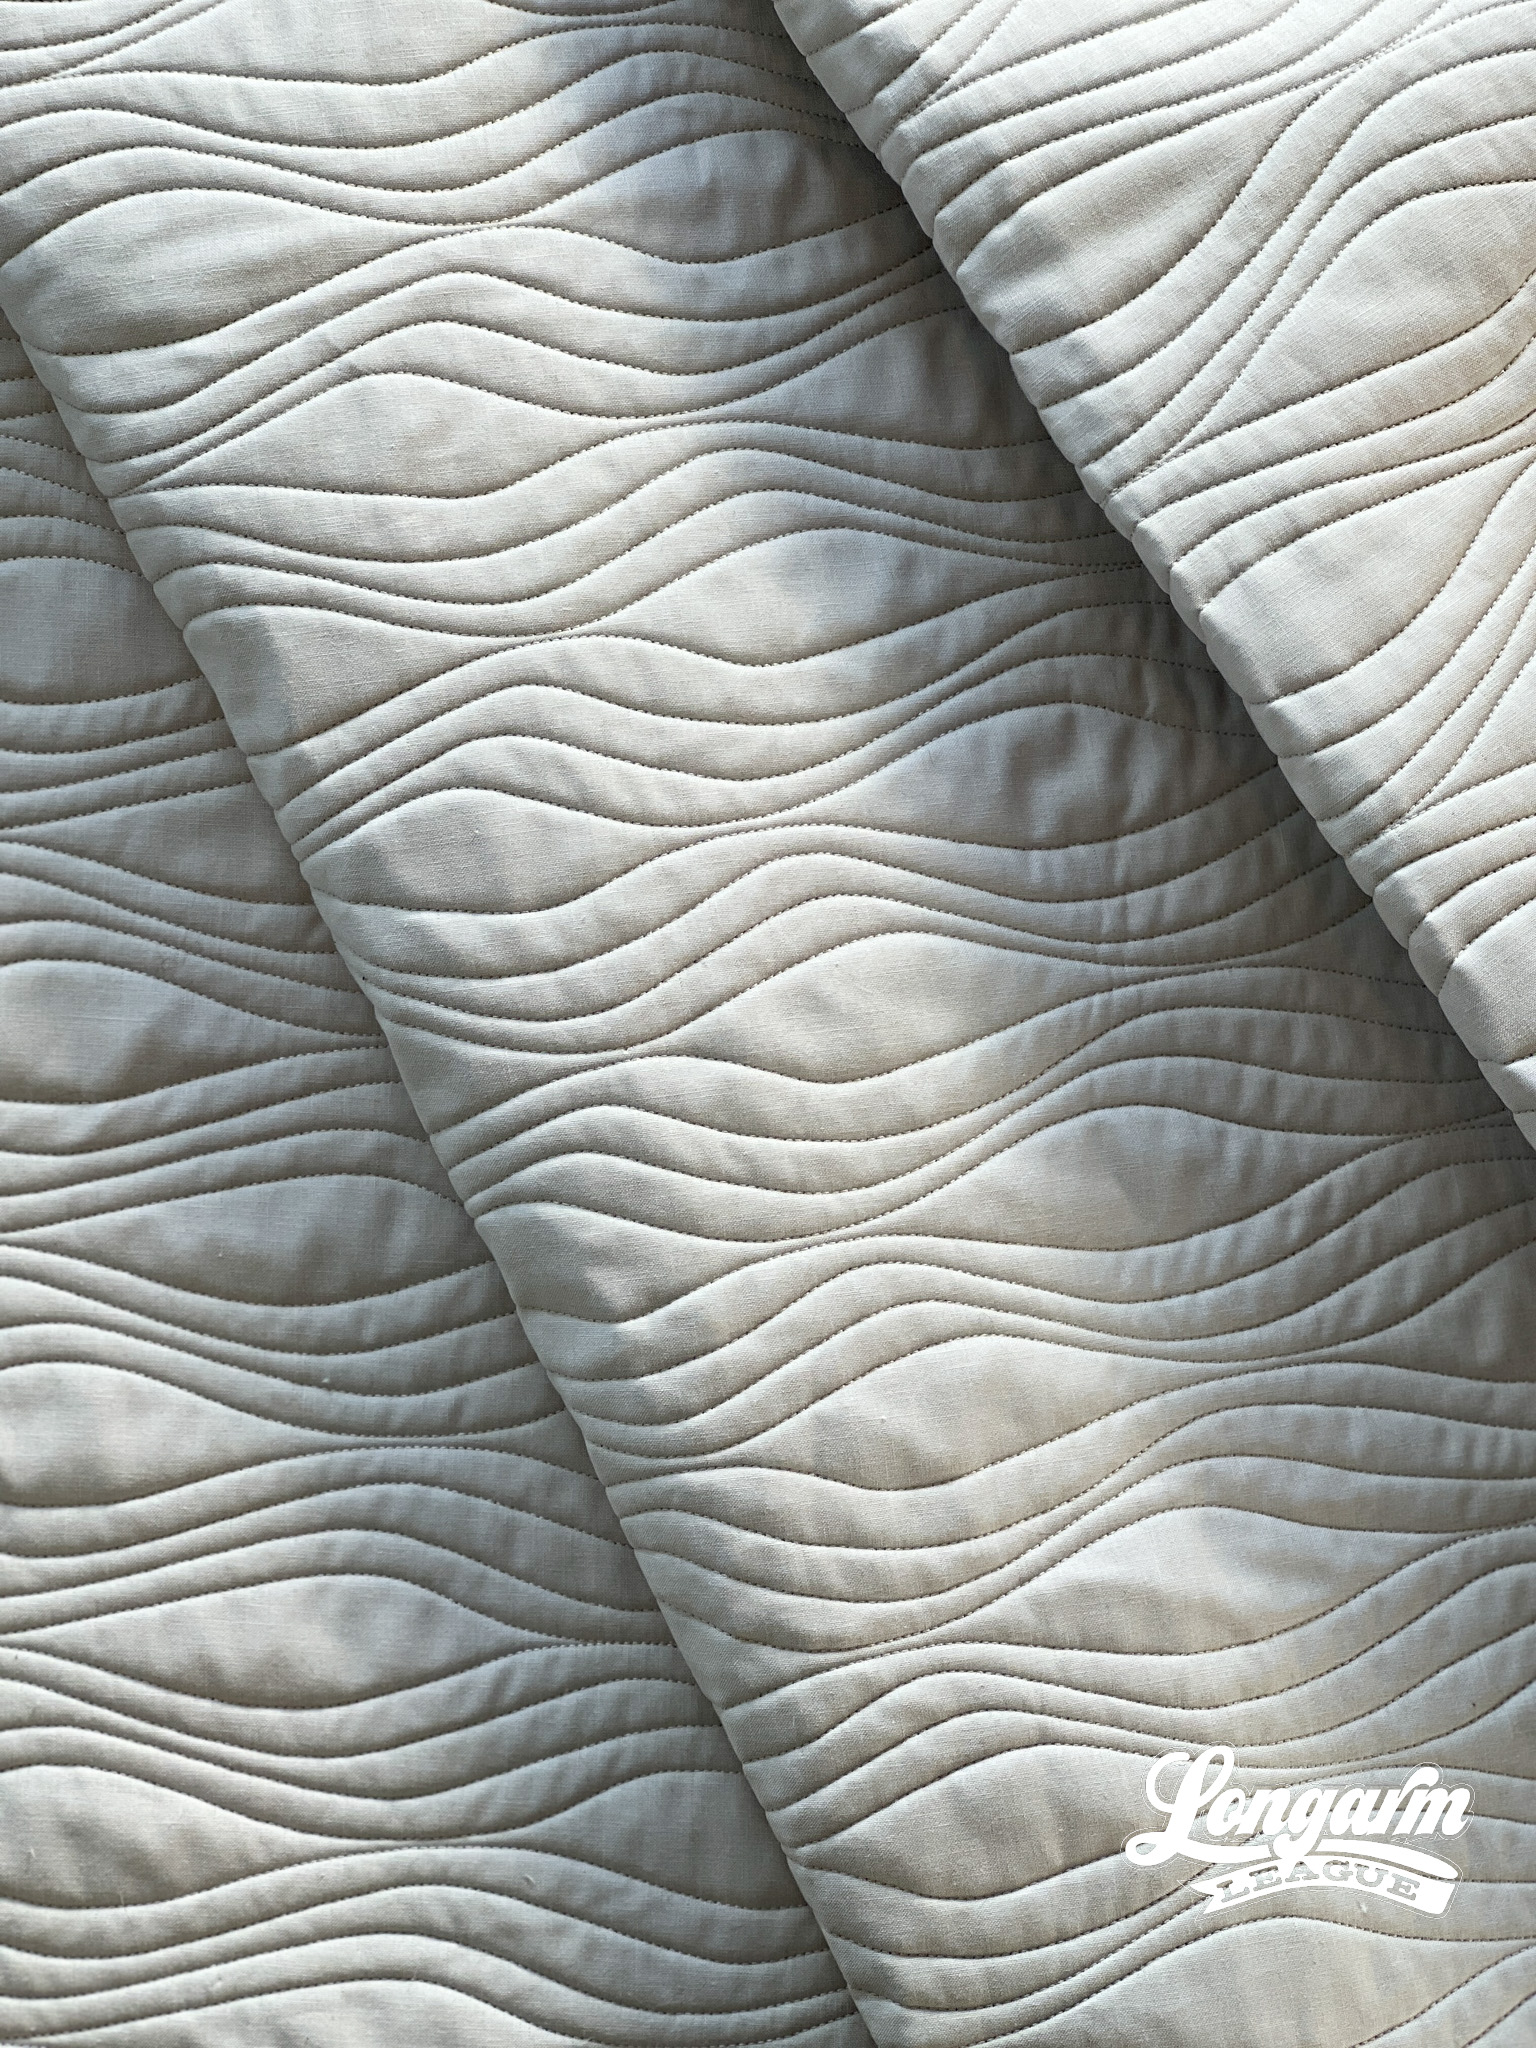
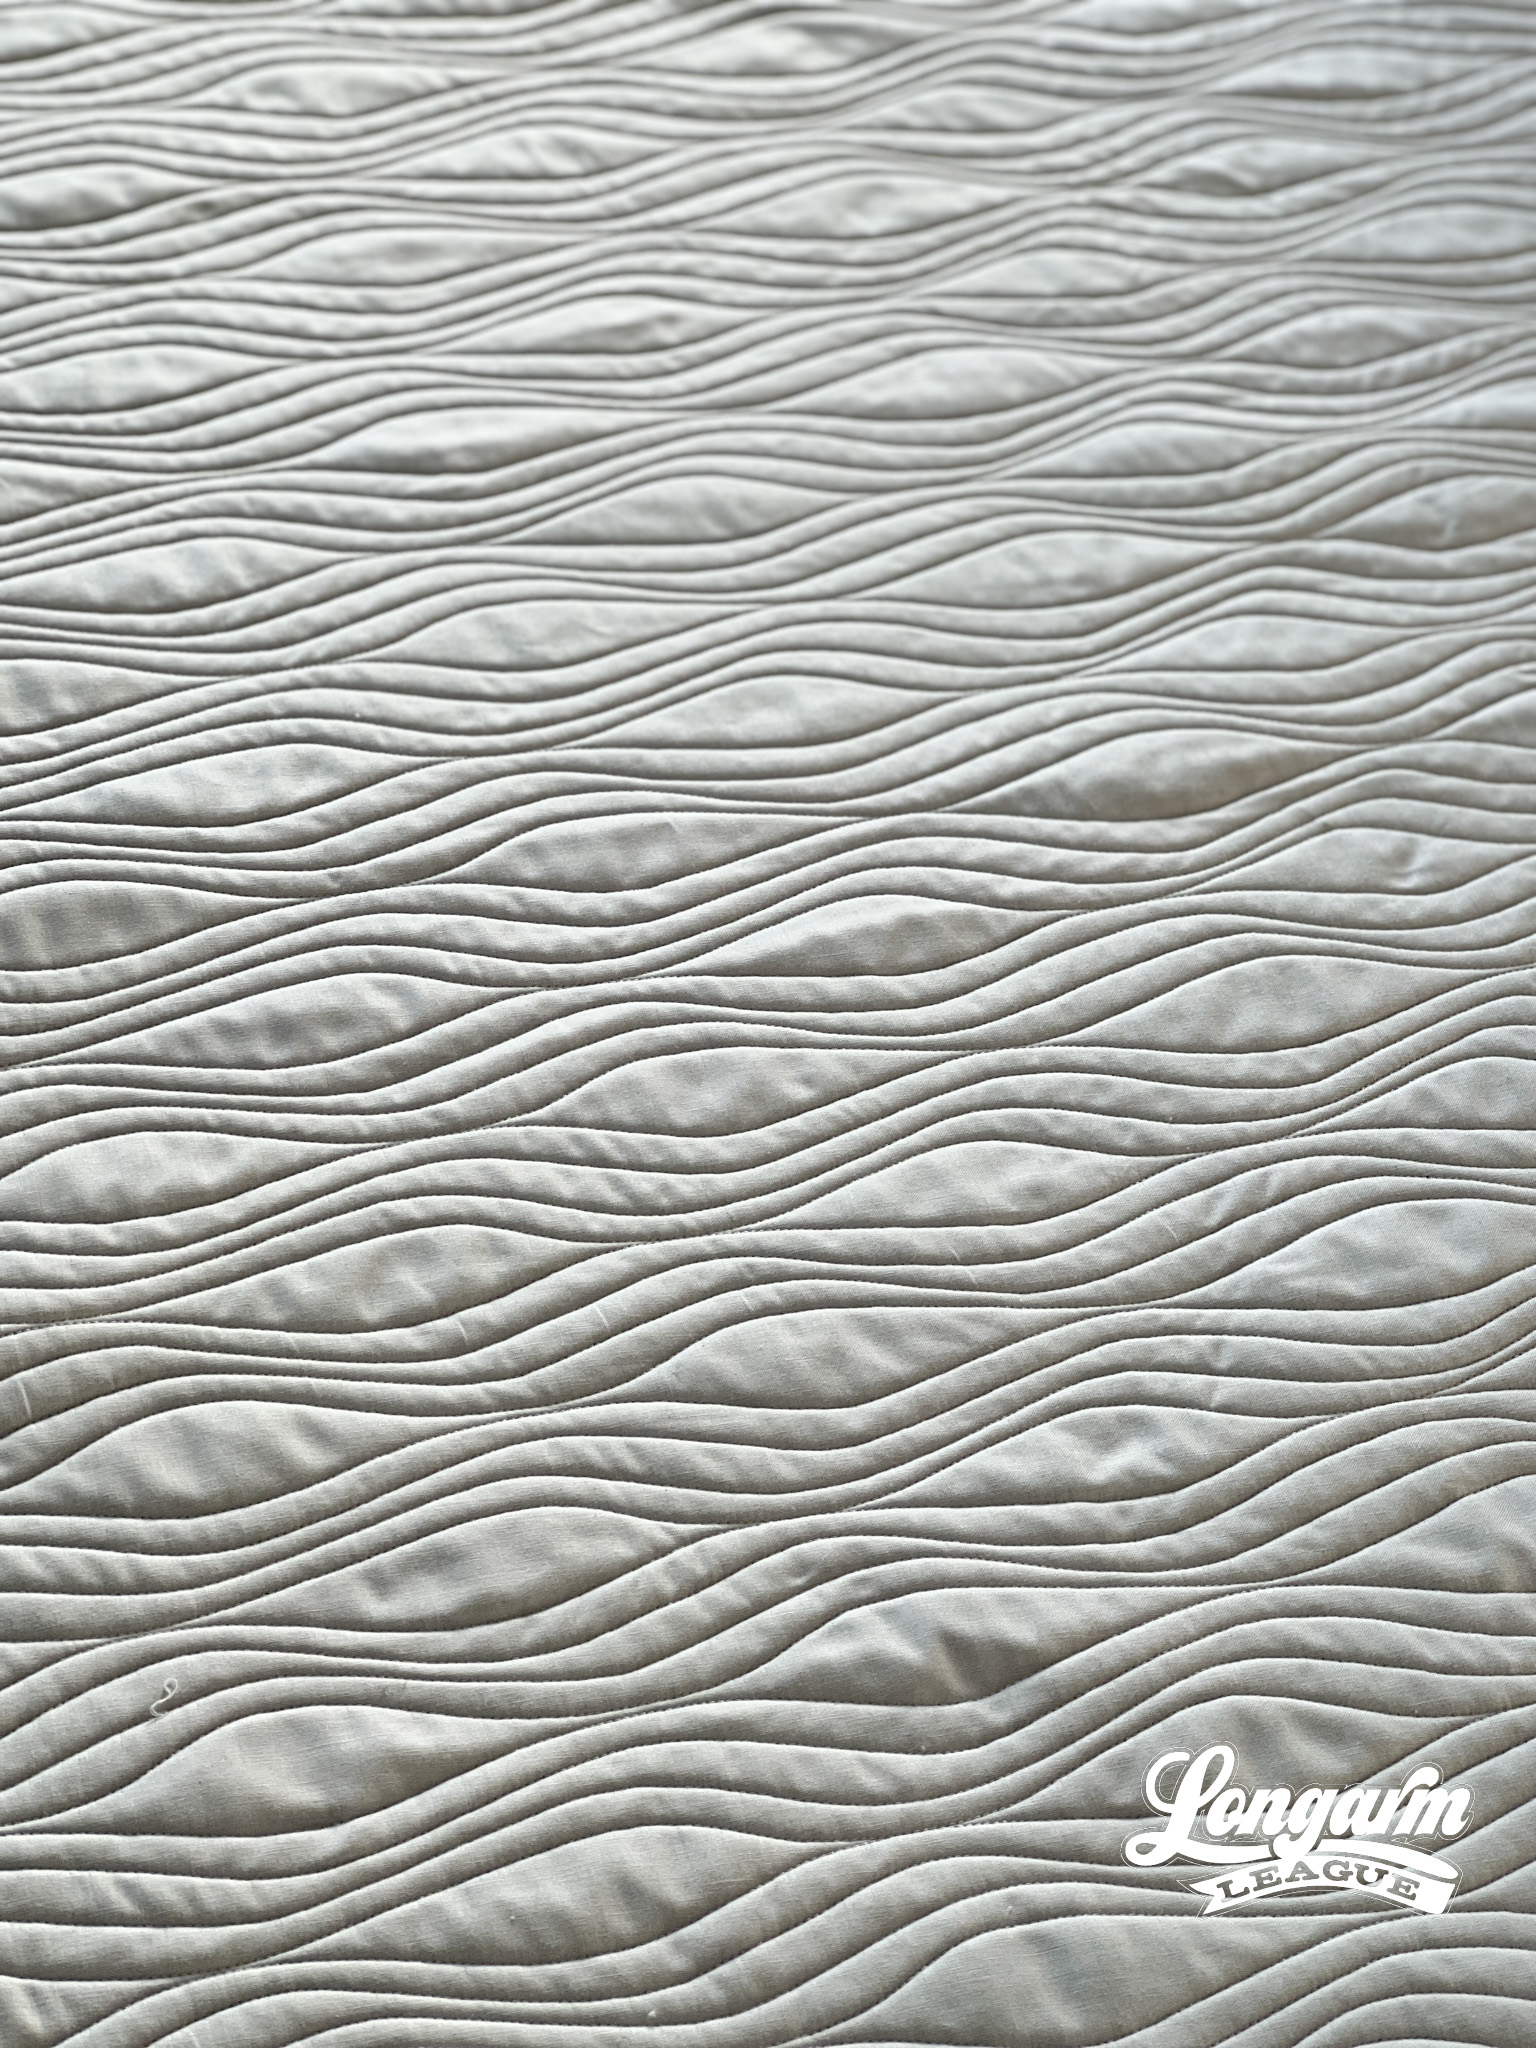
For me, the best part about Driftwood is the organic "pods" of negative space make the texture really stand out.
Driftwood would be a great quilting design to use on a busy quilt because it'll have a unifying effect. I recently pieced together a scrap quilt for which I think Driftwood will be a perfect complement. In fact, I'm planning to load that quilt on its side so that I can get an elongating effect of the lines running vertically on the large throw quilt.
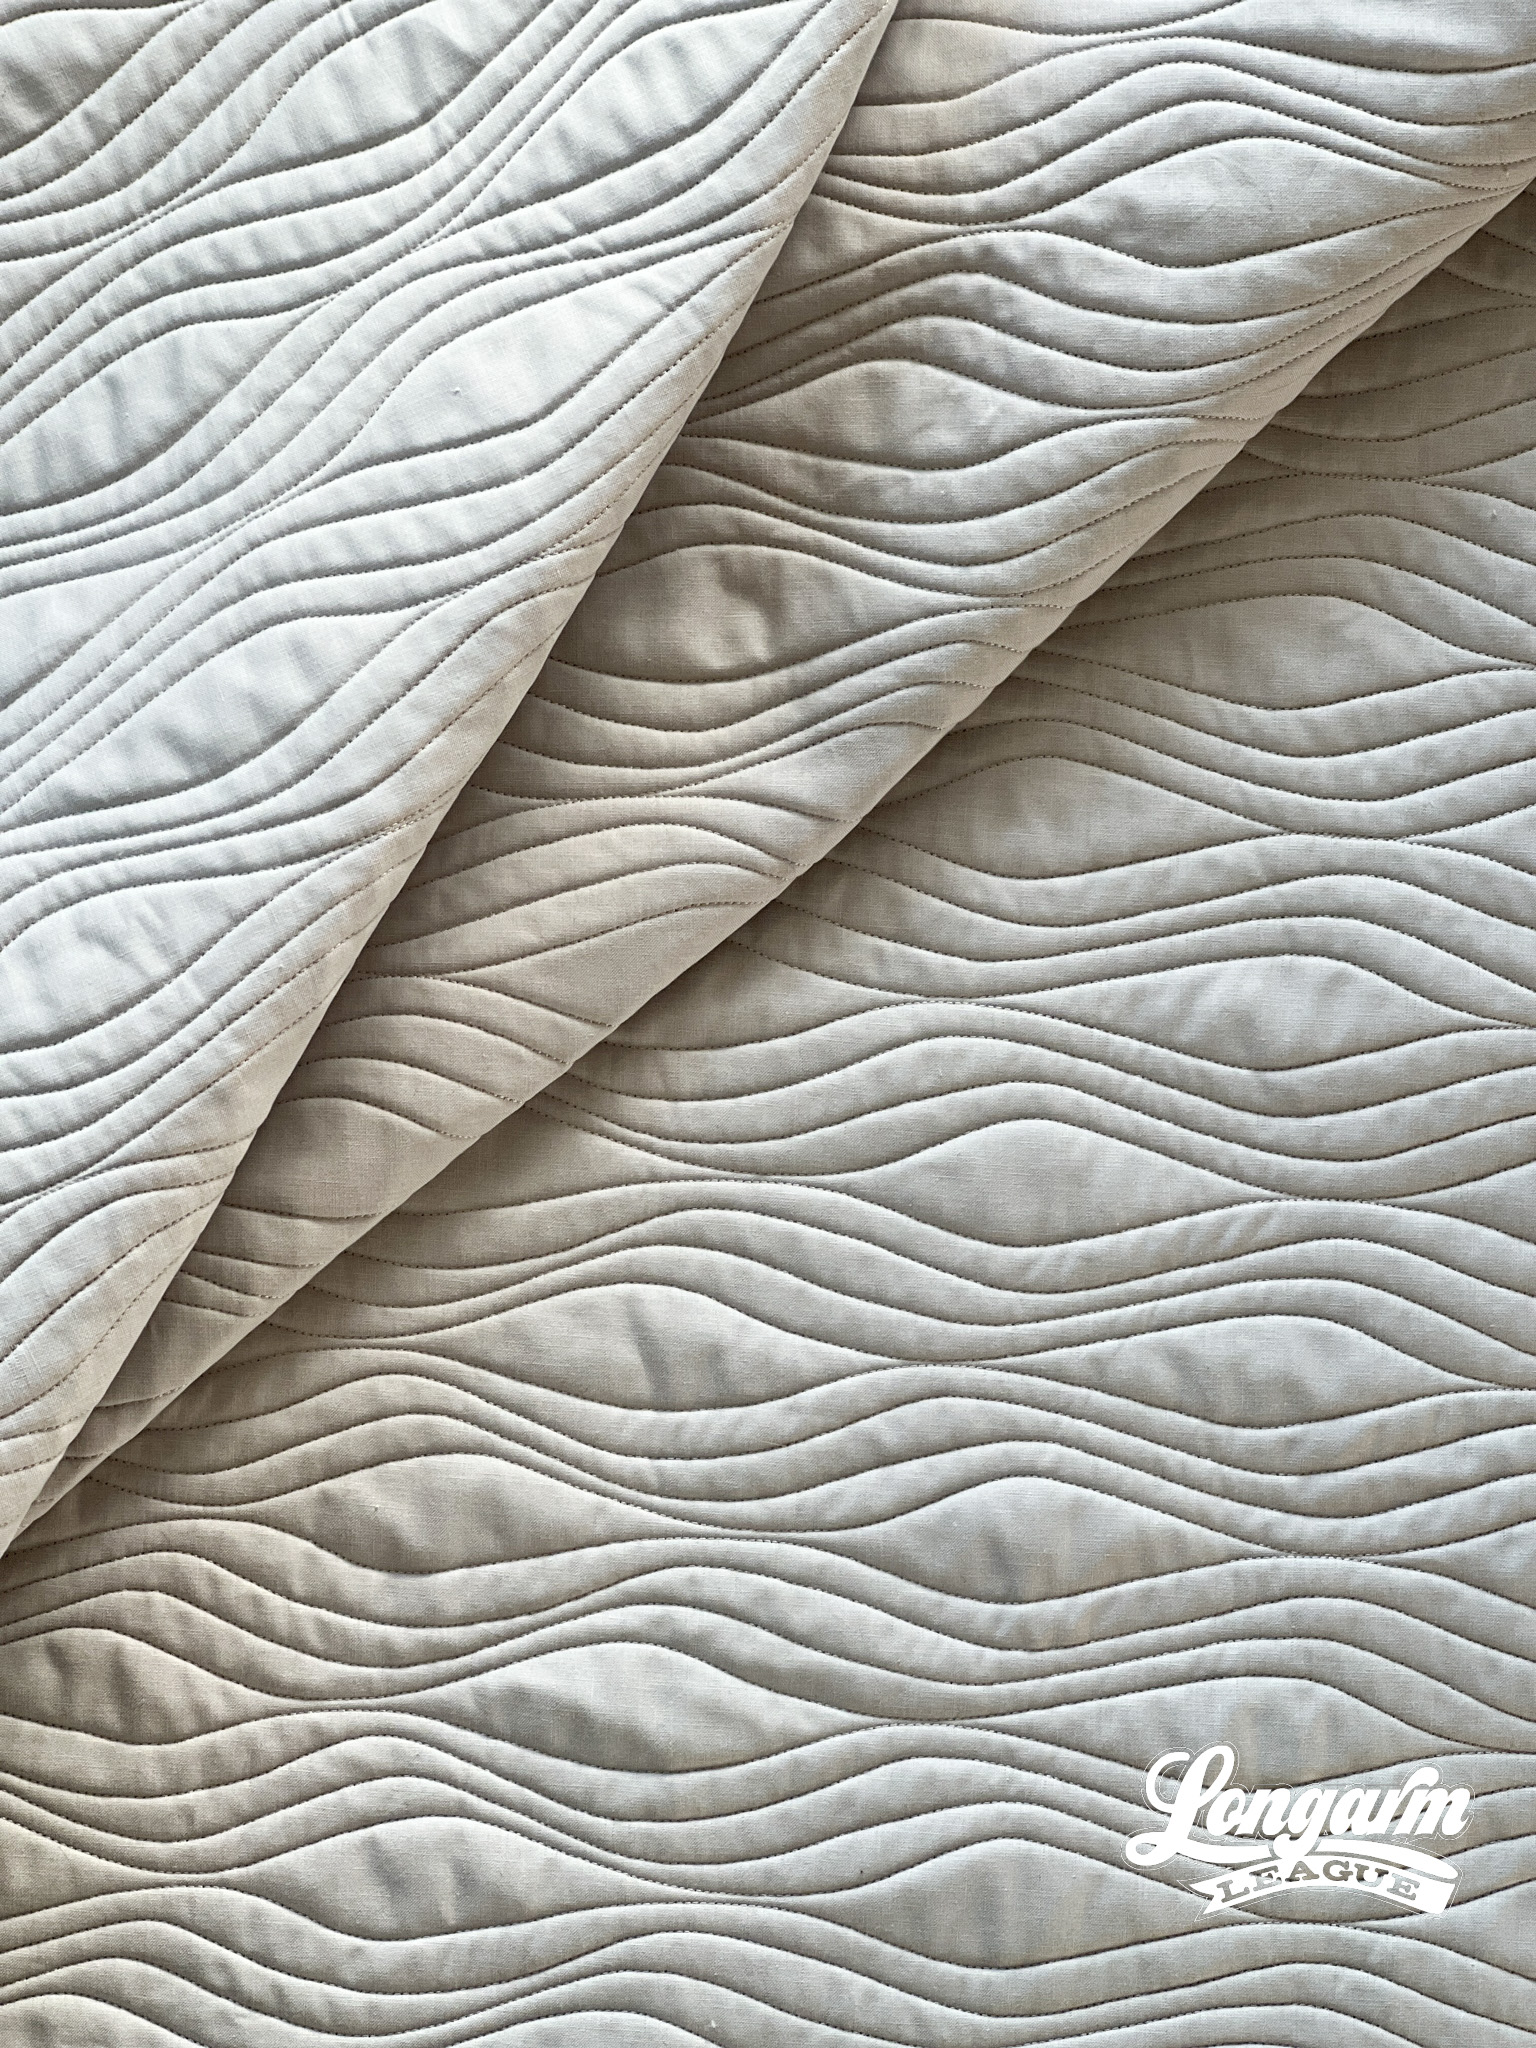
Driftwood would also be great on a nature themed quilt as the organic wavy lines could represent water in addition to woodgrain, bark, trees, etc.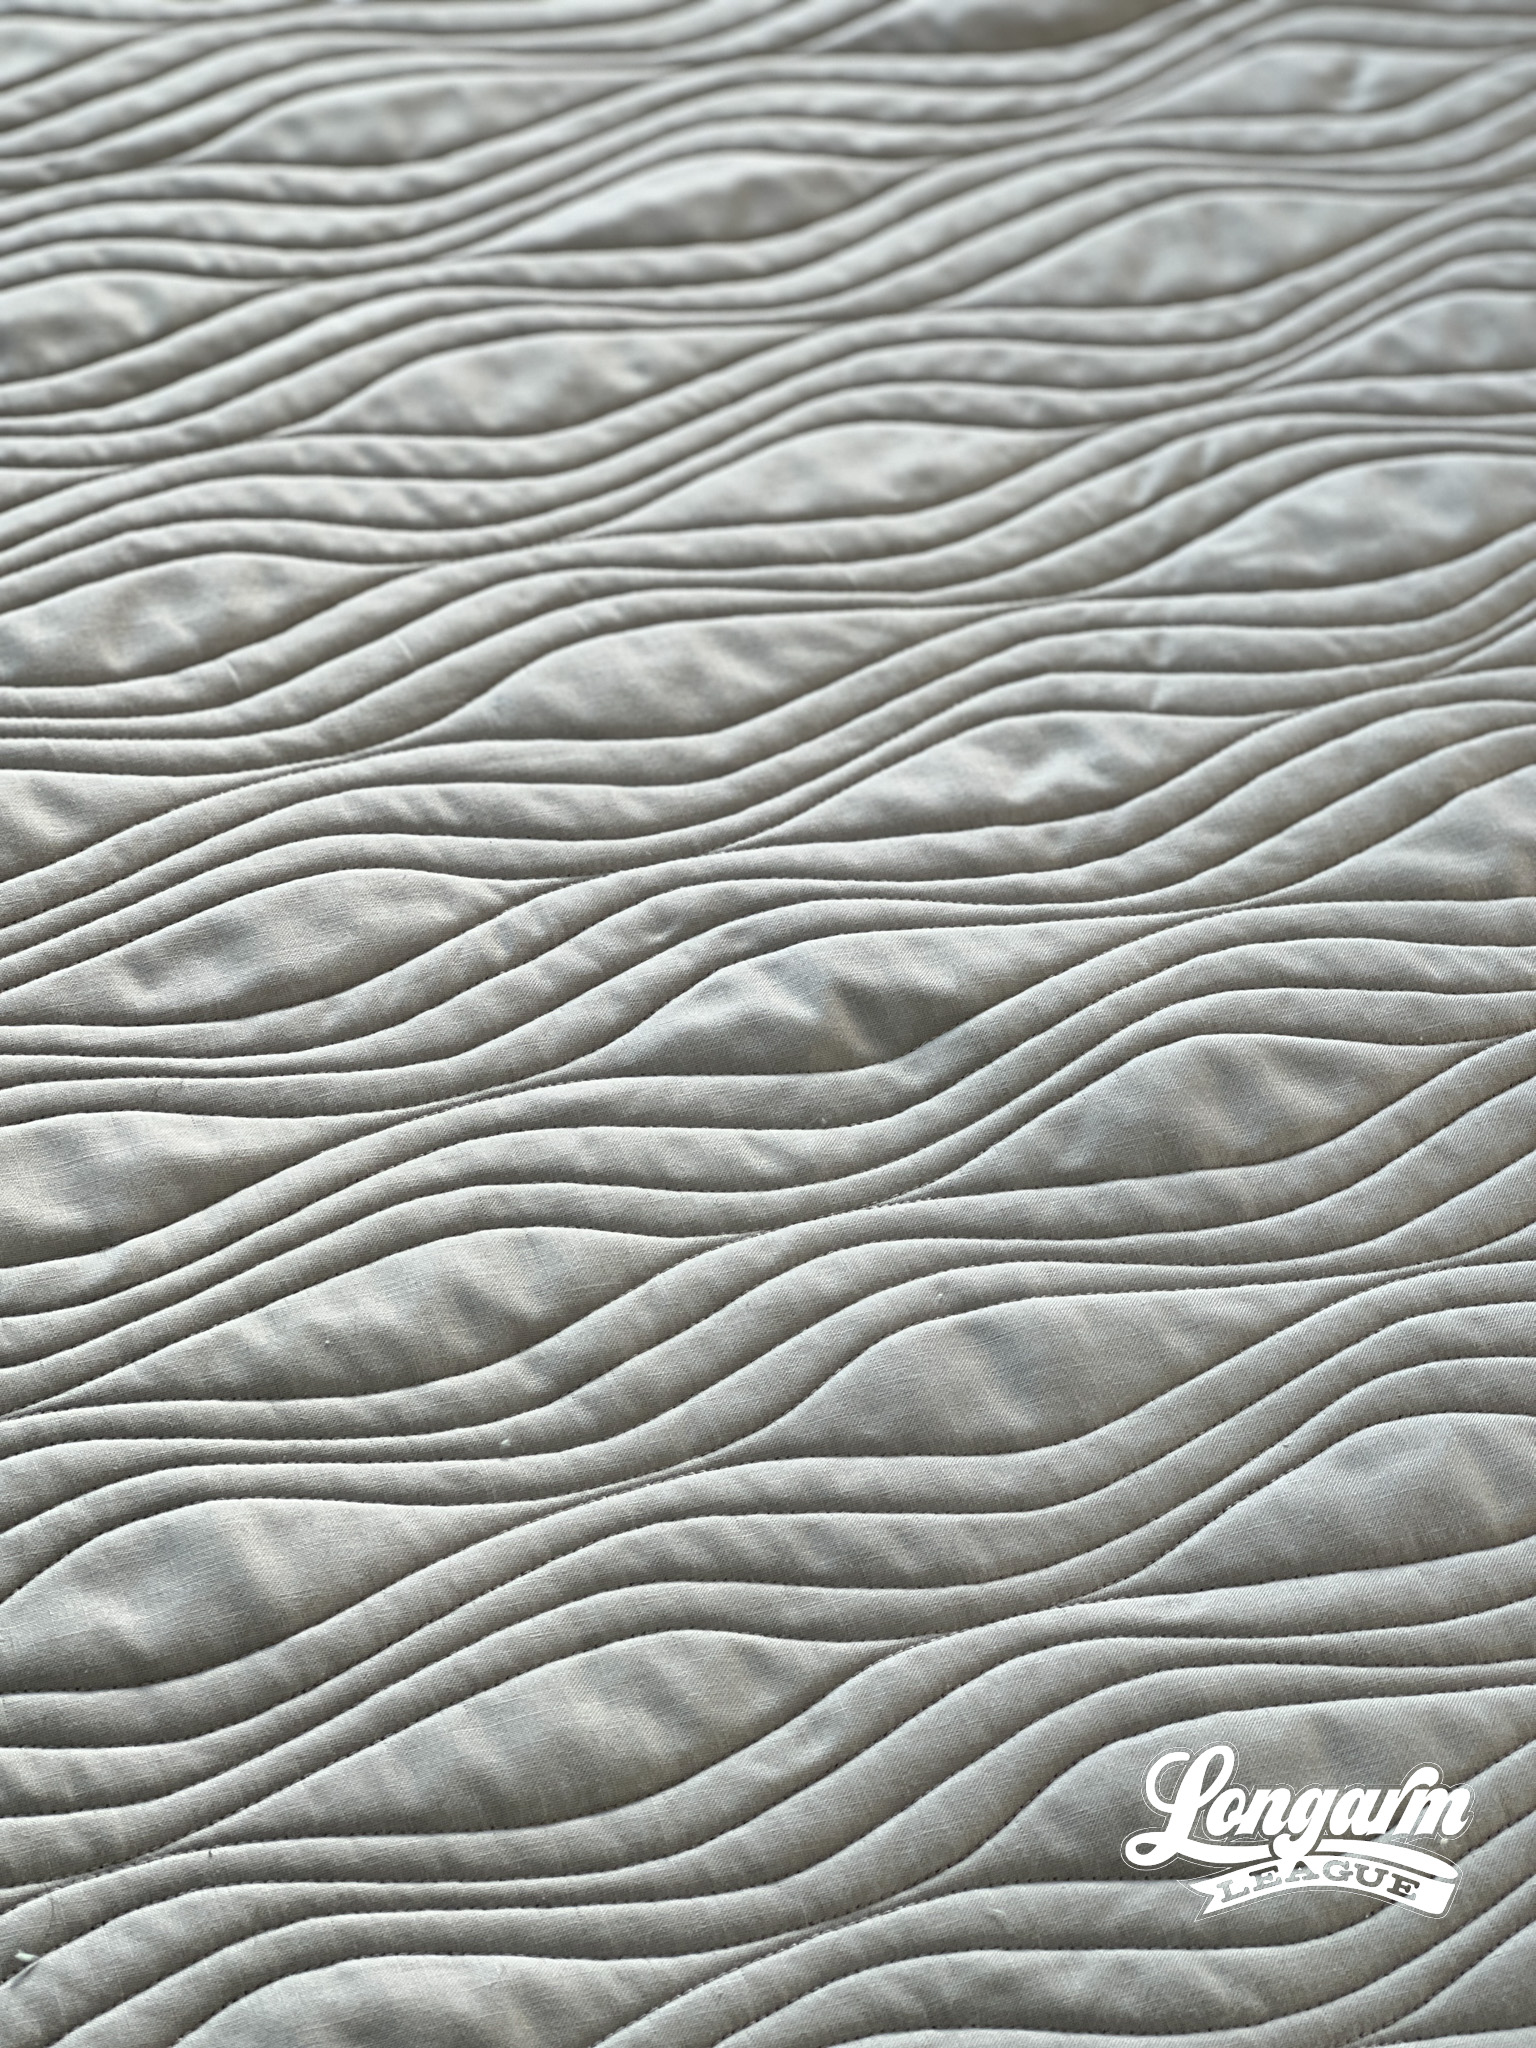
By the way, simple designs like this are also GREAT to use on non-block based quilts.
The technical details
As I mentioned in the first sentence of this blog post, knowing that this design is an extended width edge-to-edge design is half the battle.
You'll want to set Driftwood up as a block in your computerized quilting software instead of as a pantograph or repeating design.
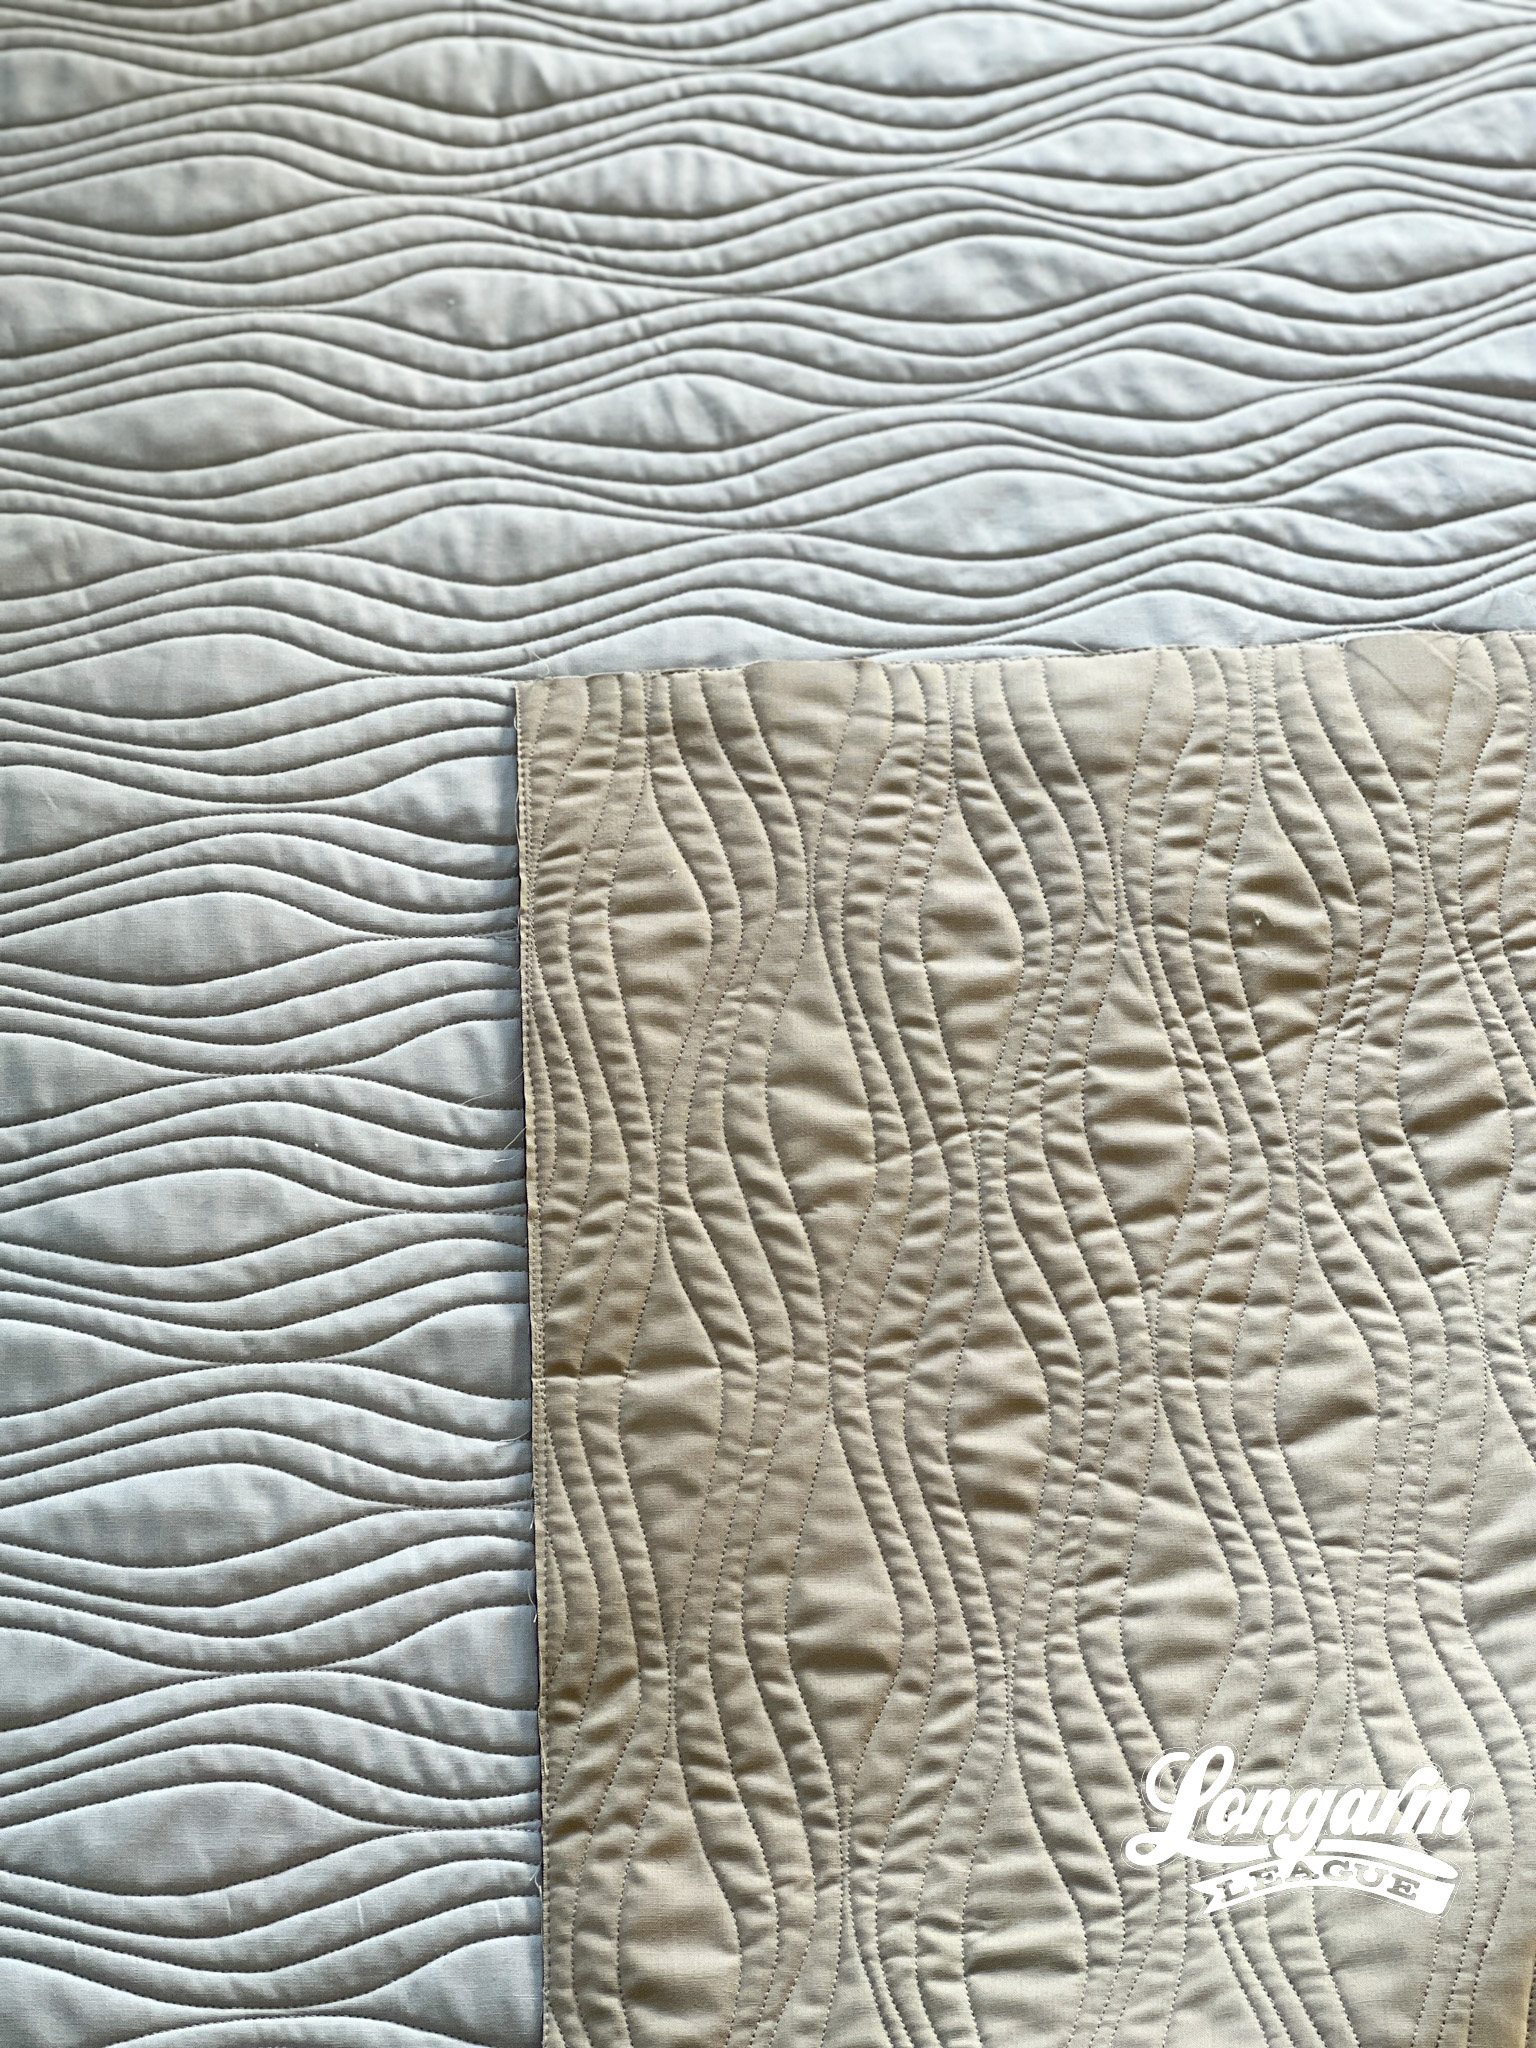
The design should import at just over 100" wide. Chances are, the quilt you'll be working on will be less than 100" wide, so you'll just clip/trim the portions you don't need off the sides. If you do need the design to go larger than 100", you can simply increase the scale of the design until you have the width you need. This will proportionally adjust the height of the rows accordingly, which should work out just fine on such a big quilt.
If your machine handles right-to-left sewing like a champ (I'm lucky that mine always has), you'll select the regular 'Driftwood' file type in the format you need and then you're off to the races. The stitch path will perform in the same way as shown above in my stitch-out video at the top of the blog post. Alternating rows makes this design very speedy to stitch out.
If your machine hates sewing right-to-left, you'll want to select the appropriate file type for your system with the title 'Driftwood Left to Right Only'. This option will stop each line on the right, that way you can move your machine head back to the left to start the next line/row. It's not as fast or efficient as the original design, but if you're pulling your hair out with thread breaks, it'll be well worth it to use the left-to-right alternate file.
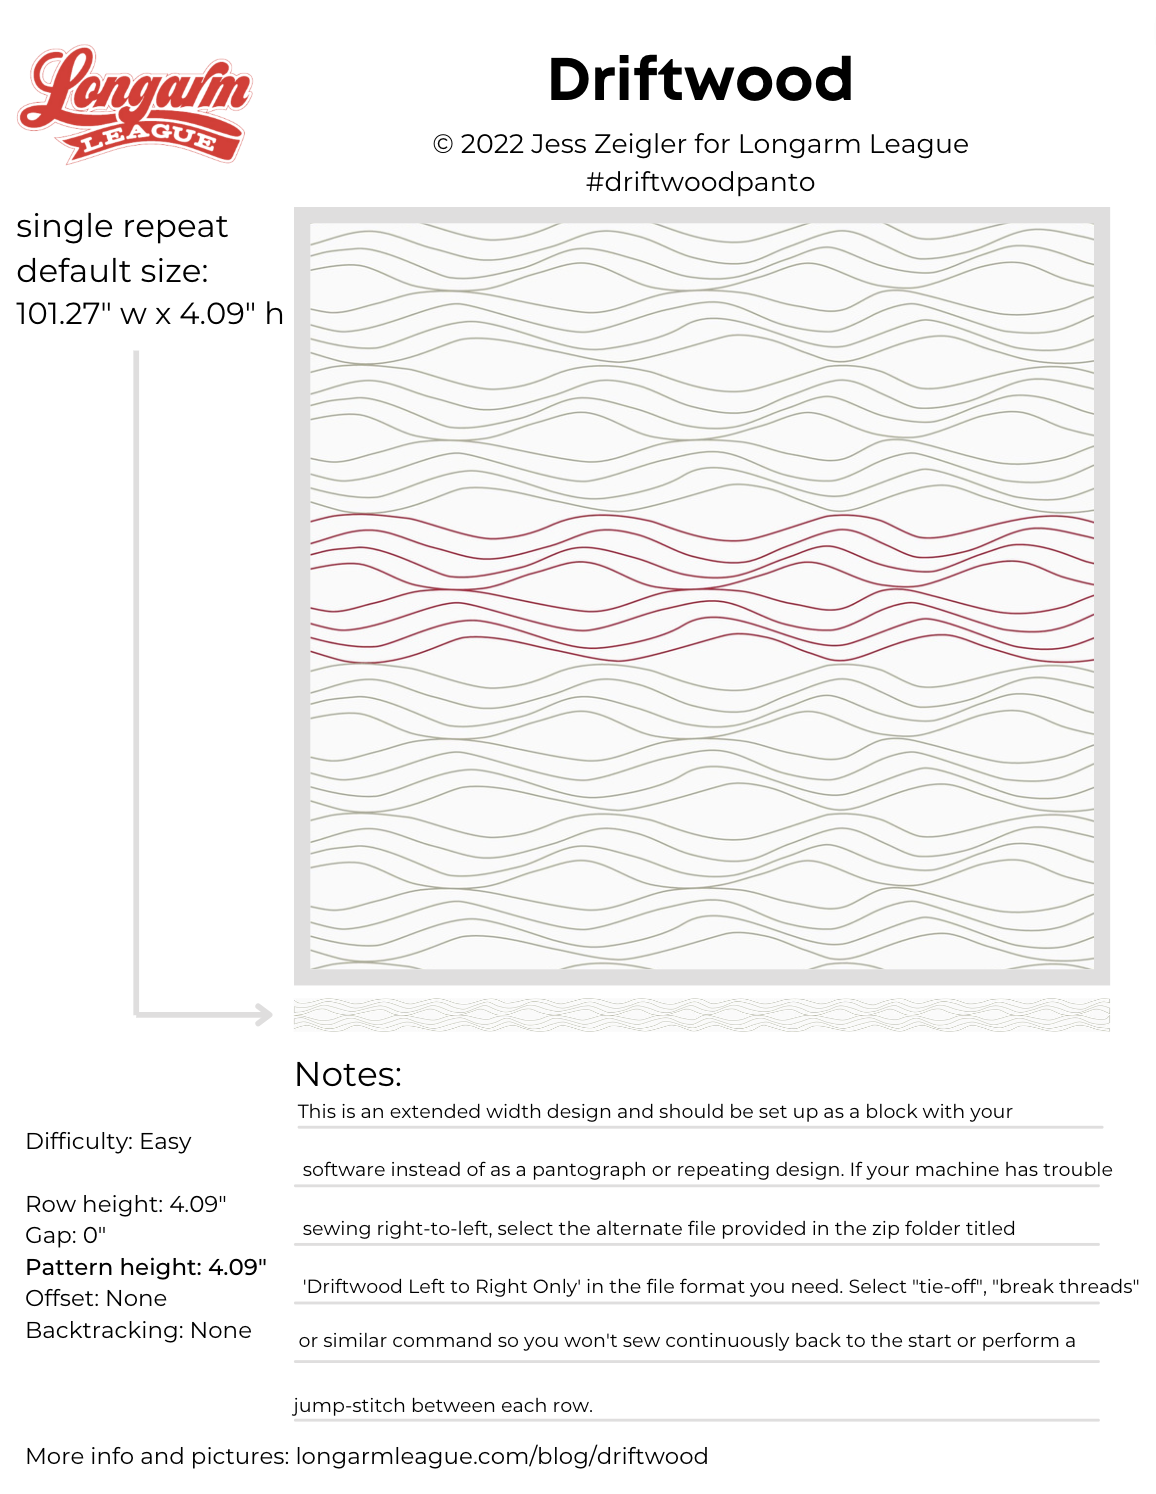
Here are the specifications for how I set up this design using my Intelliquilter (40" x 40" quilt size):
Row height: 4.09"
Gap: 0" (positive gap amount)
Pattern height: 4.09" (measurement from top to bottom of the repeat)
Offset: none
Backtracking: none
Here's a look at the included PDF:
If you use Driftwood on a quilt, we'd love for you to use the hashtag #driftwoodpanto and tag @longarmleague on Instagram so we can see how you use it! You can also visit our full digital design shop to take a look at all our previous designs.
Interested in getting new digital pantograph releases the day they come out? Sign up for our Digital Panto Club and get them delivered straight to your inbox on the first Wednesday of each new month.

Jess Zeigler
Longarm League Commish & Owner of Threaded Quilting Studio, LLC.


