
Scramble Digital Pantograph for Computerized Longarm Quilting Machines
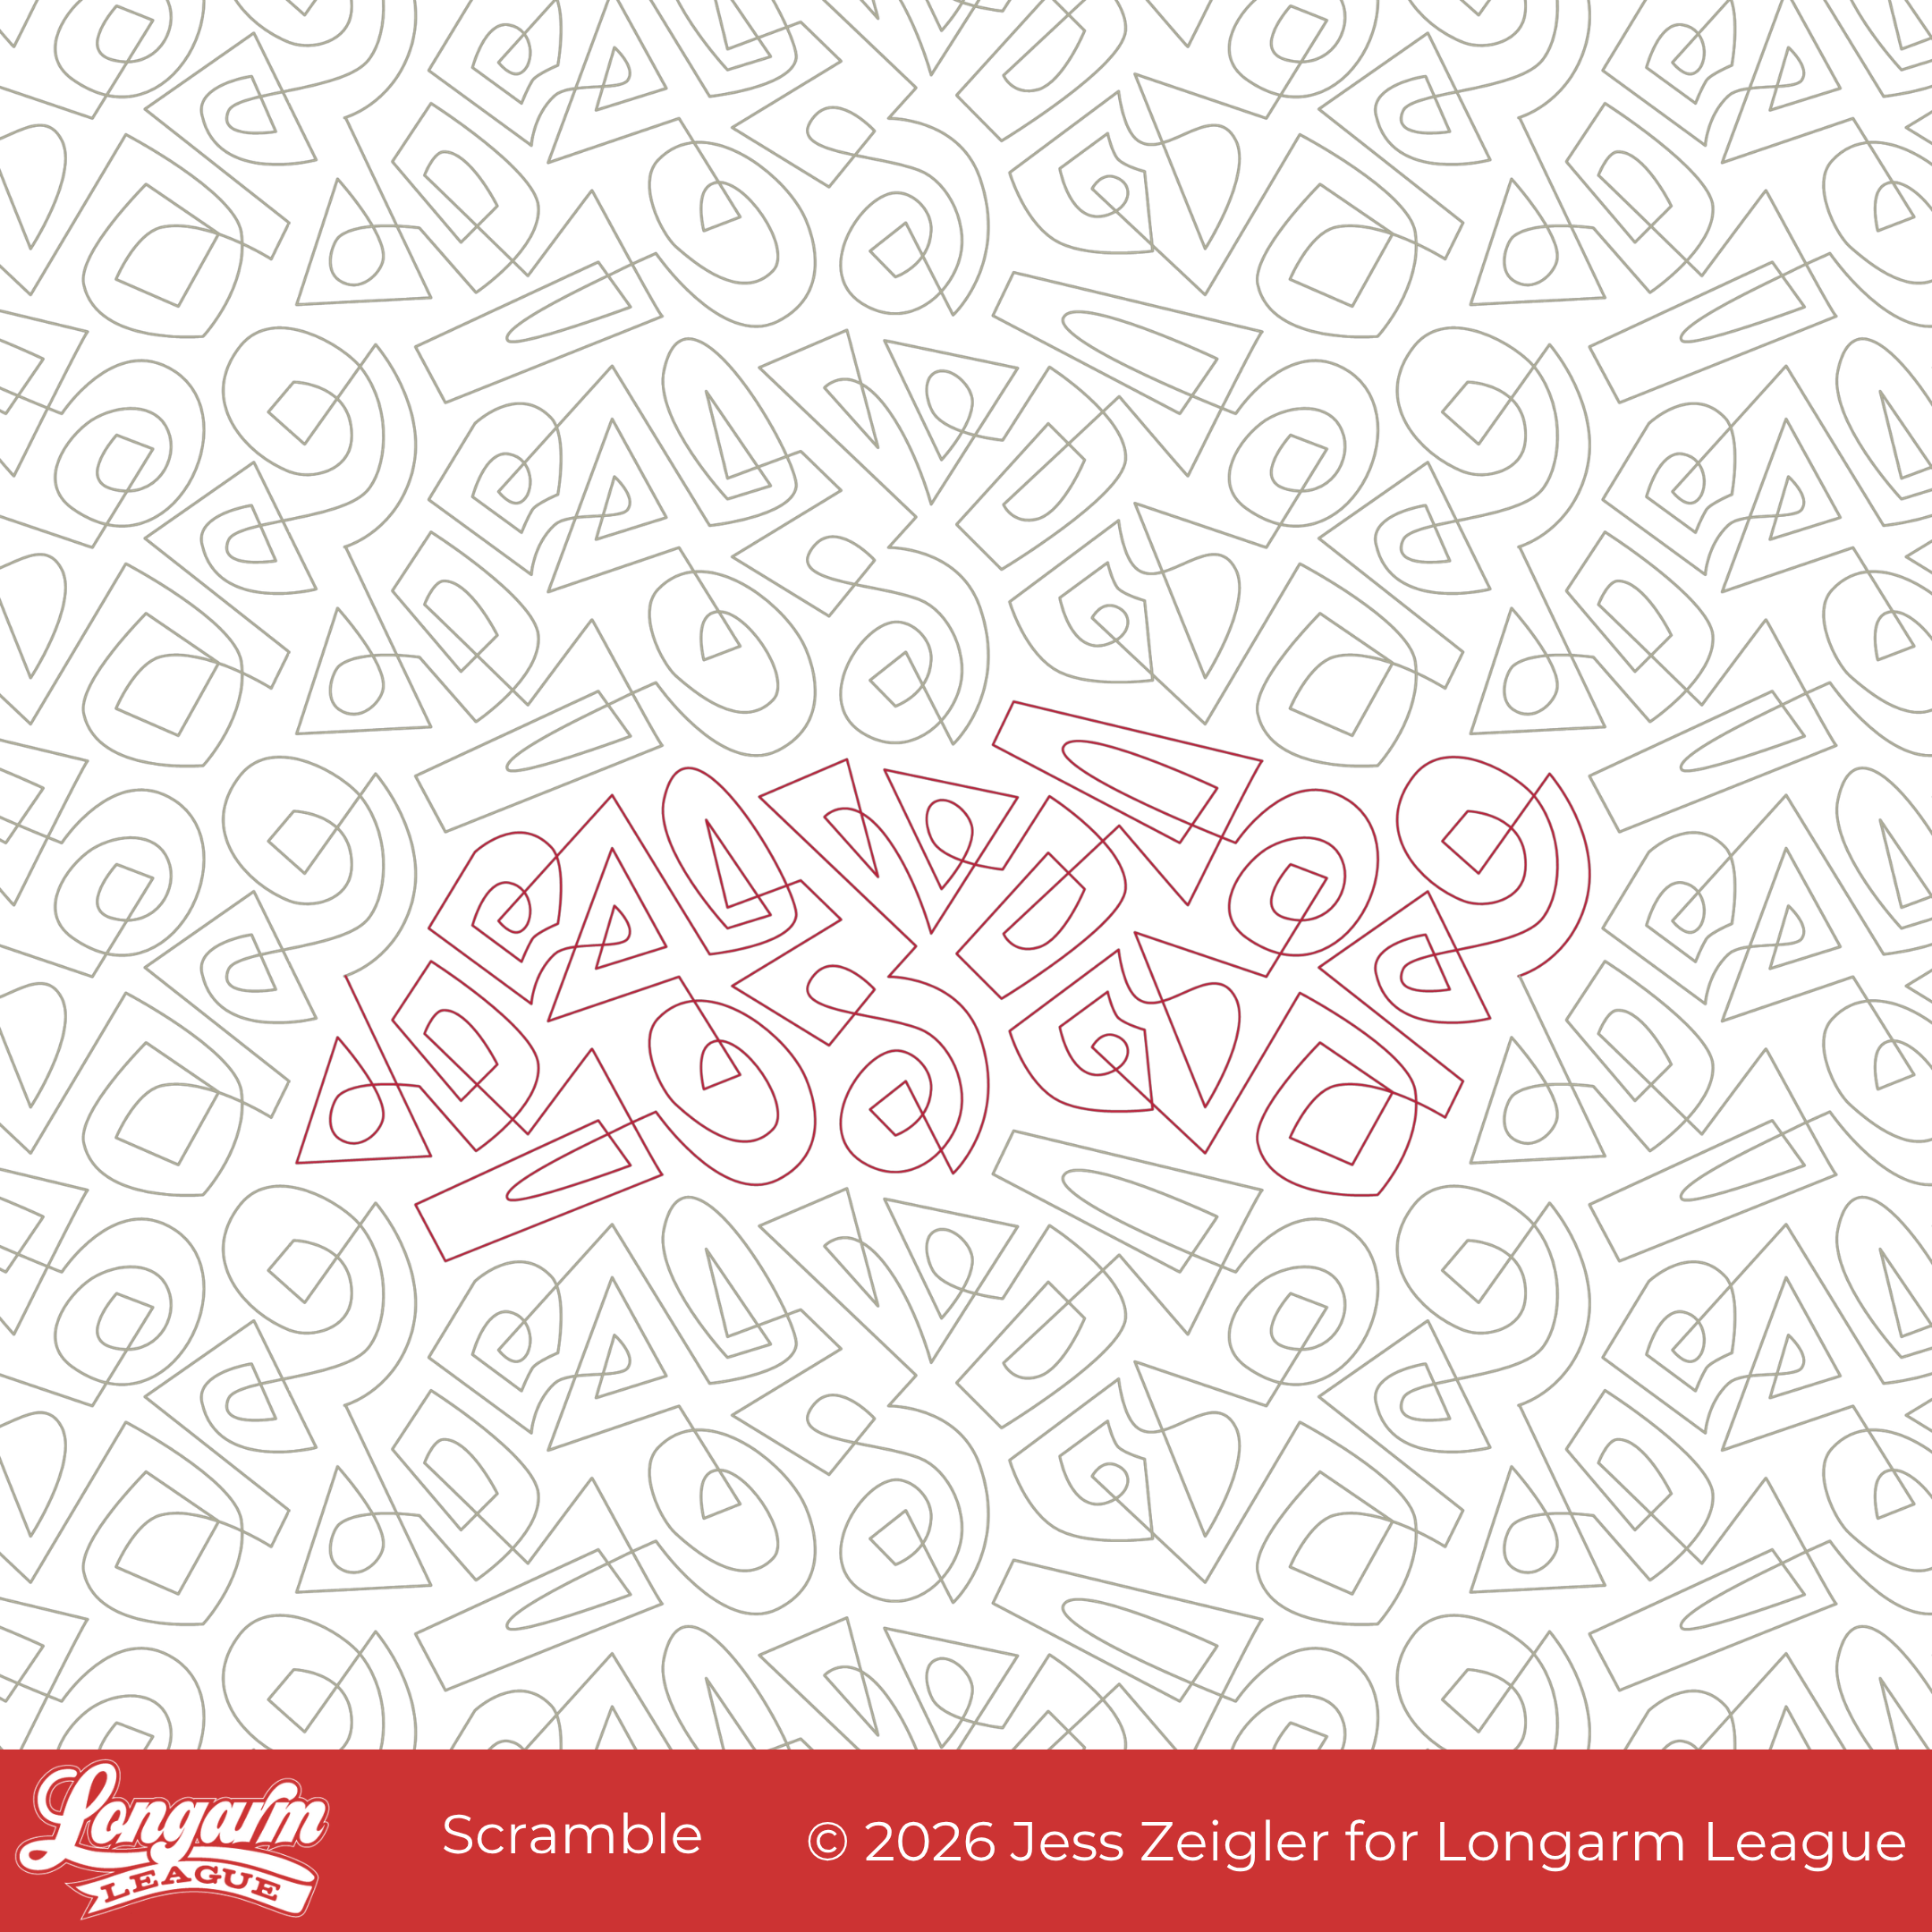
This design is coming in hot off a hand-drawn sketch. It's been a while since I've done that. I got my longarm loaded up with a muslin backing, pieced my own frankenbatting together, and then I pulled out my iPad and started sketching in an app instead of free-motion quilting at my machine, which was the original plan.
It has been SO long since I've "doodled" with my longarm. I still think that modality could be a good change of pace to get the creativity flowing. Hey, it was a solid attempt! Maybe next time I'll follow through.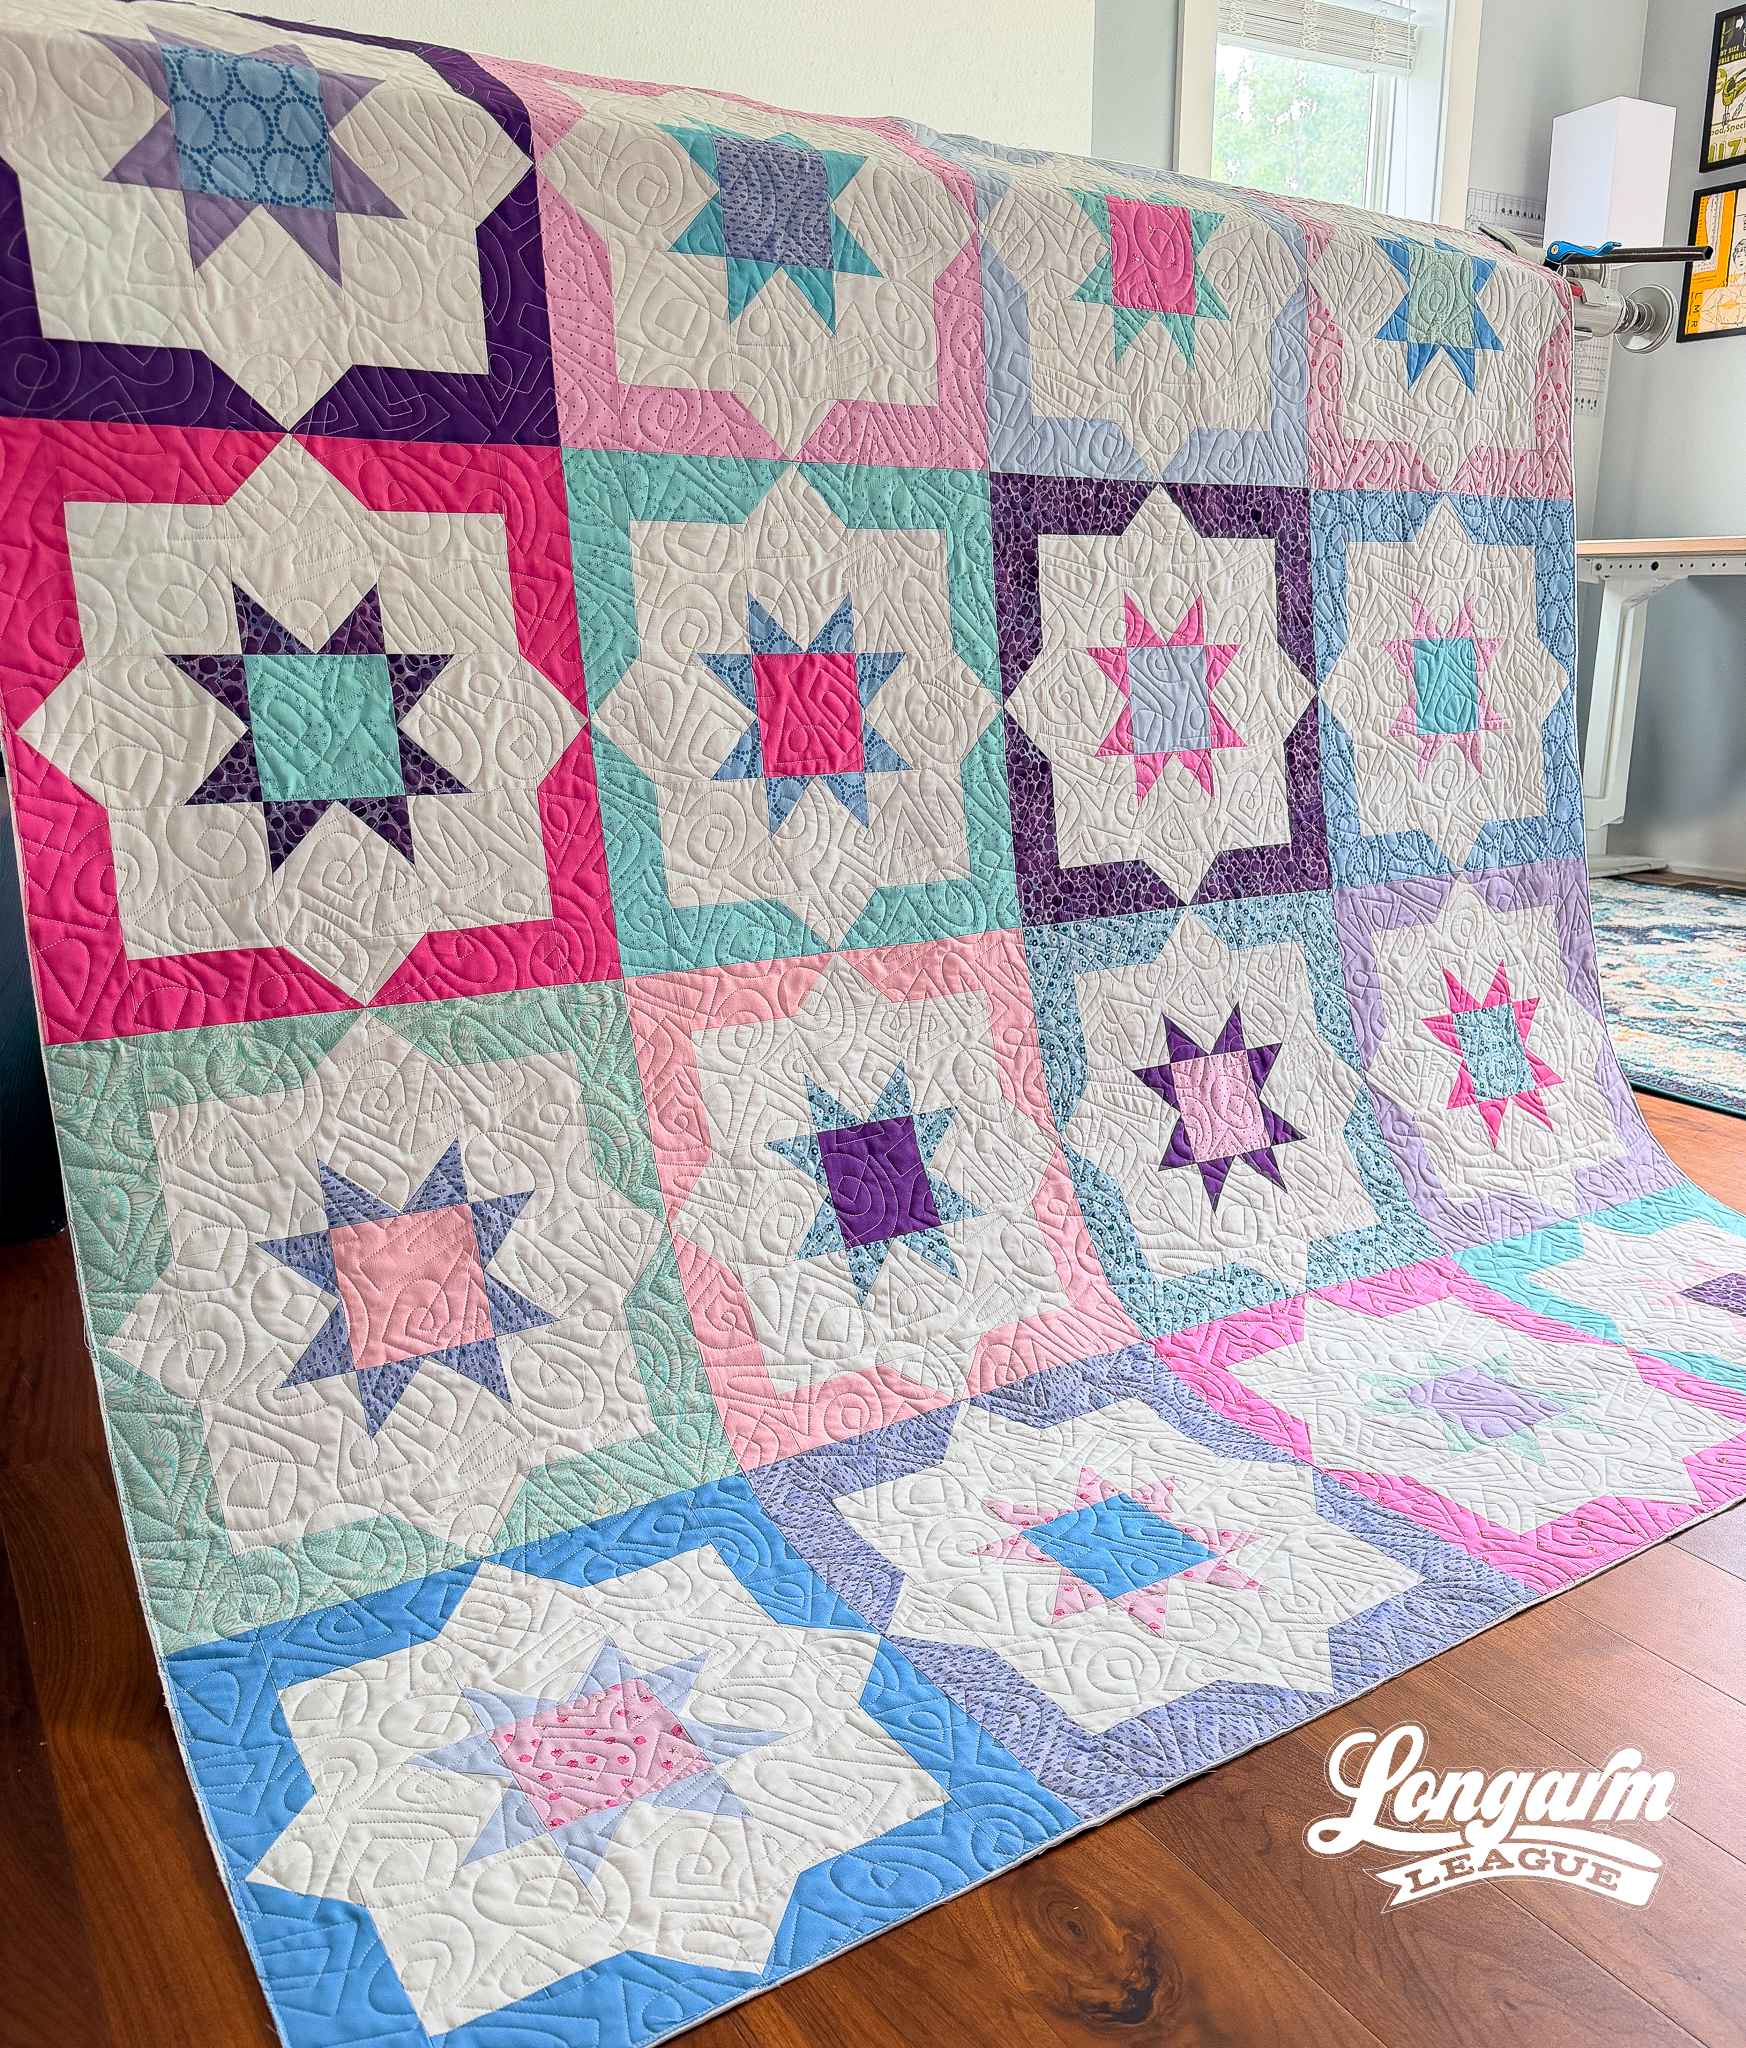
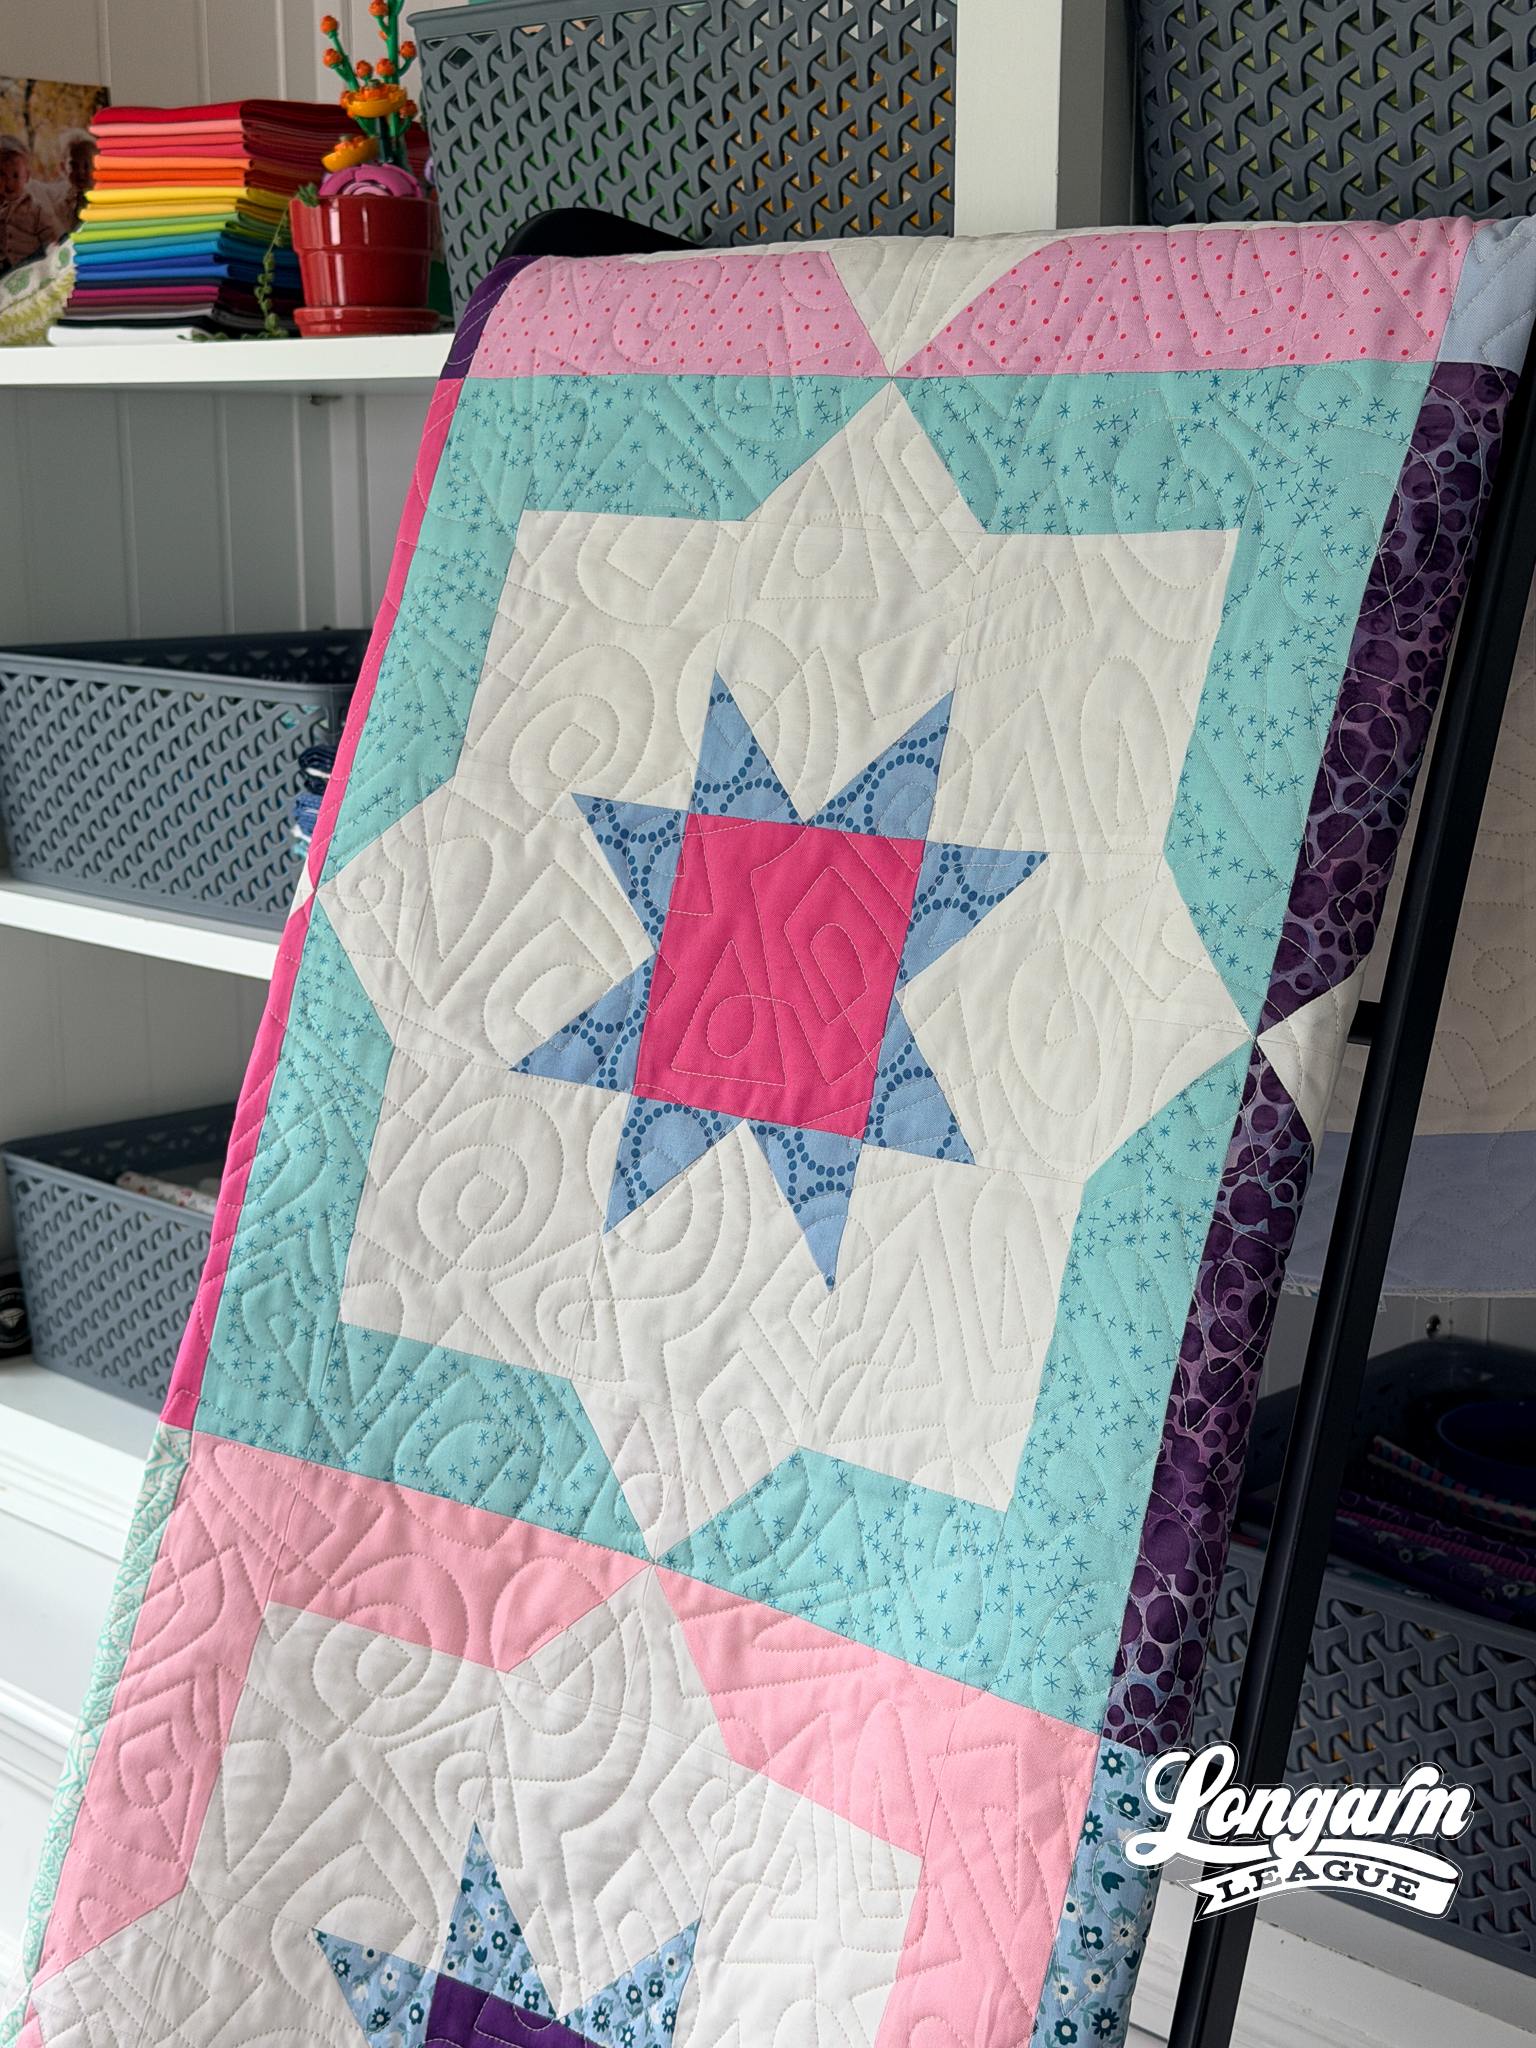
The main thought behind this design was that I wanted a mix of straight lines and curves within the same amorphous shapes. Circle gets a square; triangle gets a curve. Each lil cluster had to have a mix of both.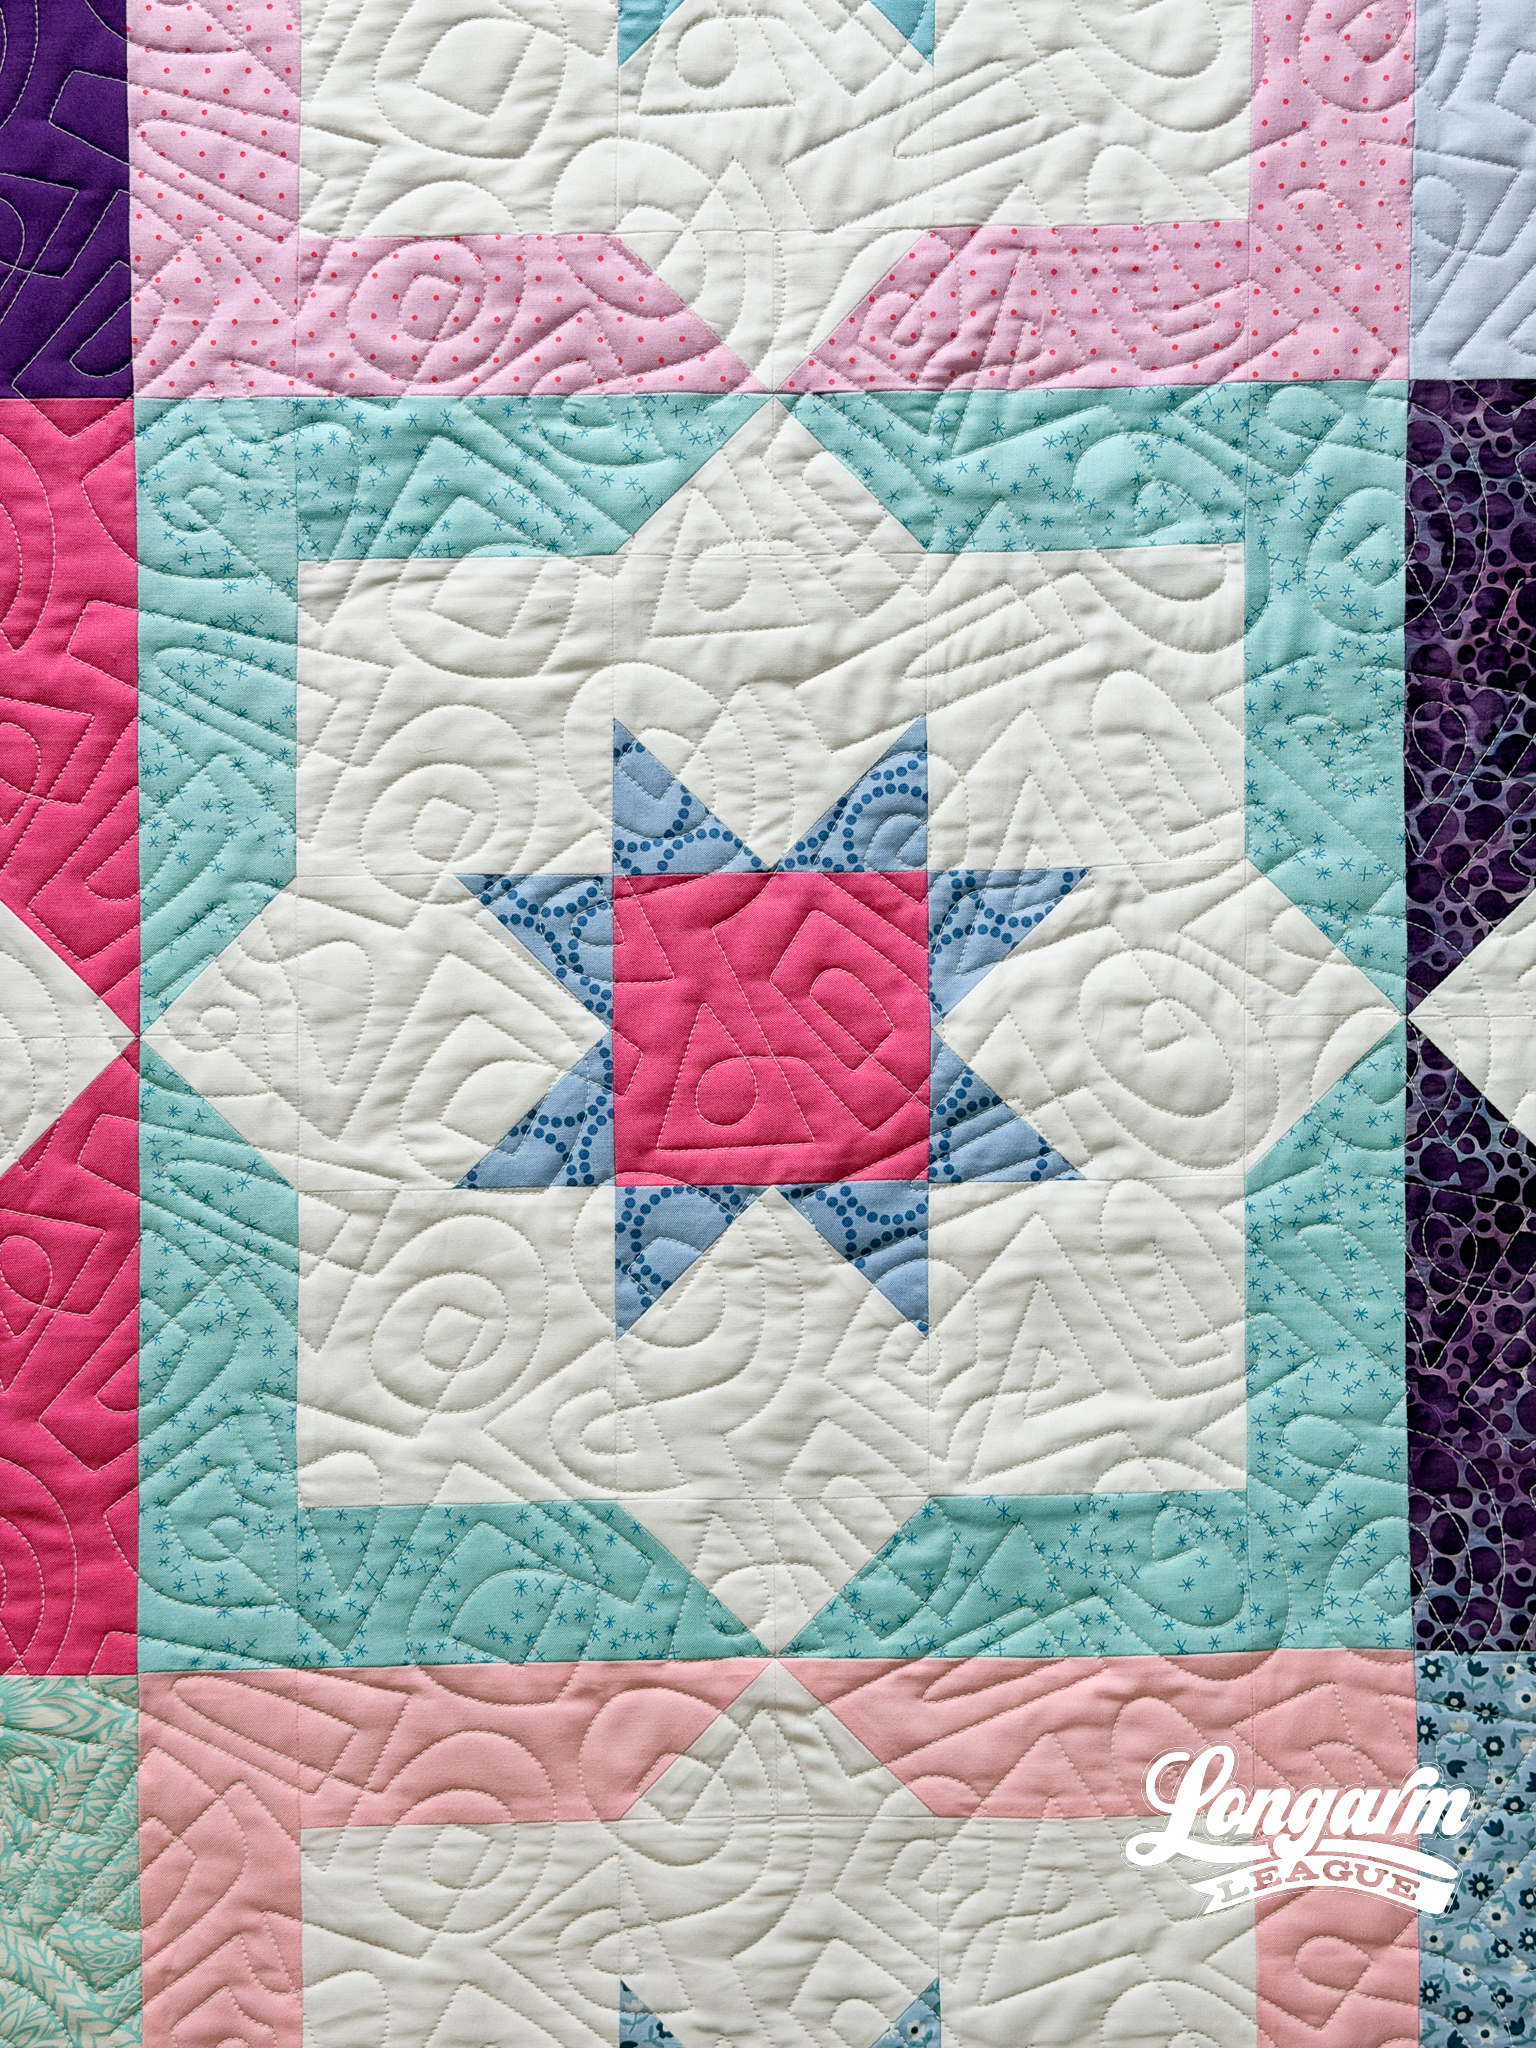
Again, while I didn't actually hand-guide this design with my longarm, I wanted it to look like it could be free-motion quilting. I like the imperfection of the quirky shapes; I like how the repeats are not obvious. I like the spacing and the movement.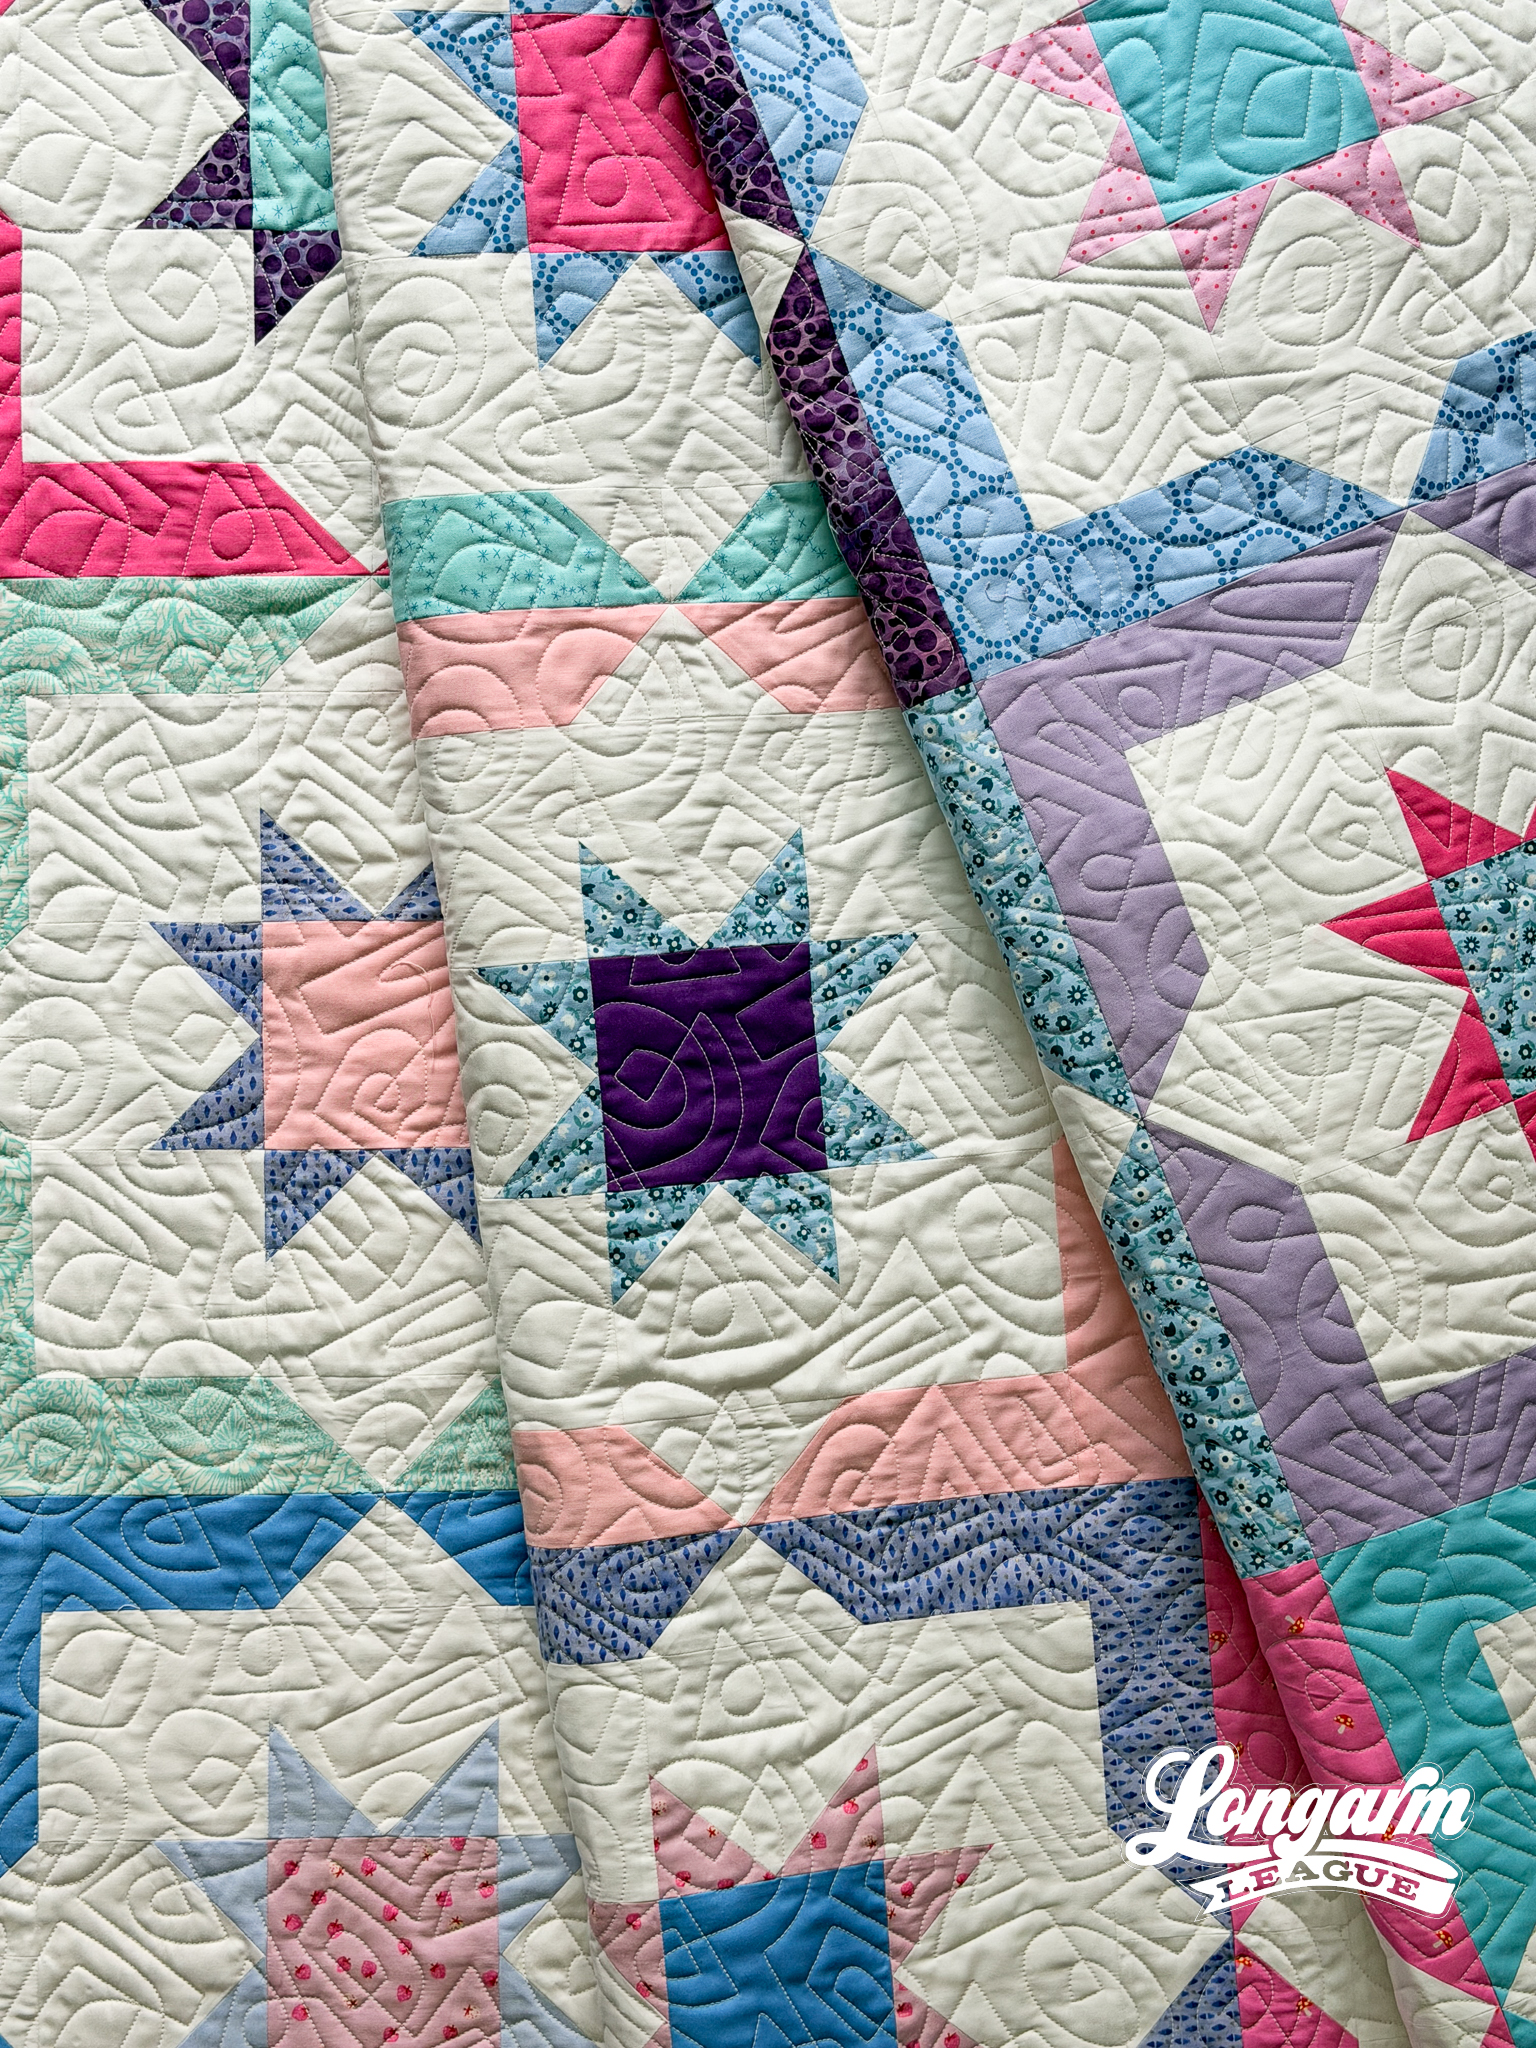
An unexpected bonus of where this design landed is that it reminded me of the 80s in a like, totally tubular way!
Subliminally, I knew this design was going to end up on this quilt, and the colors were giving Get in Shape Girl vibes, which is VERY 1980s. 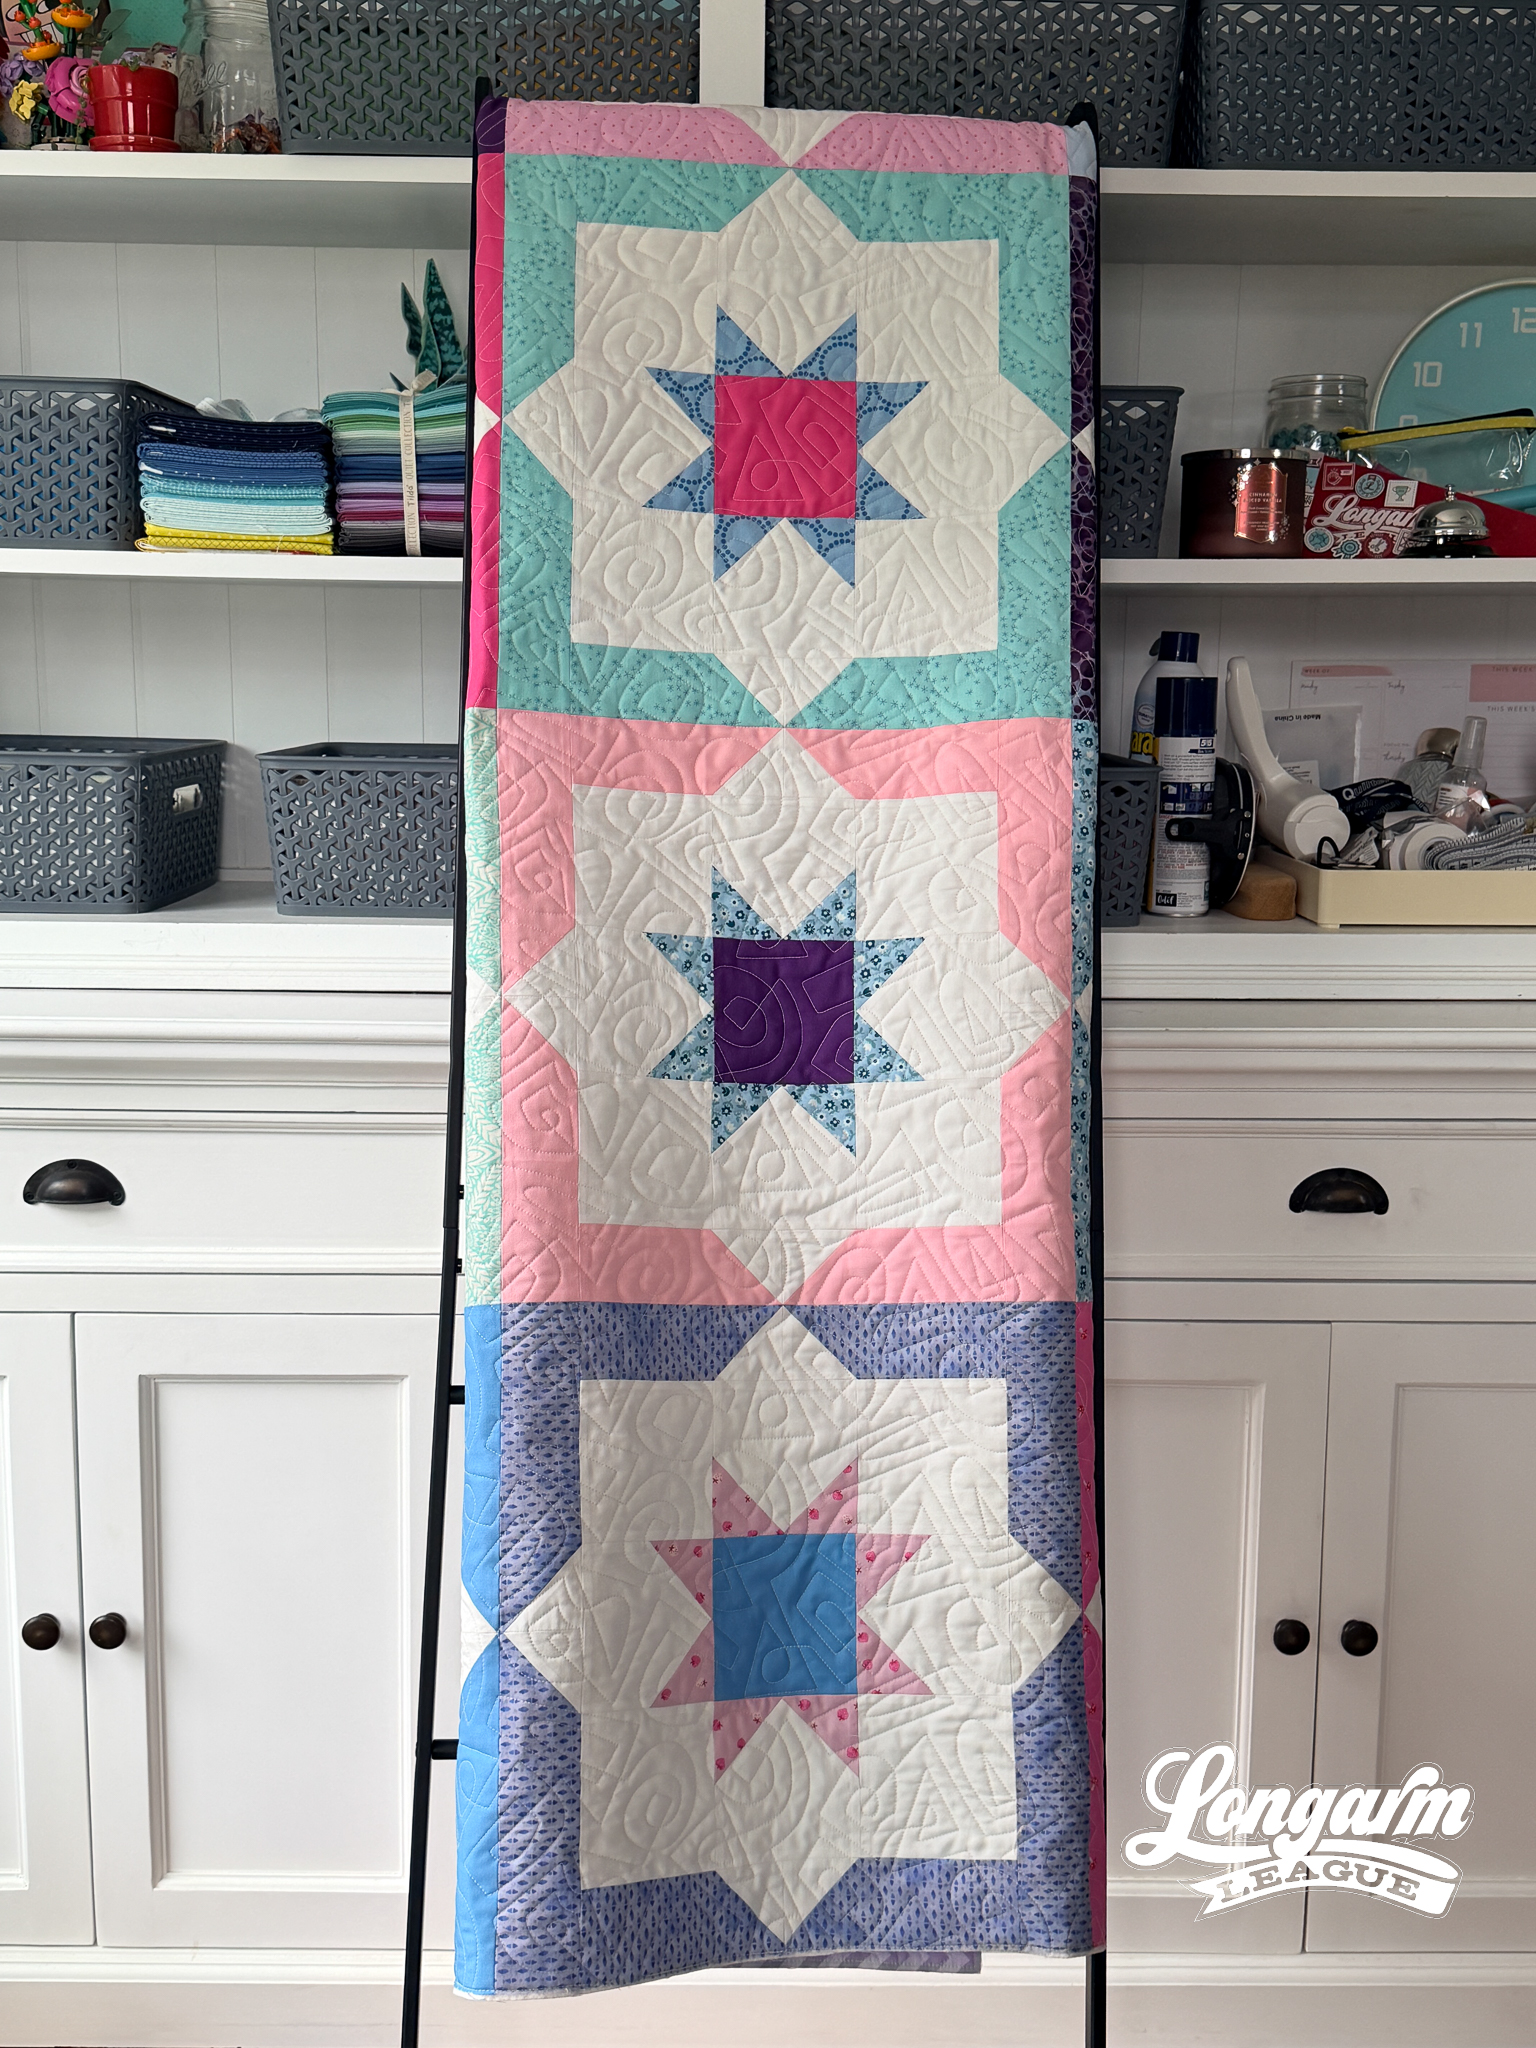
I think this design would be great for kids' quilts, even music, t-shirt, or text-themed quilts. There is a hint of glyphs, music notes, and writing that's hard to articulate but easier to envision. It has a whimsical quality that looks like movement across the quilt.
The Quilt
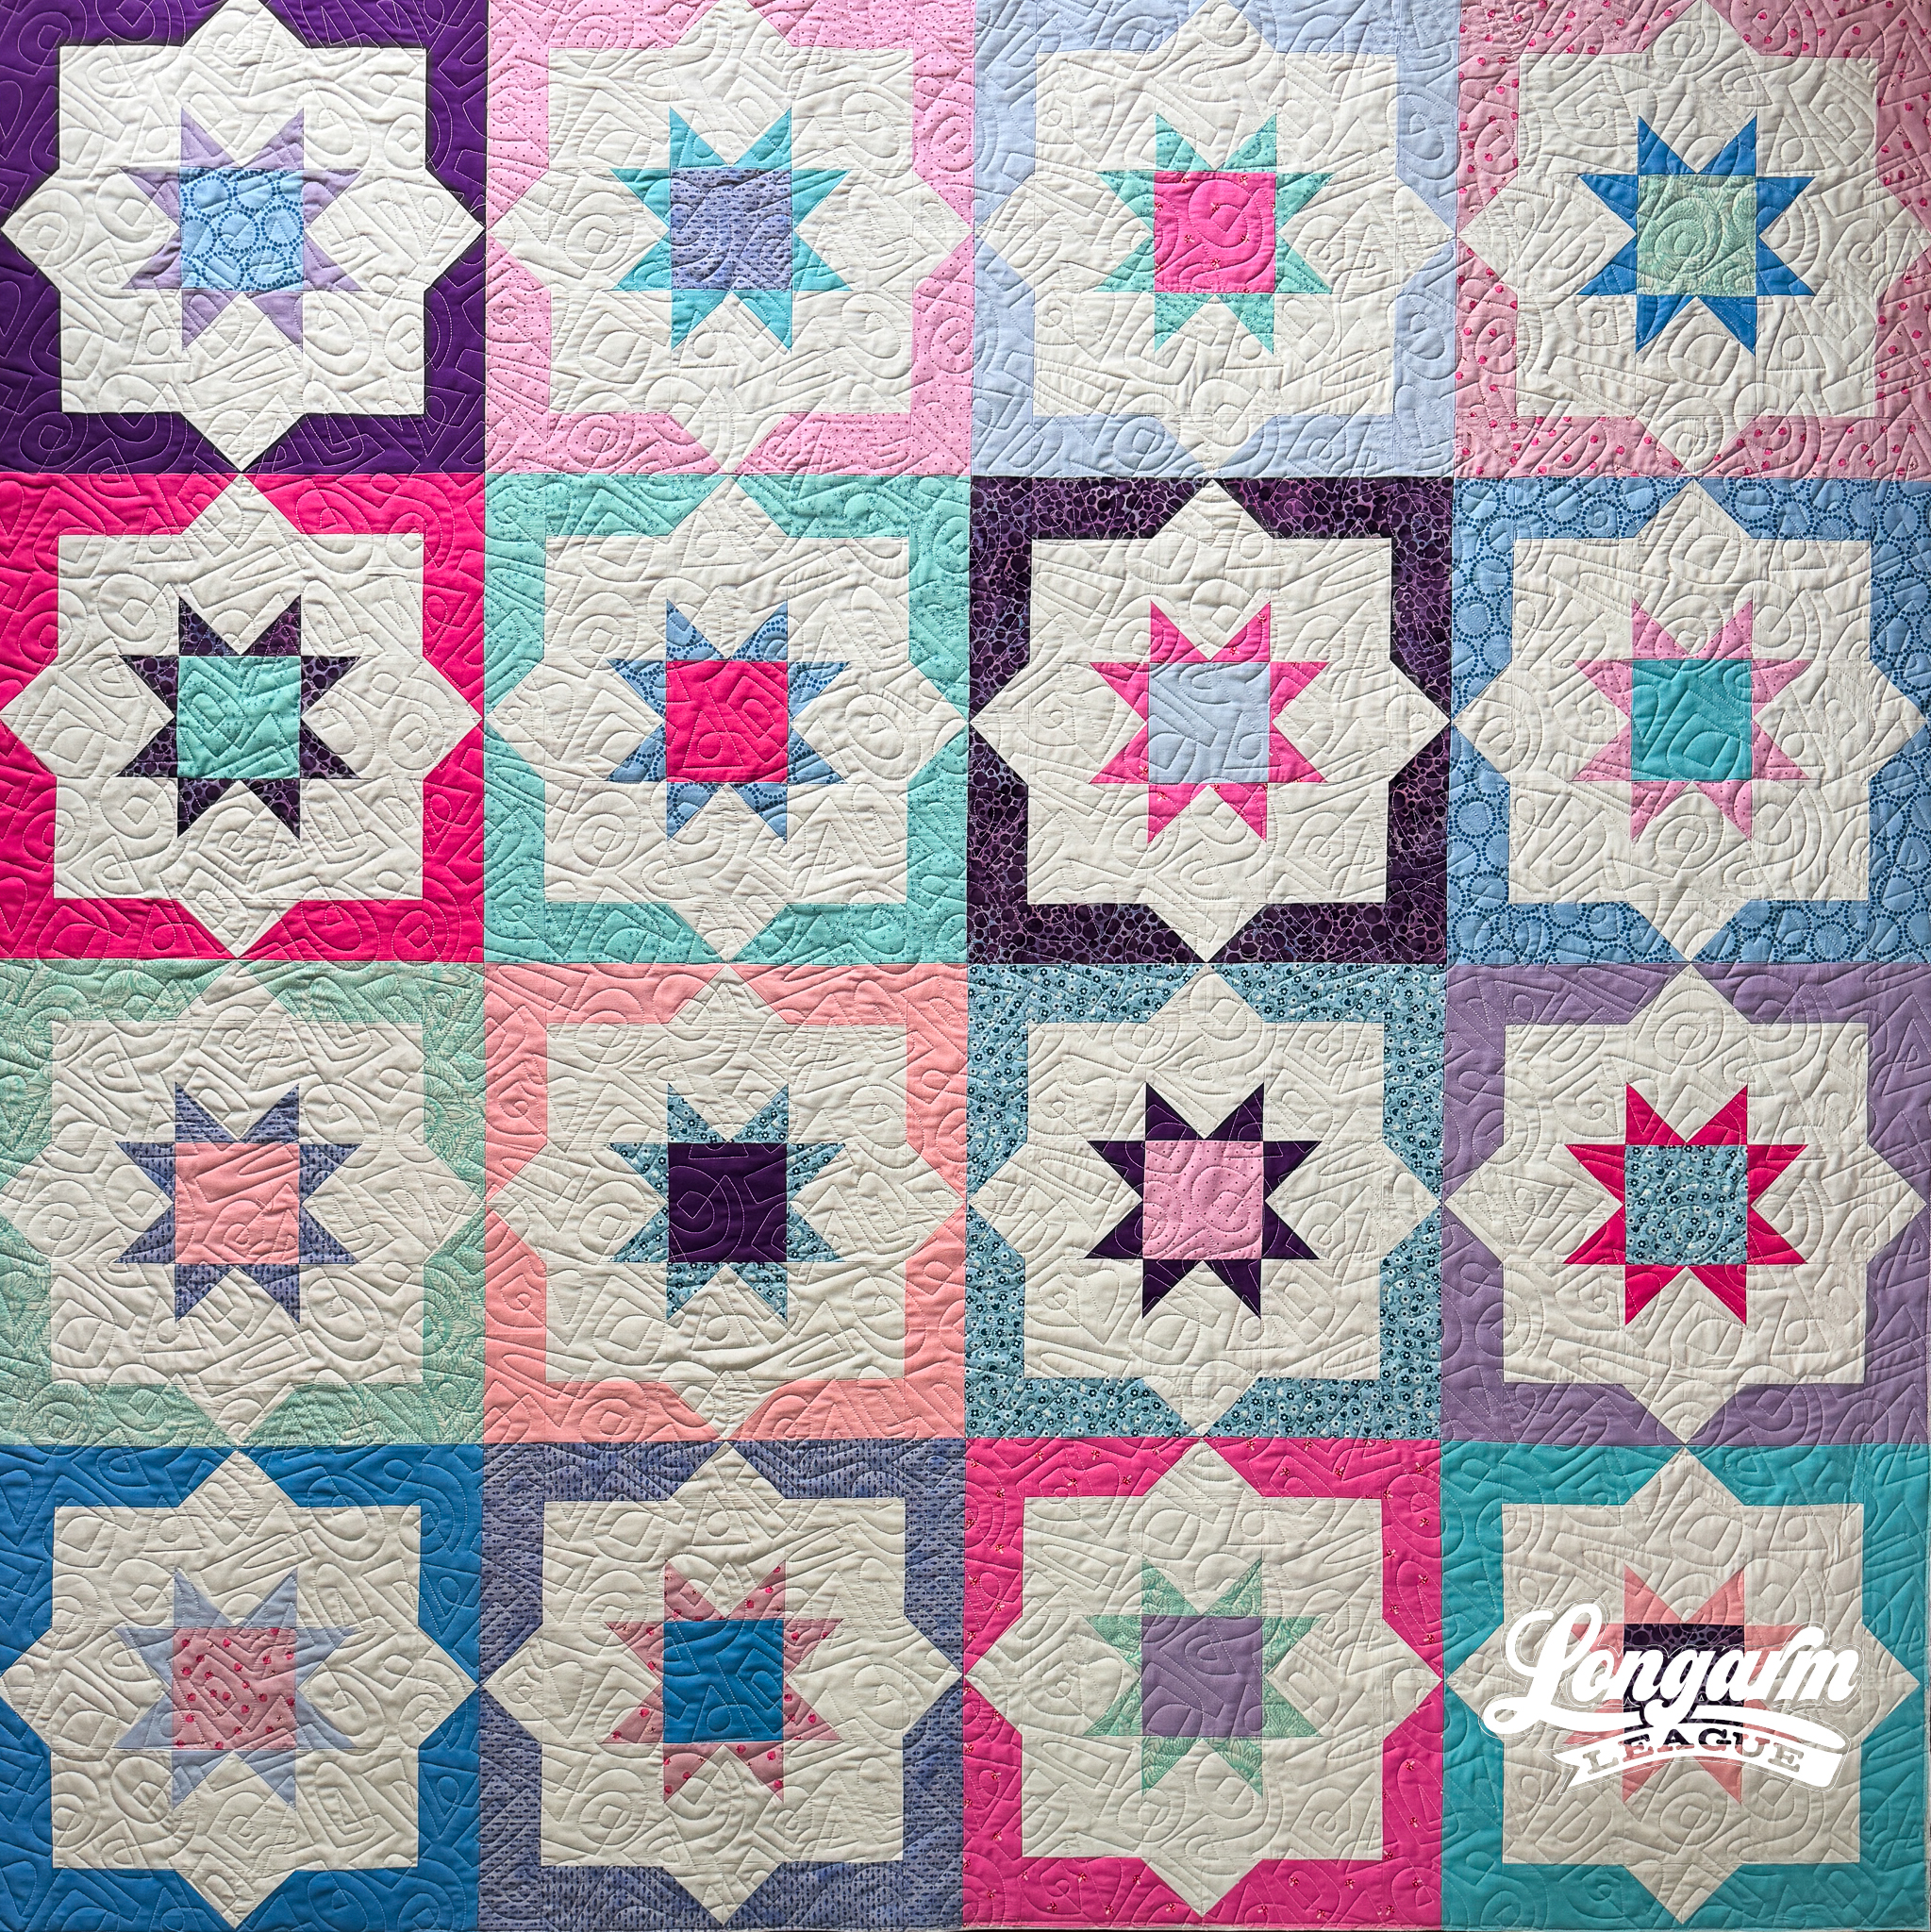
Quilt Pattern
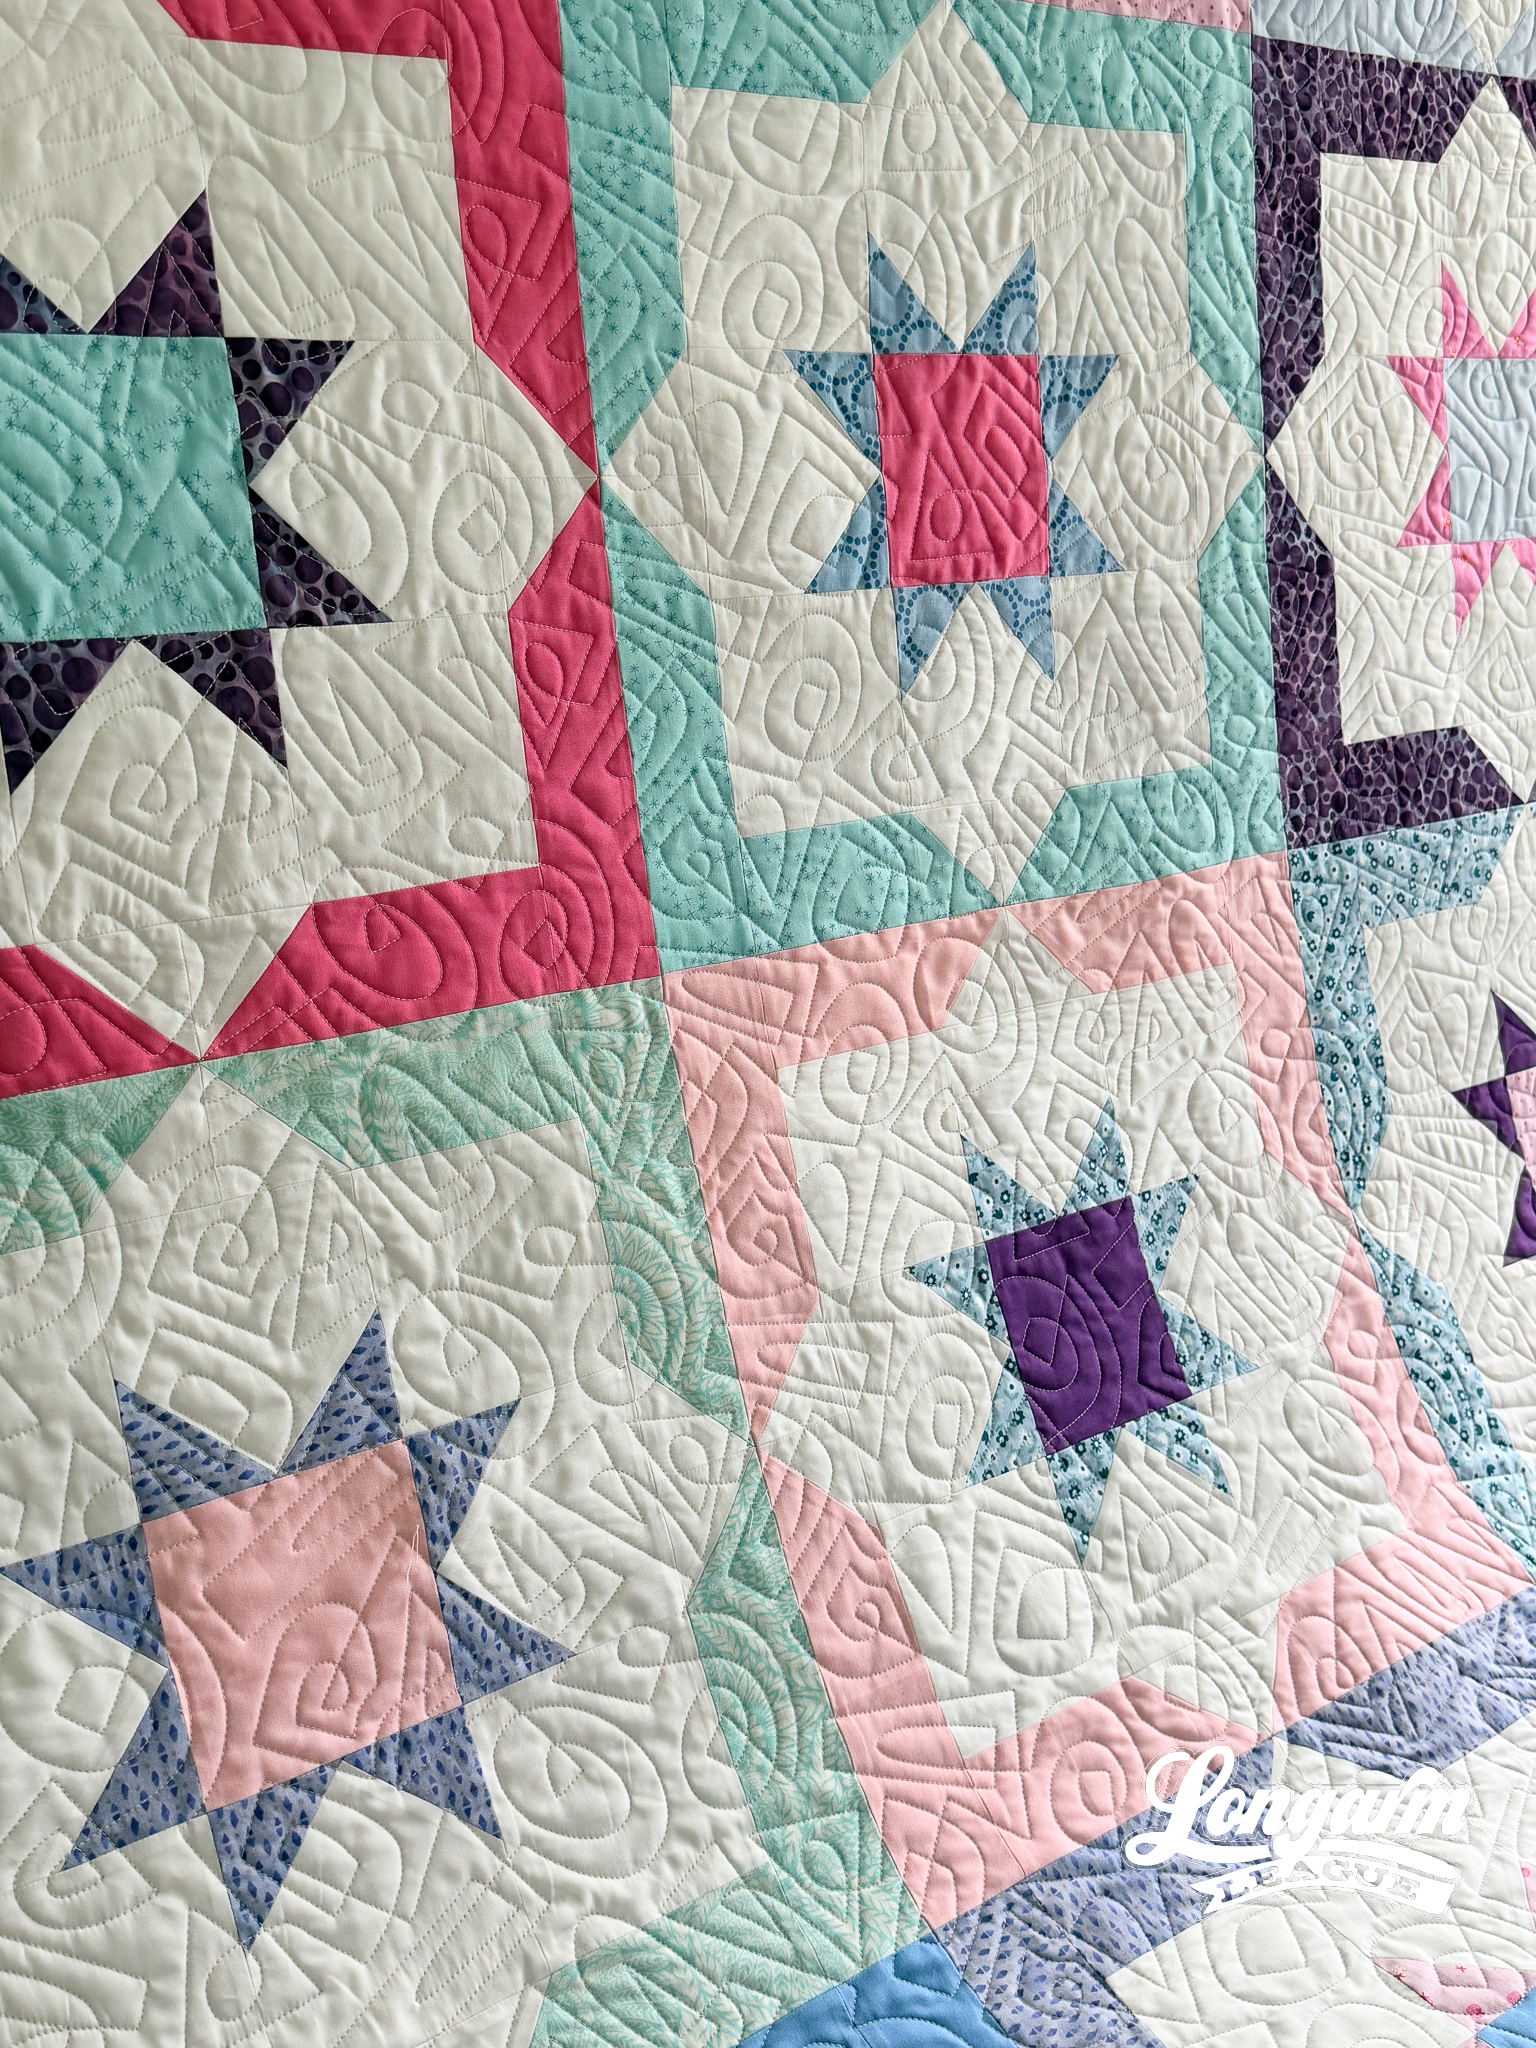
This quilt pattern is called Gertrude from designer Jennifer Jones of Penelope Handmade. This was a super-fun, compelling make! I liked having a consistent background and then getting to mix and match the fabrics for the star center, star points, and "frame" of each block. I cut and then arranged the pieces into sixteen piles representing the blocks. Then, I just wanted to sew them in succession, one after another, but my schedule sadly wouldn't allow for it.
The sewing itself was so easy, especially with the stars that "float" in the center. I completed one block at a time, adding each to my design wall as I finished. It's one of those patterns that once you know where you're going, you don't have to keep looking at the pattern; you can take it and run! I love that.
I also enjoyed the balance of the colors and values when I was arranging the final layout.
Fantastic pattern, would make again!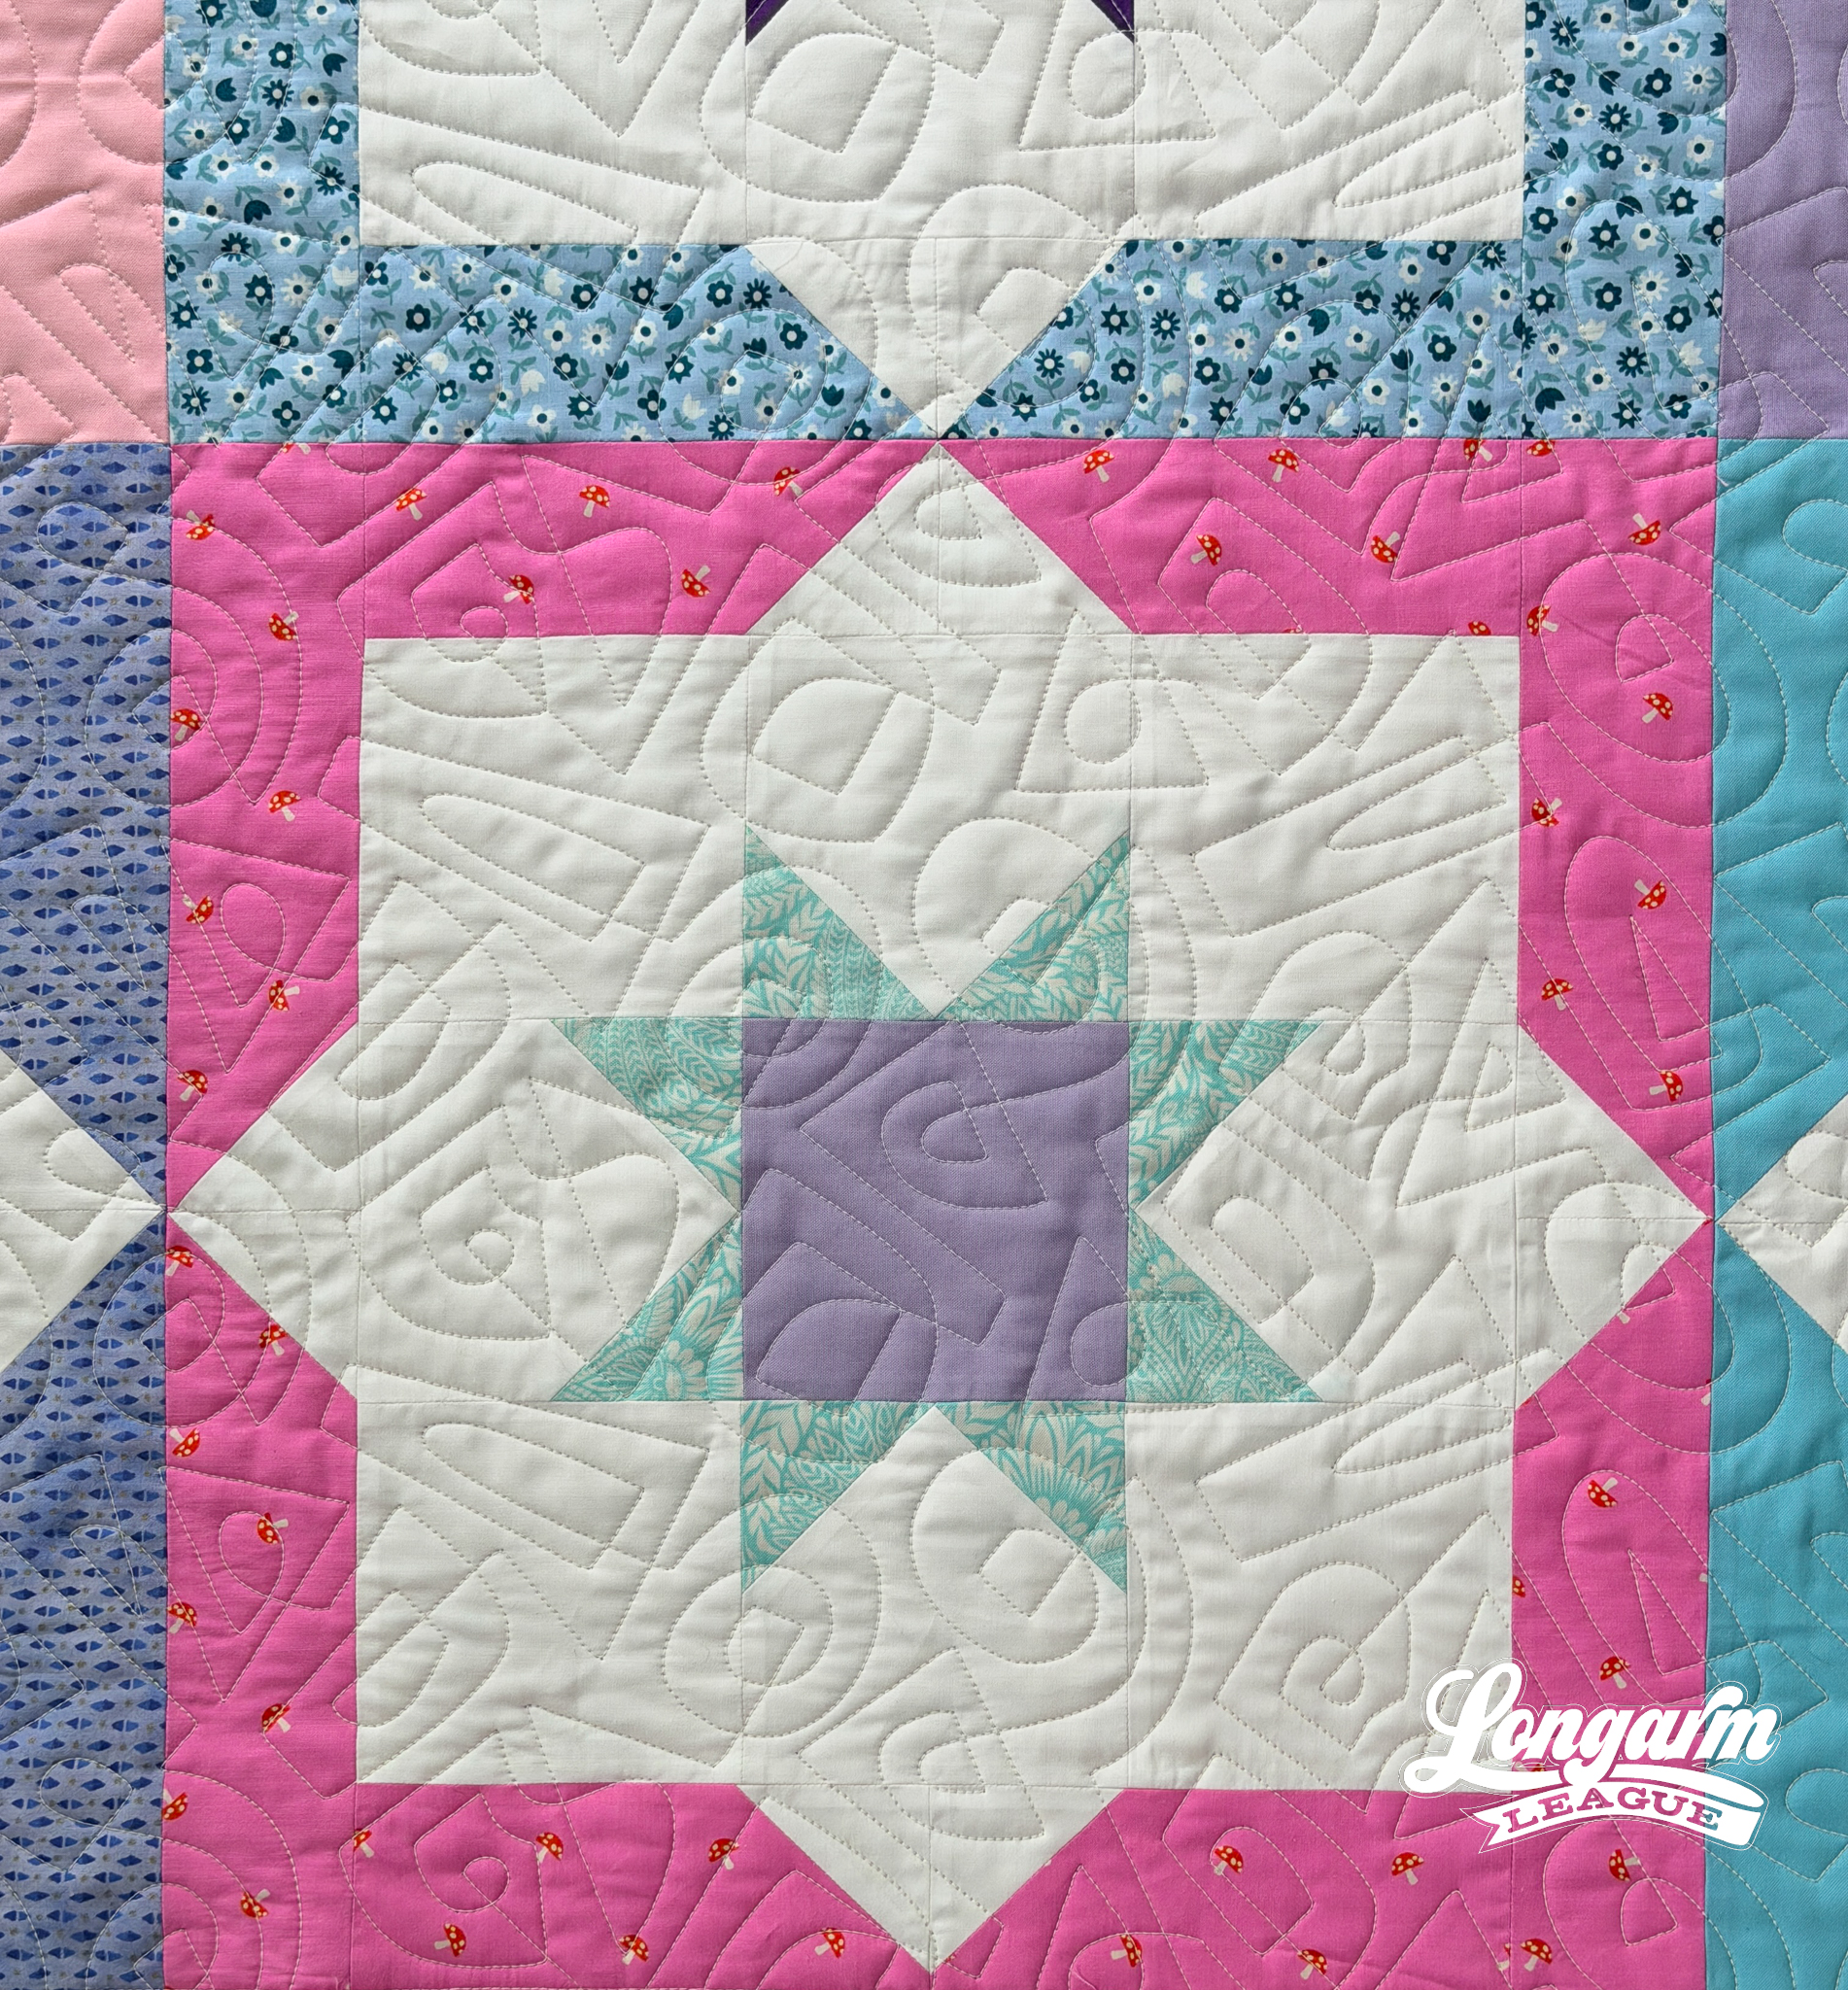
Fabrics
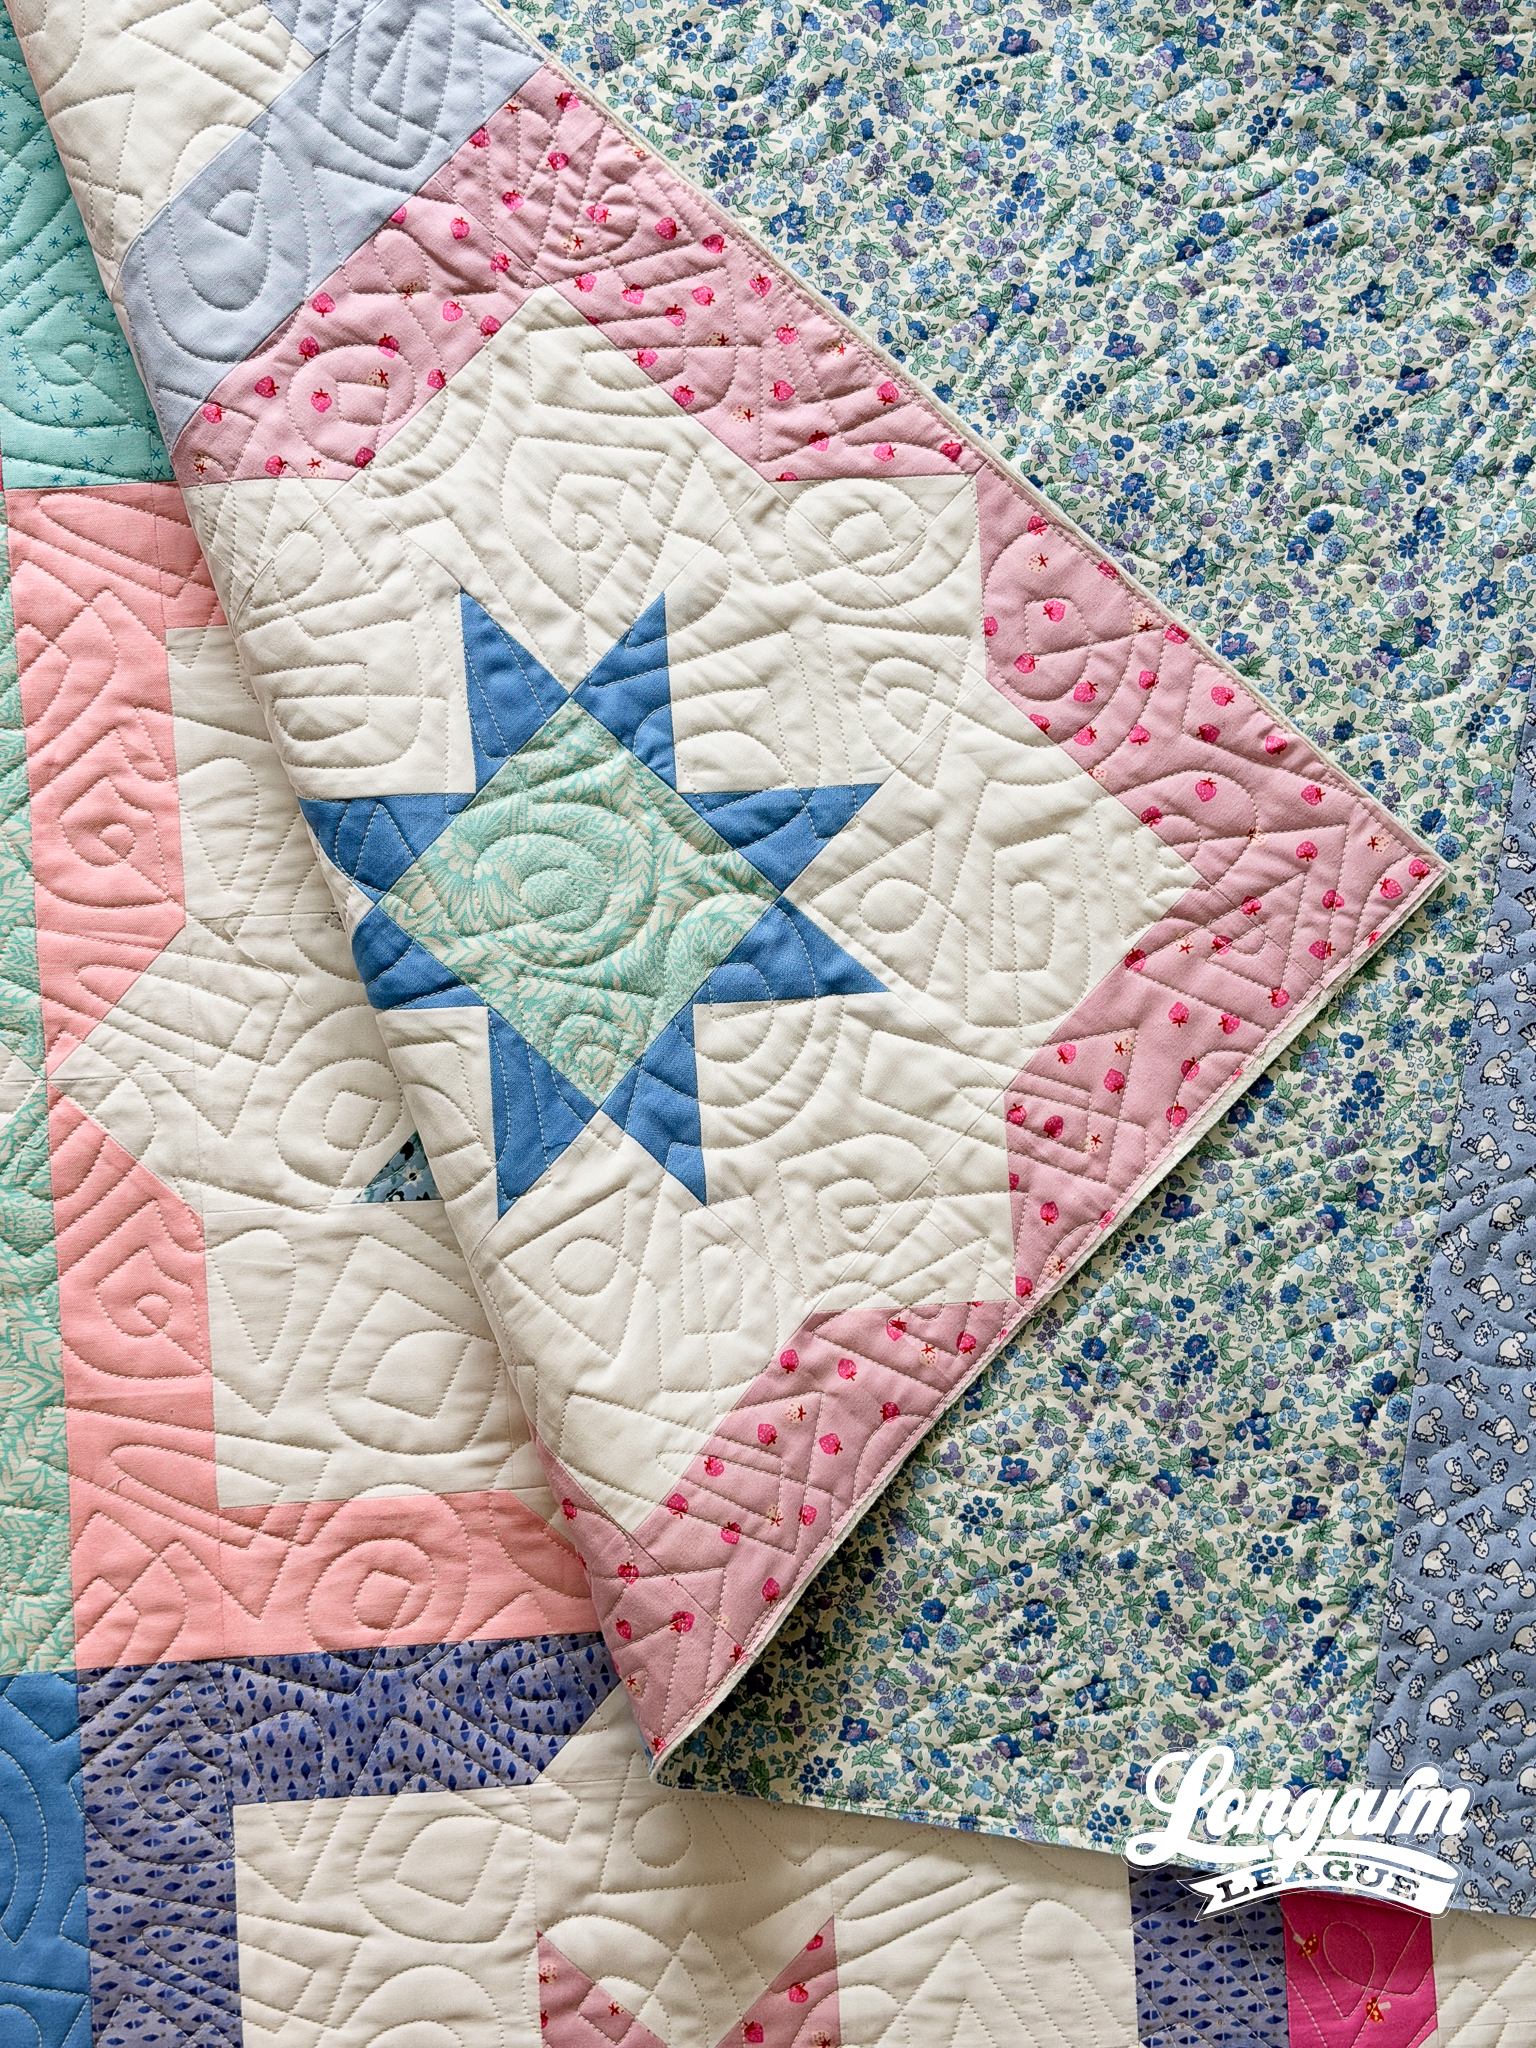
I loved mixing my old scraps (like, 20-year scraps) with some newer prints. I treated myself to a new bolt of the white background fabric, however. It's a Century Solid by Andover Fabrics in the color Snow, a type of solid I don't believe I've quilted with before. I basically decided on this solid because Allison Glass was so nice to me at QuiltCon and she's a designer for Andover. Also, I'm sure she's nice to everyone. Our booths happened to share a back wall, and we didn't get a chance to visit until the very end, but she must have been fresh in my mind when I ordered this bolt.
Oh, and incidentally, the fabric was lovely to work with! It has a tighter weave than I was expecting and a great hand.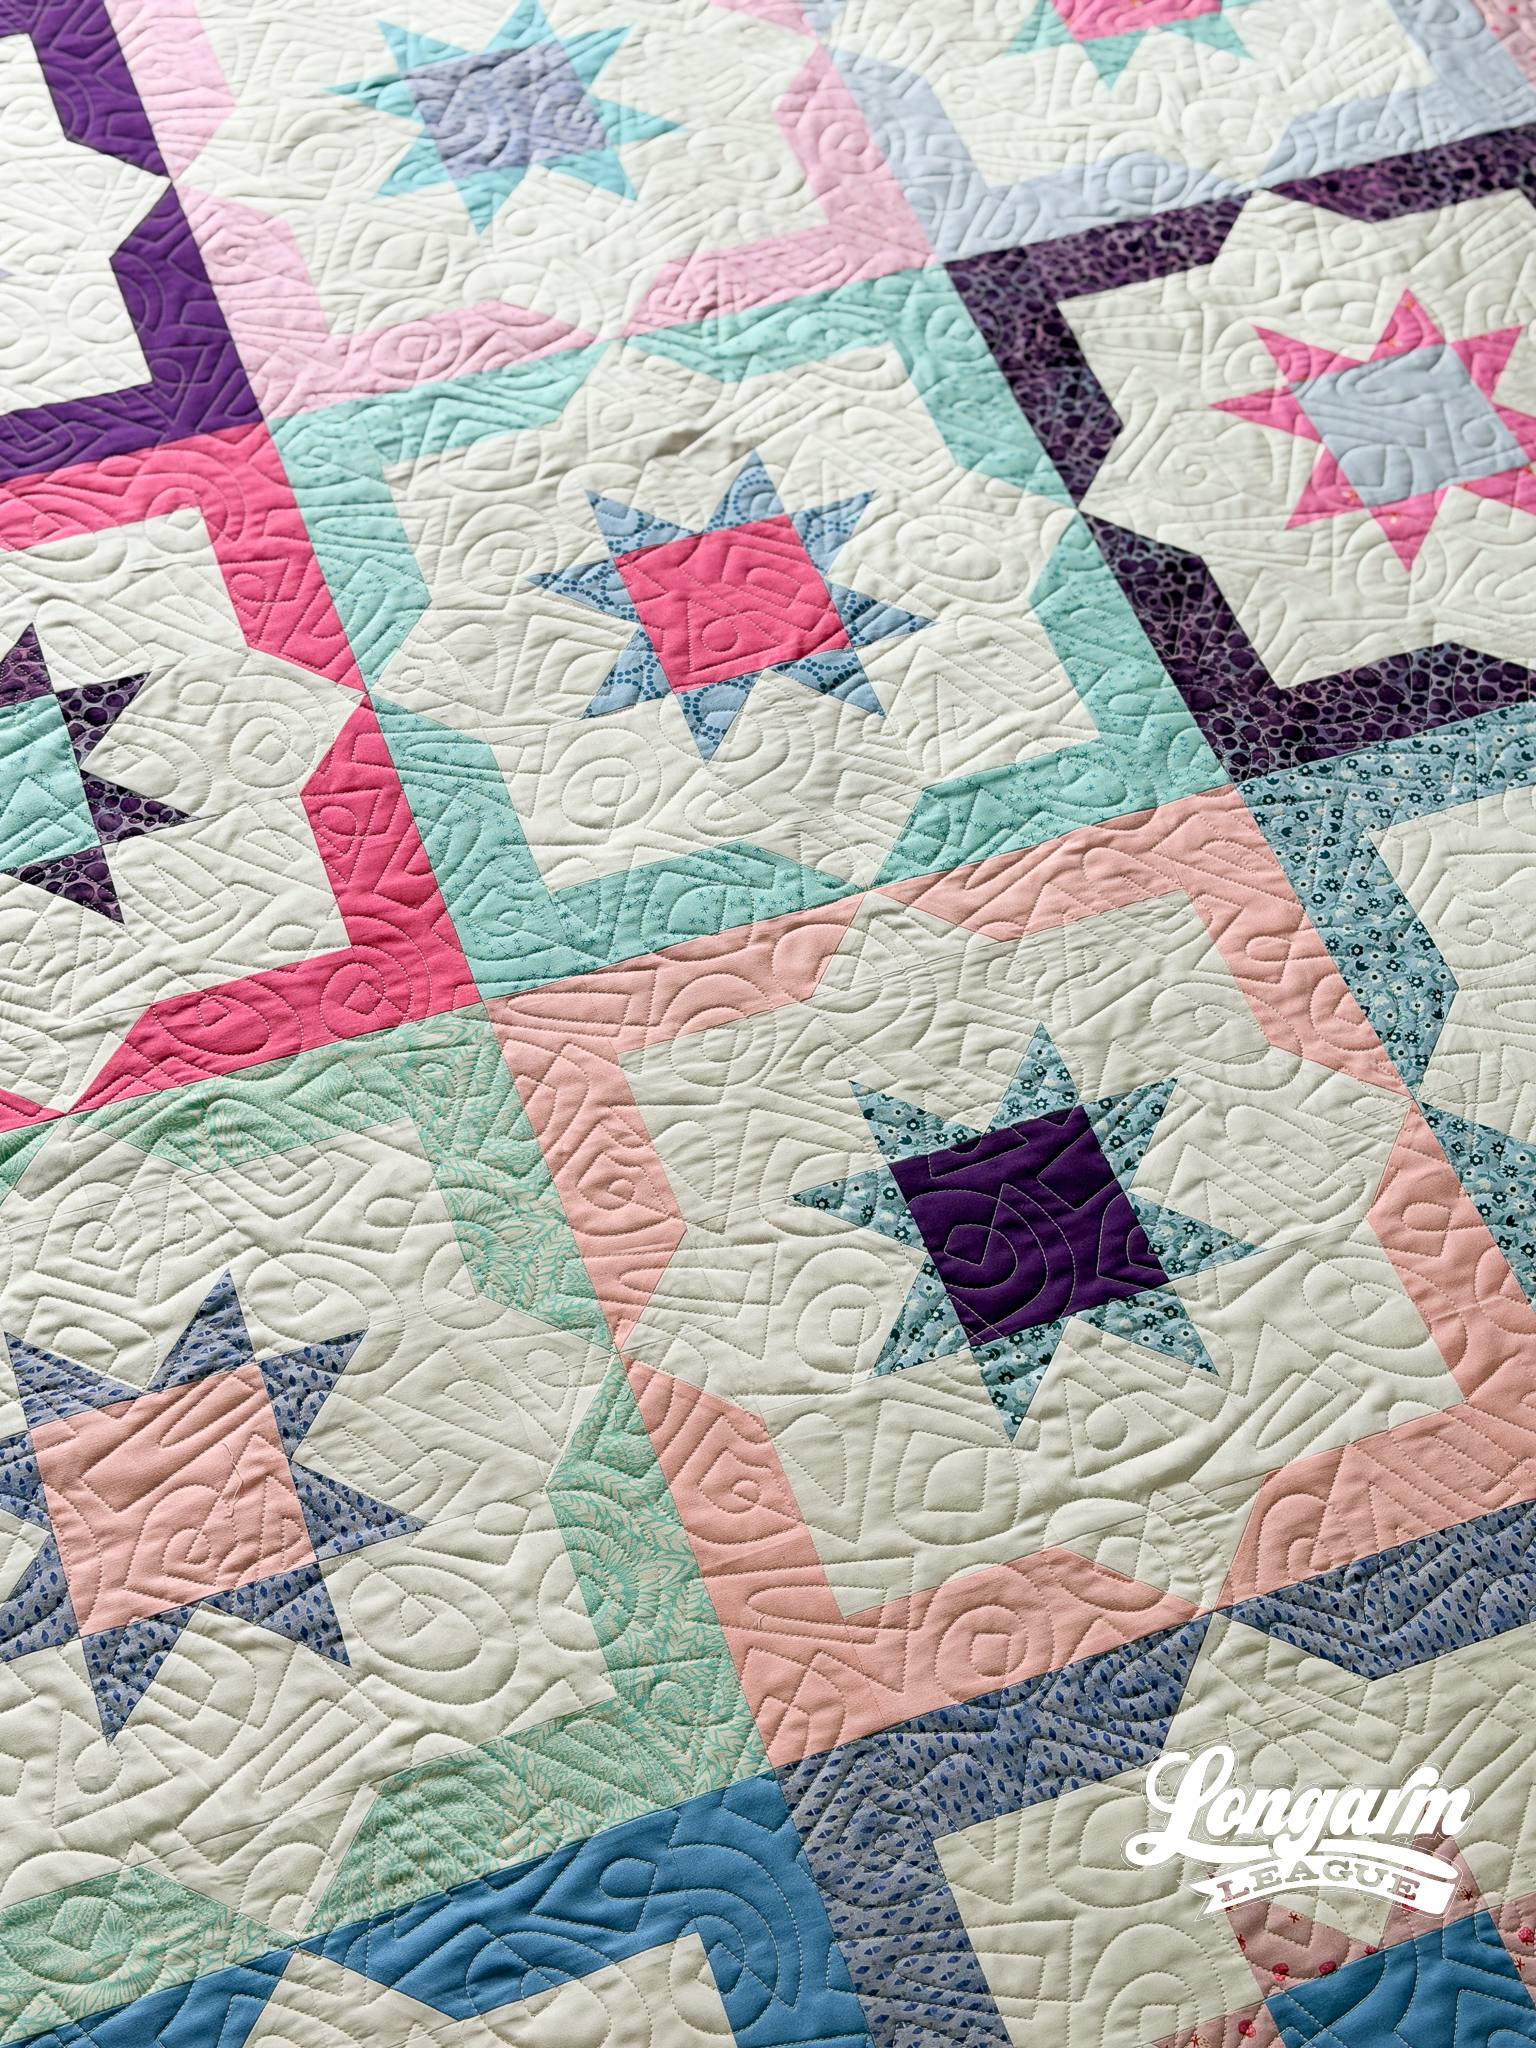
Backing & Batting Choices
I didn't have a plan for the scrappy backing, not even laying pieces out on the floor or design wall before sewing. I just kept pulling fabrics off my shelves and seaming them together one by one. Sure, I ended up with around 15 seams and a SUPER-sized backing, but I'm planning to use some of the cast-off pieces (that didn't even get to stay part of the quilt after trimming) for the binding. I usually try to have the quilt bound by the time I take photos for this blog post, but dear reader, you could say I was in a scramble to get photos taken before the dark and rainy day-before-release set in.
I used Quilters Dream Bamboo batting fresh off a new roll for the batting. This has been a go-to of mine for my own projects.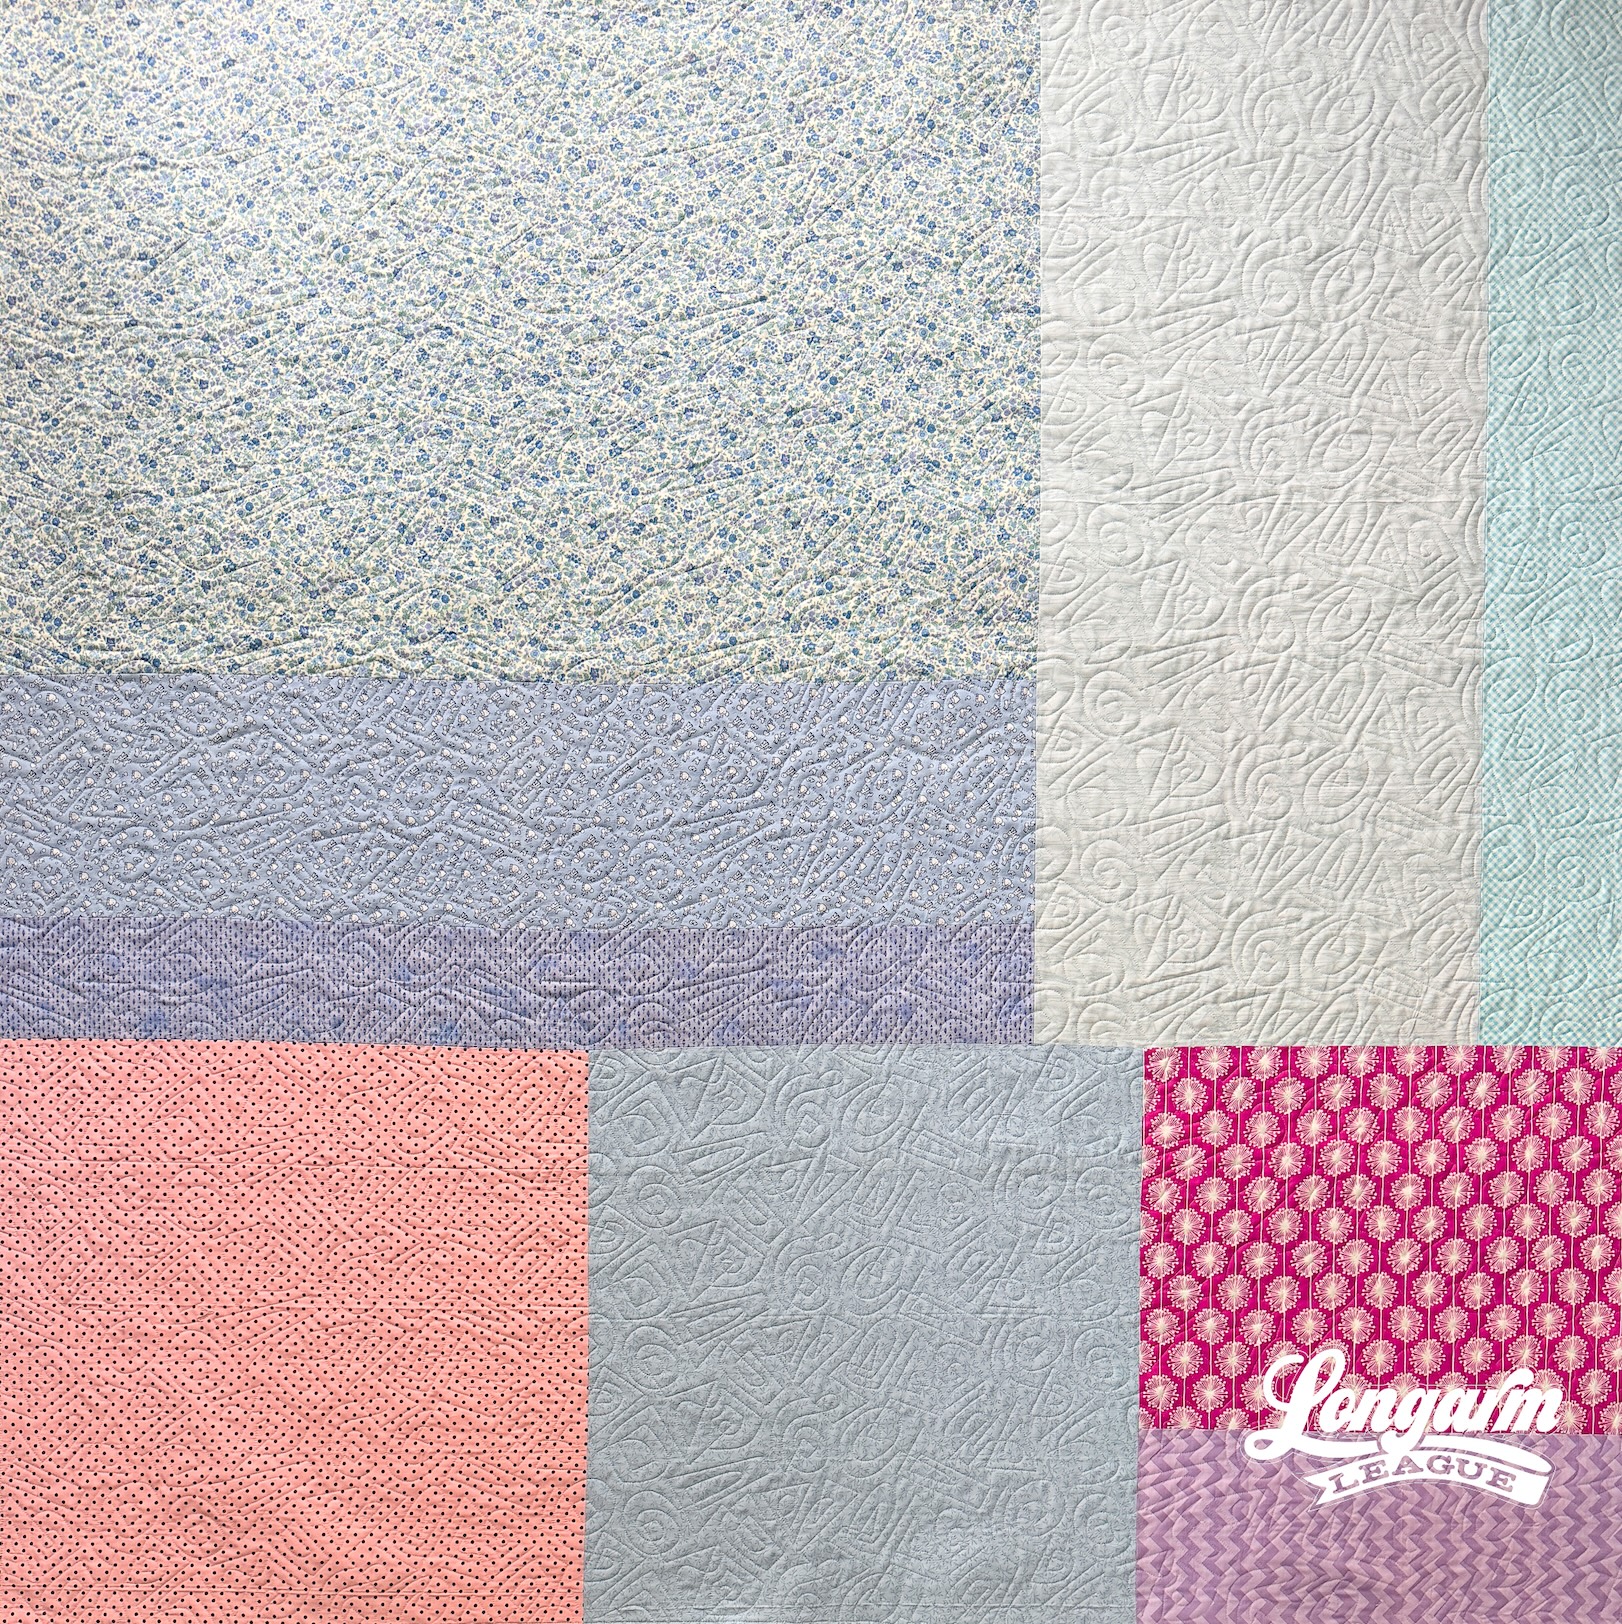
Top and Bobbin Thread
For the third time in a row, I used Wonderfil's new Polymatte thread for the top (PM201), a 40-weight, 2-ply matte polyester thread, paired with Wonderfil's 80-weight DecoBob (DB112) bobbin thread. It's still working for me. Now, it's more a matter of convenience and using the same bobbin case with check spring intact and tension dialed in, rather than swapping out bobbin cases and going back to Magna-Glides. Both have proven to be very reliable with balanced tension throughout each prewound.
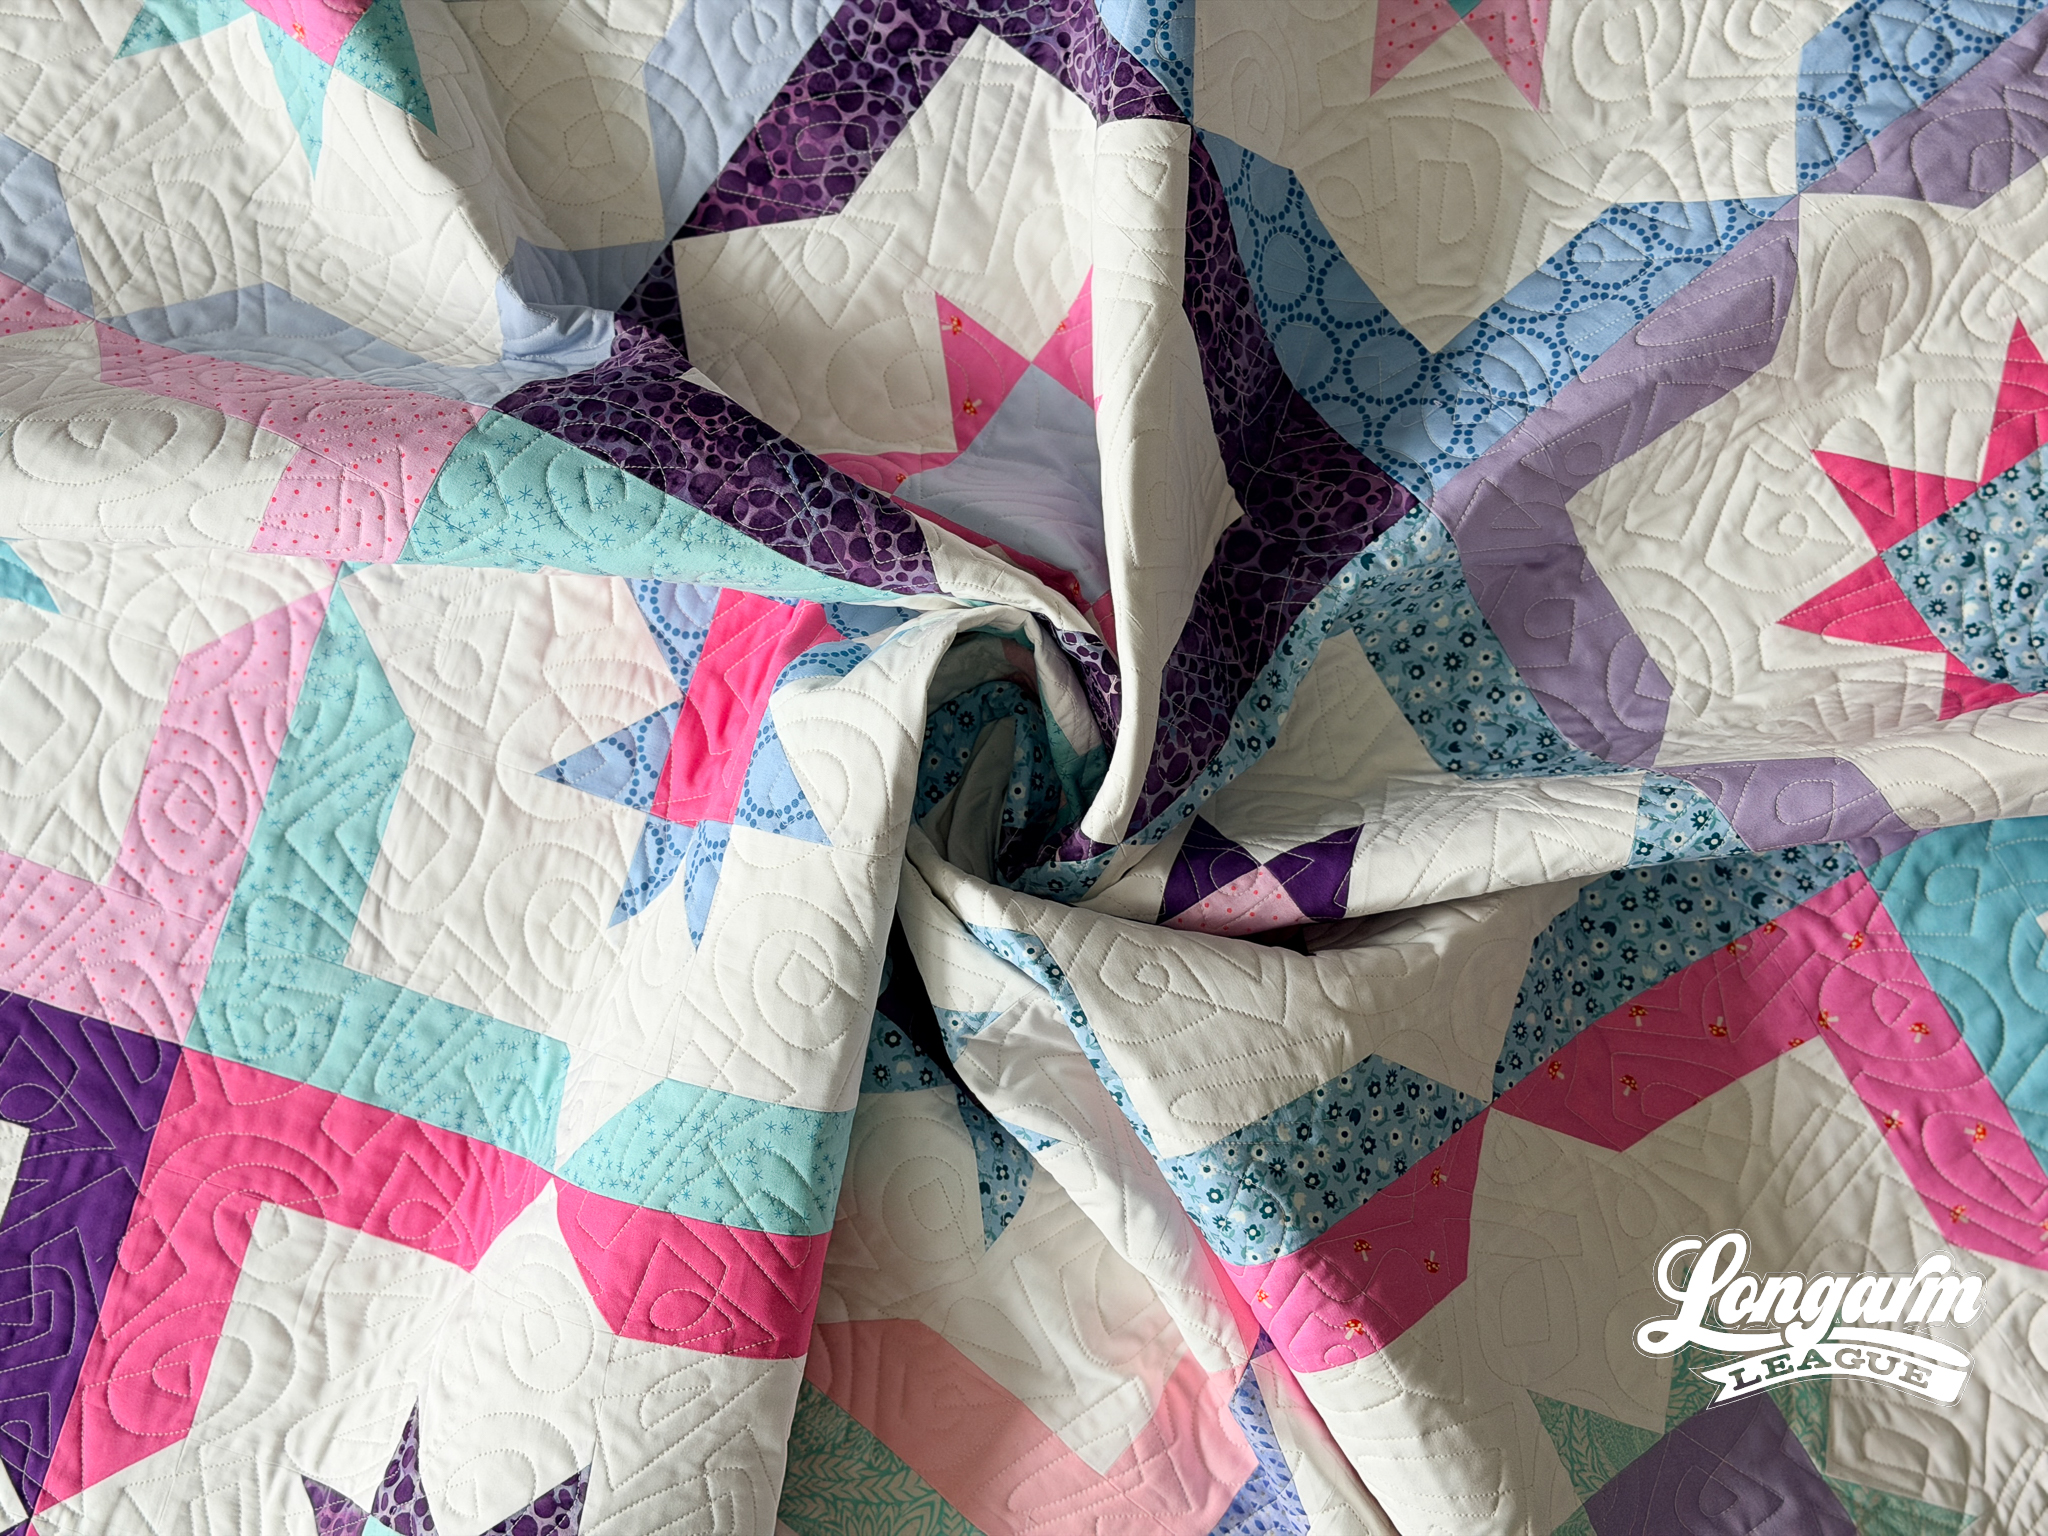
The Quilting Details
Difficulty Level: Easy
If you'd like to view the stitch path, a short video is available at the top of the blog post. I audibly goaned when I was trimming the quilt after it was complete and realized I didn't take any videos of my machine stitching, like I normally do. Doh! Alas, I did record the stitch path from the software, which is what you'll see in the aforementioned video. For the design itself, there is no offsetting, no backtracking, and alignment is easy.
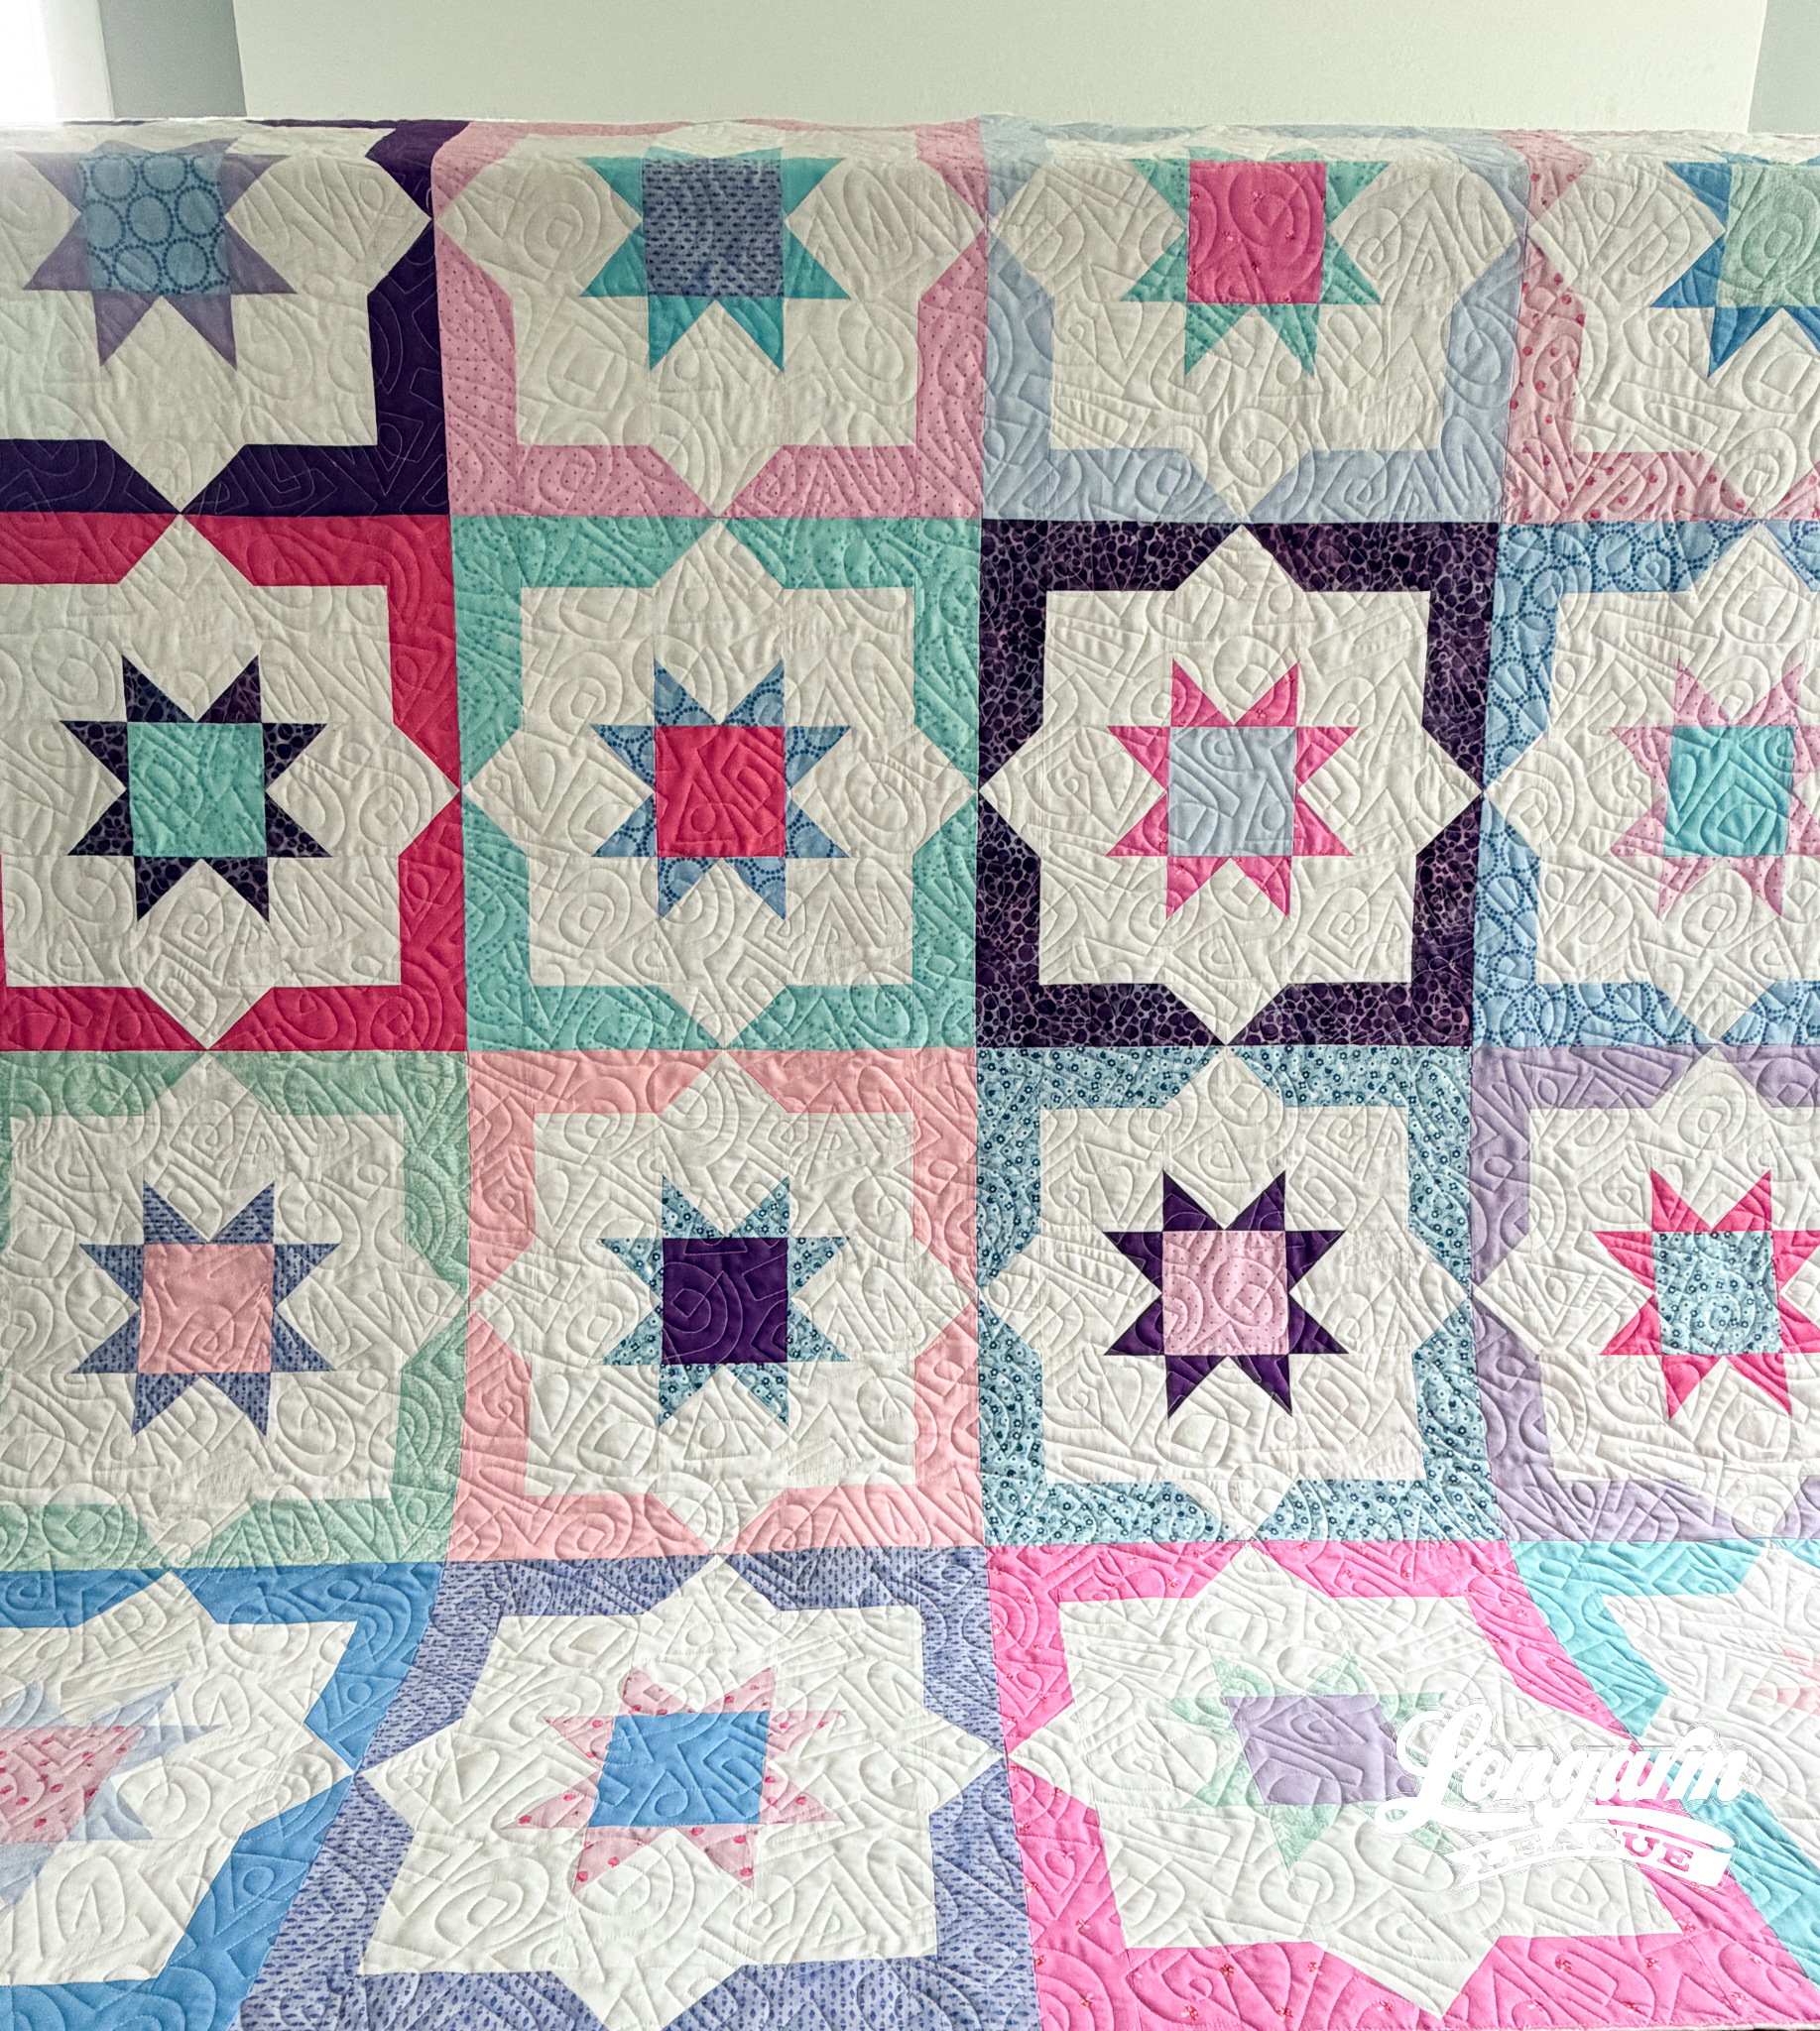
Scale
The default size of the file is a bit bigger than most of my designs because of the number of elements included in the singular repeat. When I stitched it on this quilt, I sized down a few inches from the default. You can see specifics if you keep scrolling. I would consider this a happy medium as far as density, with room to adjust smaller or larger. At this scale, I had enough room in my quiltable throat space to stitch two full rows without stopping to advance.
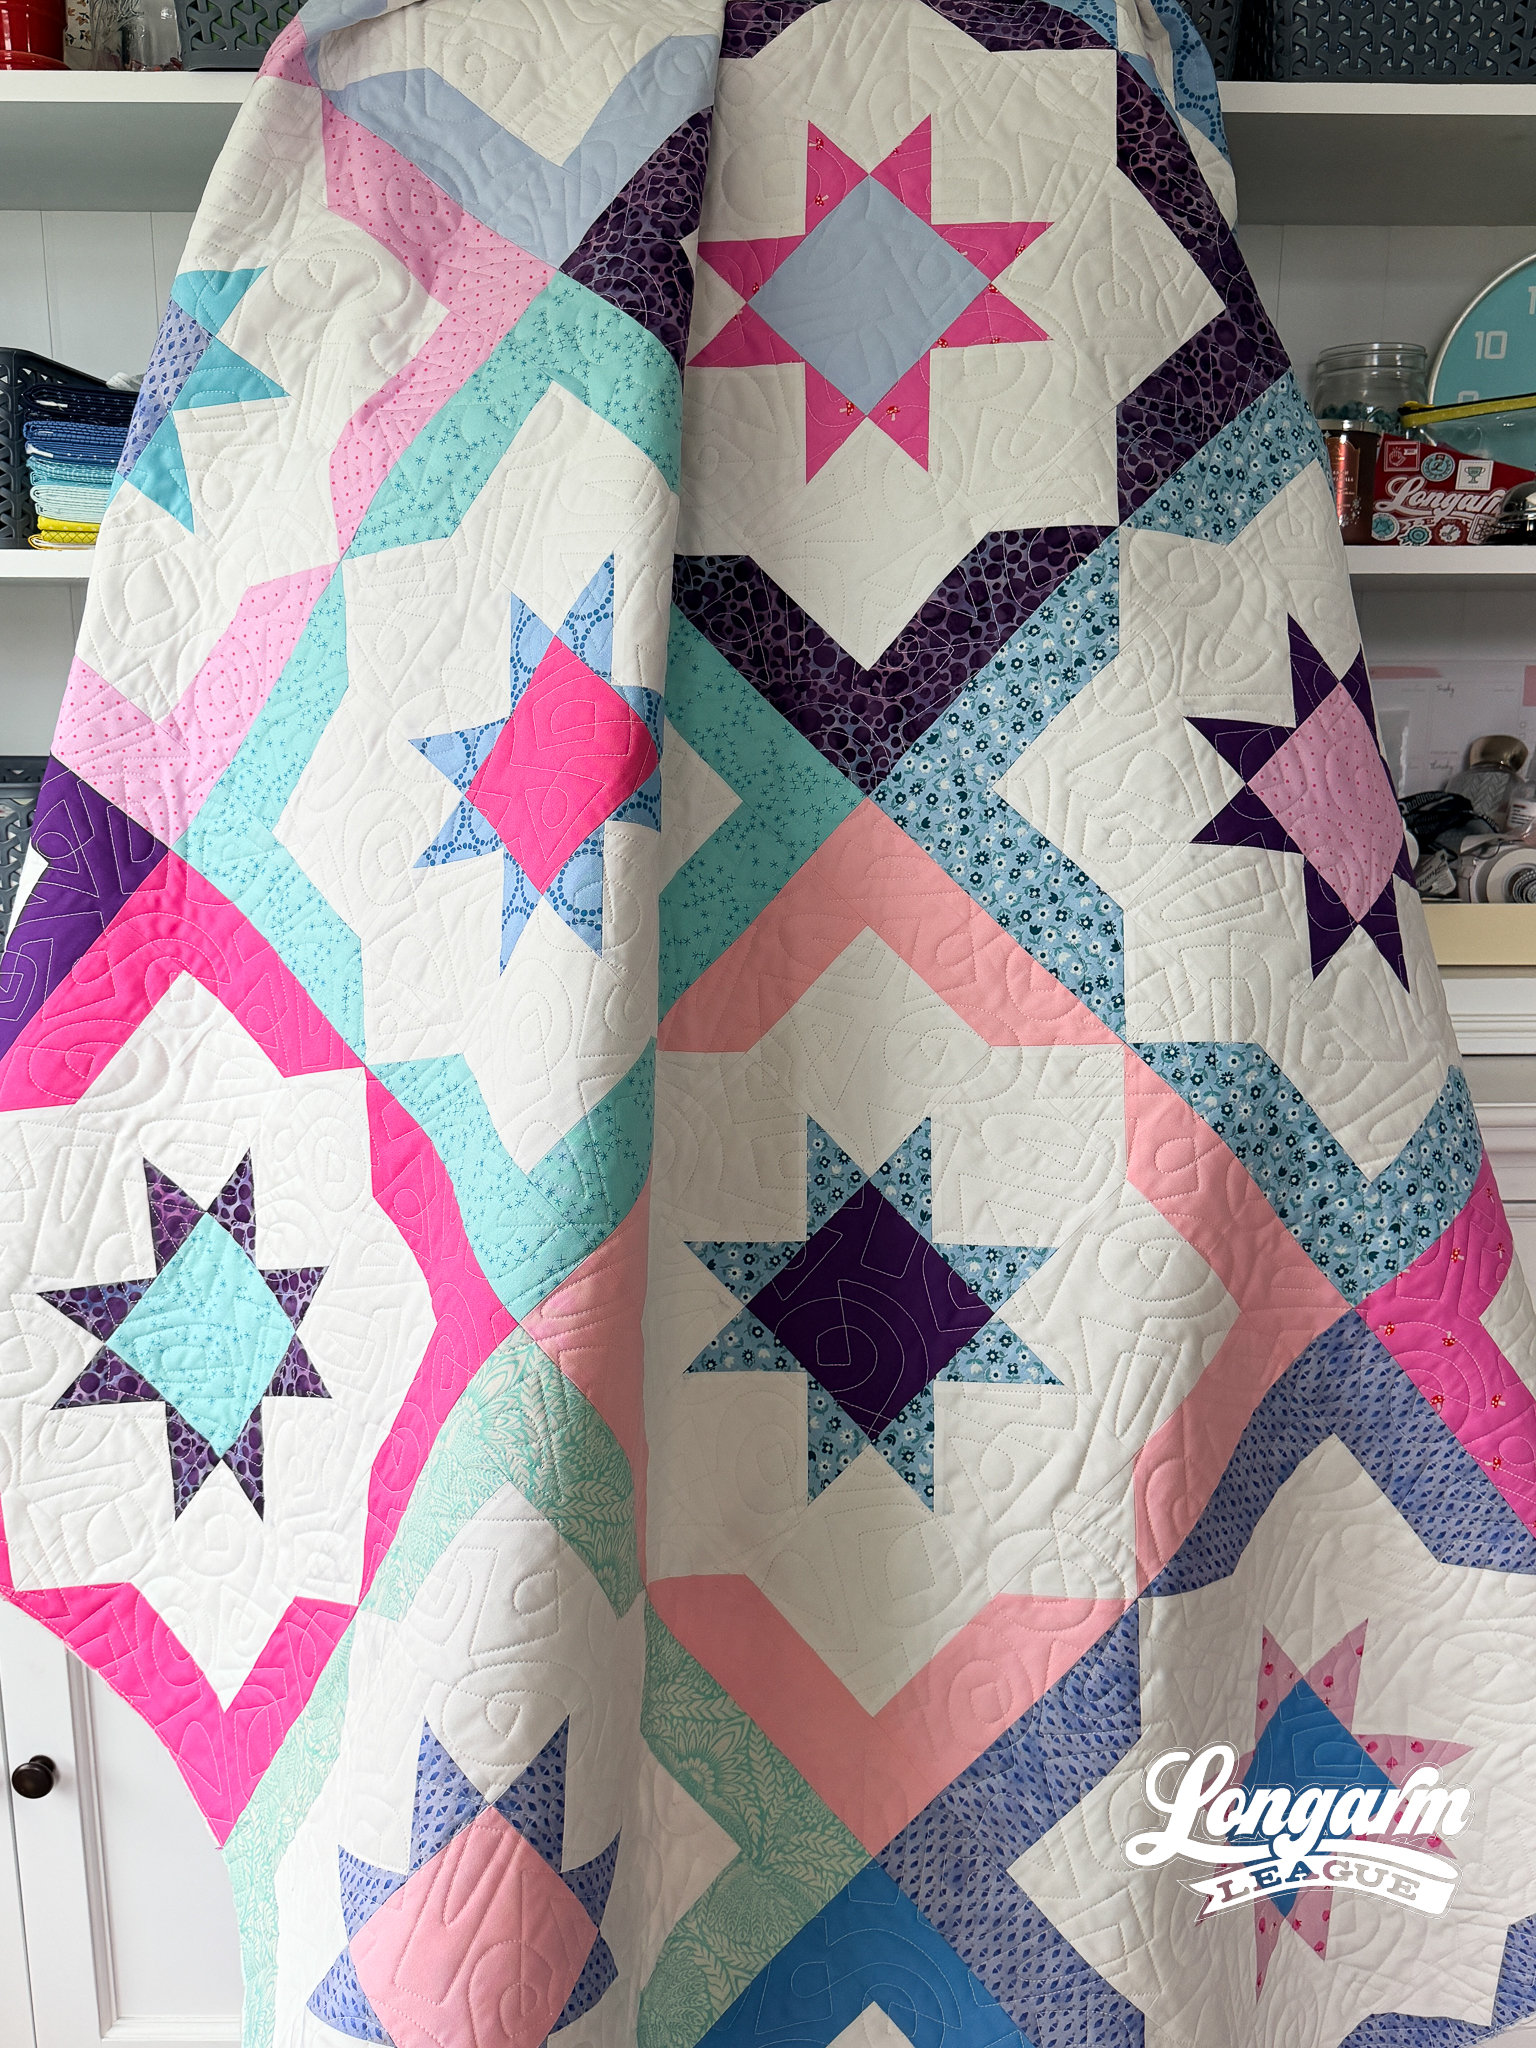
Here are the sizing specifications for how I set up this quilt using my Intelliquilter (64" x 64" quilt size):
Row height: 6.5"
Gap: -2.053"
Pattern height: 8.553" (measurement from top to bottom of the repeat)
Offset: none
Backtracking: none
Here's a look at the included PDF: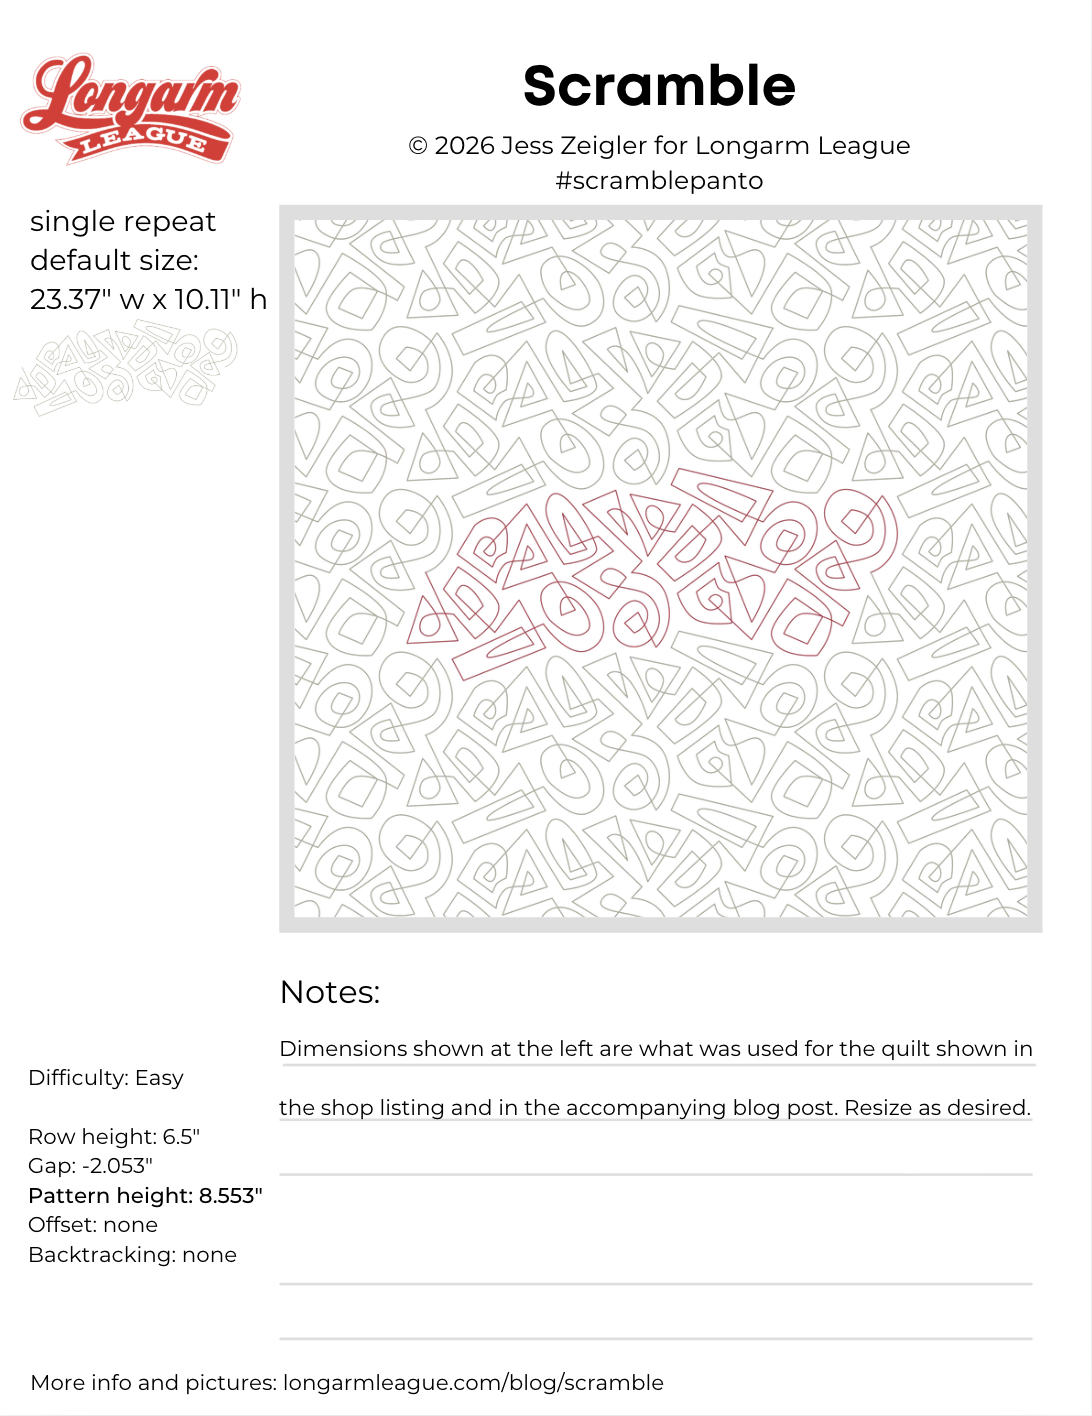
Interested in getting new digital pantograph designs like this one on the day they're released (and at a deep discount)? Sign up for our Digital Panto Club and get them delivered directly to your inbox on the first Wednesday of each new month.

Jess Zeigler
Longarm League Commish & Owner of Threaded Quilting Studio, LLC.


