Echoed Swirls and the Mini Modern Heart Quilt
This is not a drill. I was able to work on a quilt top I started making for myself back in 2017.
About a month ago, I was invited to a quilting retreat at Stitch Supply Co. in Altoona, Wisconsin. I had the best time! It really supercharged my desire for patchwork again. Now I want to finish WIPs and start new projects with the fabulous fabric I bought there.
For this project, the quilt pattern I used is called Mini Modern Heart. It's actually a foundation paper piecing block I designed to use up small scraps of fabric. It certainly is a good pattern for doing just that!
My original intention was to make one block per day for a year—but, you know—life happened and I came up WAYYYY short of my goal.
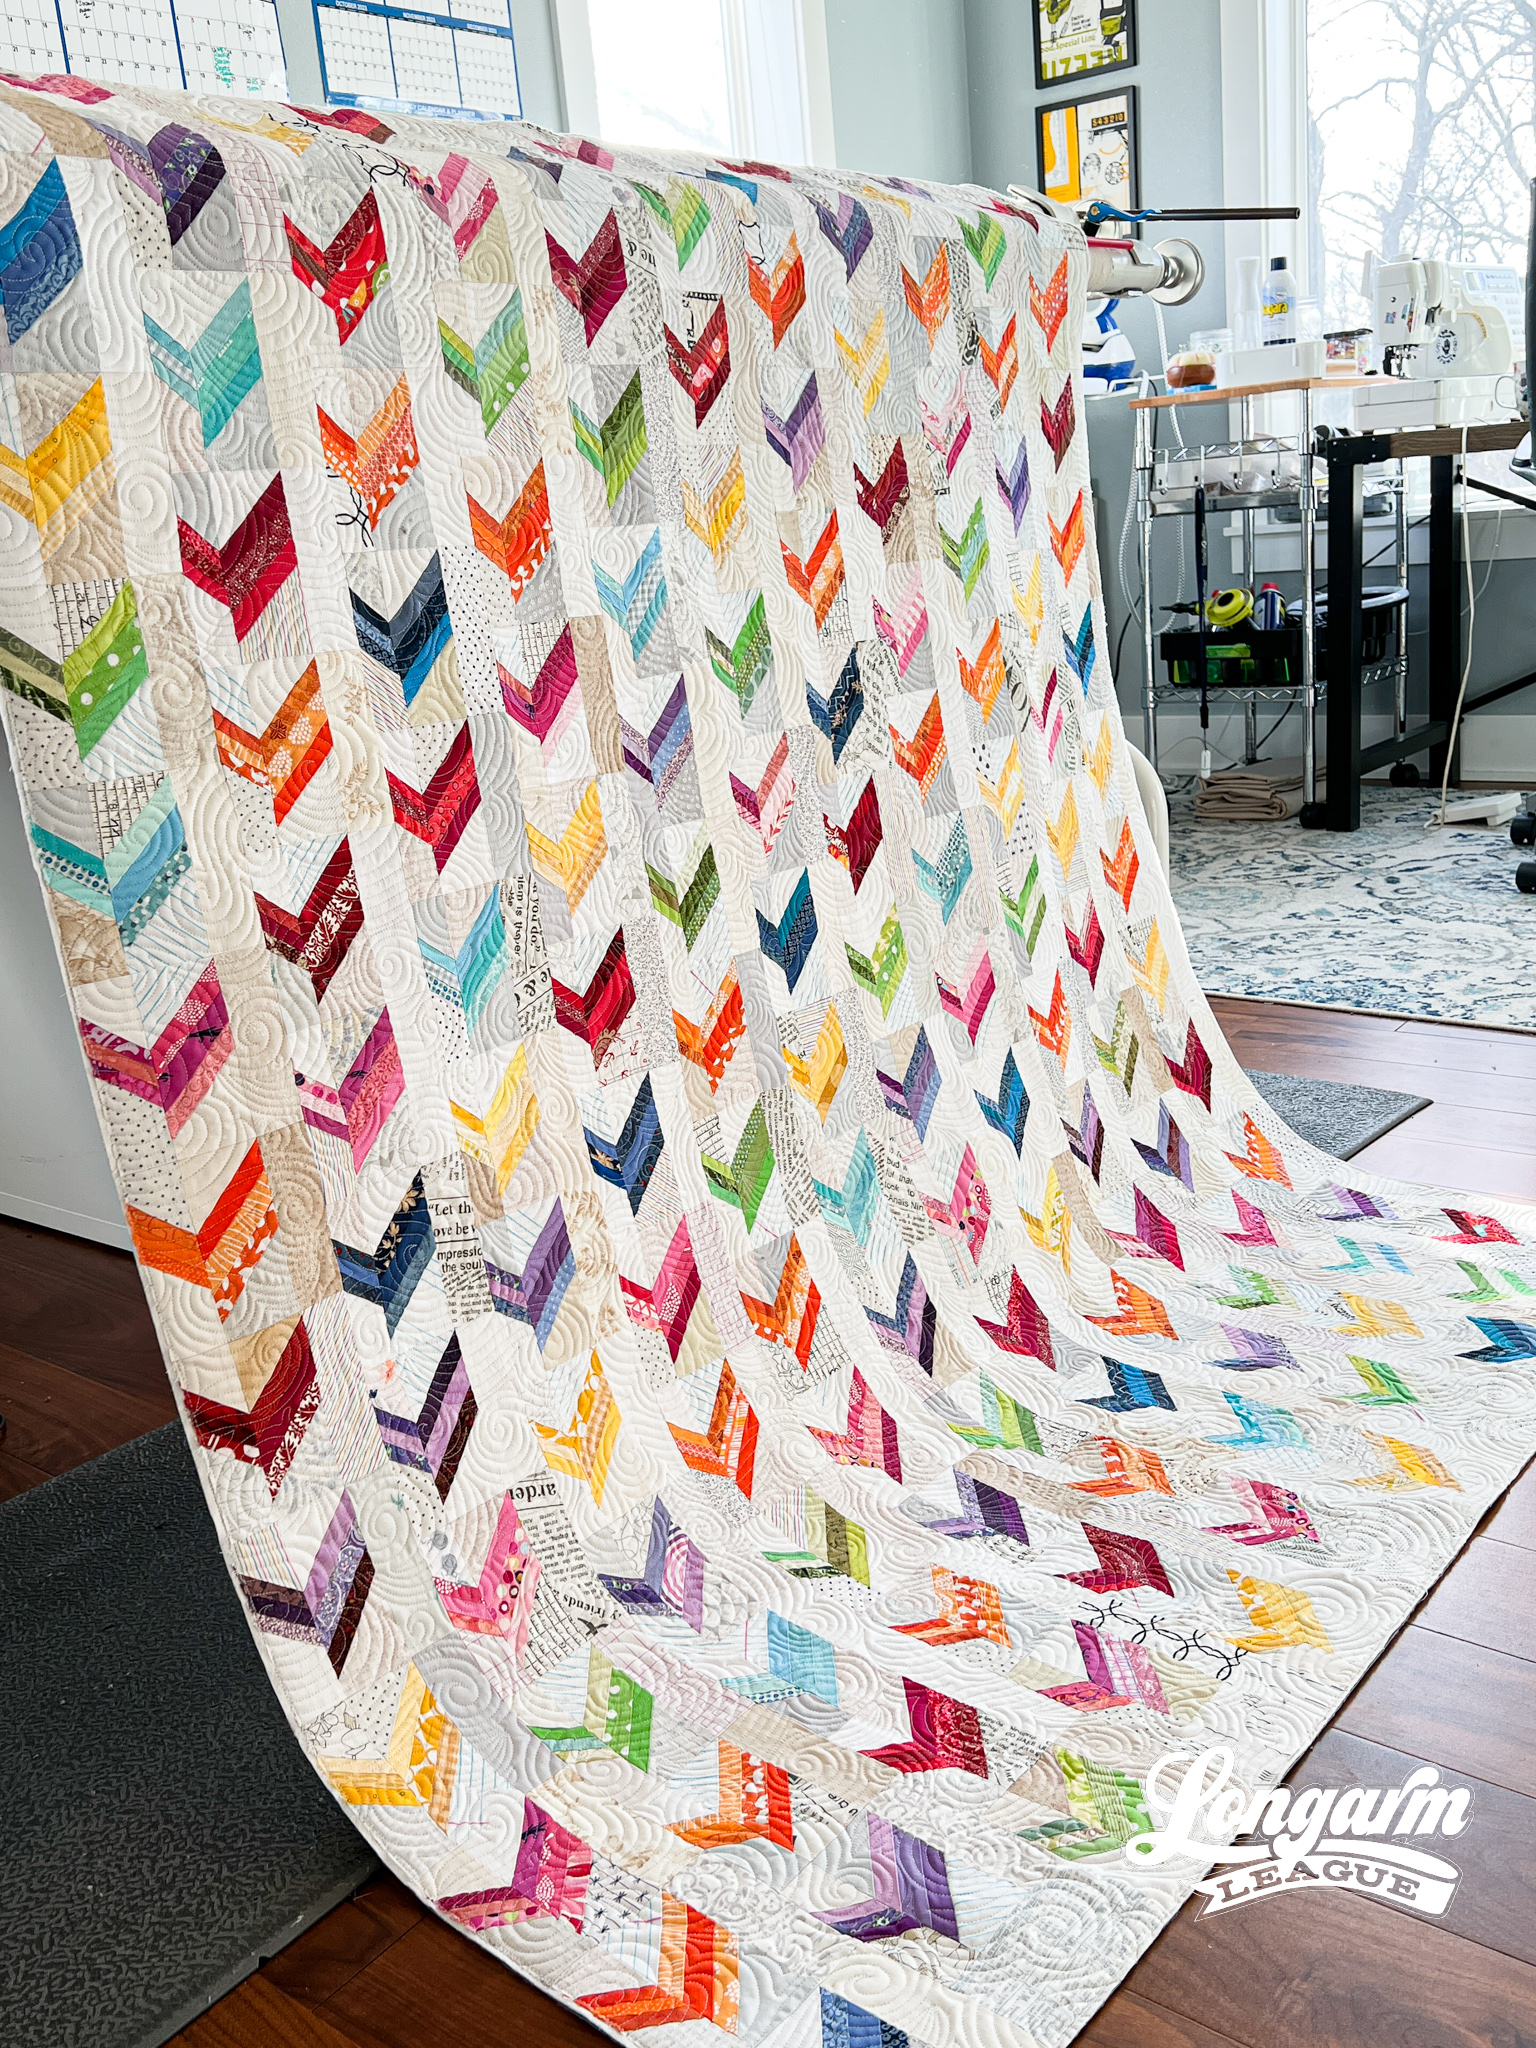
At the retreat, I decided to wrap-up the project once and for all. I abandoned my original plan (365 blocks) when I realized that I had enough blocks to make a nicely sized lap quilt.
And guess what?! I ended up with 11 columns of 13 blocks each, which is drumrolllllllll... 143 blocks! Have you ever heard that 143 is code for I love you?
Well, it is.
I (1 letter)
l-o-v-e (4 letters)
y-o-u (3 letters).
Of course, by the same logic, 143 could also represent "I hate you", "a cute cat", or "I have flu".
What I'm trying to say is laziness wins AGAIN and clearly *this* was meant to be! 🏆
The next photo was taken during the retreat after I triumphantly stitched the last seam. Side note: I loved the design walls in the retreat space! All around, it was a paradise for quilters and a great place to meet new friends.

When I got ready to quilt the top last weekend, I noticed that my dwindling batting roll didn't have enough left for this 52" wide lap quilt. I went down to my basement to dig into the single batts that I had stored down there over a year ago.
Wouldn't you know, one of our cats had peed in the box the batting was stored in! This discovery slowed my loading process considerably. One of the wool batts (93" x 96") had to be thrown away. OUCH. The bamboo batting I wanted to use for this project was mostly protected except for a little hole or holes in the plastic covering that allowed some moisture to penetrate in one narrow area.
Instead of trying to clean the spots, I decided to cut out the soiled strip from the middle of the Double prepackaged batt (93" x 96") while it was still folded from the package.

Next, I seamed the two halves together using a wide zig-zag stitch on my domestic sewing machine. Then I trimmed the batt to the size needed for this project and loaded up the batting as usual. I had another rather large piece leftover that I'll be able to use for another lap-sized quilt in the future. <sarcasm> Thanks, cats! </sarcasm>
But really, I'm so glad that this wasn't a total waste. I posted a Reel on Instagram of the batting seaming process here.
I took advantage of the fact that the quilting design is multi-directional and loaded the quilt top on its side so I could stitch longer passes. This way, I didn't need to advance the quilt as many times in order to complete it. It's a little trick of the trade. ;) I find that with computerized quilting, so many designs ARE directional and therefore the side-load can't be employed as often as with free motion or custom quilting.
Let's talk about the quilting design now, shall we?
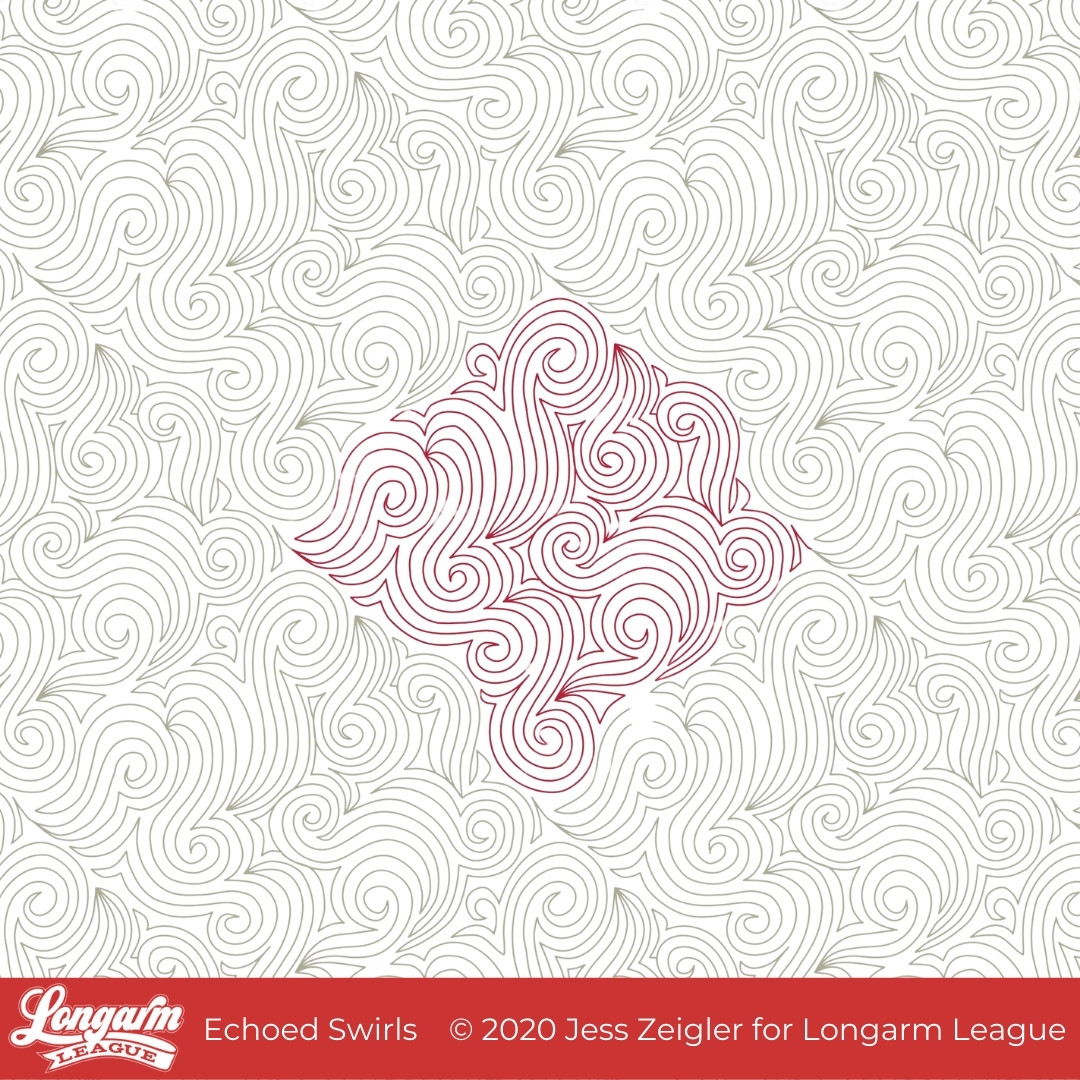
The edge-to-edge digital pantograph is called Echoed Swirls and it's one I designed and released to the Longarm League membership in July of 2020. It's based on a design I used a lot before I got my Intelliquilter. I was a freehand and custom quilter back then.
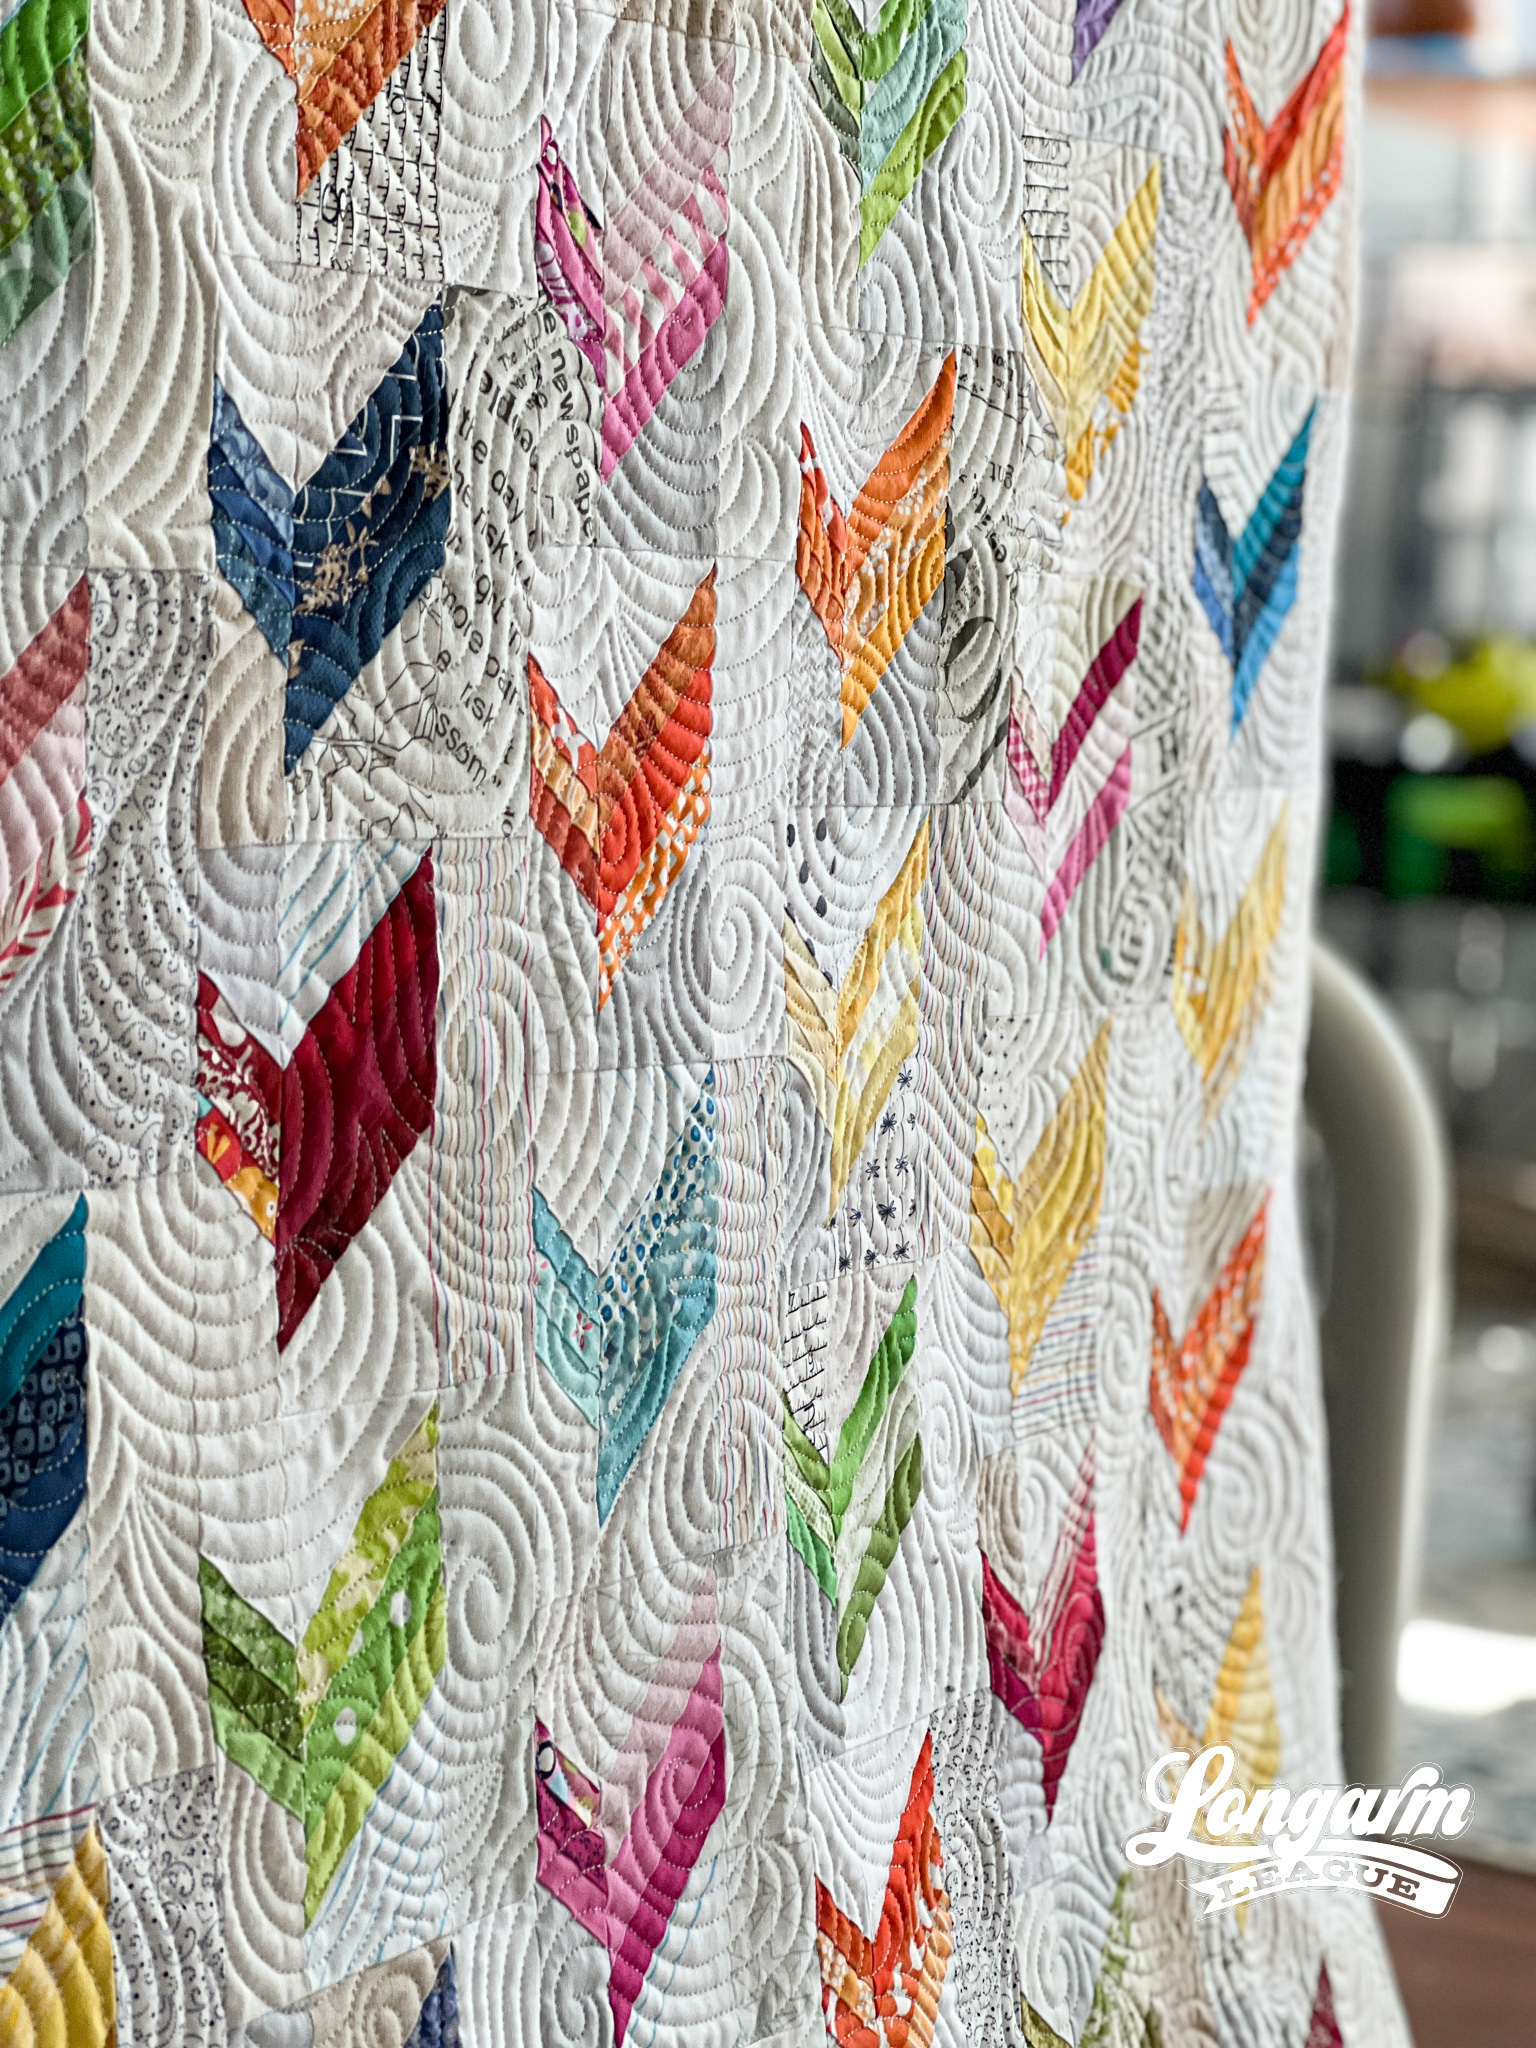
The single repeat of the swirl motif is in a diamond shape. As a designer, I like using this technique to disguise the rows, making the result look similar to free motion quilting.
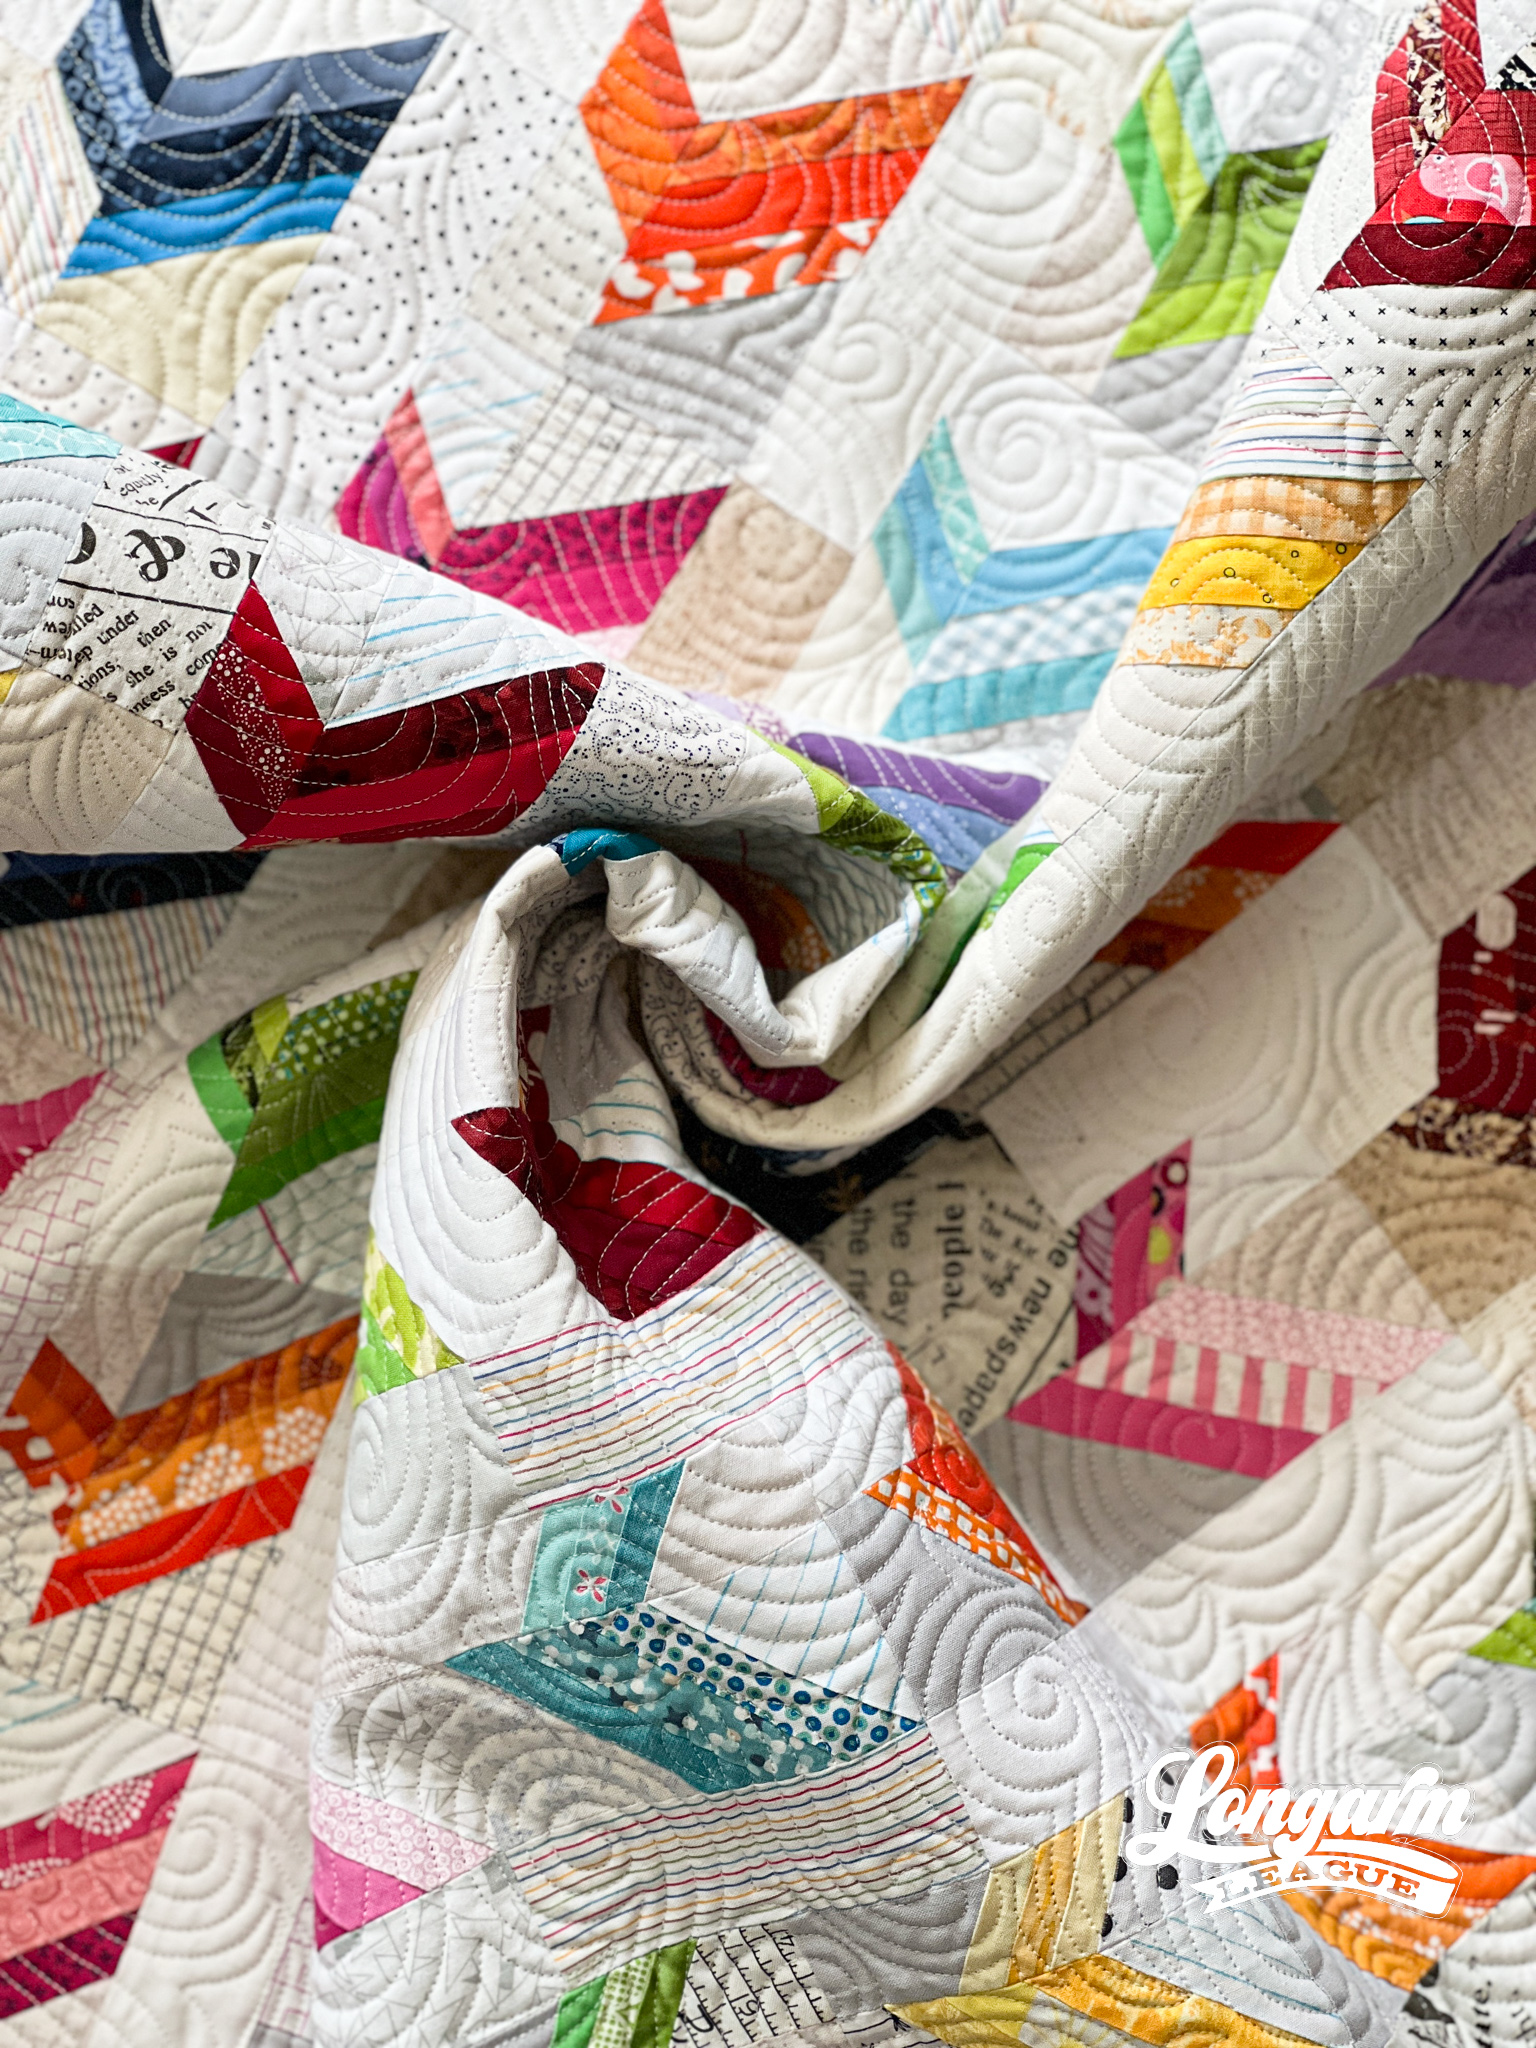
This quilt is approximately 52" x 63" in size. Here's how I scaled the Echoed Swirls pantograph:
Row height: 7"
Gap: -5.727"
Pattern height: 12.727"
Offset: 50%
Backtracking: minimal
If your computerized system doesn't quantify the gap between rows, you'll want to base your dimensions on the pattern height dimensions given above.
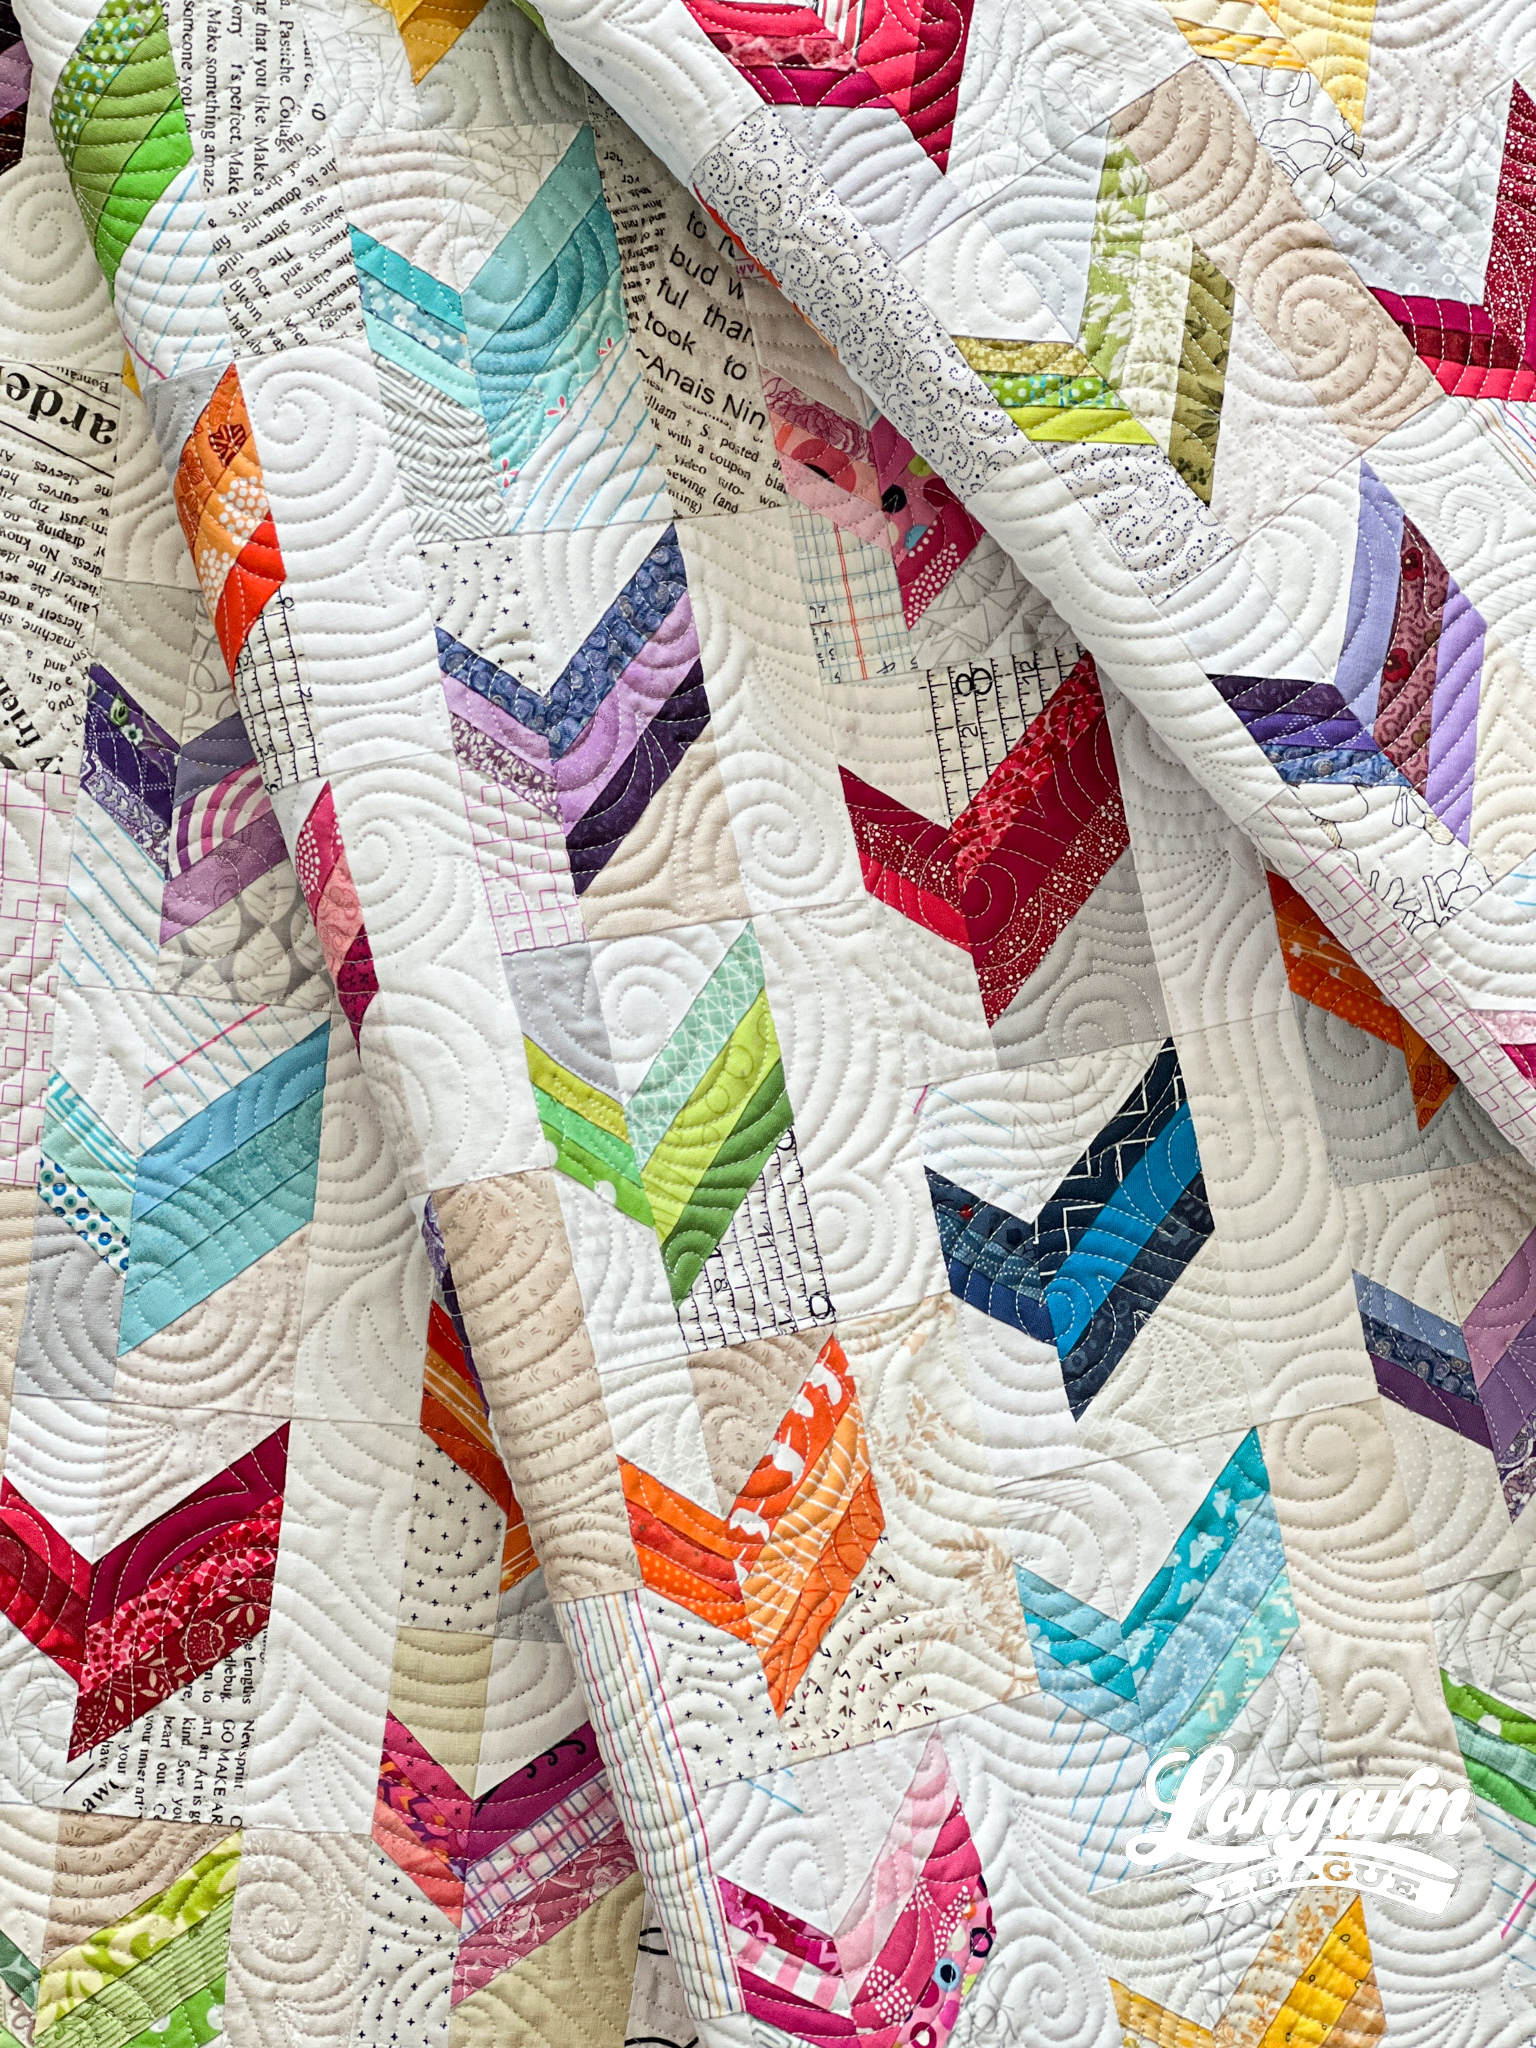
In case you didn't see it, there's a video showing the [sped-up] stitch-out a the very top of this blog post.
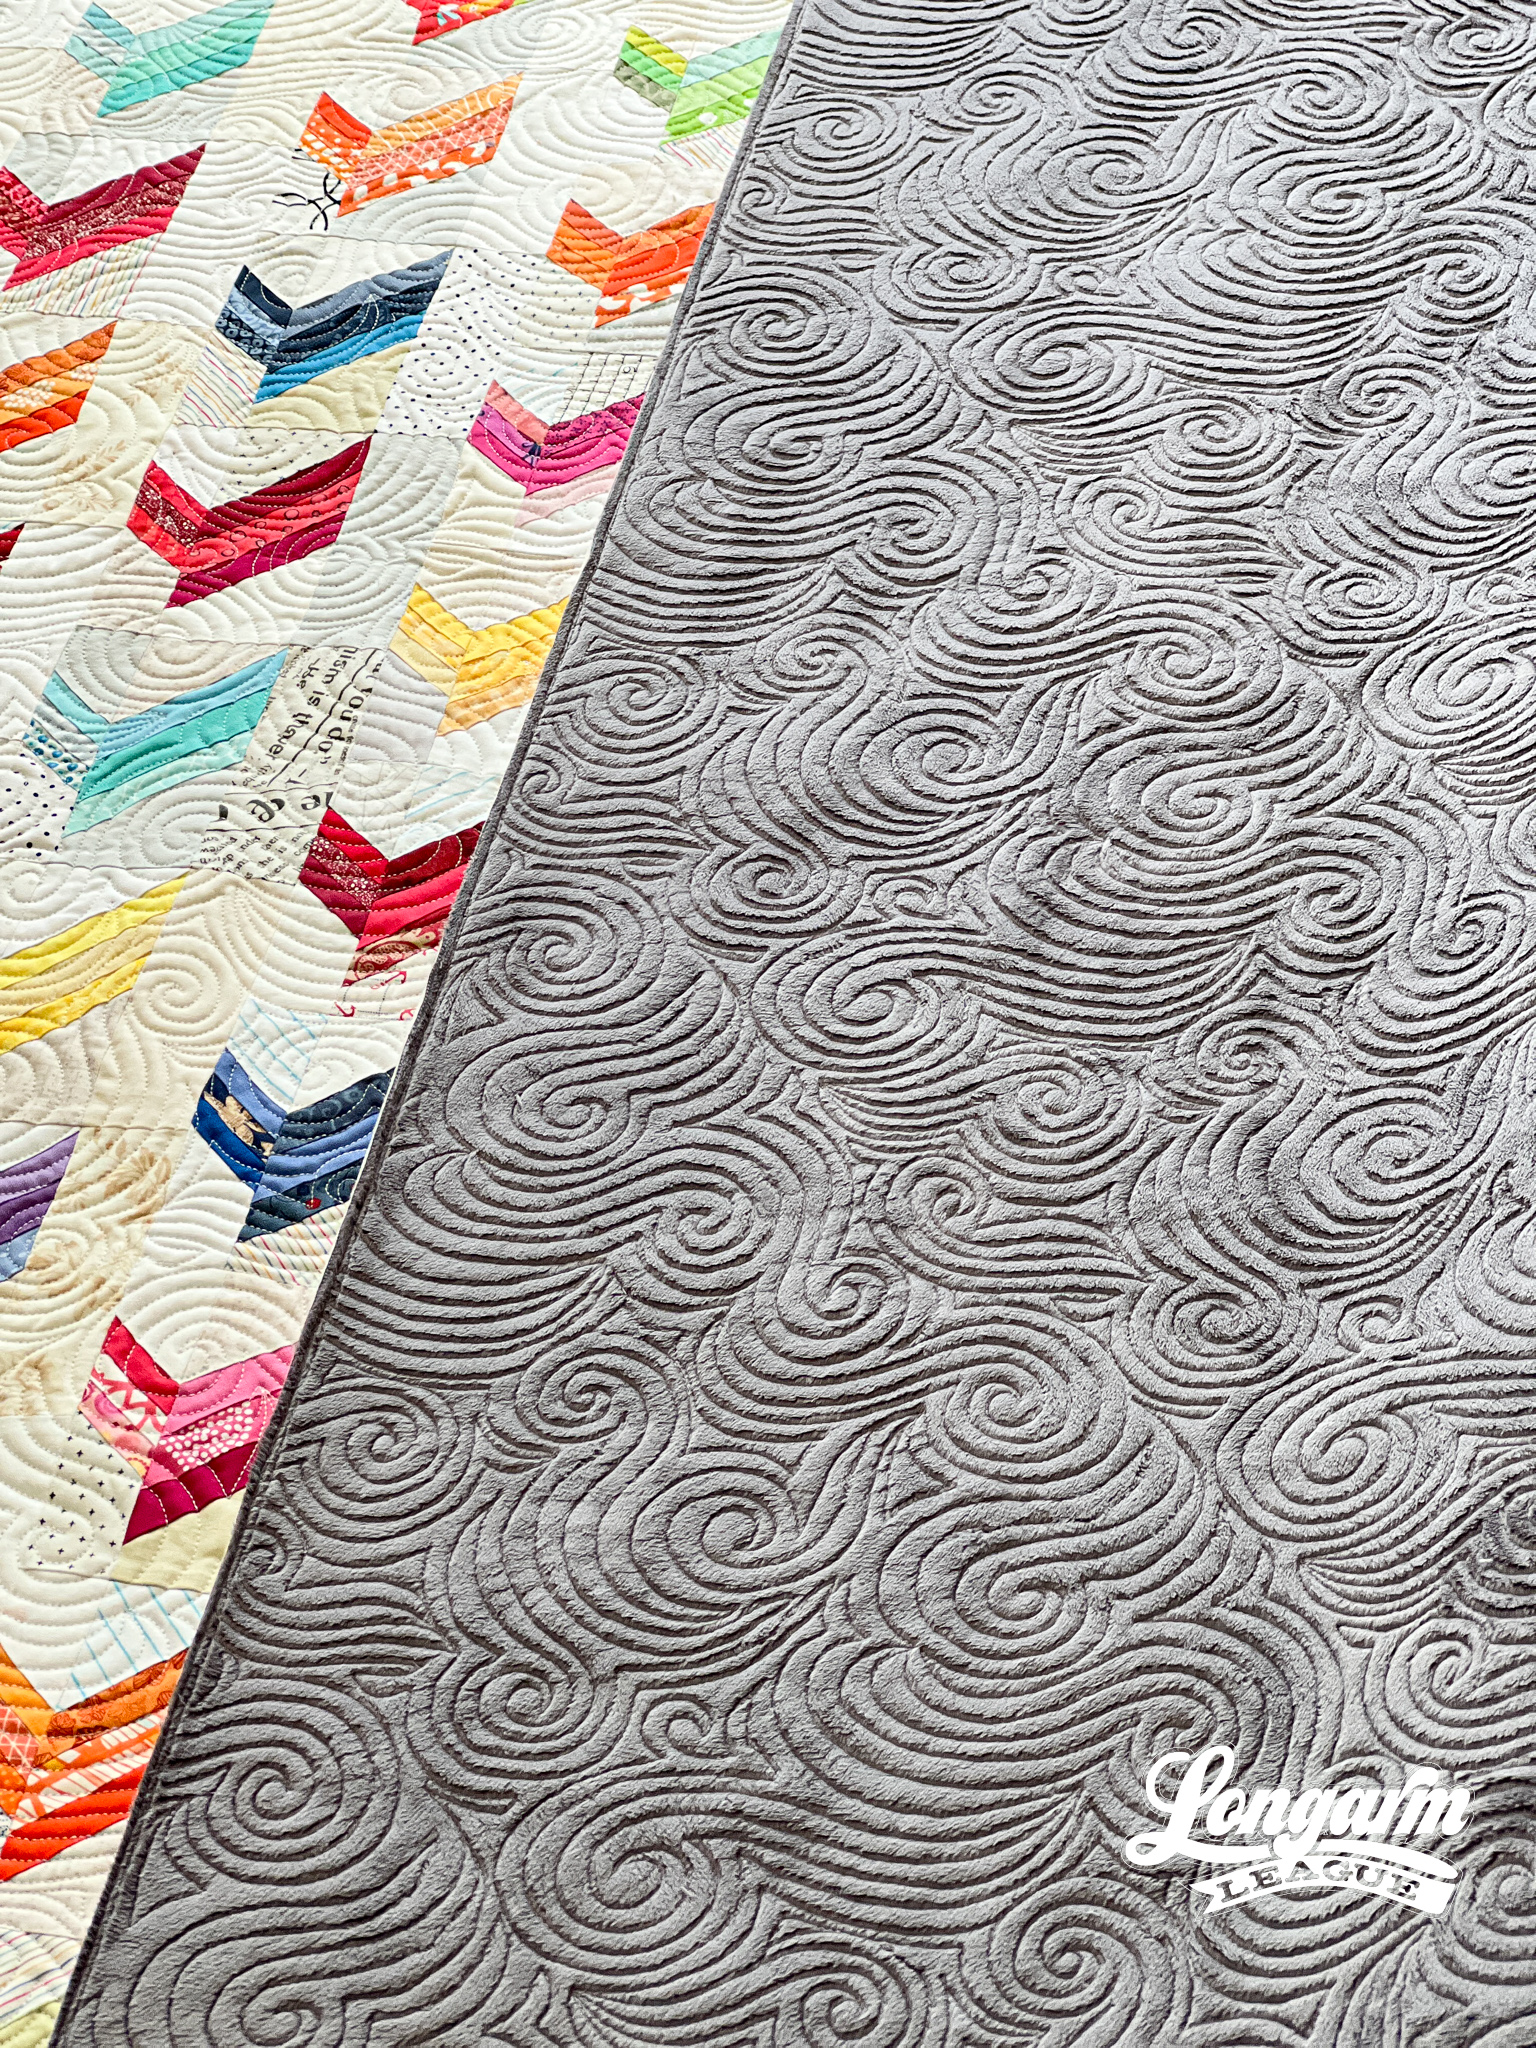
Oooooh lala! Yes, I used Minky on the back for optimal coziness! I also really like how well the quilting shows up on the solid color.
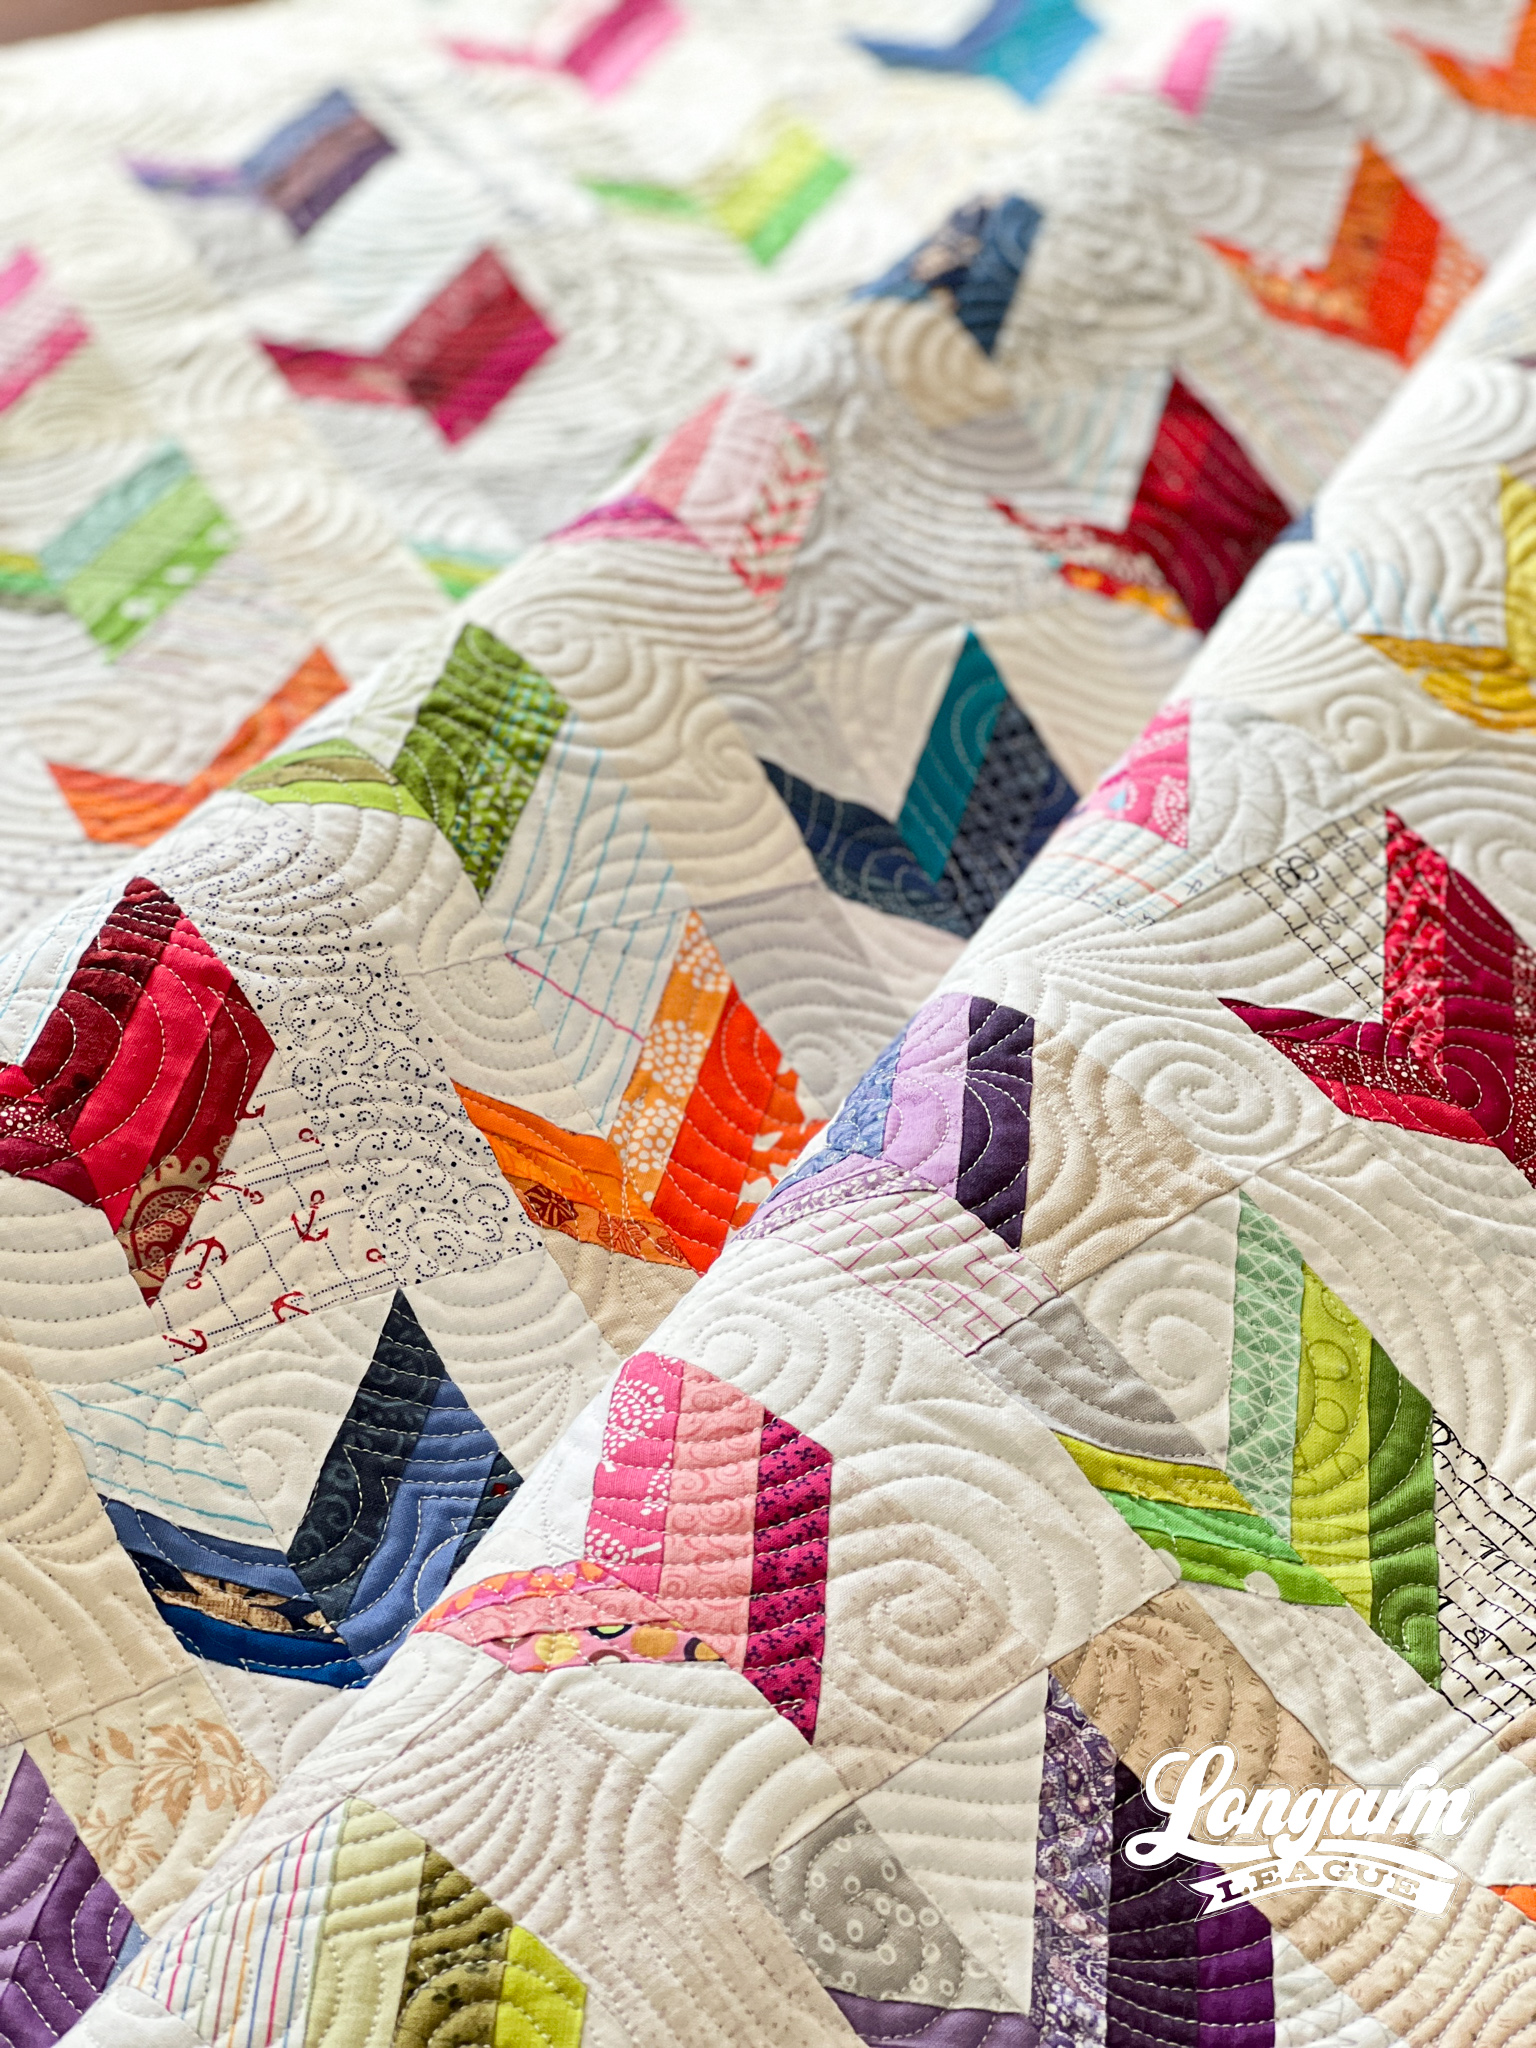
By nature, this is a dense design. If you have enough quilt-able area depending on your throat space and frame and wanted to size a bit bigger than what I've shown, go right ahead! This design is going to hold up well if you were to increase the scale. Just don't size it so big that your machine head will run into your bars.
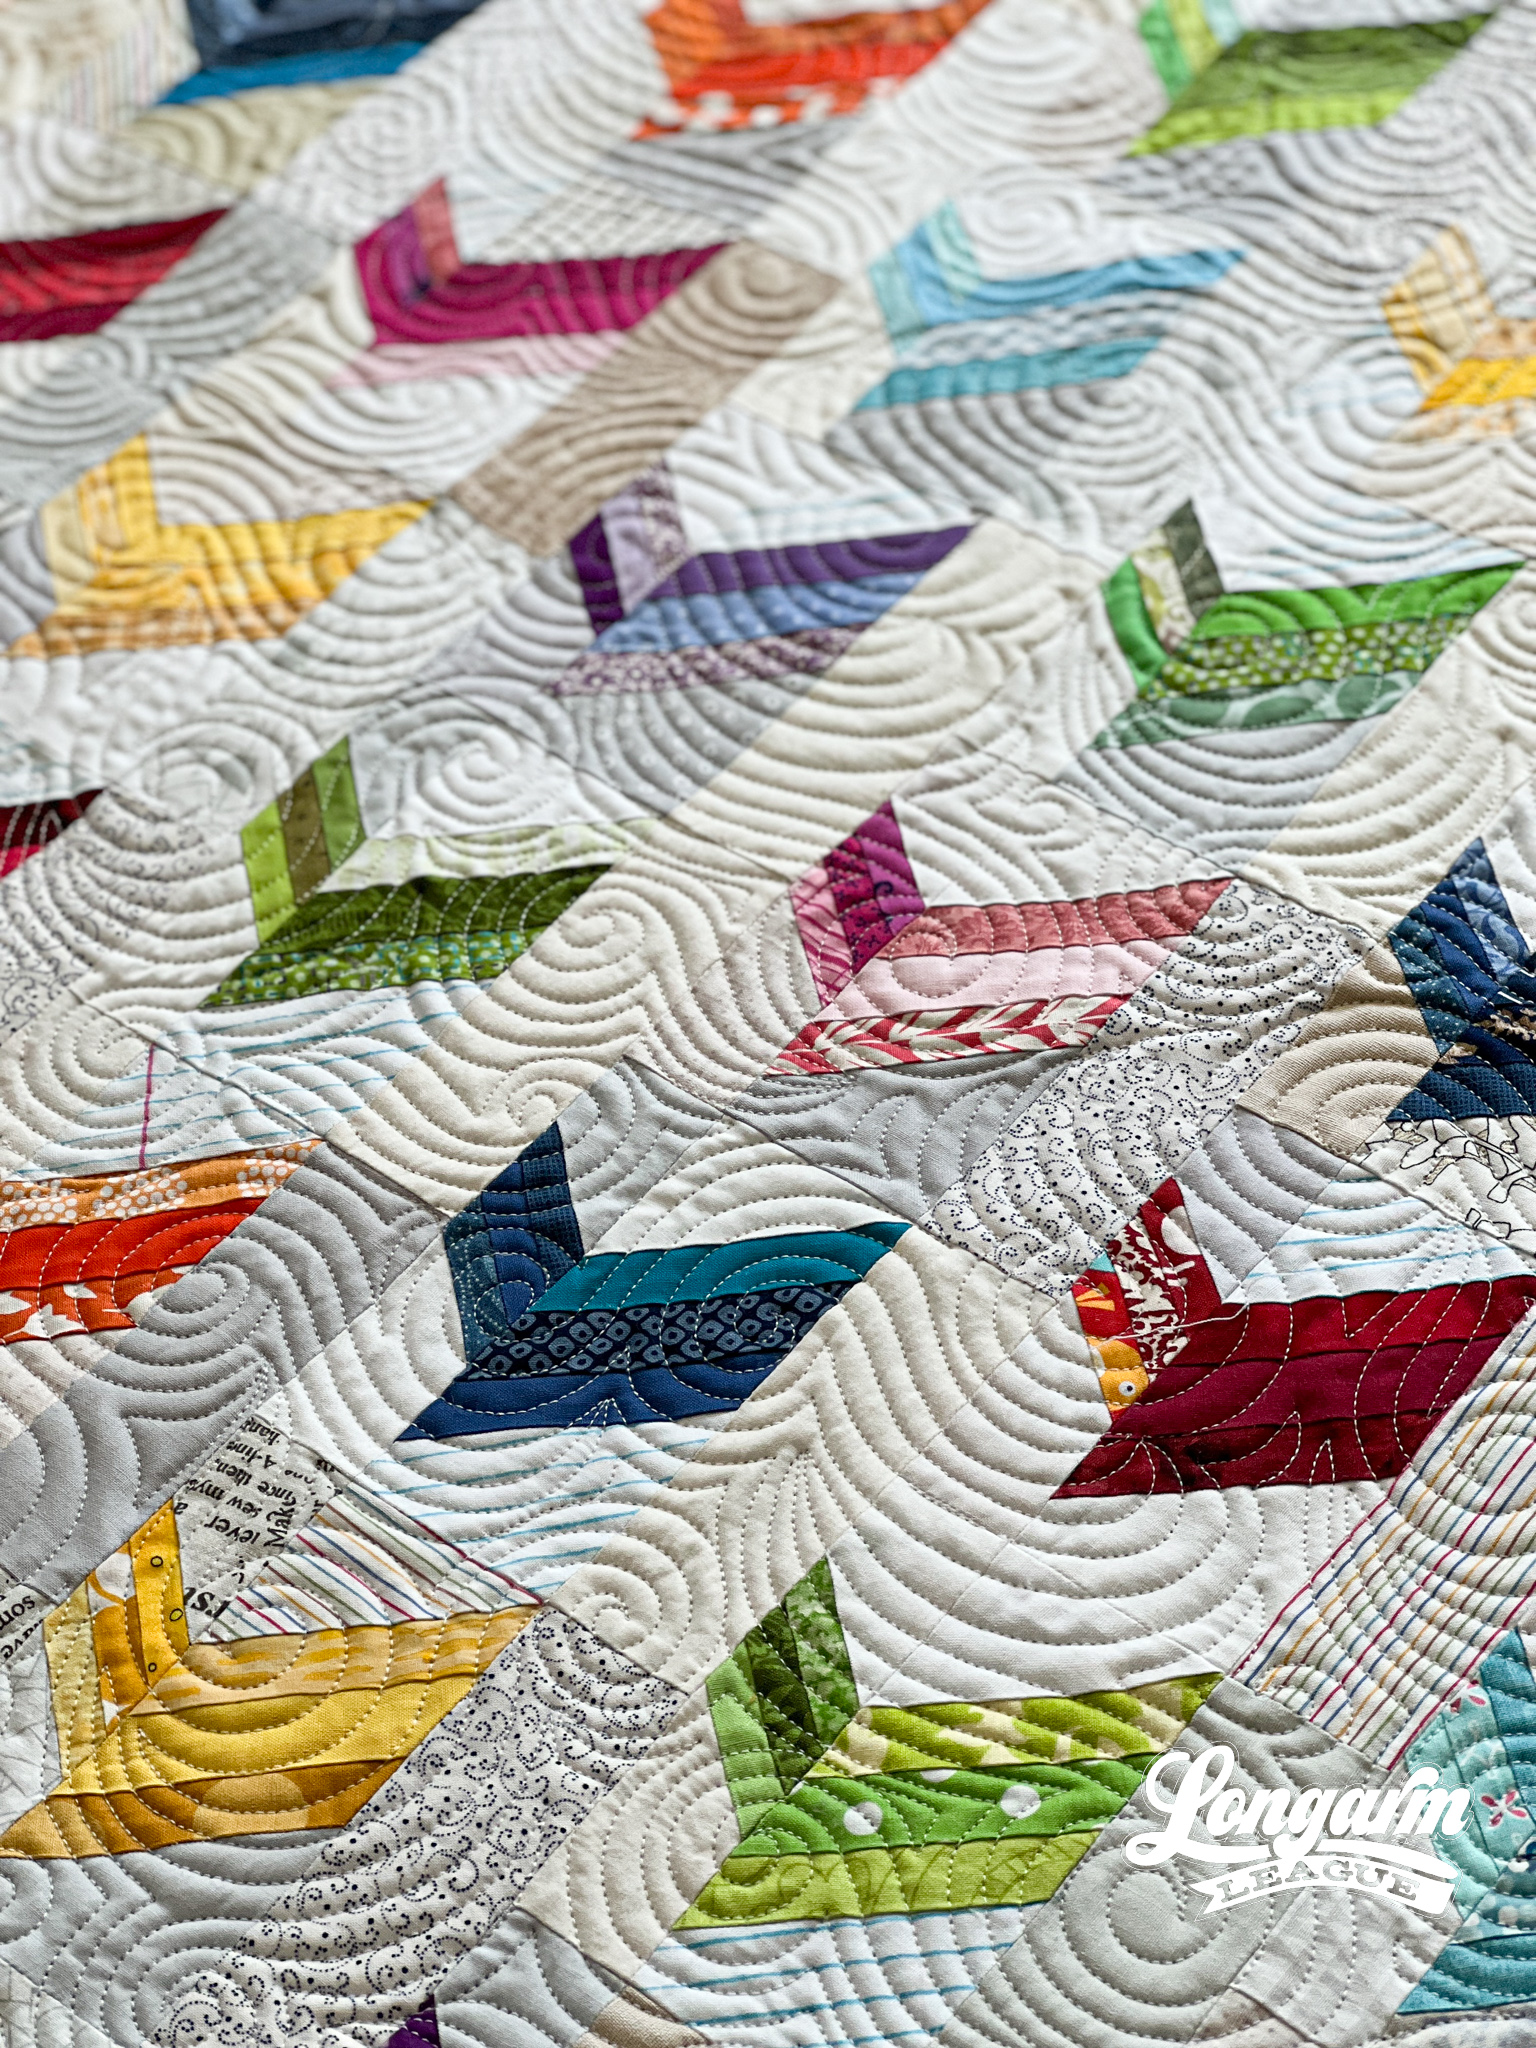
The swirls are intentionally going in different directions so that it's not obvious which way is top and bottom. Again, this gives you some flexibility if you wish to side-load a quilt.
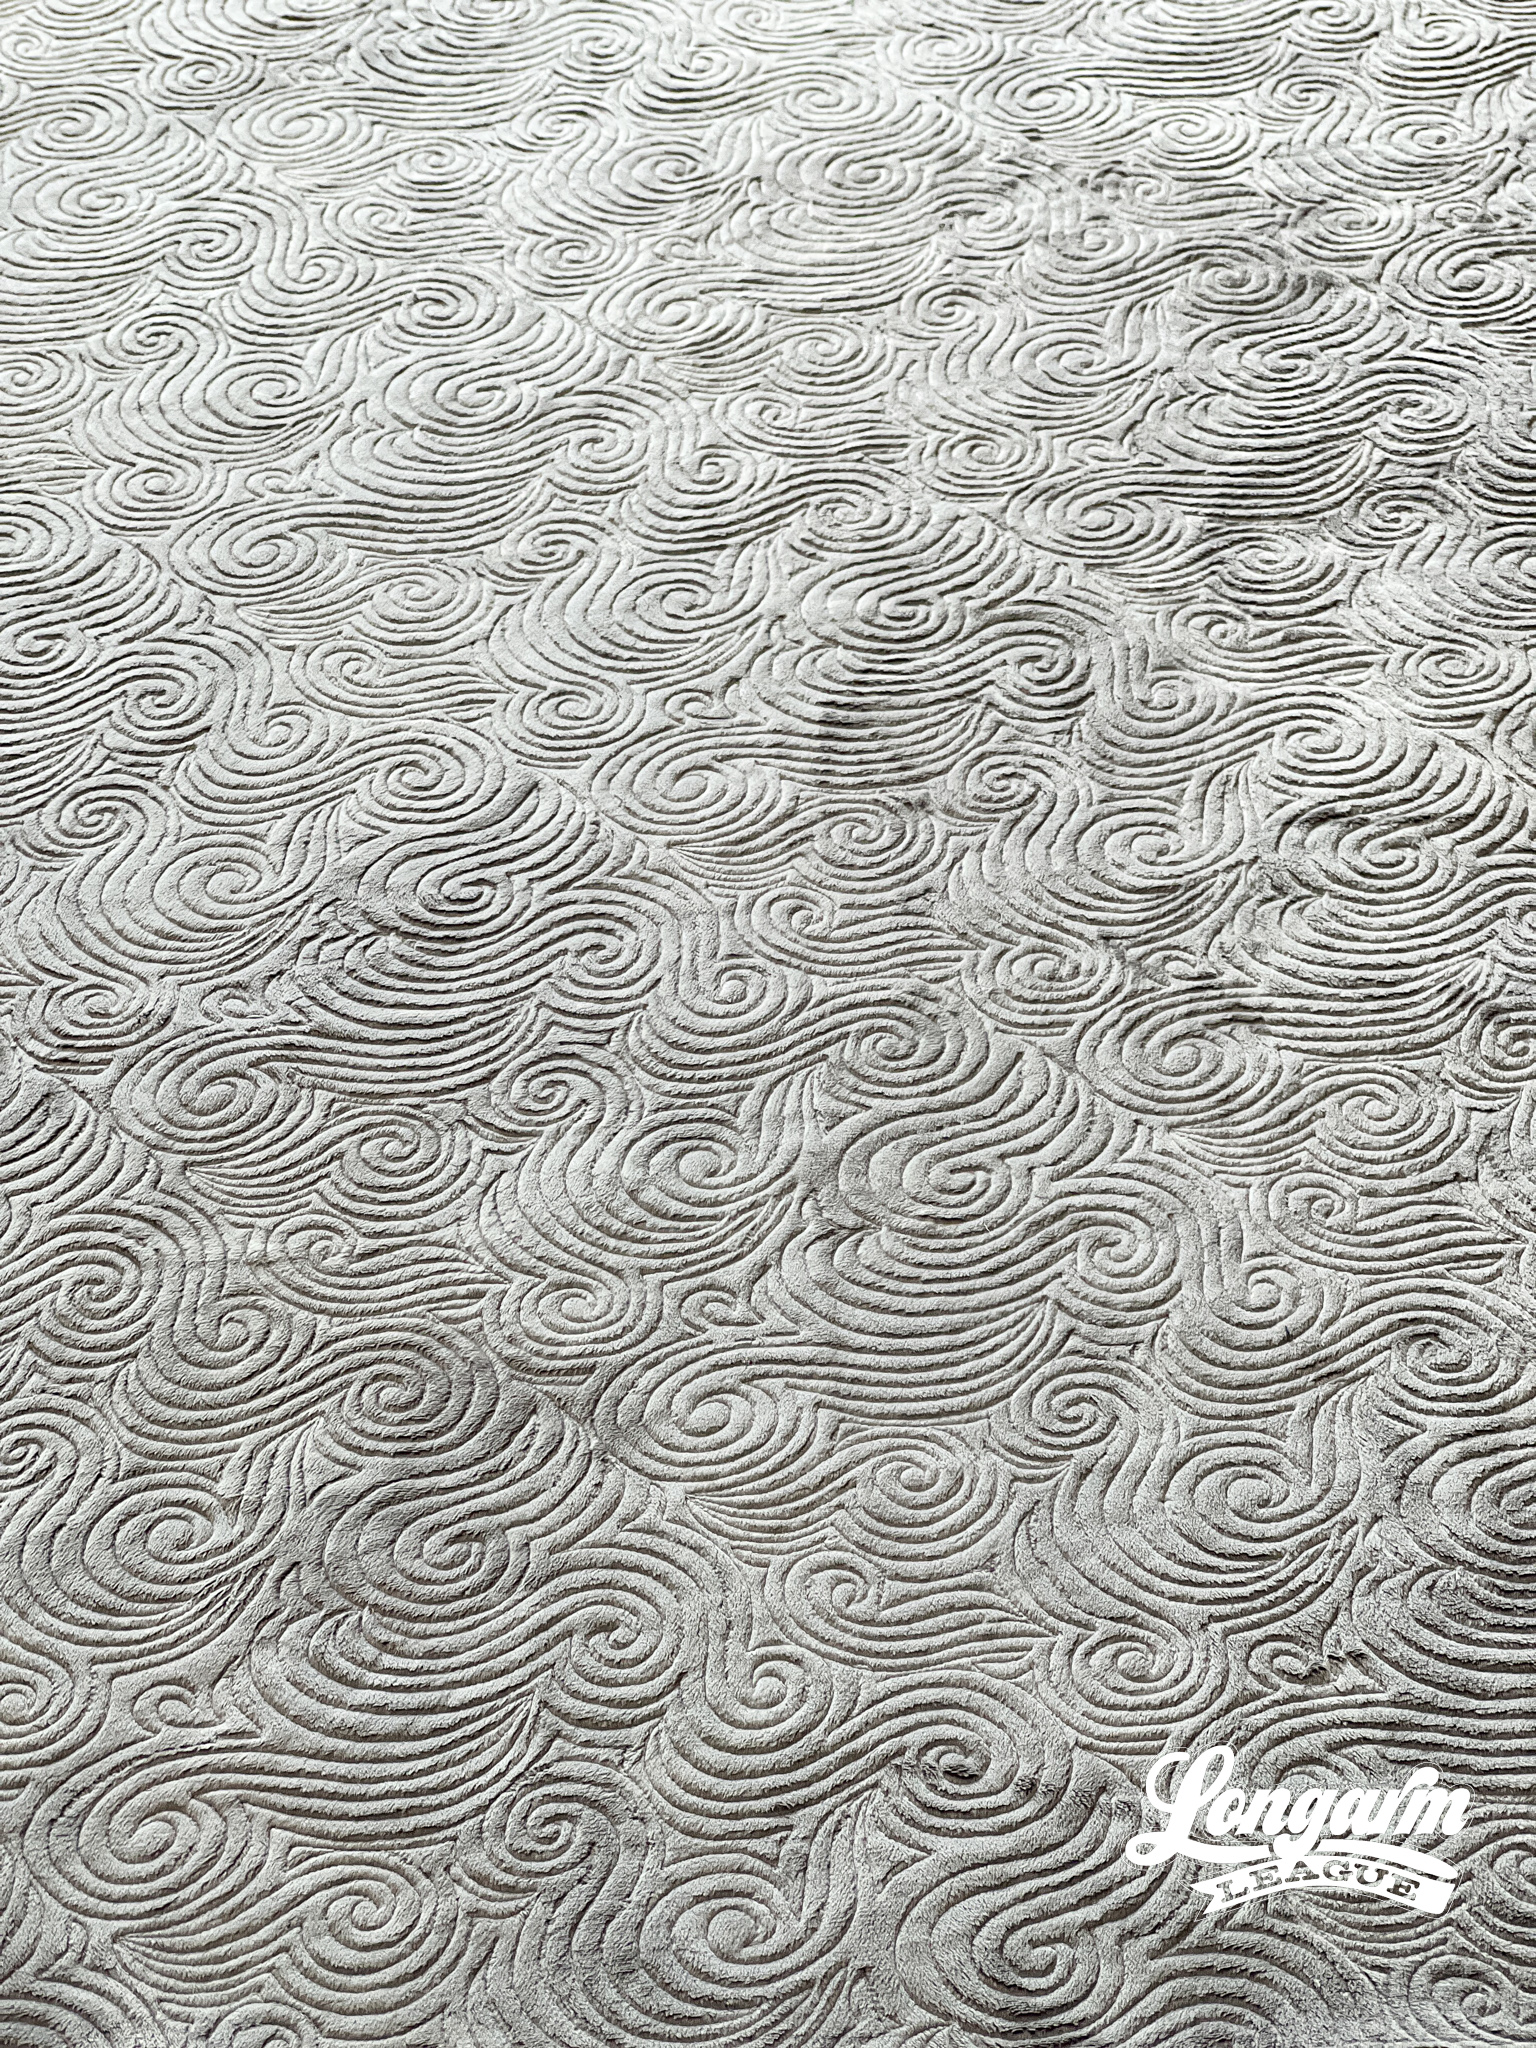
Because the repeats are intended to blend well and look like free motion quilting, I've spaced the rows closely together. I would consider this an intermediate-to-advanced design to use because of the density, deep nesting, and suggested spacing between rows.
When you have a dense design like this, all of the stitching can cause the quilt to shrink in toward the center. This is called fabric draw or draw up and it's normal. It's never fun, but it is the side effect that comes with dense quilting.
With big quilts especially, the more you quilt and advance, the more draw-in can occur which can throw off the placement of the rows. Even though the digital design is the same, the quilt is what changes and gets smaller as you go, making the digital design "not fit" as well as it did for the first and second passes.
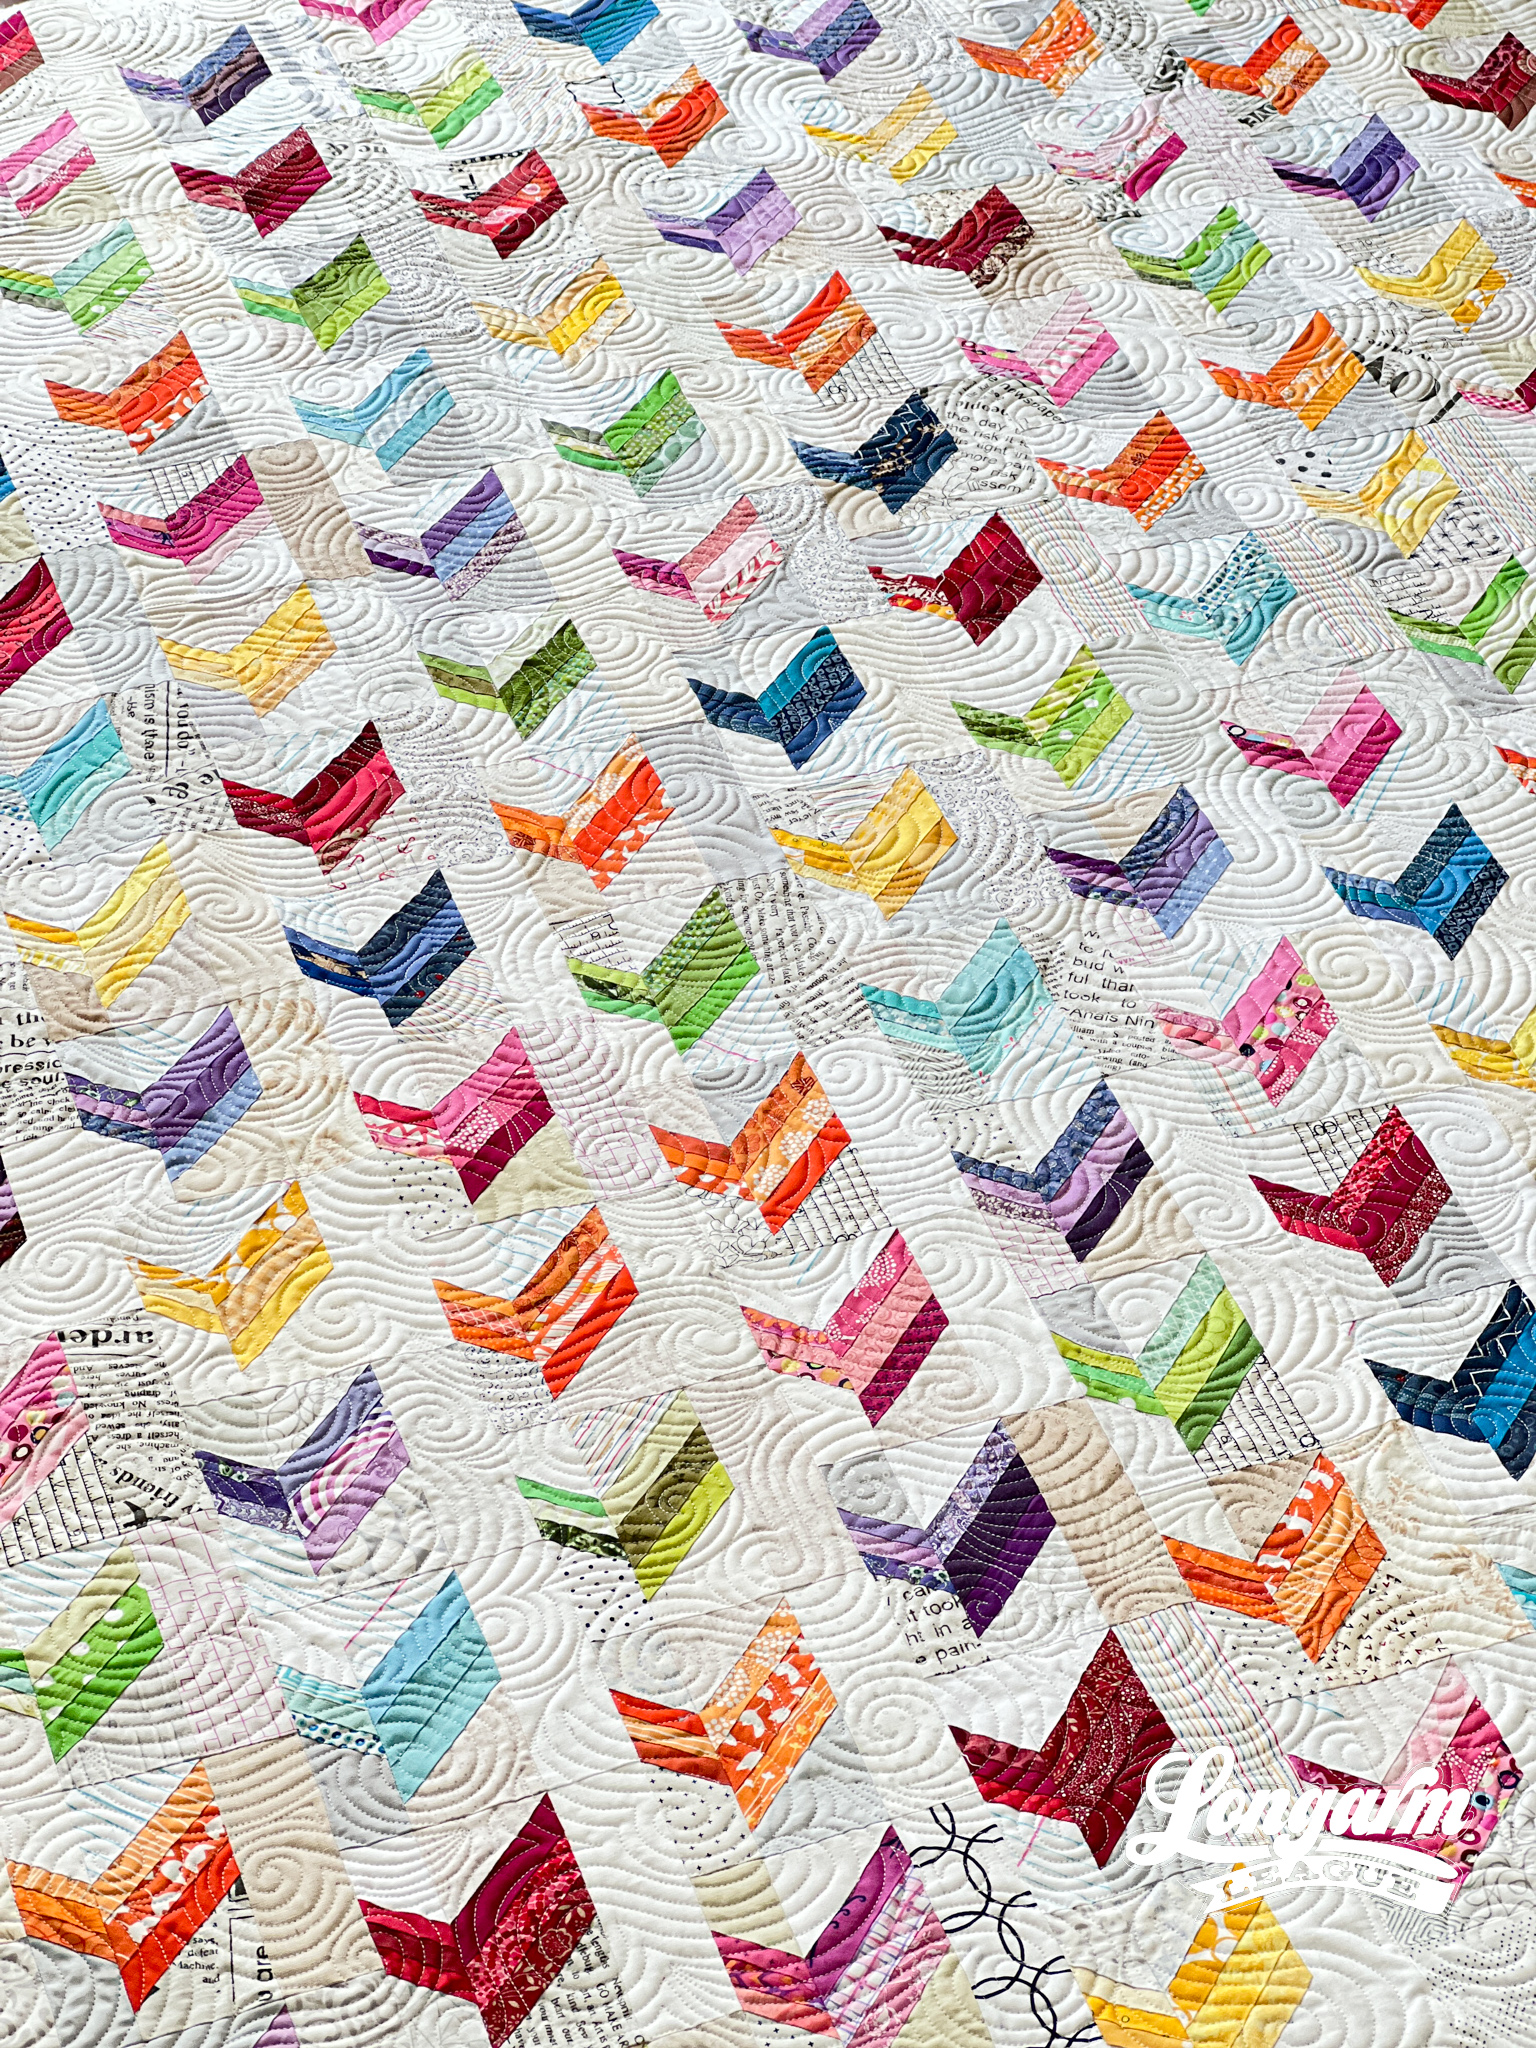
The more experience you have with your machine, the more you'll be able to handle fabric draw, particularly with close alignment. If you are still learning (aren't we all?) and don't have much experience with dense designs or precise placement of digital designs, I've written up a guide to help you get the best results possible. In it, you'll find a list of things you can do to increase your chances of success and decrease your level of frustration.
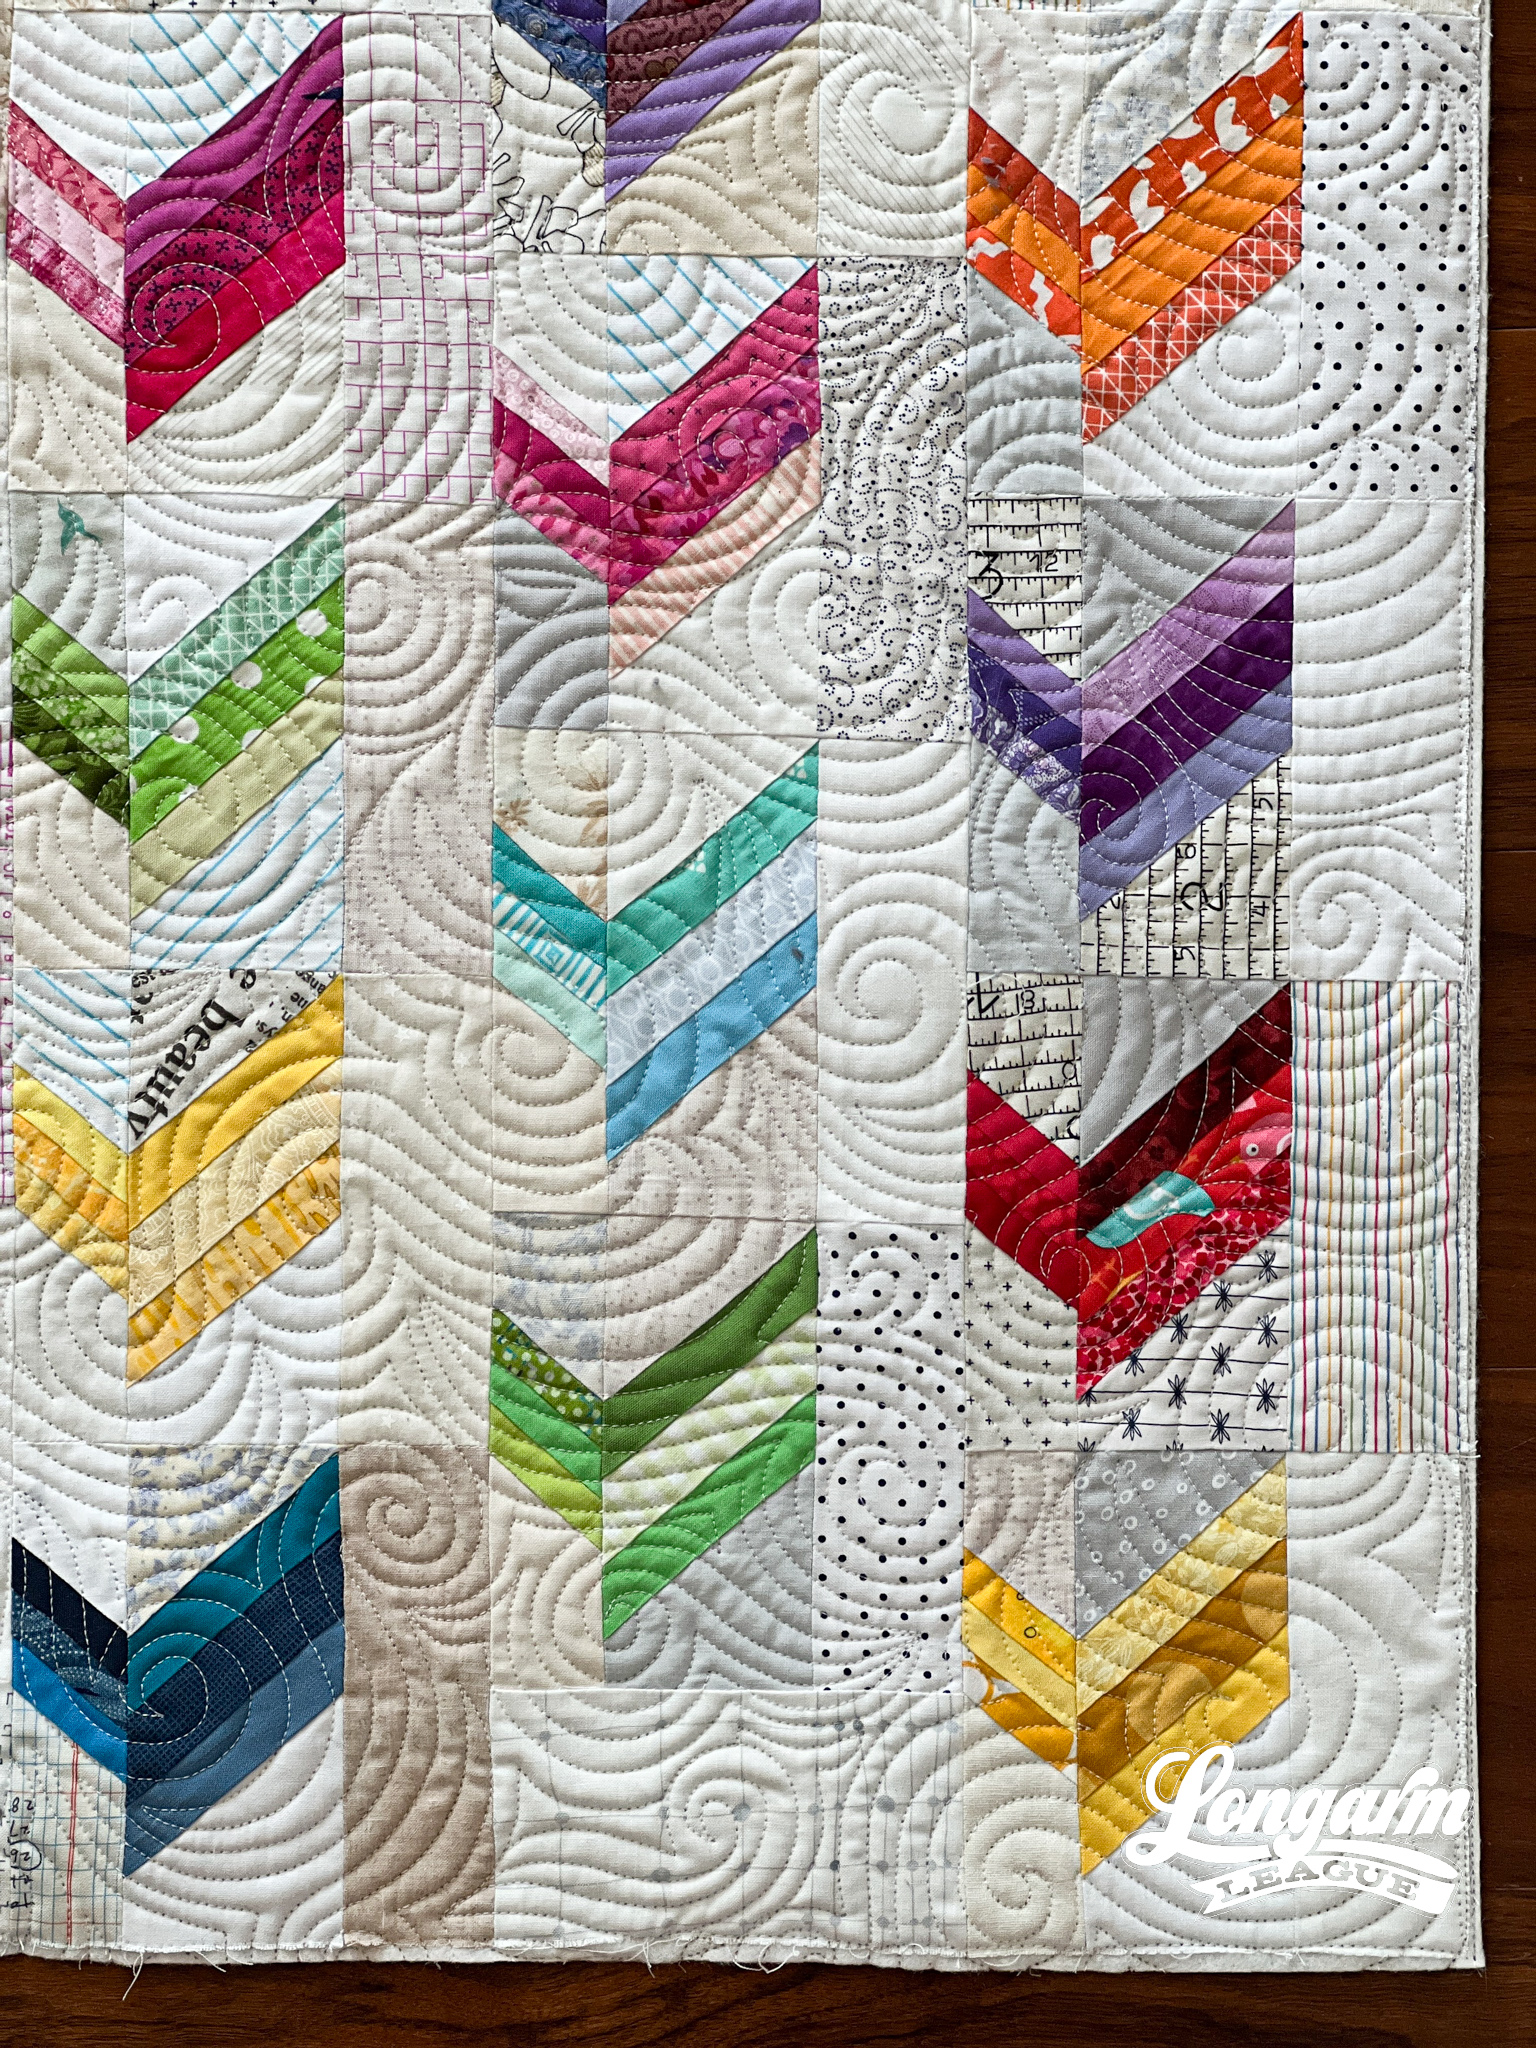
Good luck and God bless! ✌️
If you've already purchased Echoed Swirls, we've recently created a companion PDF that gives helpful information for using it. Feel free to download the PDF here.
