
Beleaf It or Not Digital Pantograph
Quilty friends, naming designs is hard work. I was struggling to come up with a name for this design so I texted my mom and sister a photo of the finished sample, asking them for help. My sister's first response was Beleaf It Or Not and I laughed out loud so much that I had to go for it.

Seinfeld—because of the huge influence in our lives—has become part of our shared language. 'Beleaf It or Not' immediately reminded me of the episode that features George's outgoing answering machine message where he changed the words to the song "Believe It or Not".
THAT is what makes me giggle every time I think of it.

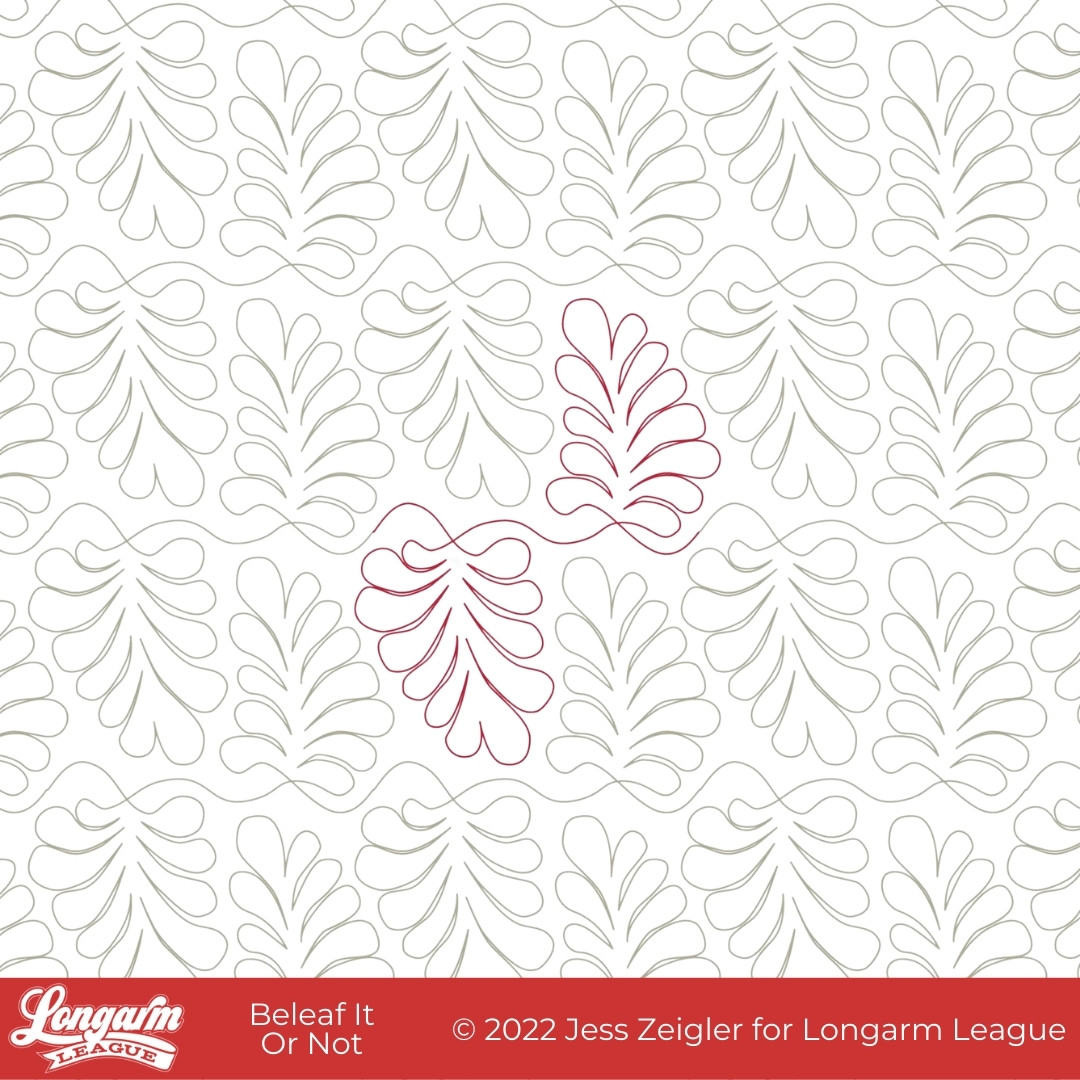
When I design edge to edge pantographs, my number one goal is to create interesting textures. I really love the repeated round shapes of the "leaves"—or as quilters would call them, feathers.

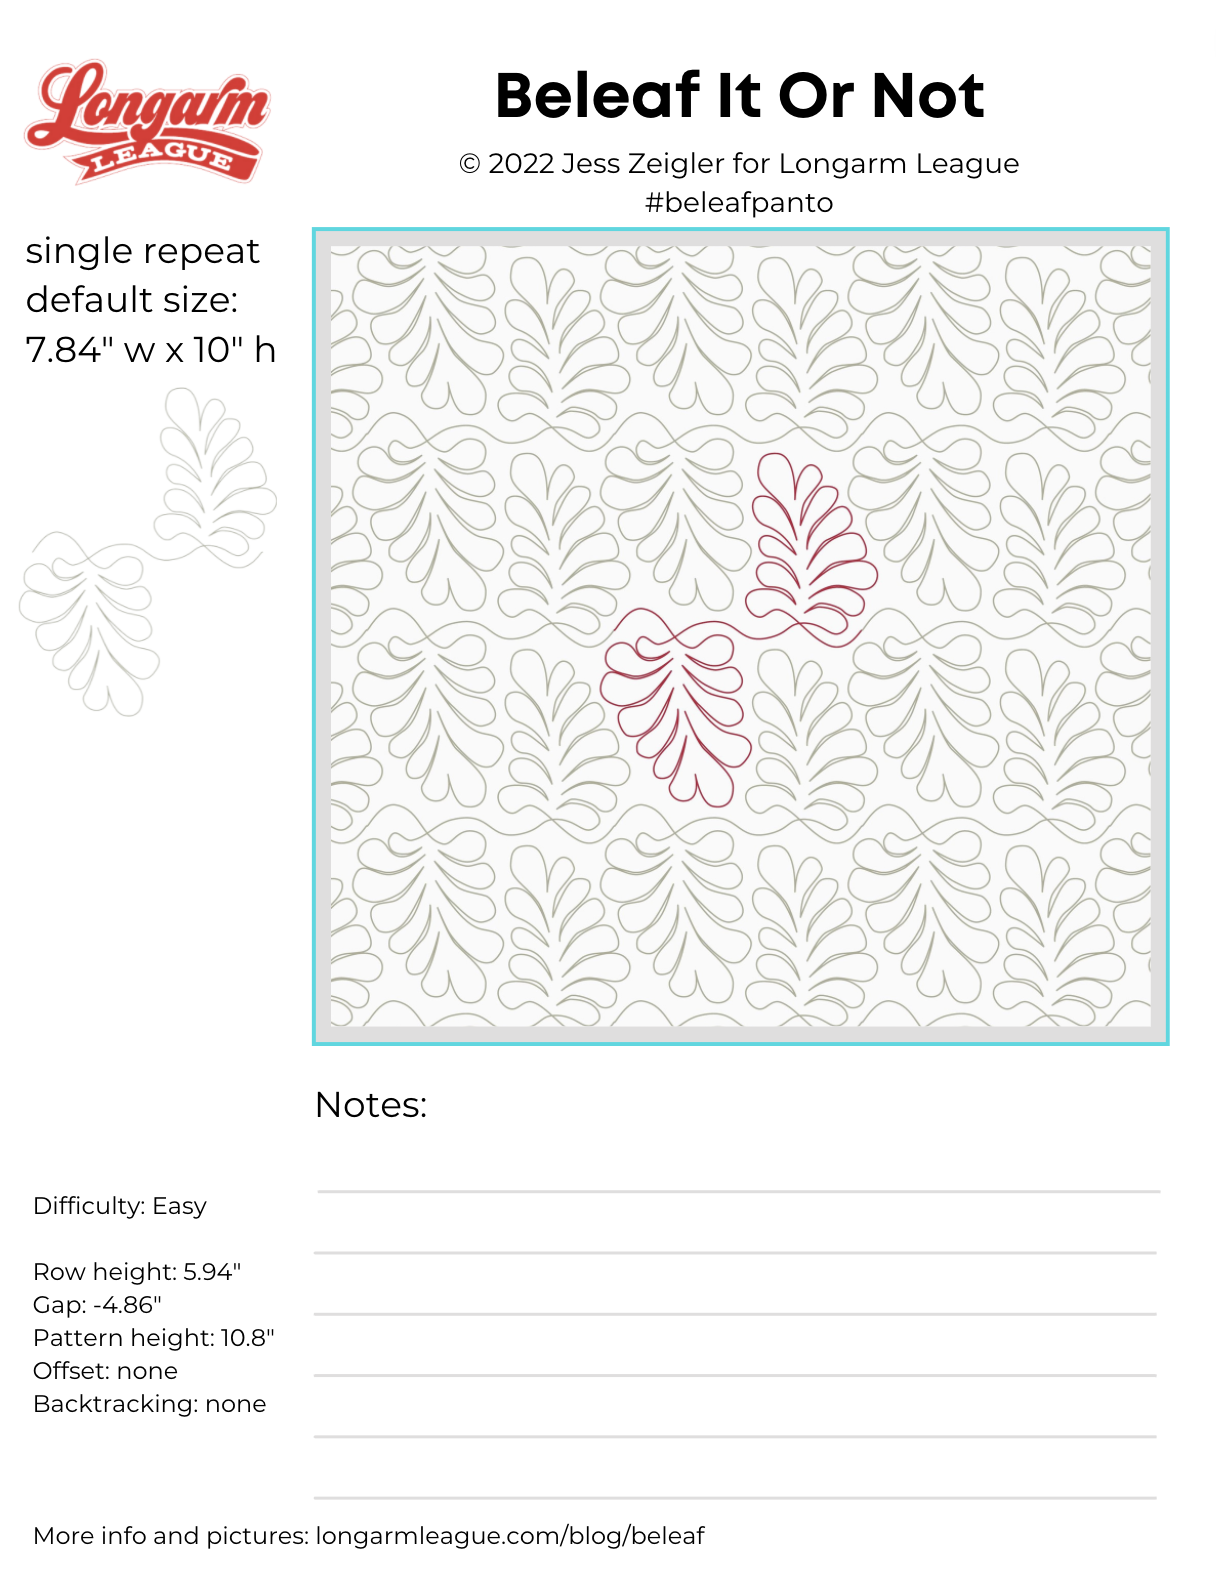
Here are my specifics using a baby-sized sample in the photos (45" x 45" quilt size):
Row height: 5.94"
Gap: -4.86"*
Pattern height: 10.8"
Offset: none
Backtracking: none
*Gap refers to the space I'm allowing between rows. I use an Intelliquilter for my computerized quilting, and because that measurement is quantifiable, I provide it here.
The row height PLUS the noted gap amount totals the "pattern height". If you don't use an Intelliquilter, you'll likely want to start sizing with the pattern height number and adjust the spacing between rows to your liking. You may not have a measurement available that tells you the measurement between rows, and that's okay.
We've begun adding a PDF to our zipped file so that you can print out design images and add your own sizing info or user notes. Here's a look at what the PDFs look like:

The feather fronds are positioned vertically, which is kind of unique as far as digital edge to edge designs go. But there is also some subtle movement, which I think creates even more interest. Half are pointing up and lean to the left, half are pointing down and lean to the right.

It was important to me that the spacing between the motifs also look relatively uniform.
The design is simple yet modern at the same time and really doesn't take long to stitch-out.
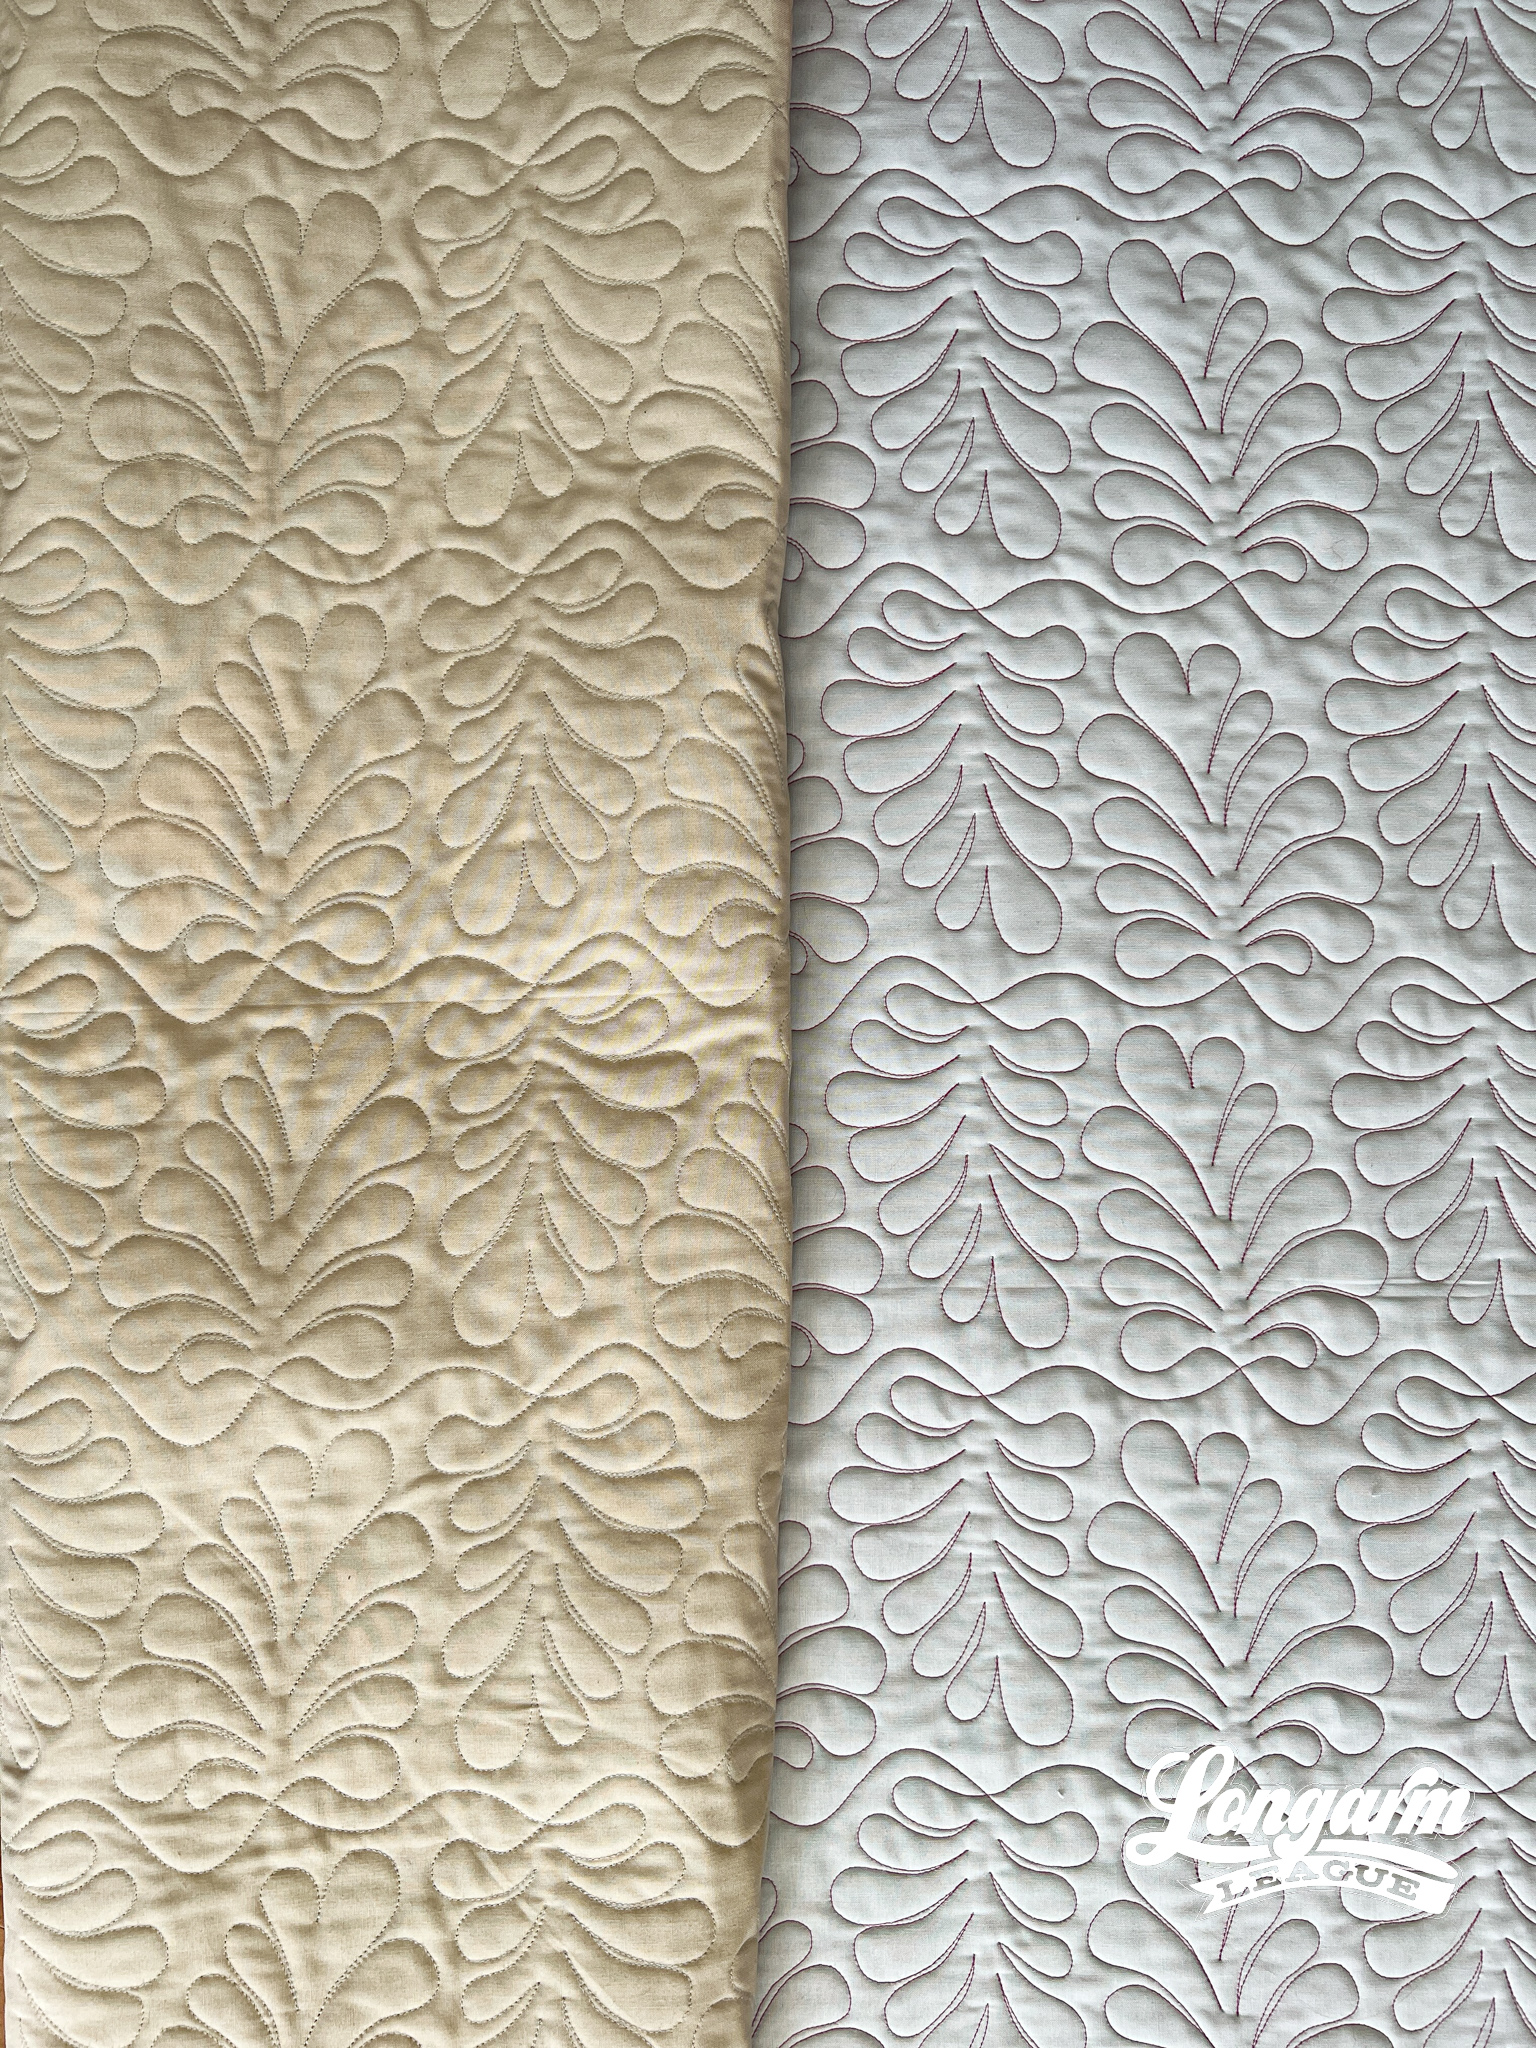
I used a darker top thread than usual for the sample because I wanted to show how well the Magna-Glide pre-wound bobbins do. In our Rookie Season course, I talk thread strategy for edge to edge quilting. People are pretty surprised that I use only 5 colors of pre-wound bobbins no matter what thread I use on top. The bobbins keep my thread tension so consistent that once it's dialed in, I rarely have to think about it. 
Feel free to watch the video at the top of the blog post to see the stitch path. It's nice an uncomplicated. :)

If you use Beleaf It or Not on a quilt, we'd love for you to use the hashtag #beleafpanto and tag @longarmleague on Instagram so we can see what you're up to! We love to interact with your posts, and try to share them when possible.


Jess Zeigler
Longarm League Commish & Owner of Threaded Quilting Studio, LLC.


