
Feathered Spirals Digital Quilting Design

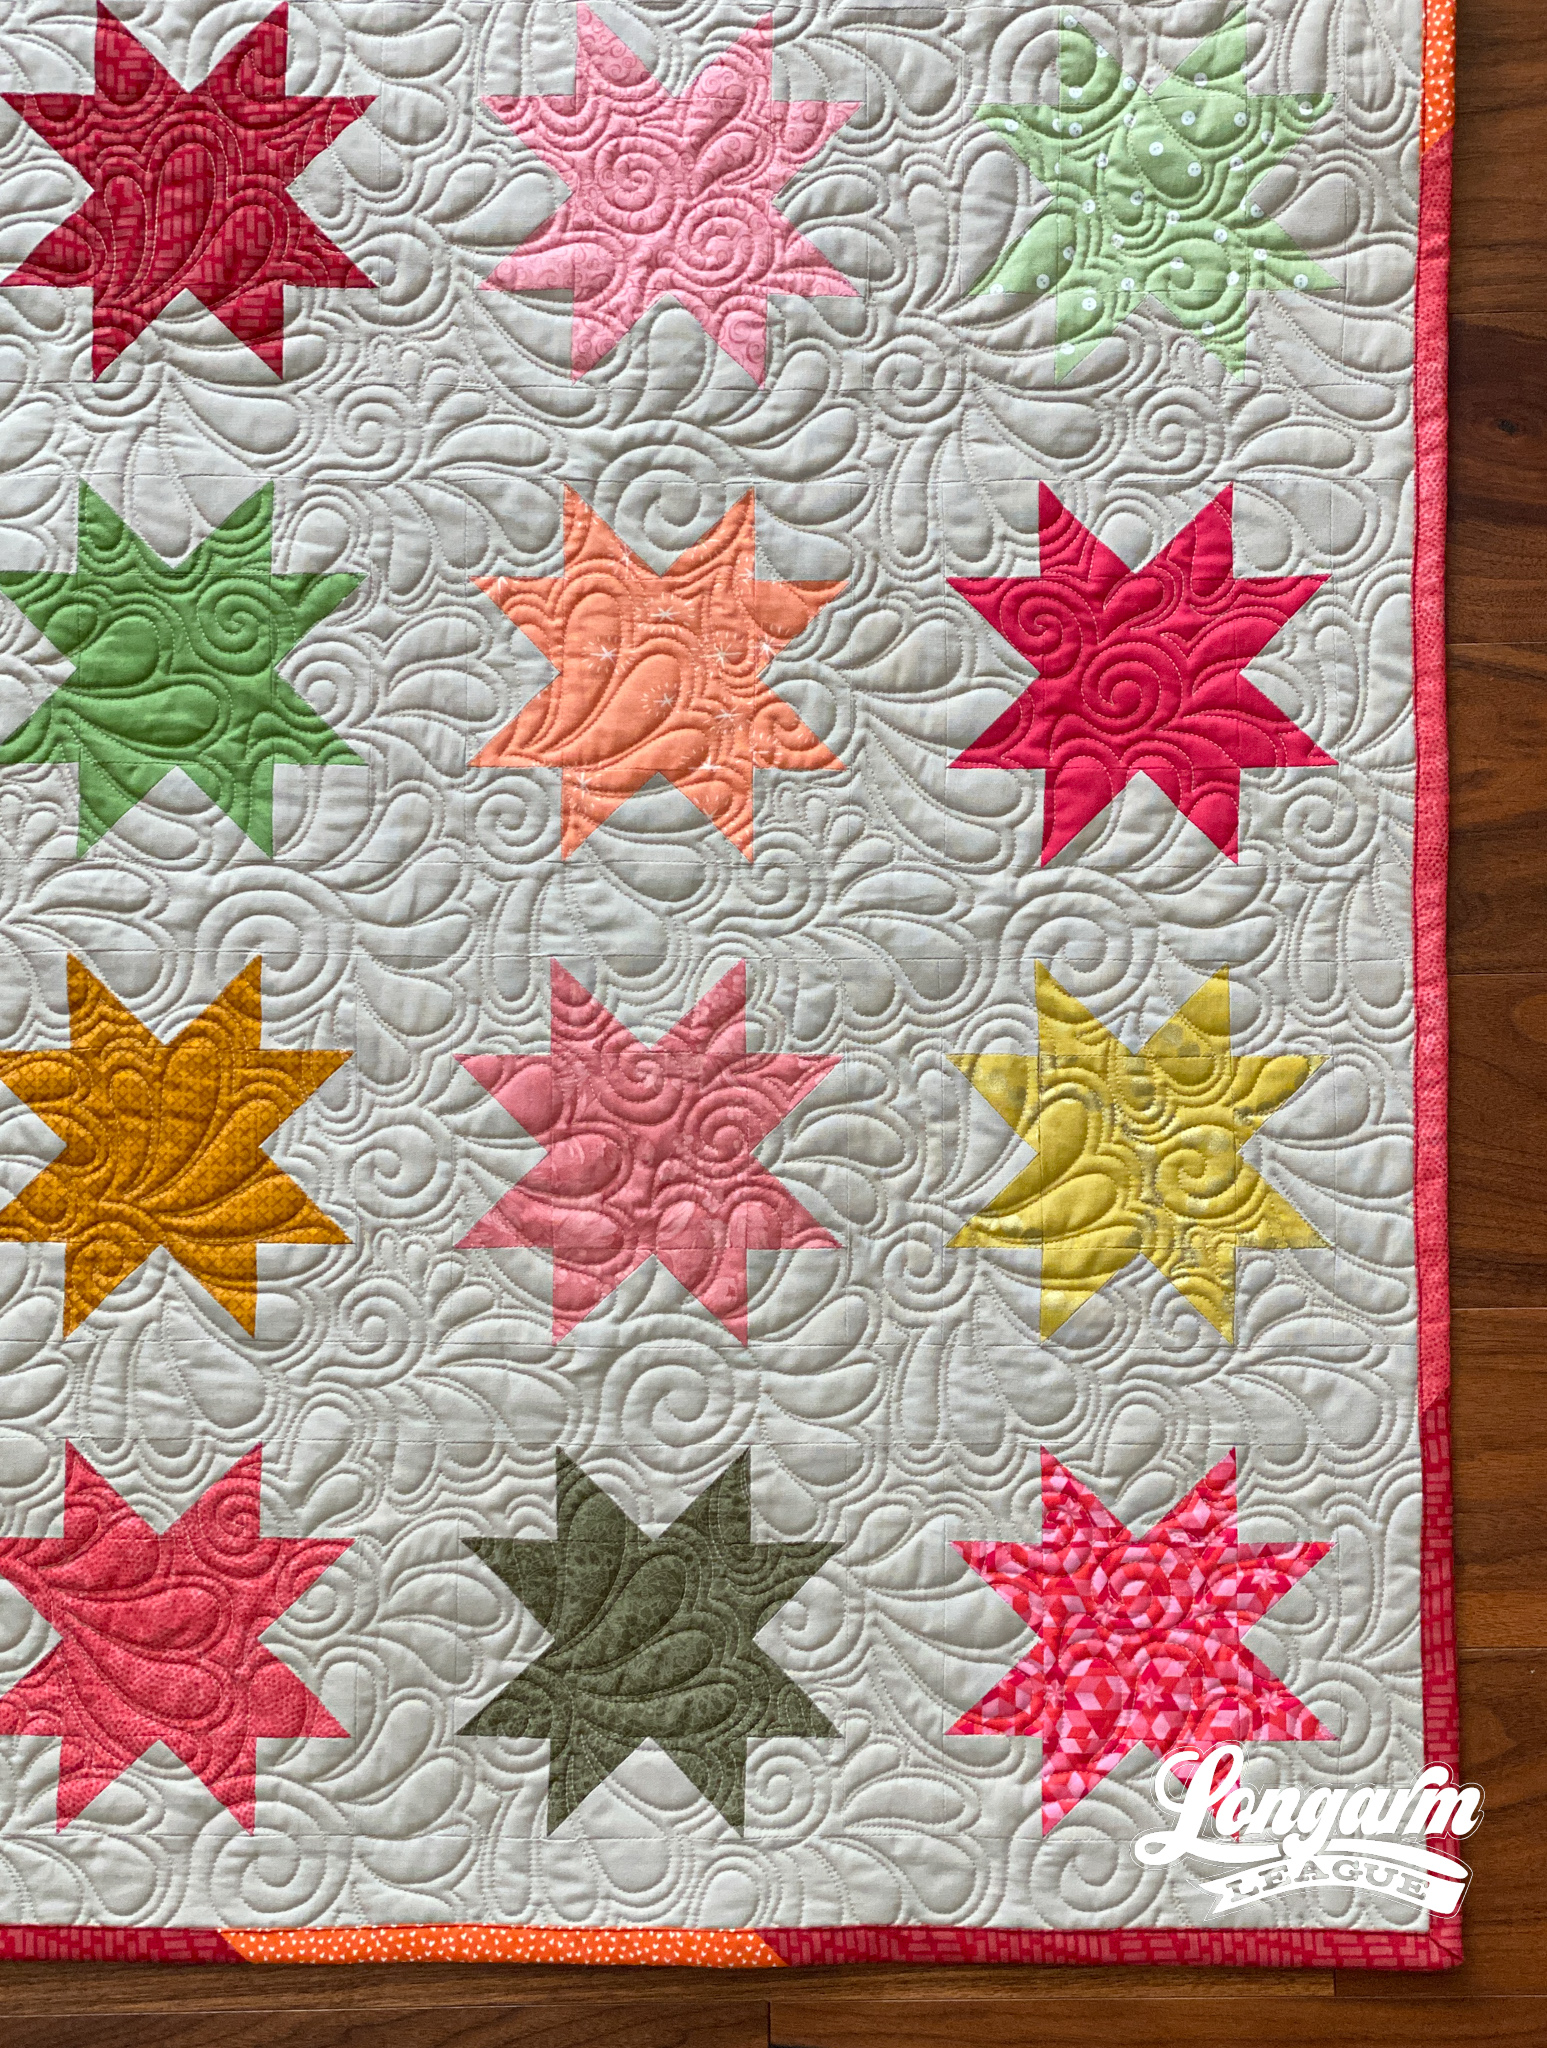
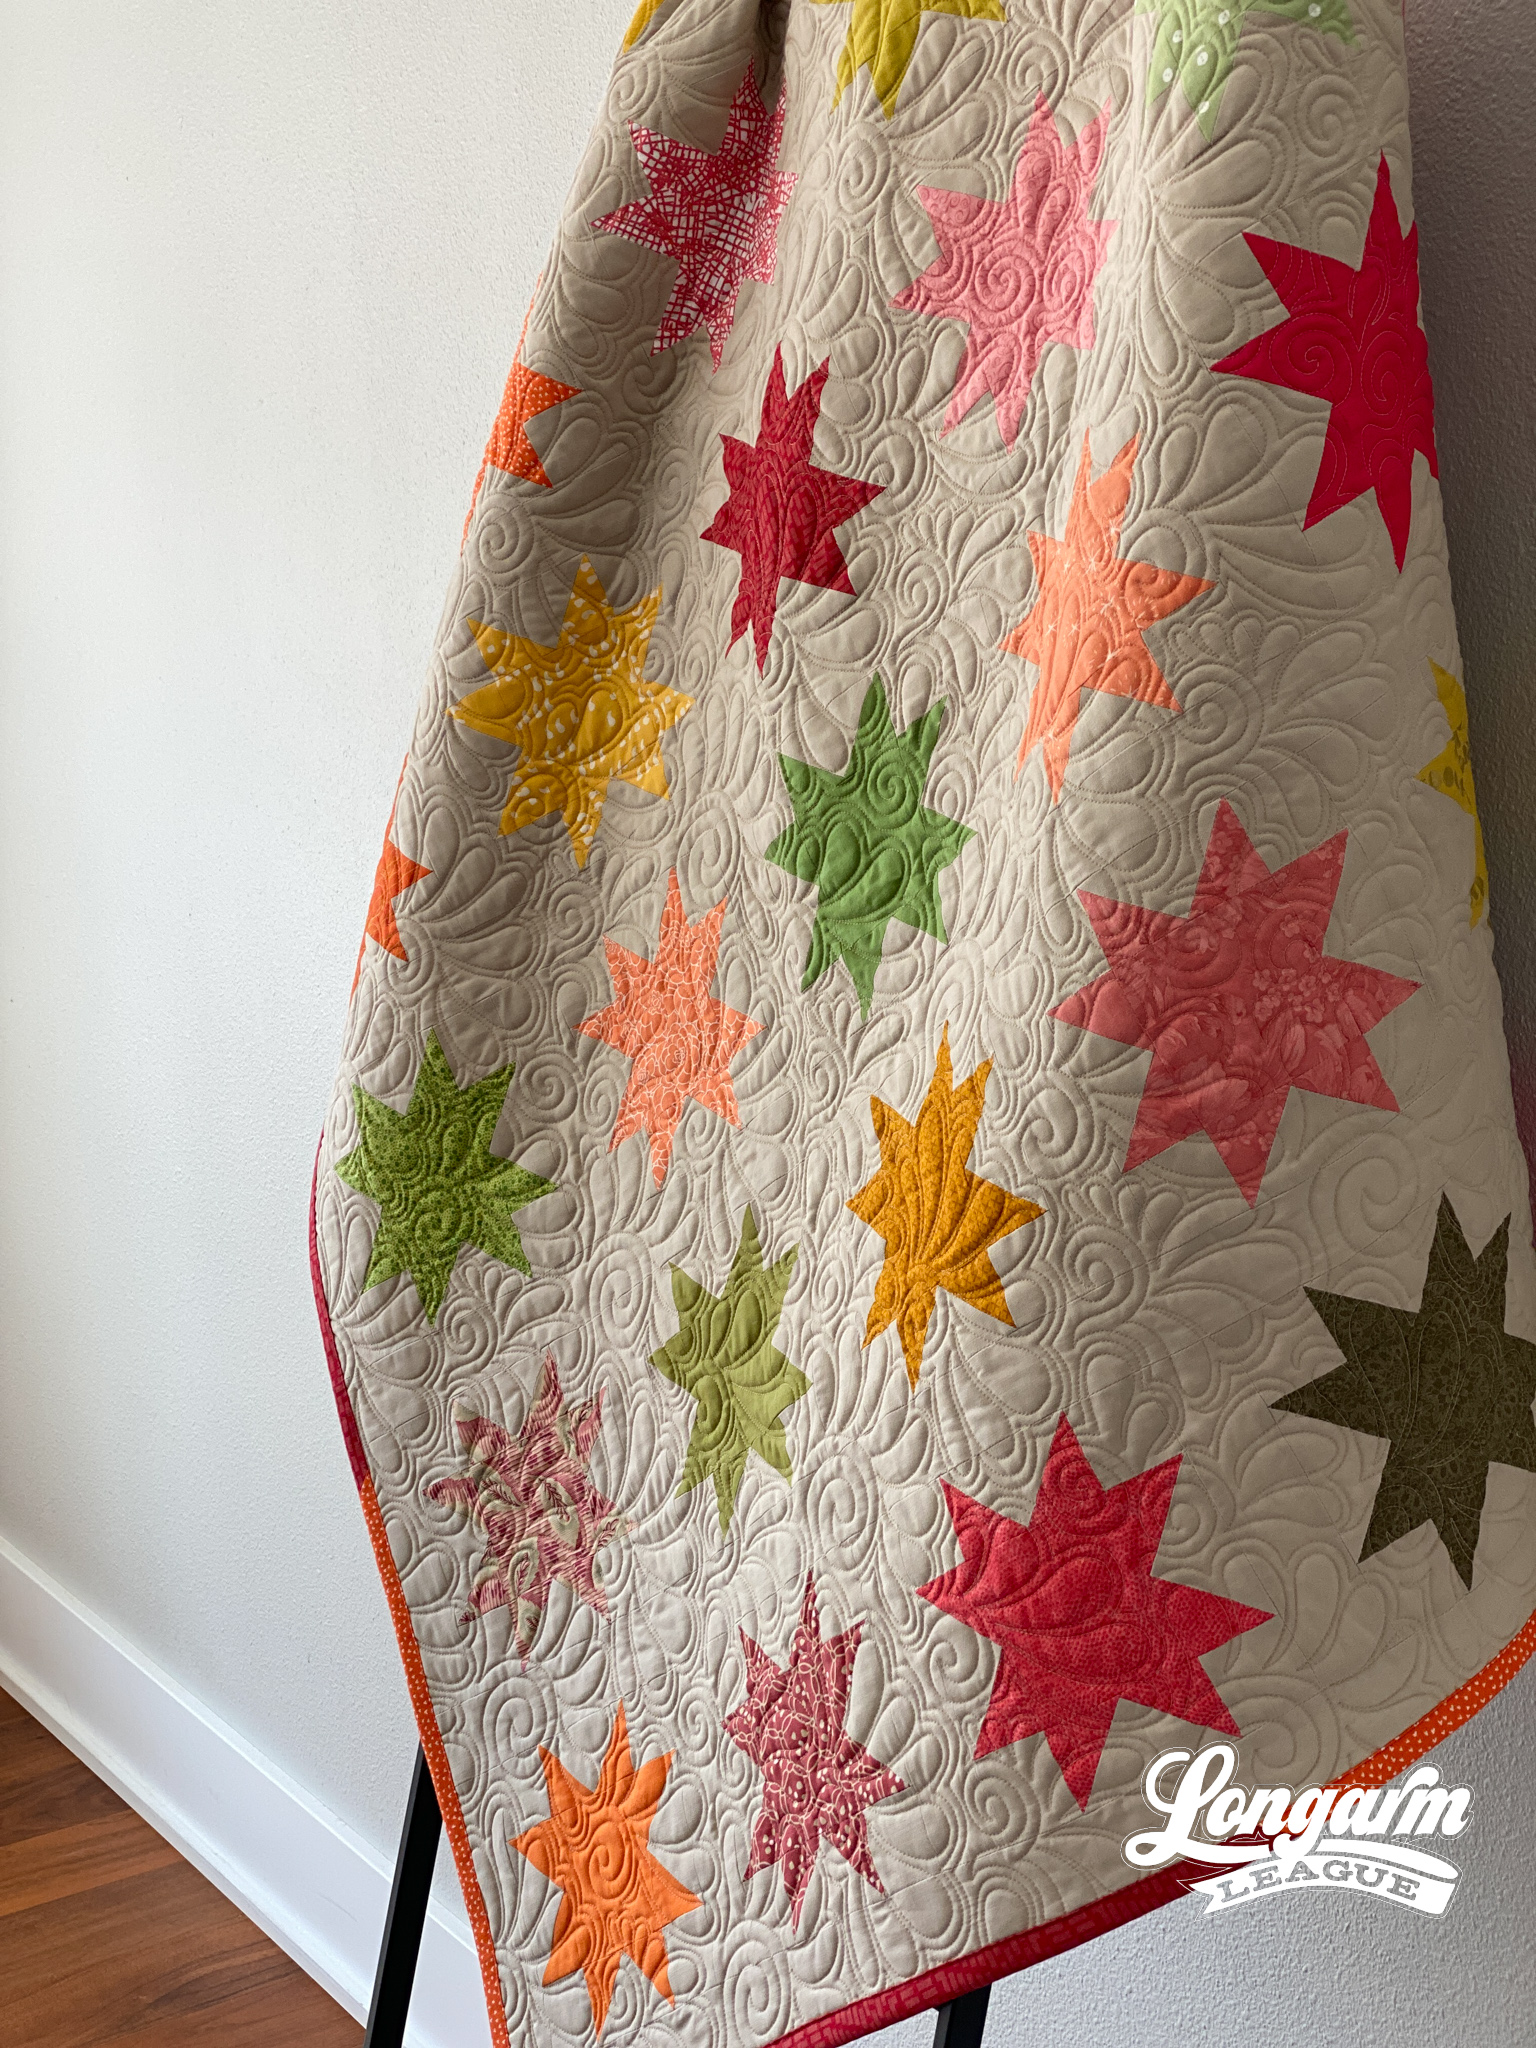
Instead of a soulless (😂) solid sample quilt, I'm so happy to share the special quilt I made for my new niece, Kate!

It had been such a long time since I'd done any sewing. I really love the entire quiltmaking process, so it was fun to get out the rotary cutter and domestic sewing machine again and work on something new.
And what better reason than a new baby in the family?

I "kept it simple" by deciding on a classic sawtooth star quilt. I picked fabrics from my stash and used the same fabric for my background throughout the quilt. I didn't need instructions because I've made this star so many times in the past. I did make myself a general "map" as I was cutting fabrics and making my stars. Feel free to use my decidedly unfancy pattern: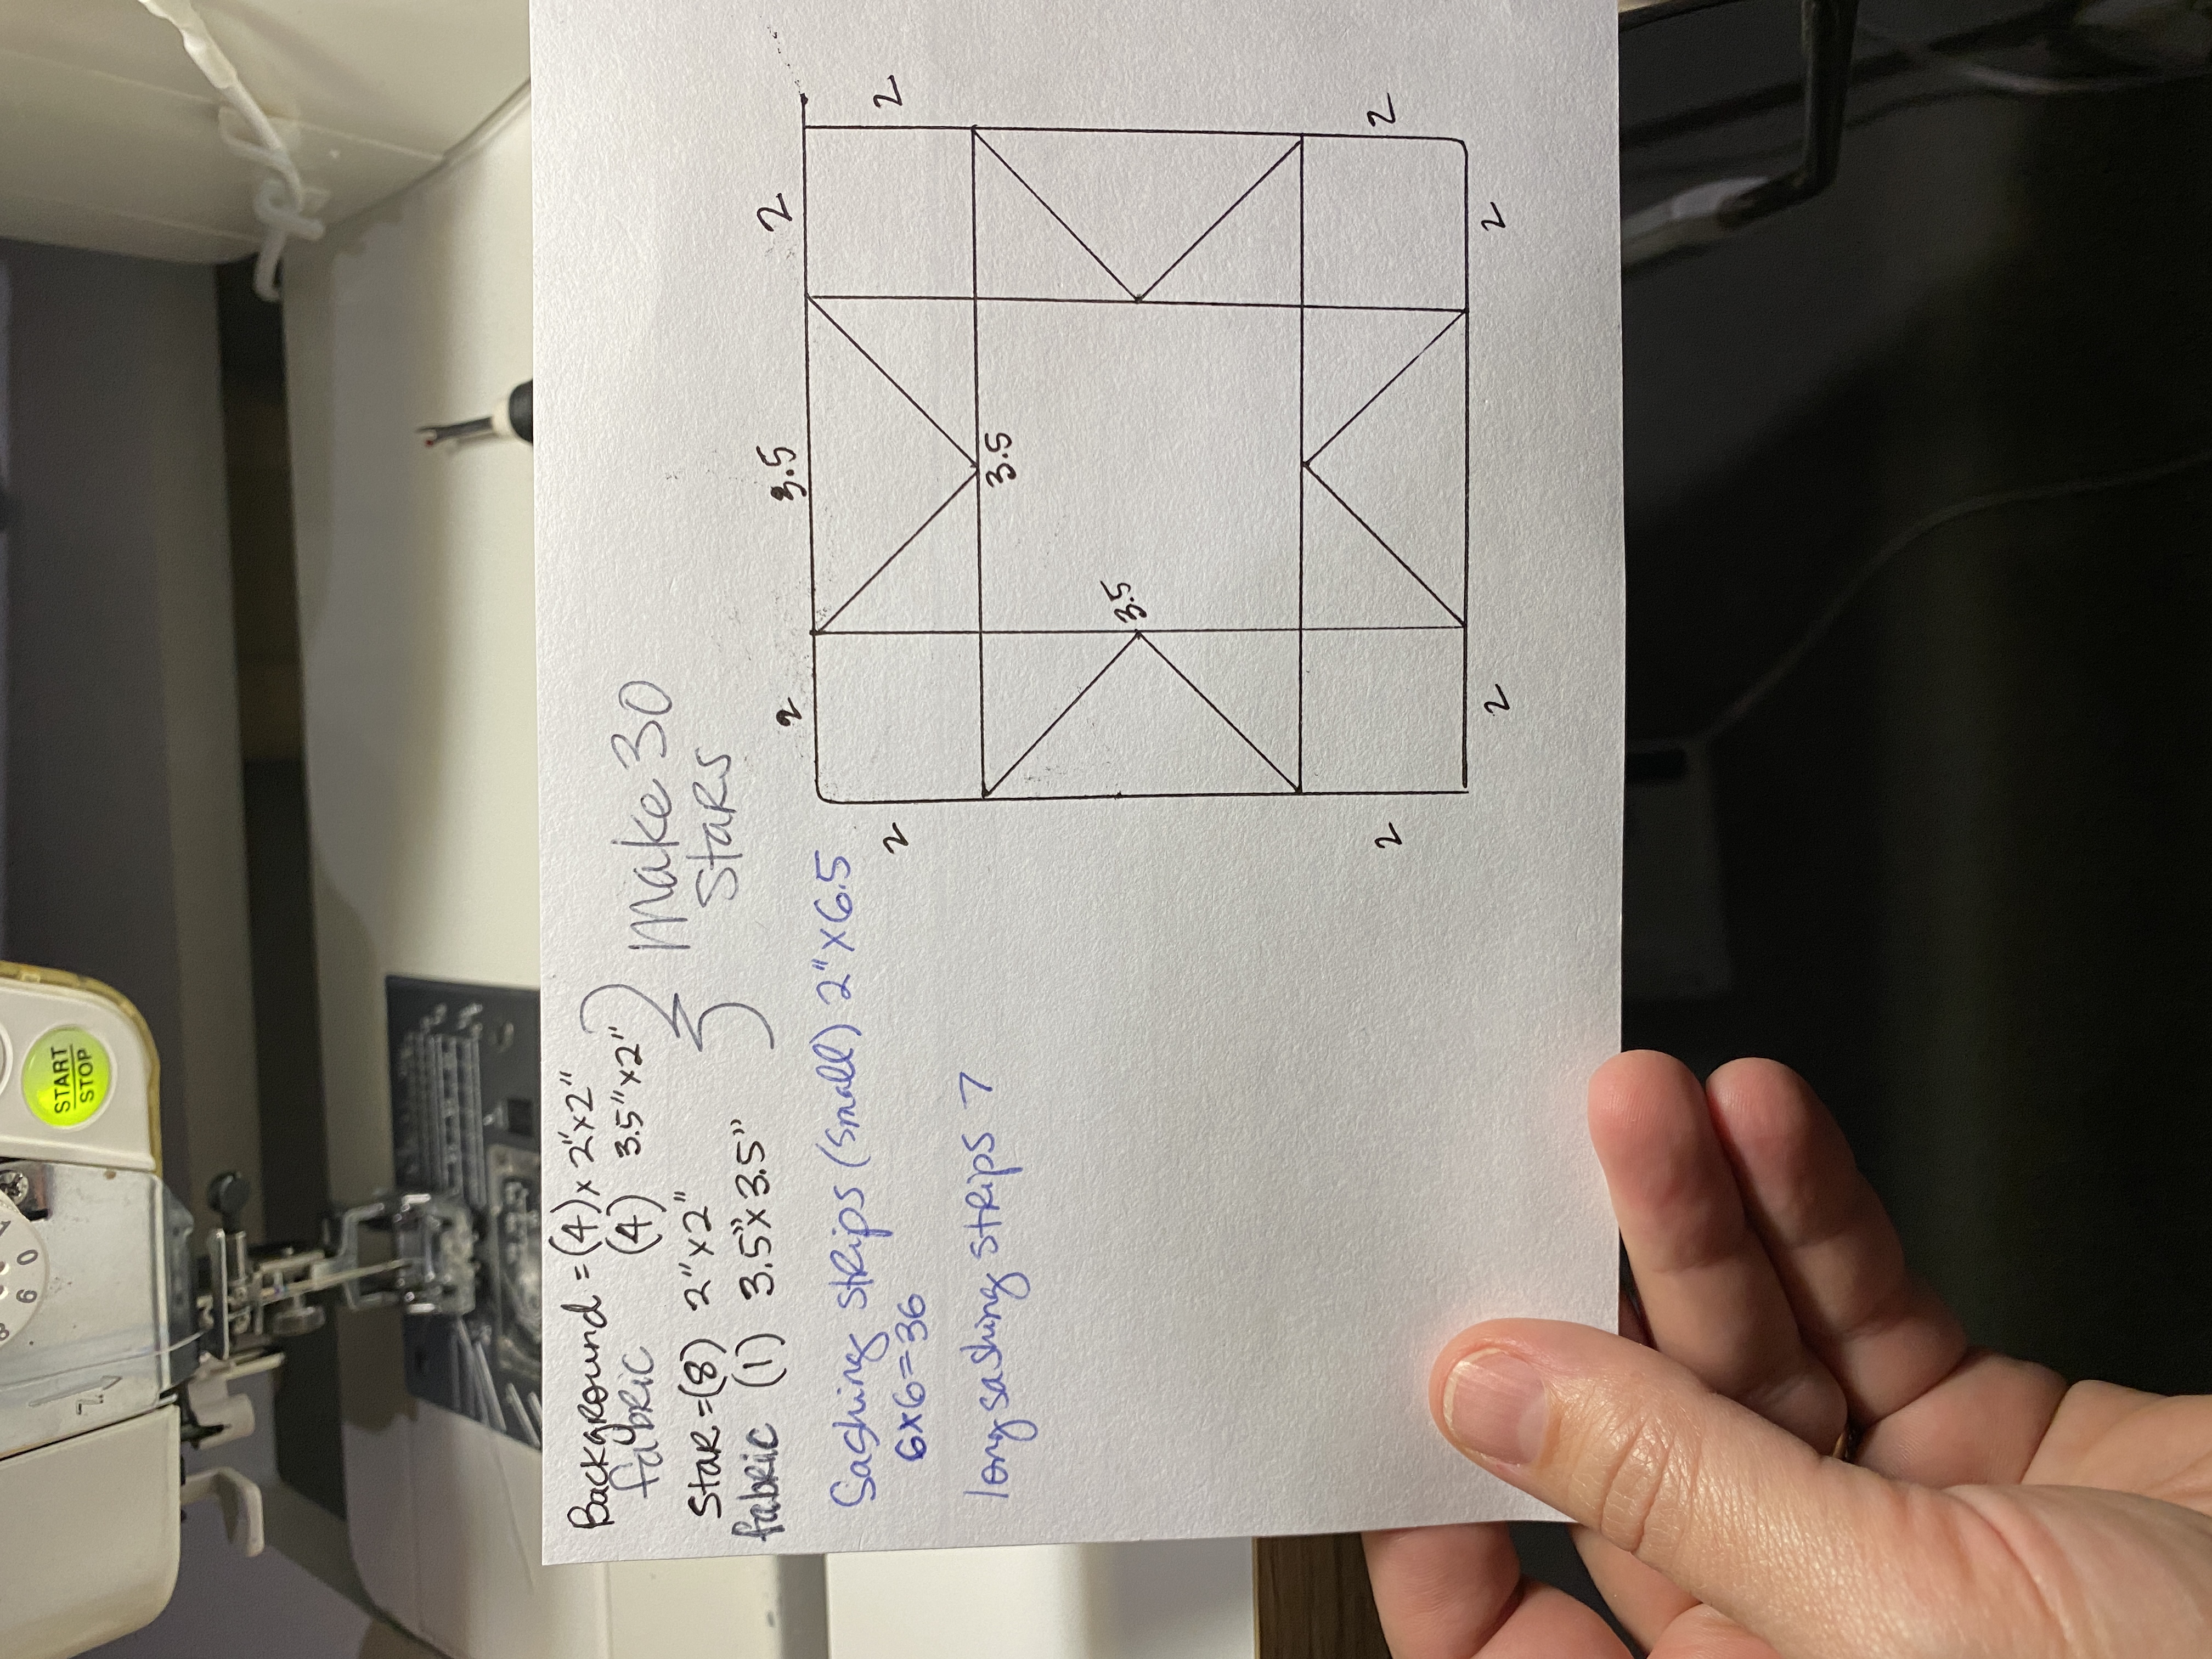
If you need a little more to go on than this, google sawtooth star, you'll likely find hundreds of patterns/tutorials.

Can we talk about the quilting already?! Ha - as a longarm quilter, it's my favorite part of the process.

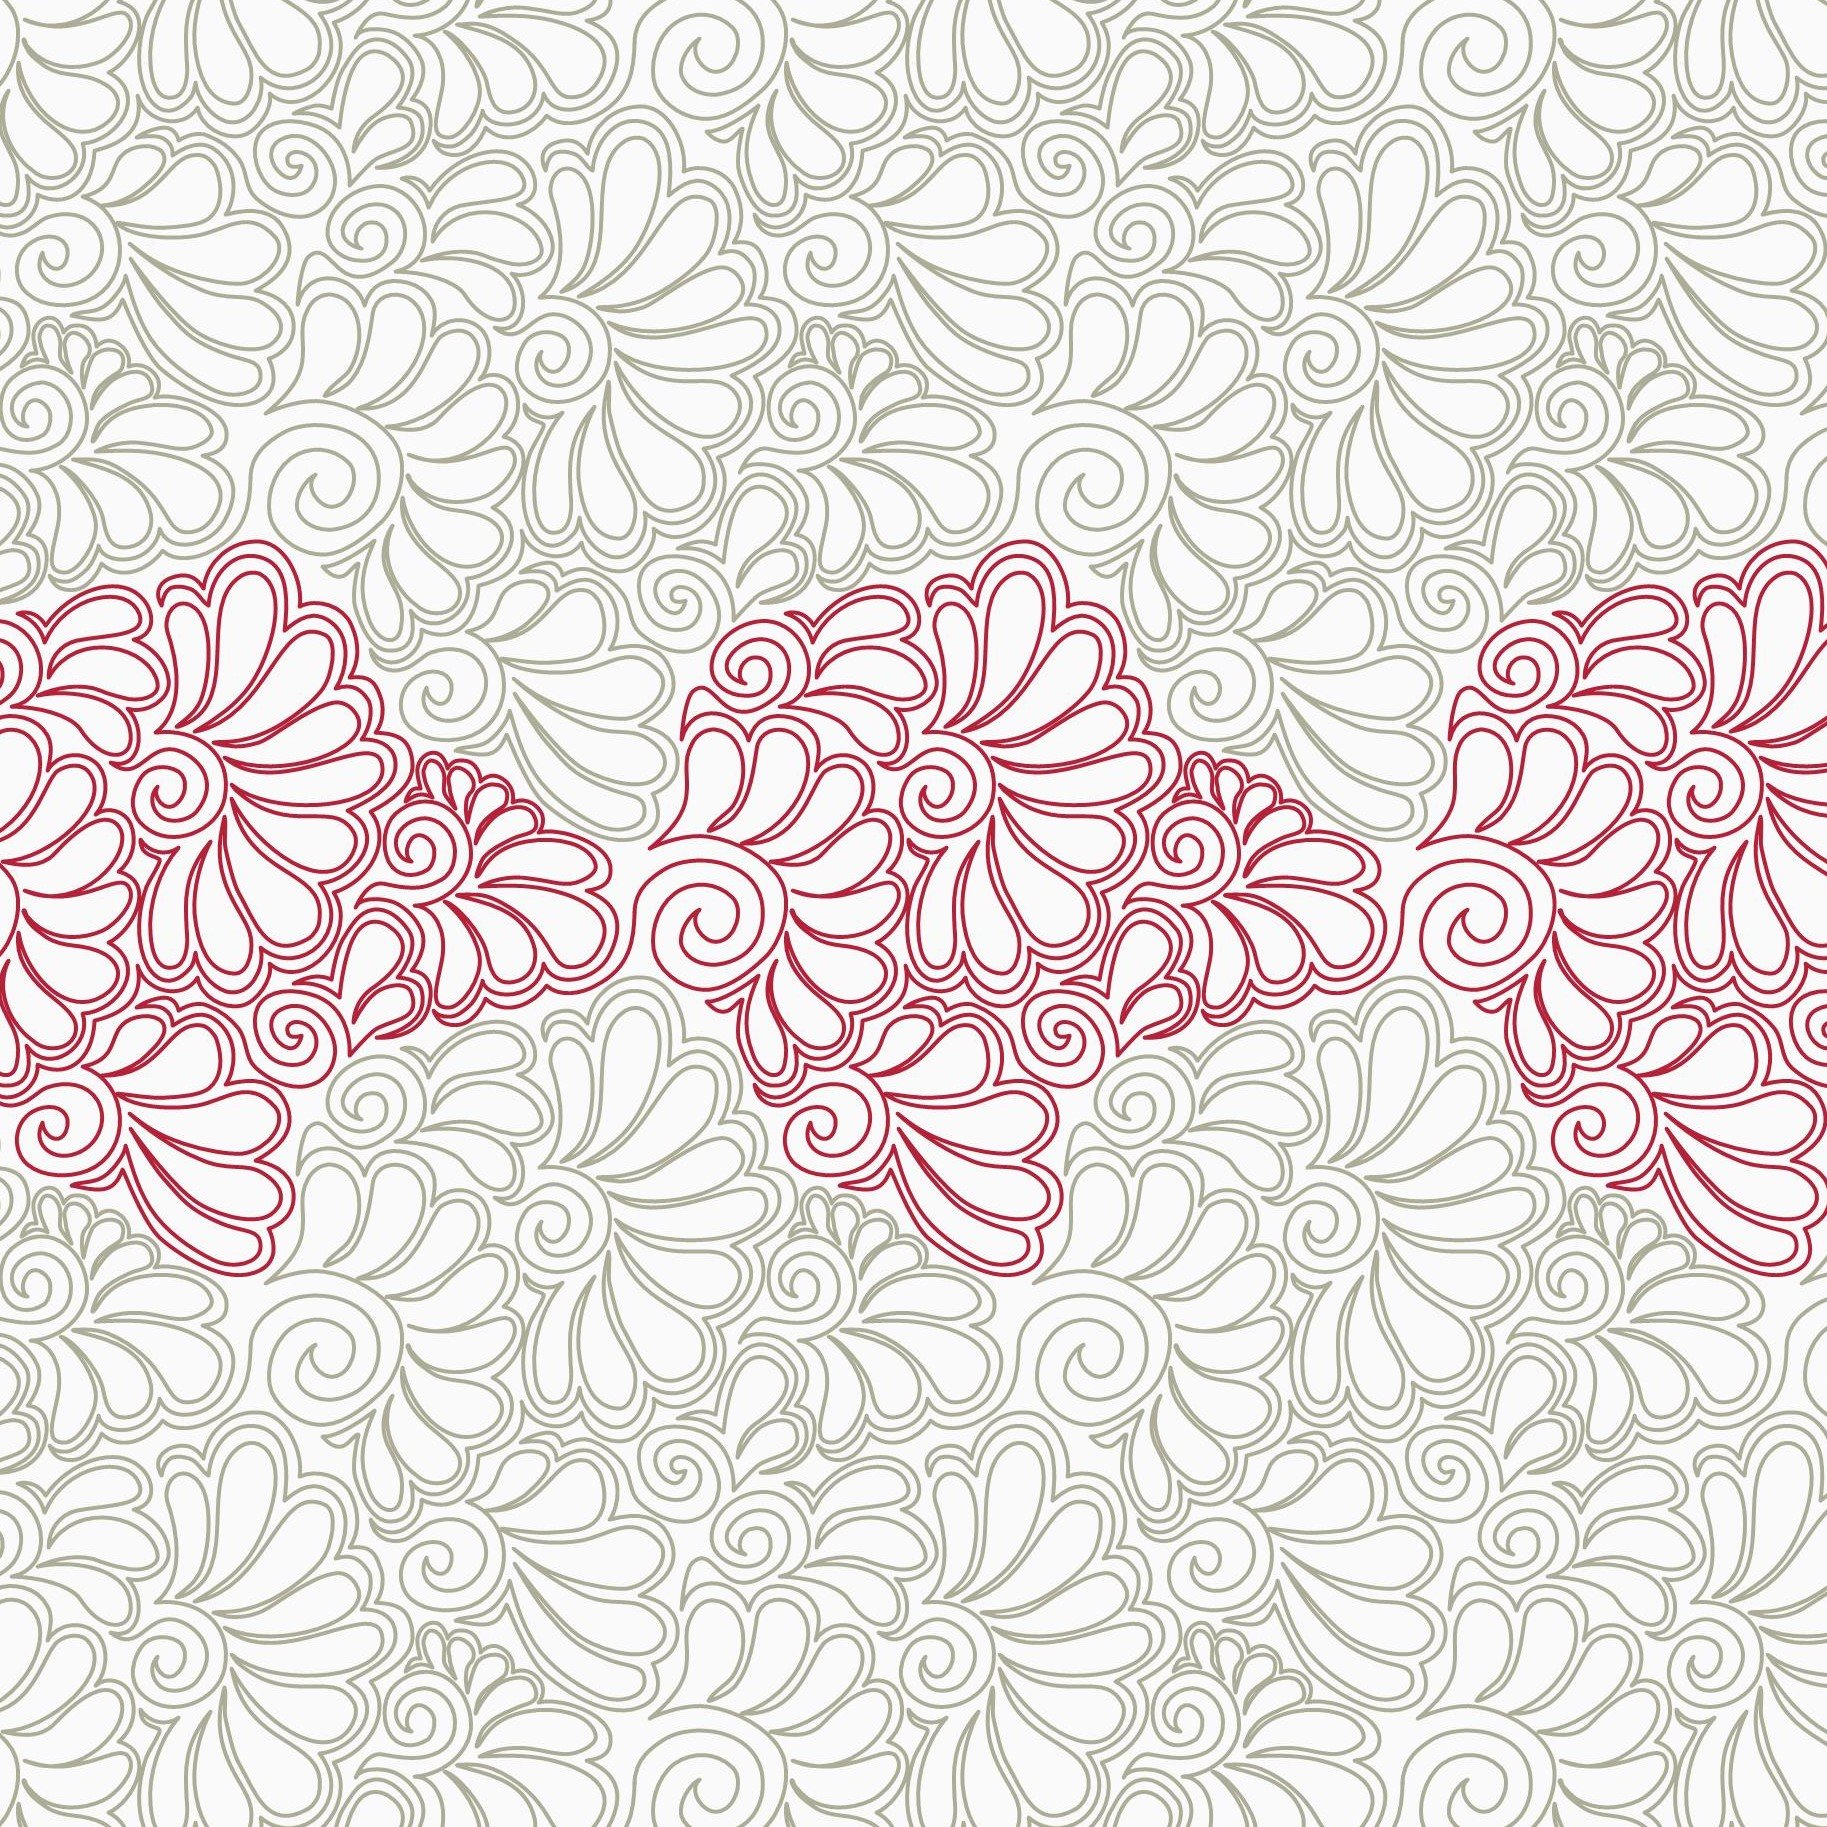
I designed the Feathered Spirals digital pantograph based on quilting I used to do when I was a free-motion quilter. Since "going digital" in 2017, I haven't spent much time doing fmq, but instead have worked on digitizing my old go-to designs. I'm talking about the ones I felt really comfortable doing over and over again on client quilts.
If you happen to enjoy free motion quilting, or maybe if you don't have a computer for your system, please enjoy a drawing tutorial for this design that I recorded years ago. In it, I talk through how I create the shapes for this motif and also explain how I move around the design to fill in space.

If you have computerized equipment, I have an easier solution: the digital pantograph! Ta-da!

I've seen this design used on a wide variety of quilt tops - it's so versatile with an element of fun! My goal for this design was to make people look really hard to see if the quilting is computerized or hand-guided. I call it faux-fmq. Or should it be faux-mq?
To avoid having discernable rows, I made the repeatable segments into a diamond shape of sorts. This means that the rows are nested deeply, with every other row offset (or staggered). It can be just a bit tricky to place if you're dealing with fabric draw on the sides.
I've written an article here with tips for precise placement of digital designs if this is something that you struggle with. We've ALL been there.

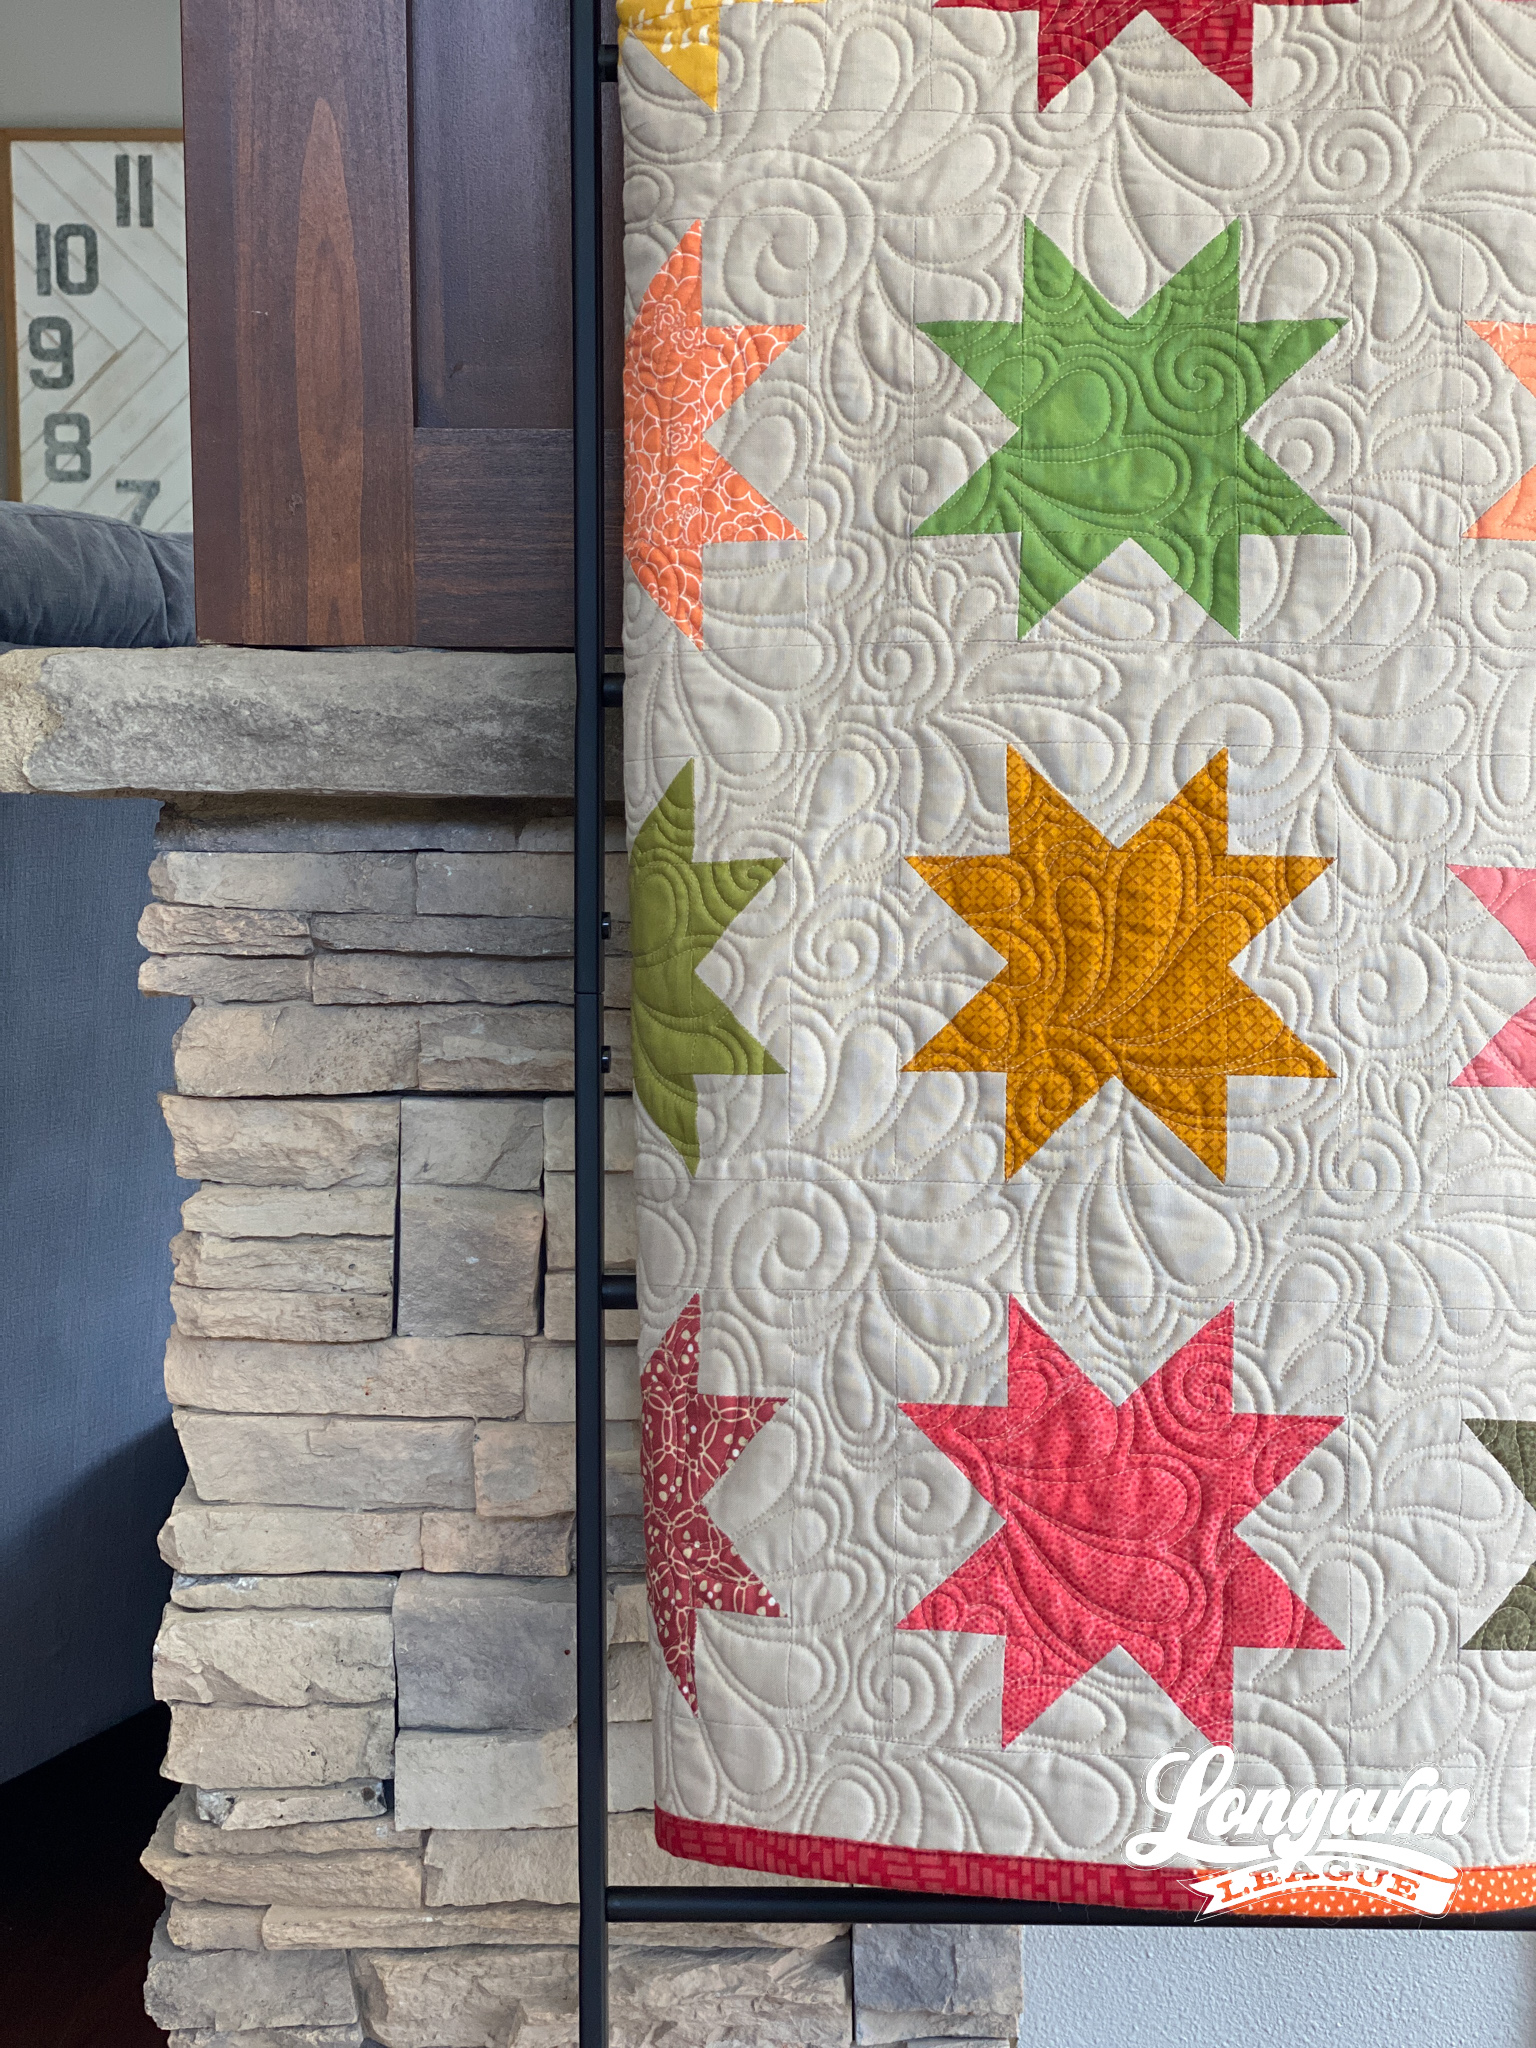
I'd like to share more details about the sizing that I used on this baby quilt. You might want to size this design a bit larger, just make sure to pay attention to your total pattern height to make sure you have enough quiltable space with your frame limitations.
Row height: 7"
Gap: -4.864"
With Intelliquilter (the computerized system I use), the row & gap amounts combine to total the pattern height, which was 11.864" for this design.
Offsetting: 50%
Backtracking: none
We made an Instagram Reel of this design being set-up with Intelliquilter before stitching. I always think it's interesting to see how different computerized systems work.
View this post on Instagram

There's also a wide-angle, time-lapse video at the top of this post showing the whole quilt being quilted.

To see how others have used this design, check out the #featheredspiralspanto on Instagram. There are so many pretty examples there!

If you decide to use this in your quilting, we'd love to see what you're up to! Use the same hashtag (#featheredspiralspanto) and tag us @longarmleague.
Here's a link to buy it from our shop: Feathered Spirals Digital E2E Design.

Jess Zeigler
Longarm League Commish & Owner of Threaded Quilting Studio, LLC.


