
Thread Garden Digital Pantograph

I'm going to be honest and let you know that this is likely the only whole garden you'll ever see me cultivate. The two "plants" I have in my house are plastic. I tell myself it's because of the naughty cats.
I know, I know! So many quilters also love to garden, so I feel like these are fighting words. But, I gotta be me!
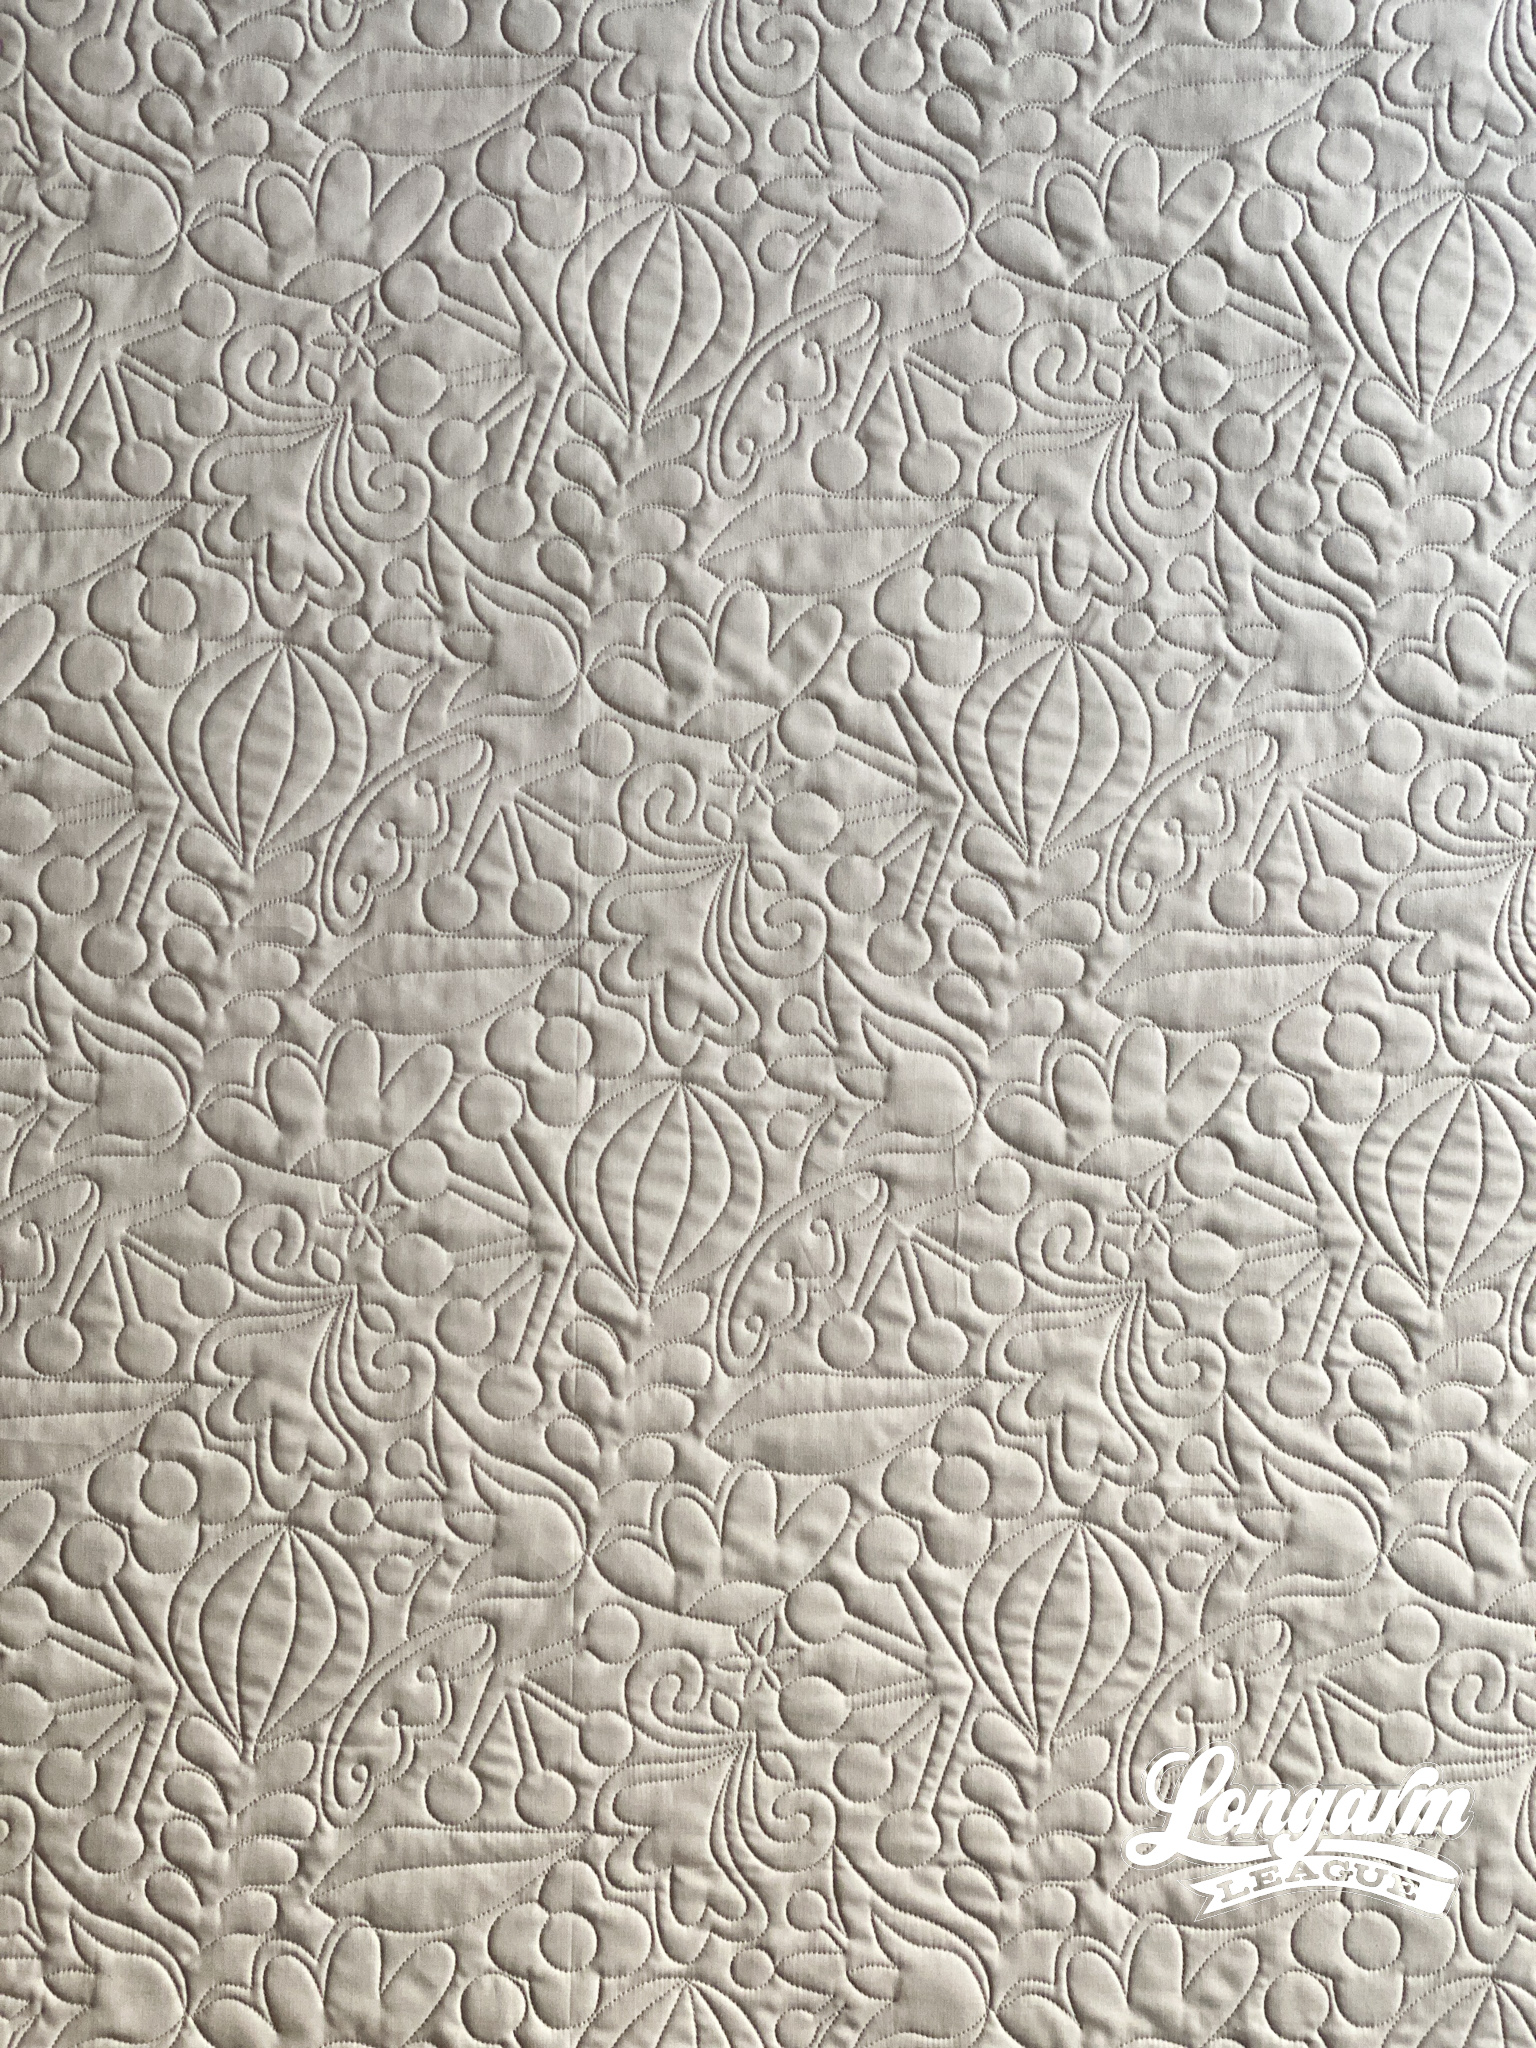
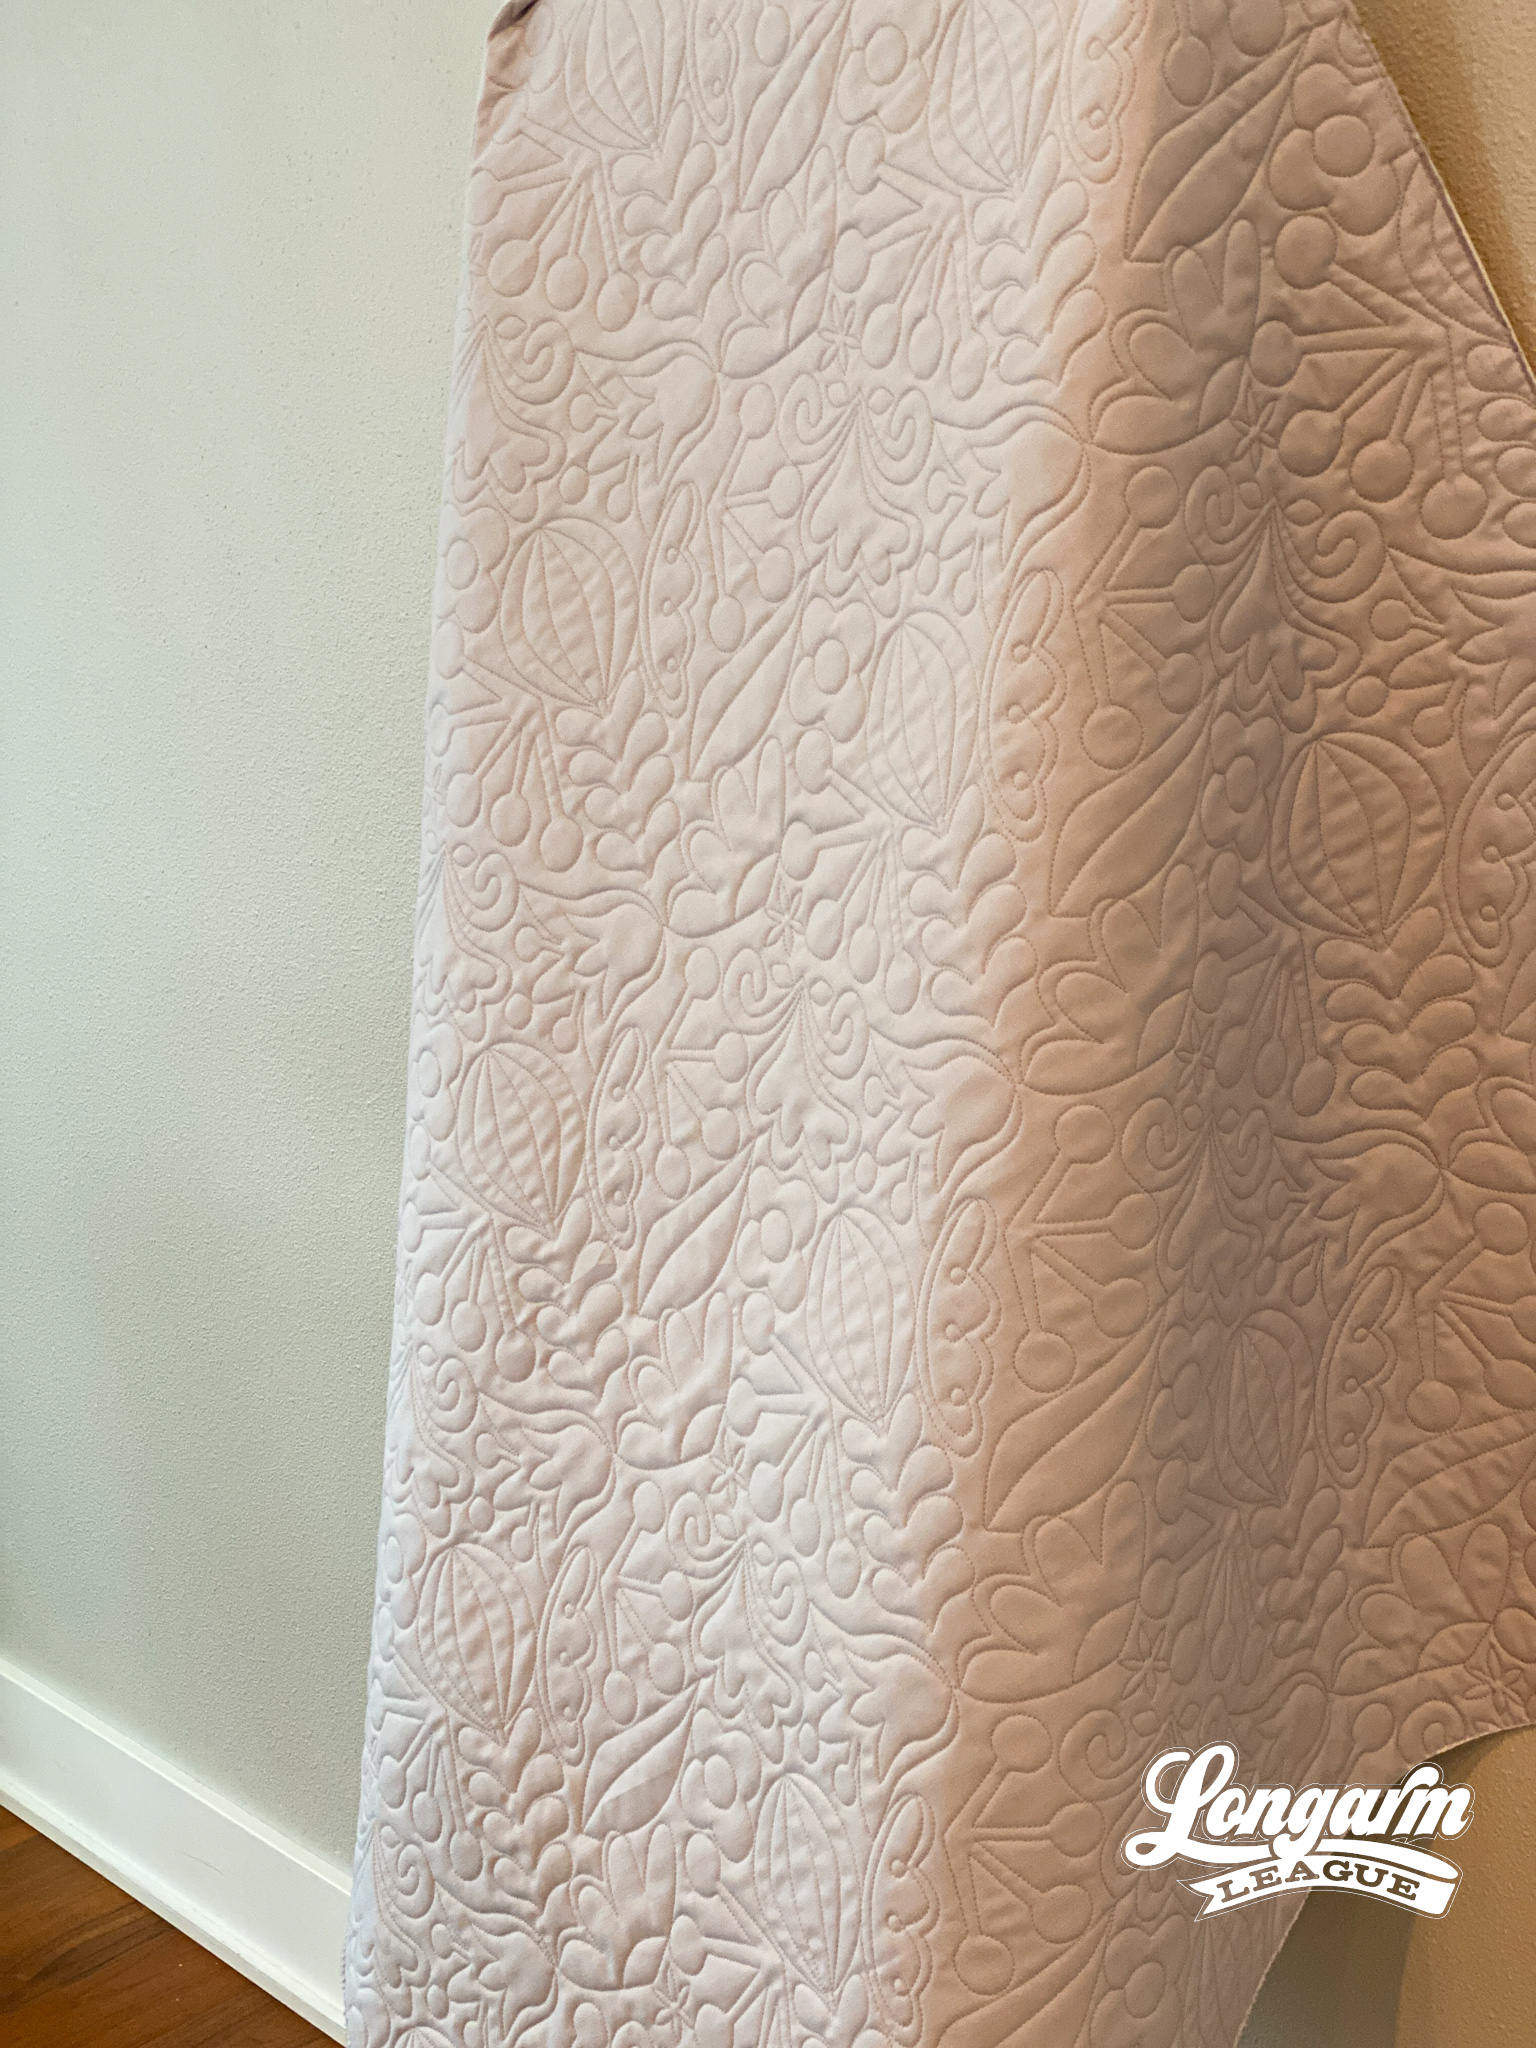
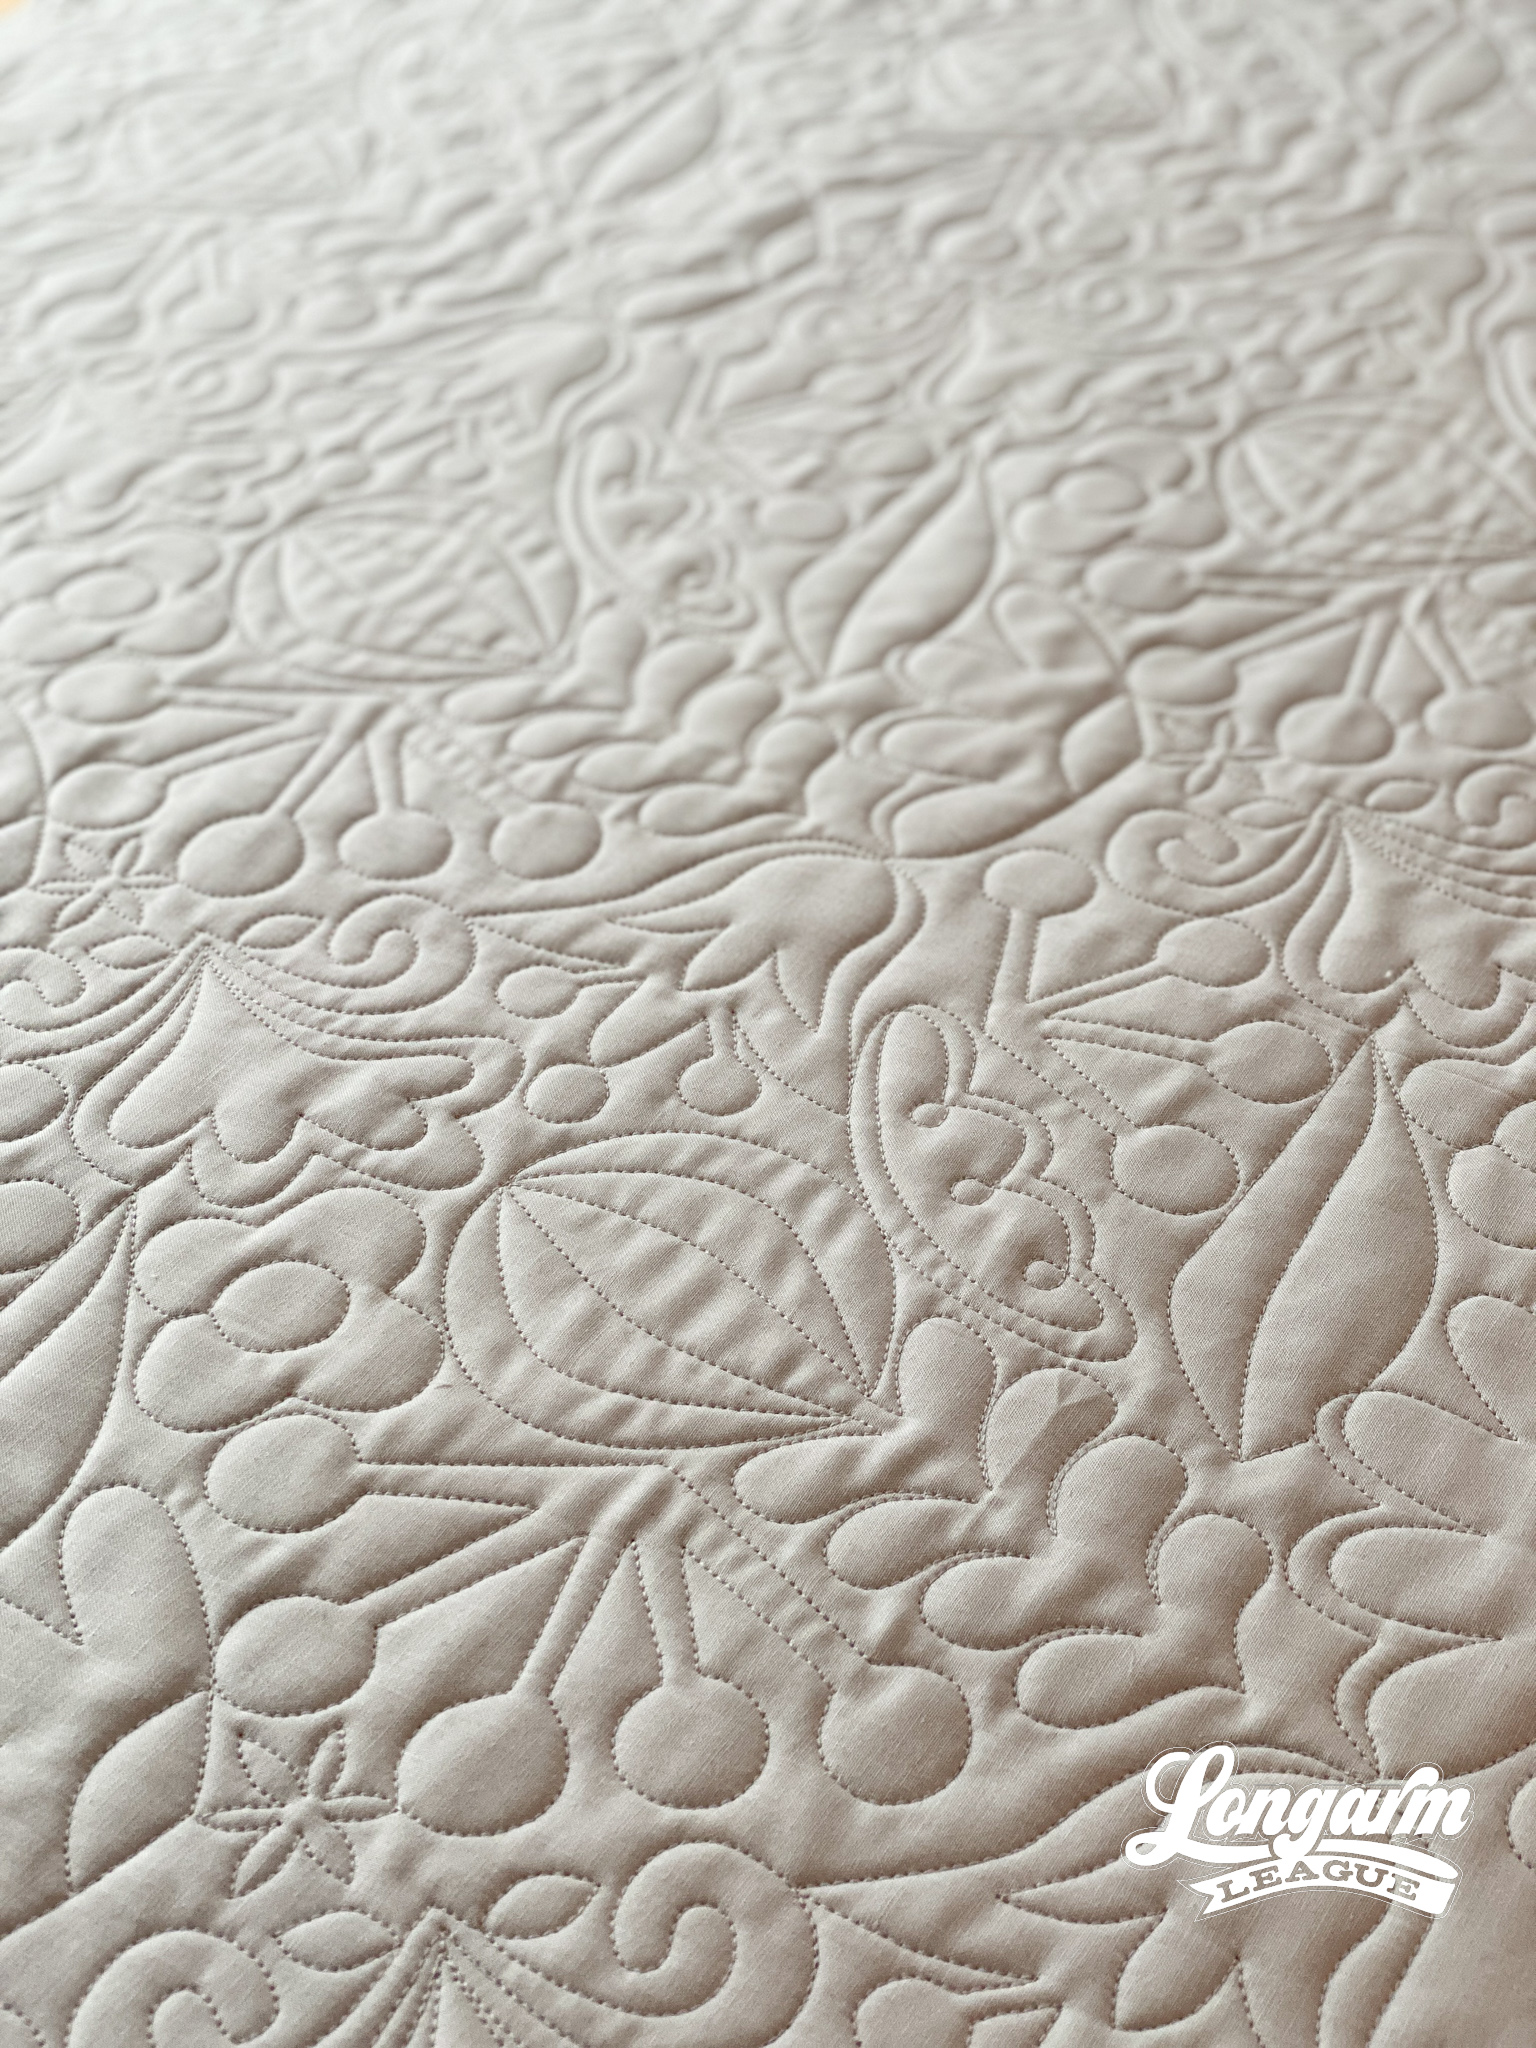
I was captivated by the idea of making fanciful floral shapes that looked "illustrated"—if you will—with no particular directionality.
I think this design would look great on quilt tops for kids, or for modern tops, or even quilt tops with a Scandinavian theme, if you'll allow me to get super-specific about it and my influences.
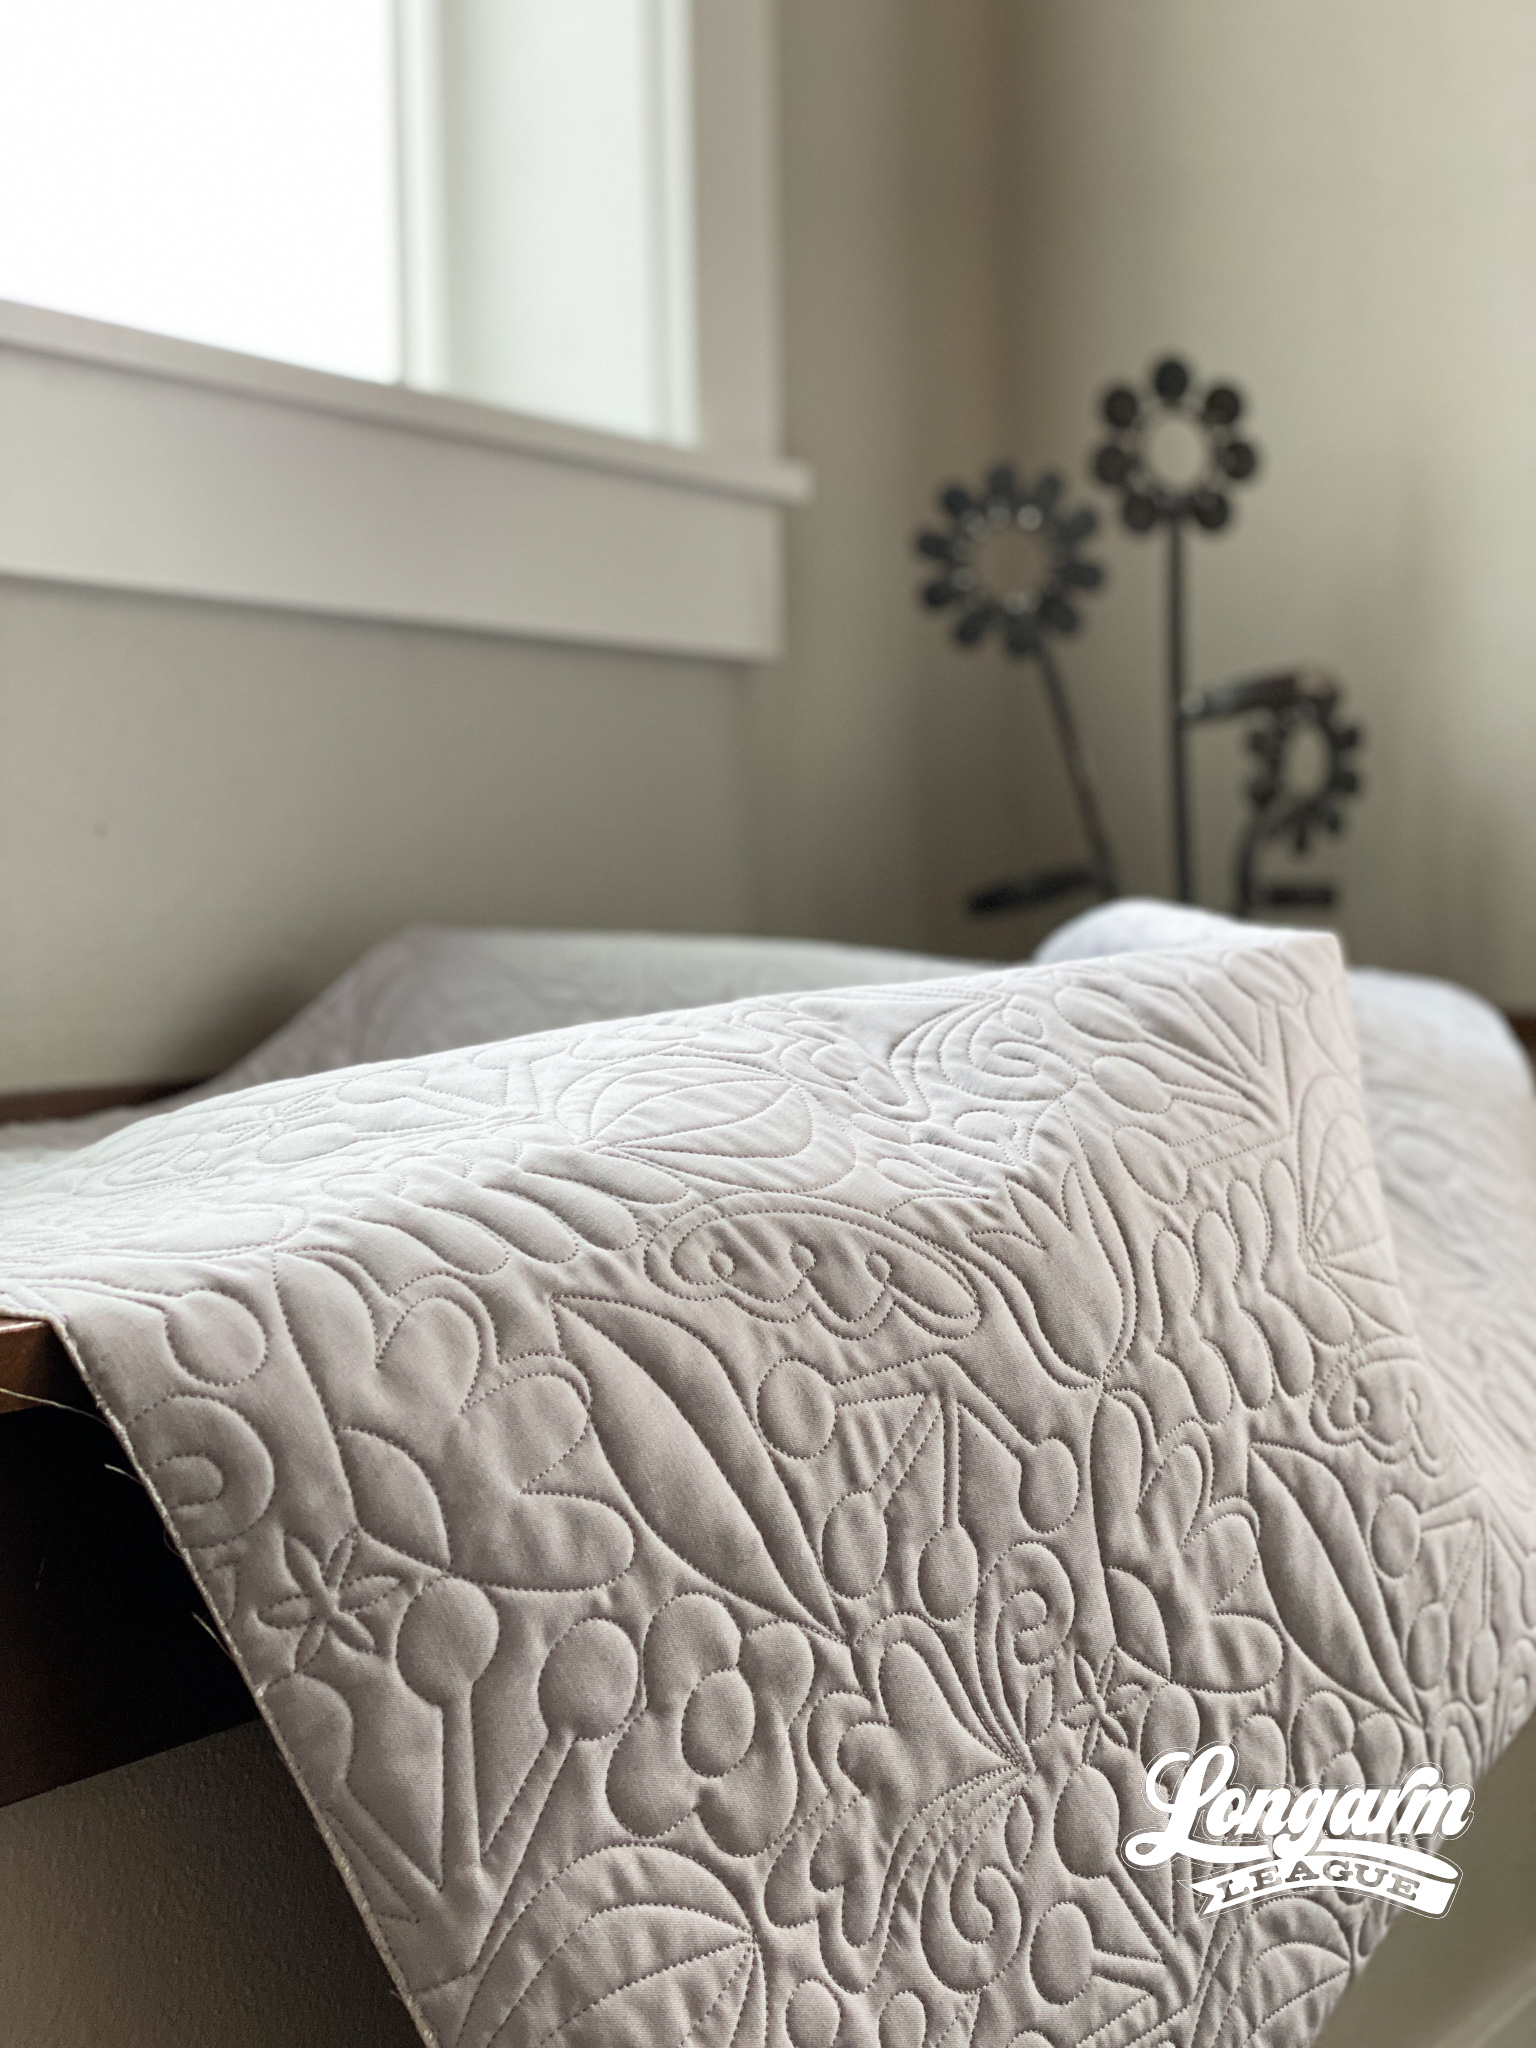
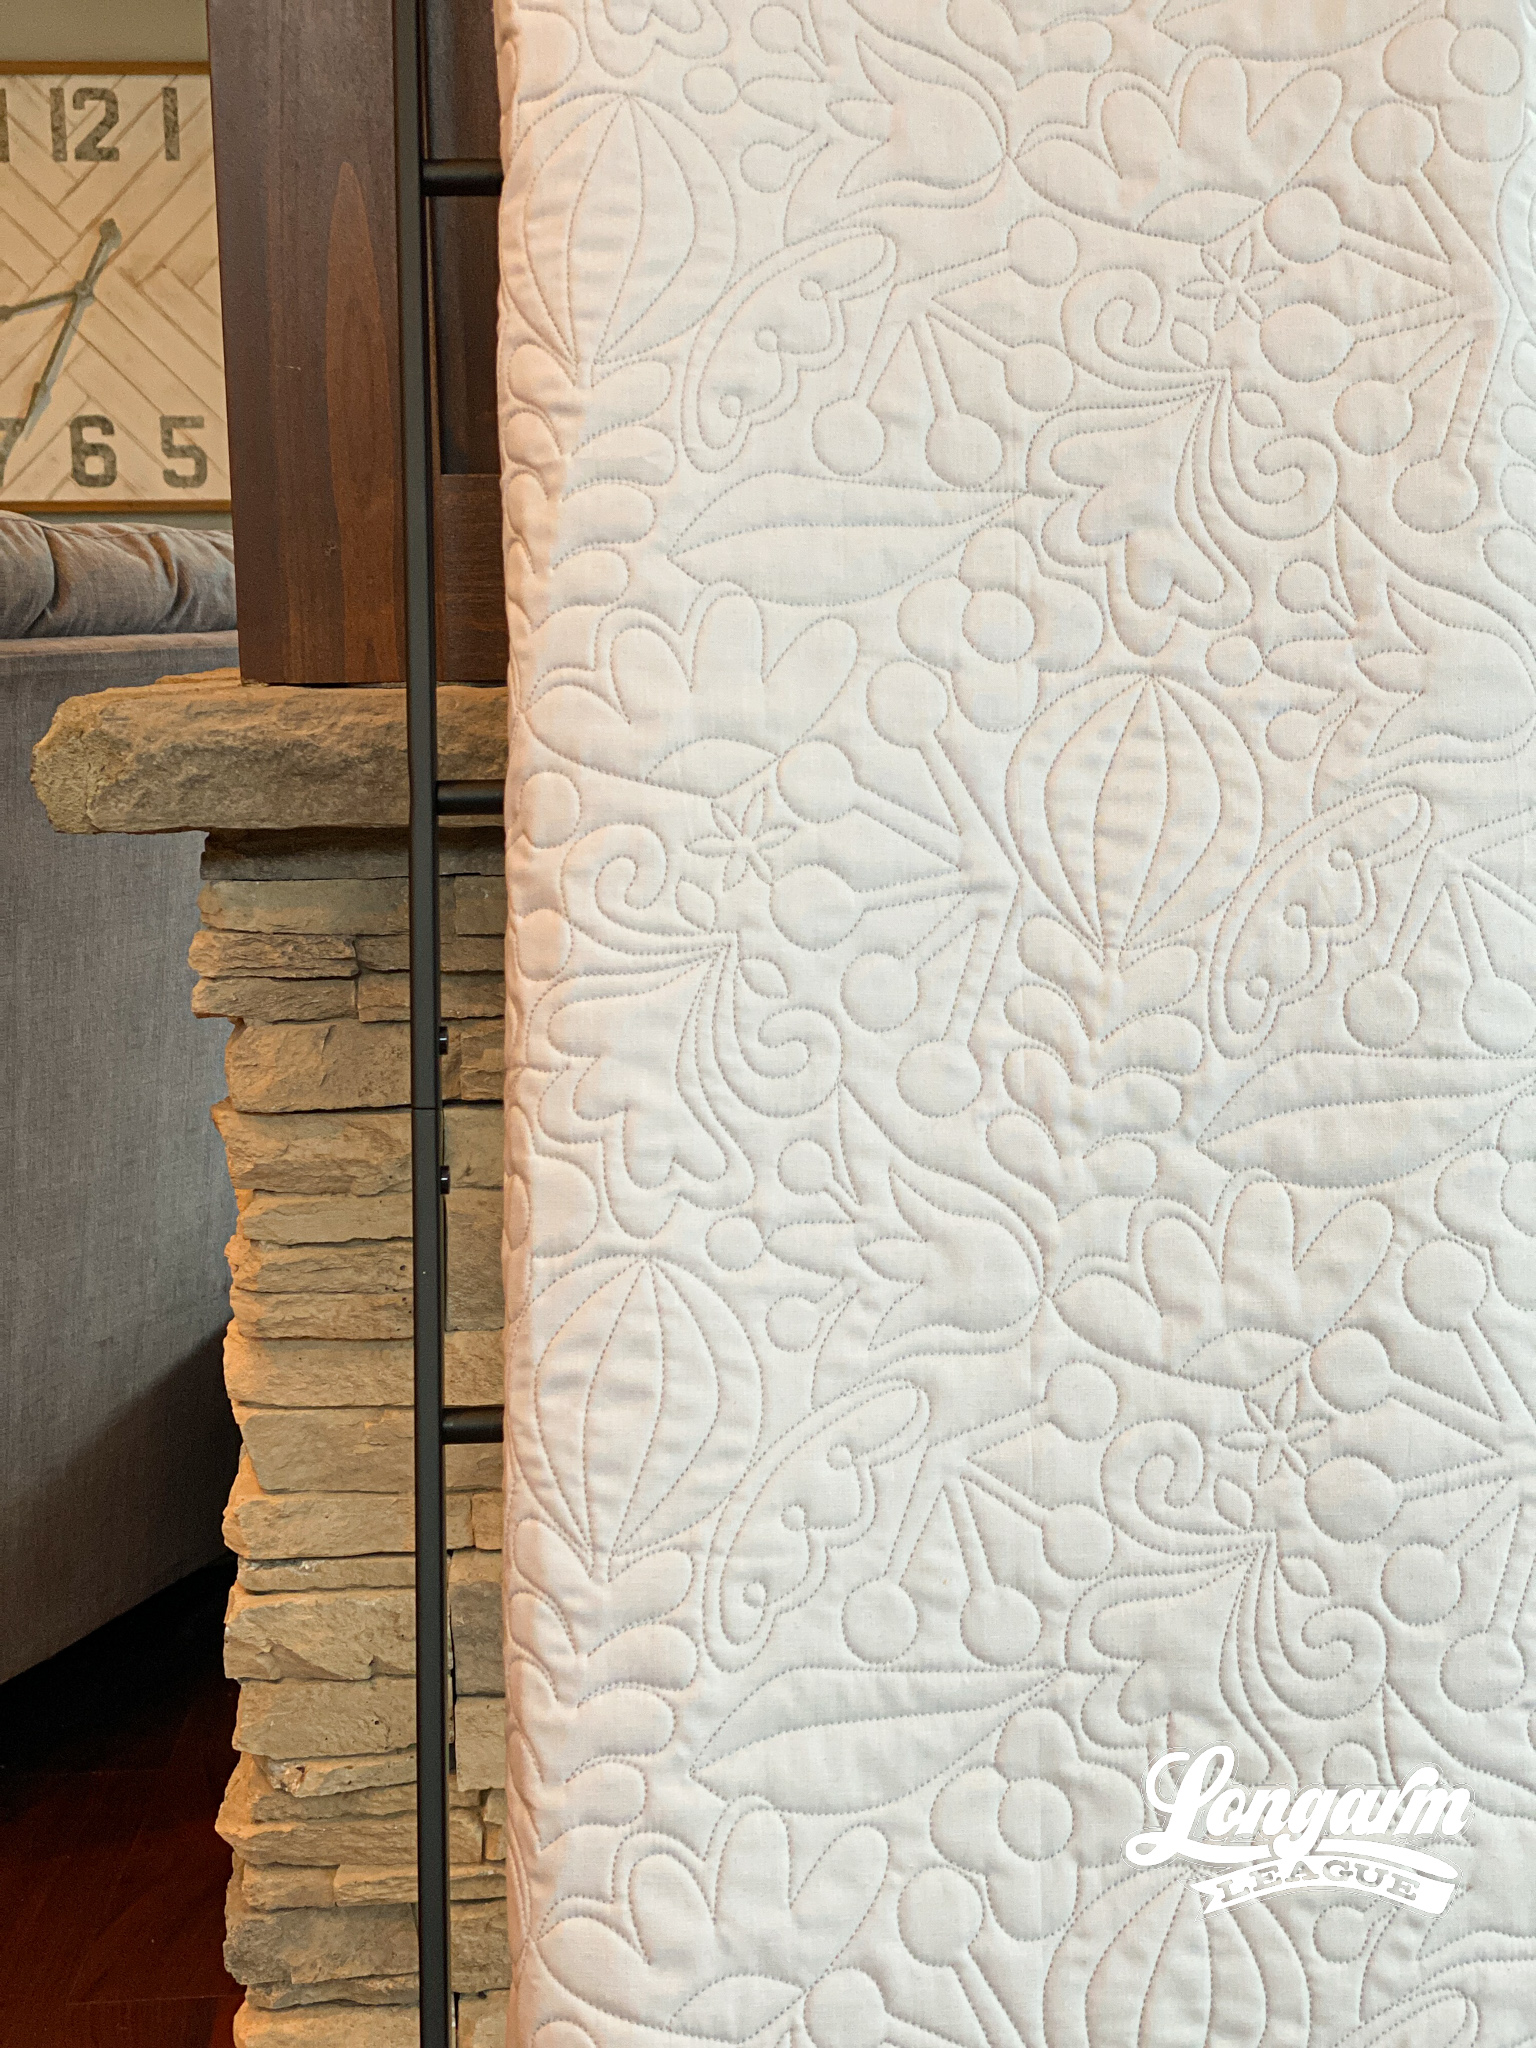
I'll also state the obvious and say this digital pantograph design could also be great with floral-themed quilts! Or with quilts using a lot of solid fabrics or negative space. You know... to add some extra interest and texture.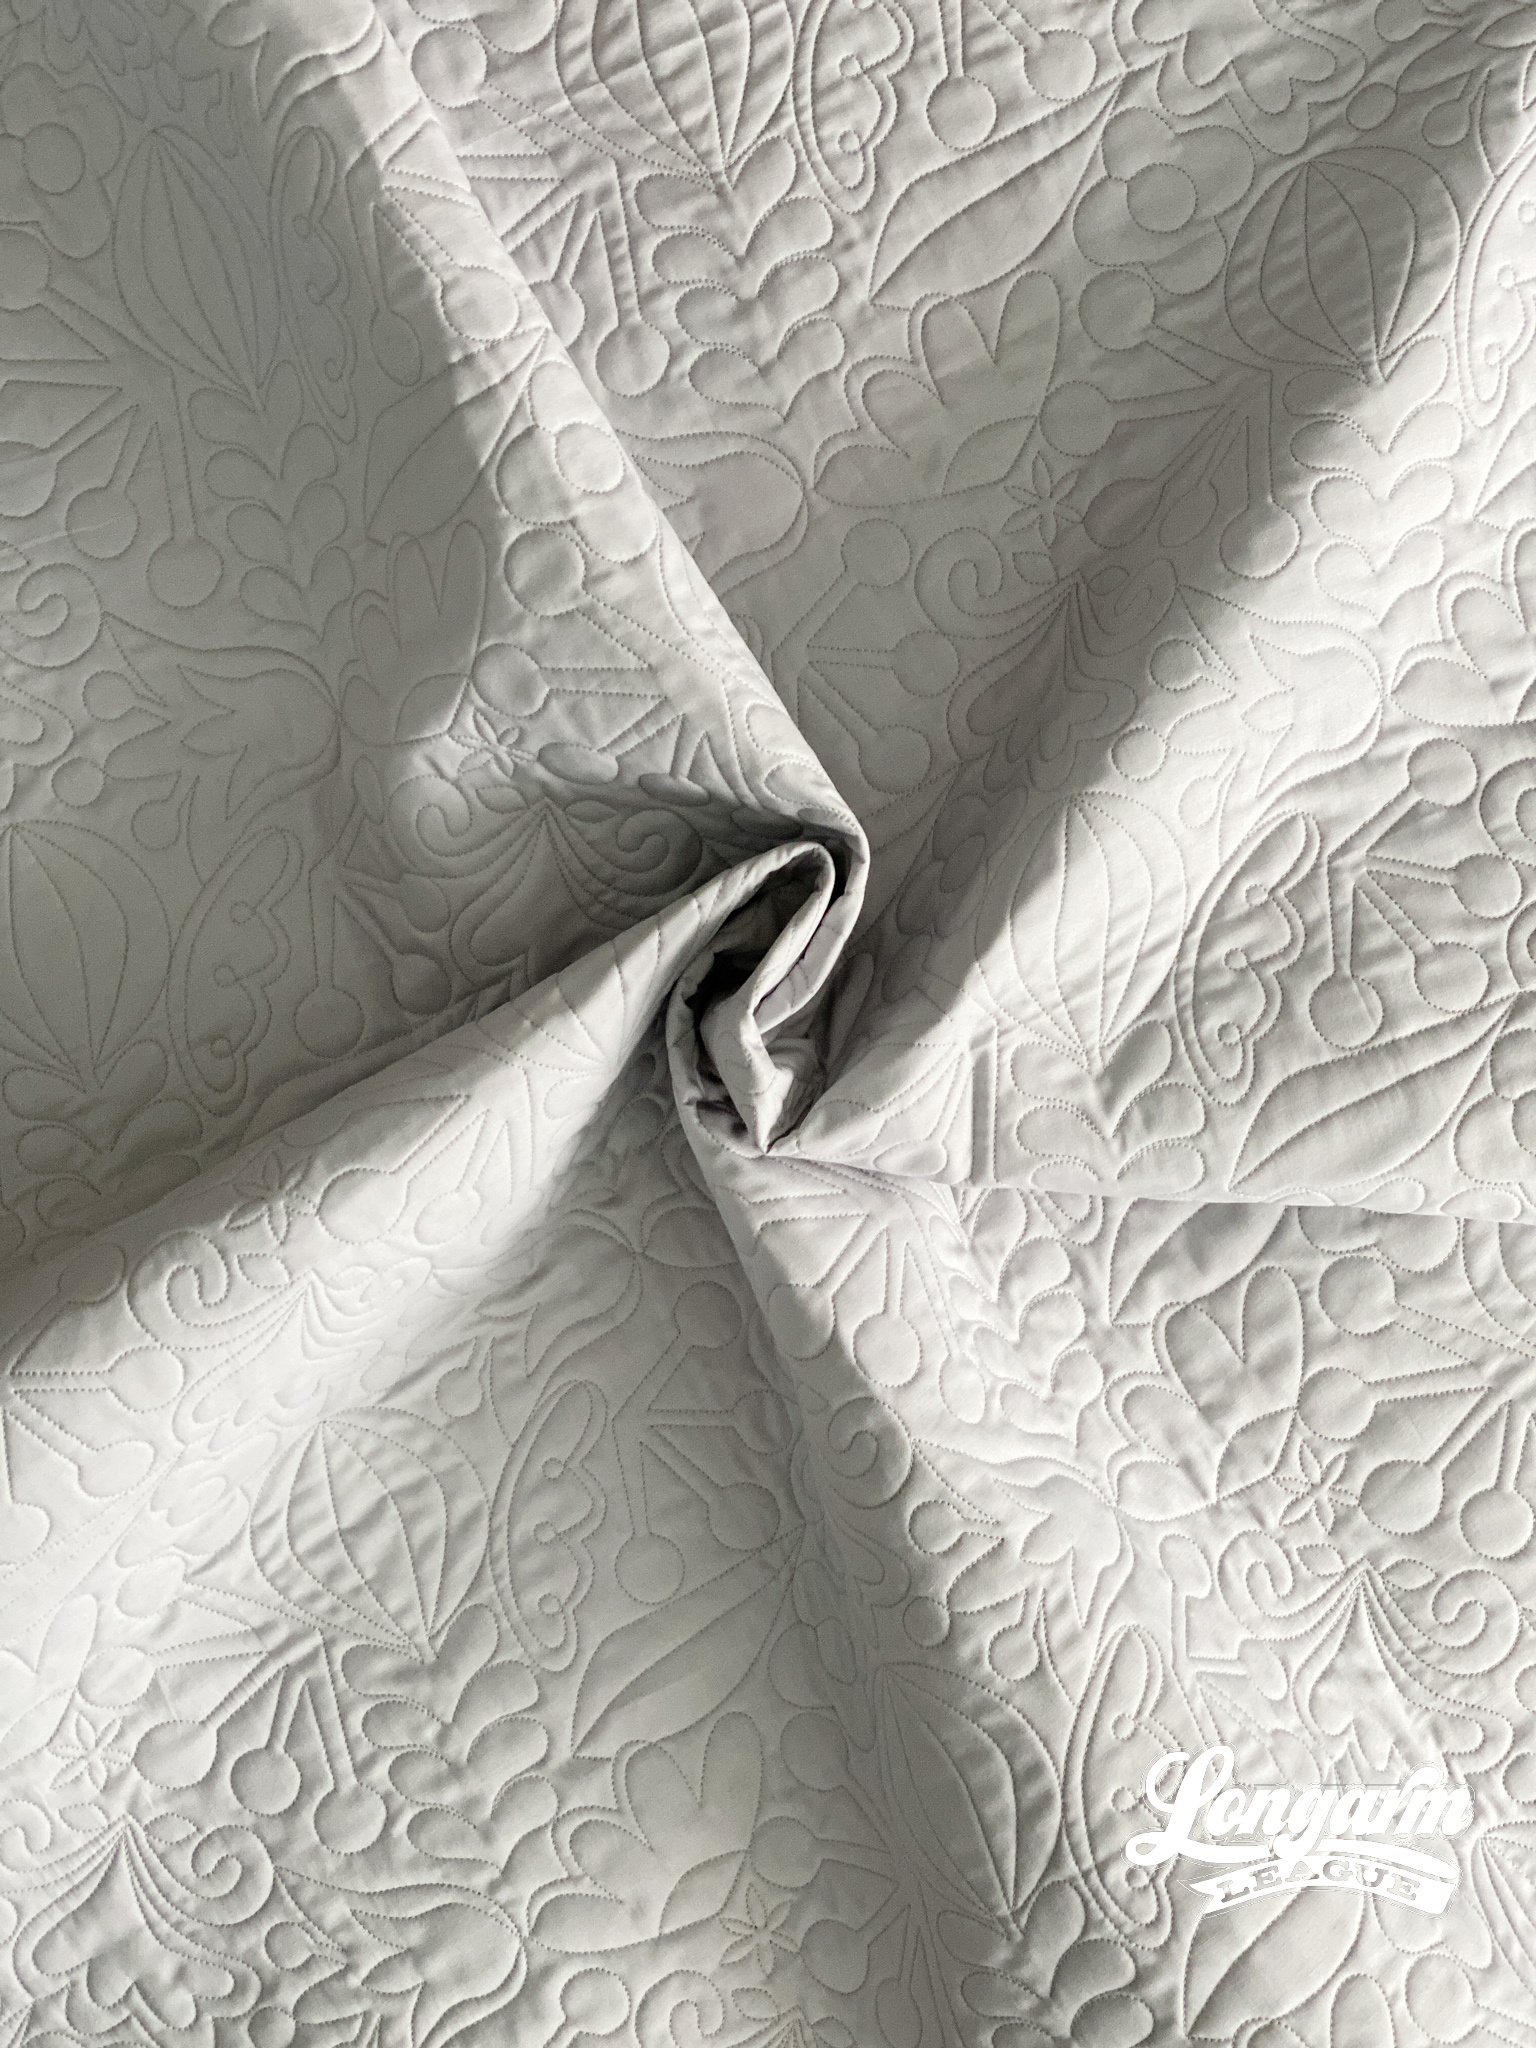
As a digital pantograph designer, I like to disguise "hard rows" whenever possible. I experimented with a straight-set, no-offset-required B2B-type block, but I had an exceedingly difficult time avoiding the glaringly obvious repeats.
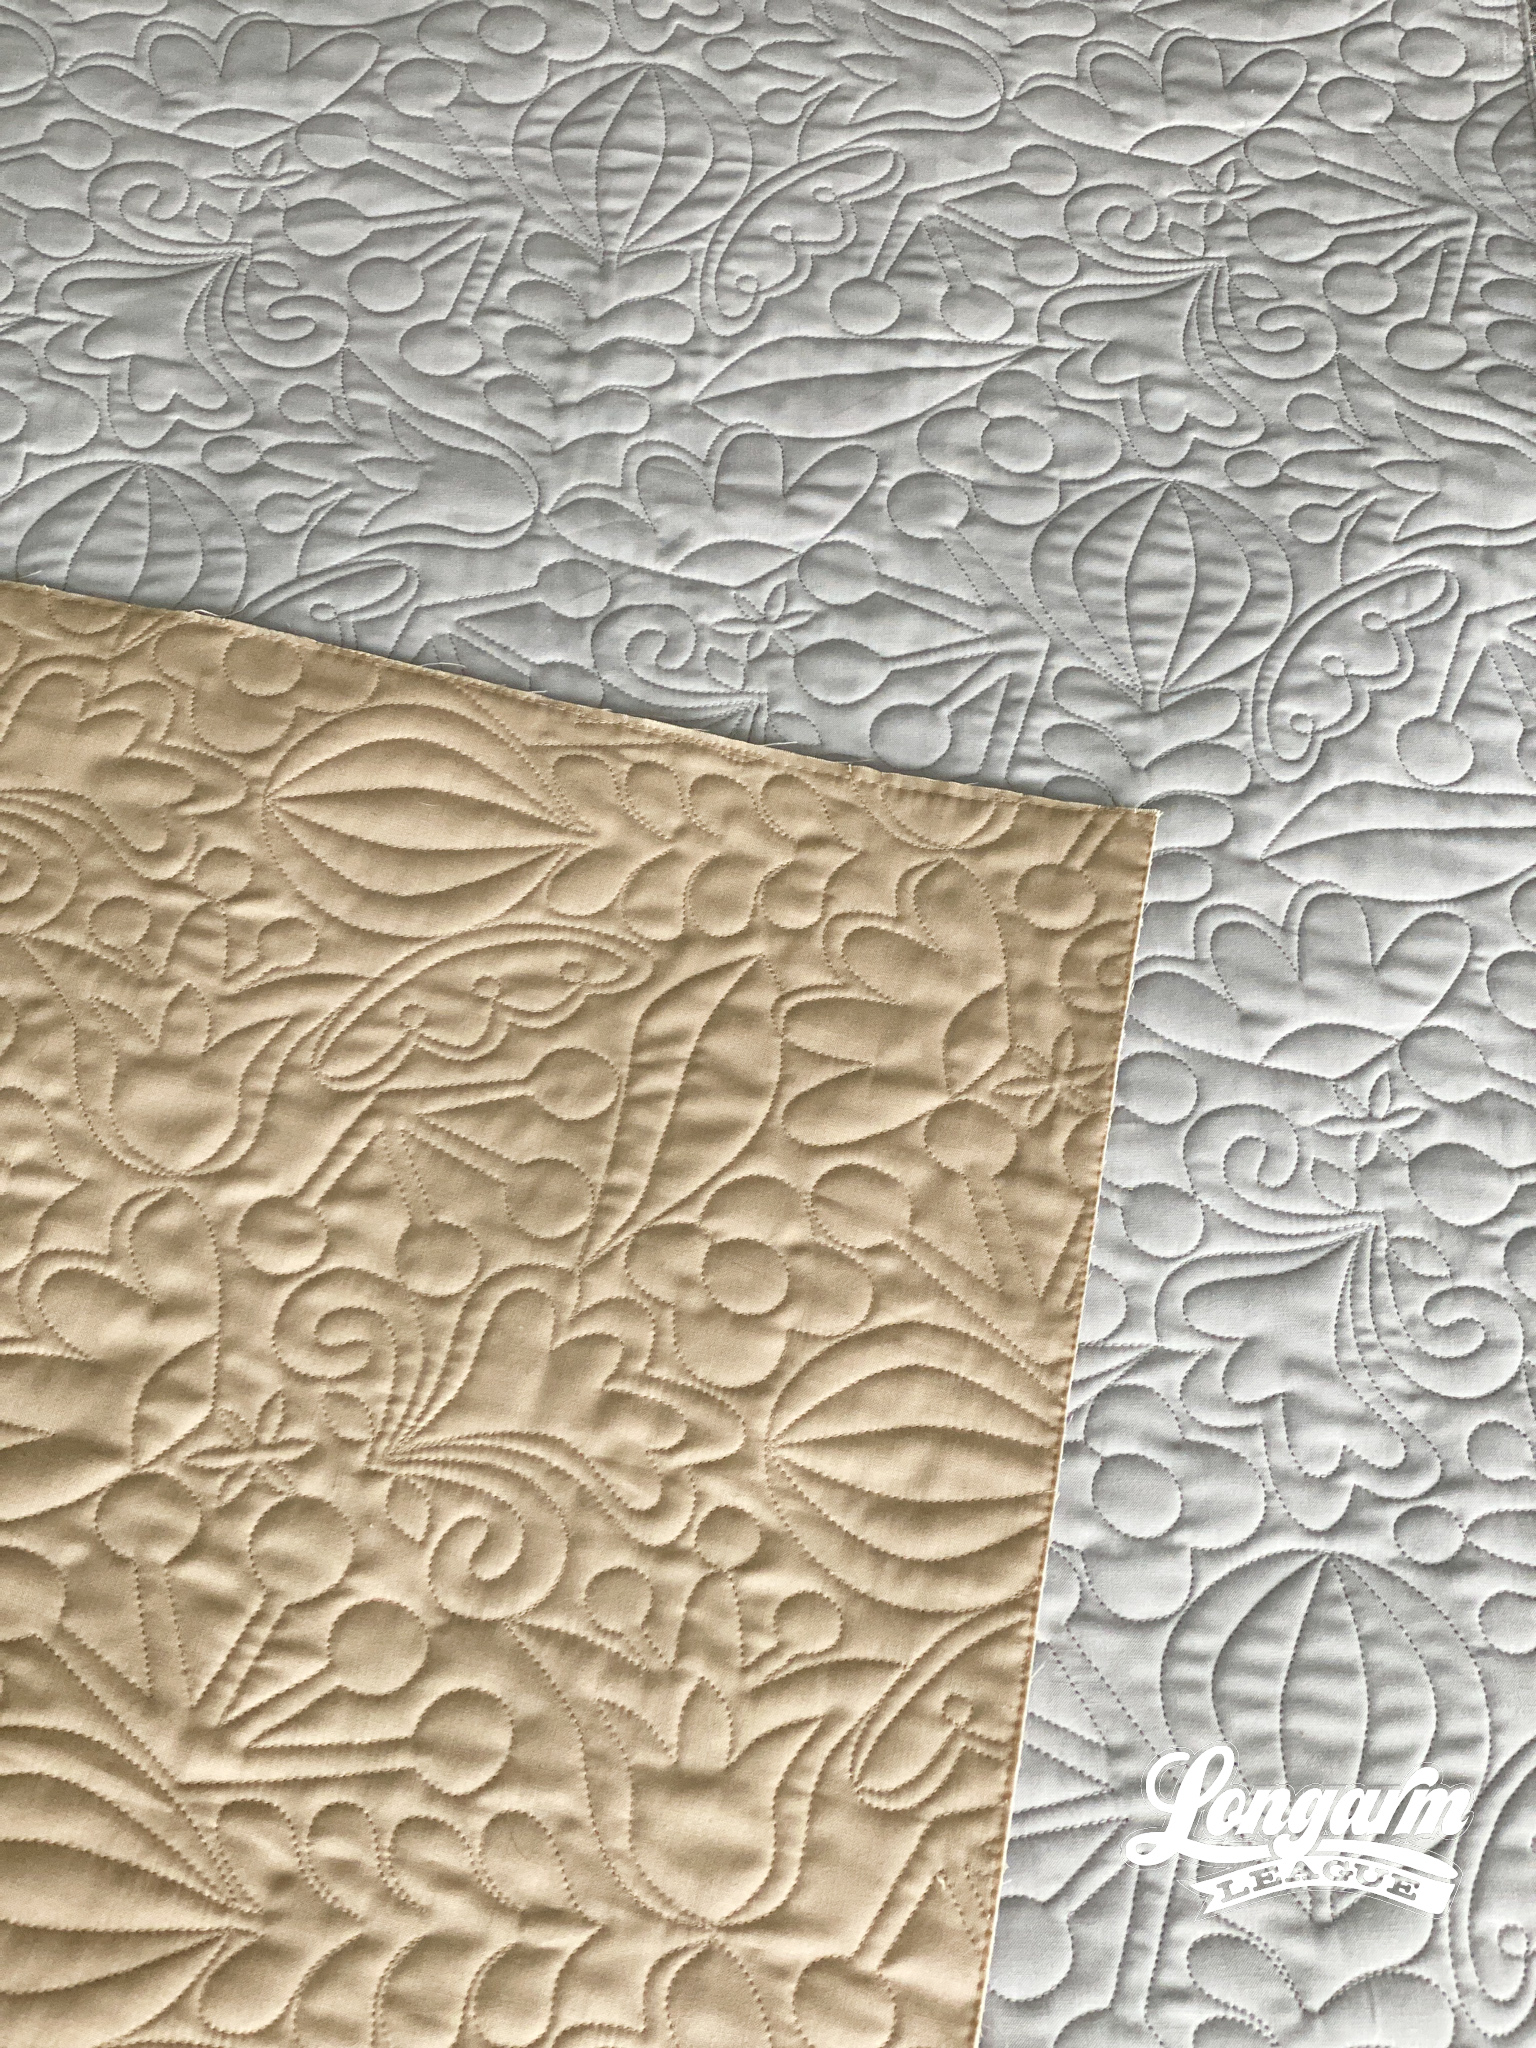
I decided to try setting the design "on-point" in a diamond shape. When I set up the pattern repeat, staggered every other row, and closed the gaps, I found that the obvious repeats were much better disguised and that made me much happier!
So, as we talk about setting-up this design in your computer—yes—there are a few extra steps (with the offset/staggering of rows), but I found that they were worth it to accomplish the overall look.
Here are my specifics using a baby-sized sample in the photos (45" x 50" quilt size):
Row height: 8"
Gap: -6.035"
Pattern height: 14.035"
I use an Intellquilter as my computer system (on my 20+ year old APQS Millennium), so your terms might differ. What I think is important to highlight here is that I was aiming for one diamond shape from top to bottom to take up nearly all the quilt-able space for one pass on my machine (which is roughly 16" max). At the approximate 14" total pattern height shown here, it gave me a little wiggle room as I advanced to ensure each pass fit without bumping into my bars.
There are a few areas of backtracking where you'll restitch over lines as you move to a new area, but it's not too bad. You can watch the stitch-out video at the top of this post to see exactly what it looks like when stitching.
When a design has some backtracking or over-stitching, I like to use a thinner thread like a 50 weight. I used Premosoft from Hab+Dash on the top (Light Grey) and I used 60 weight Magna Glide Classic pre-wounds in the bobbin (Tan). It's not always possible when you have a multi-colored quilt top, but picking a thread color that blends with most areas of the quilt will help to diminish the presence of a double-stitched line.
I'd avoid sizing this too small. Ha! Listen to me—someone who LOVES dense quilting—caution against scaling down too much. :)
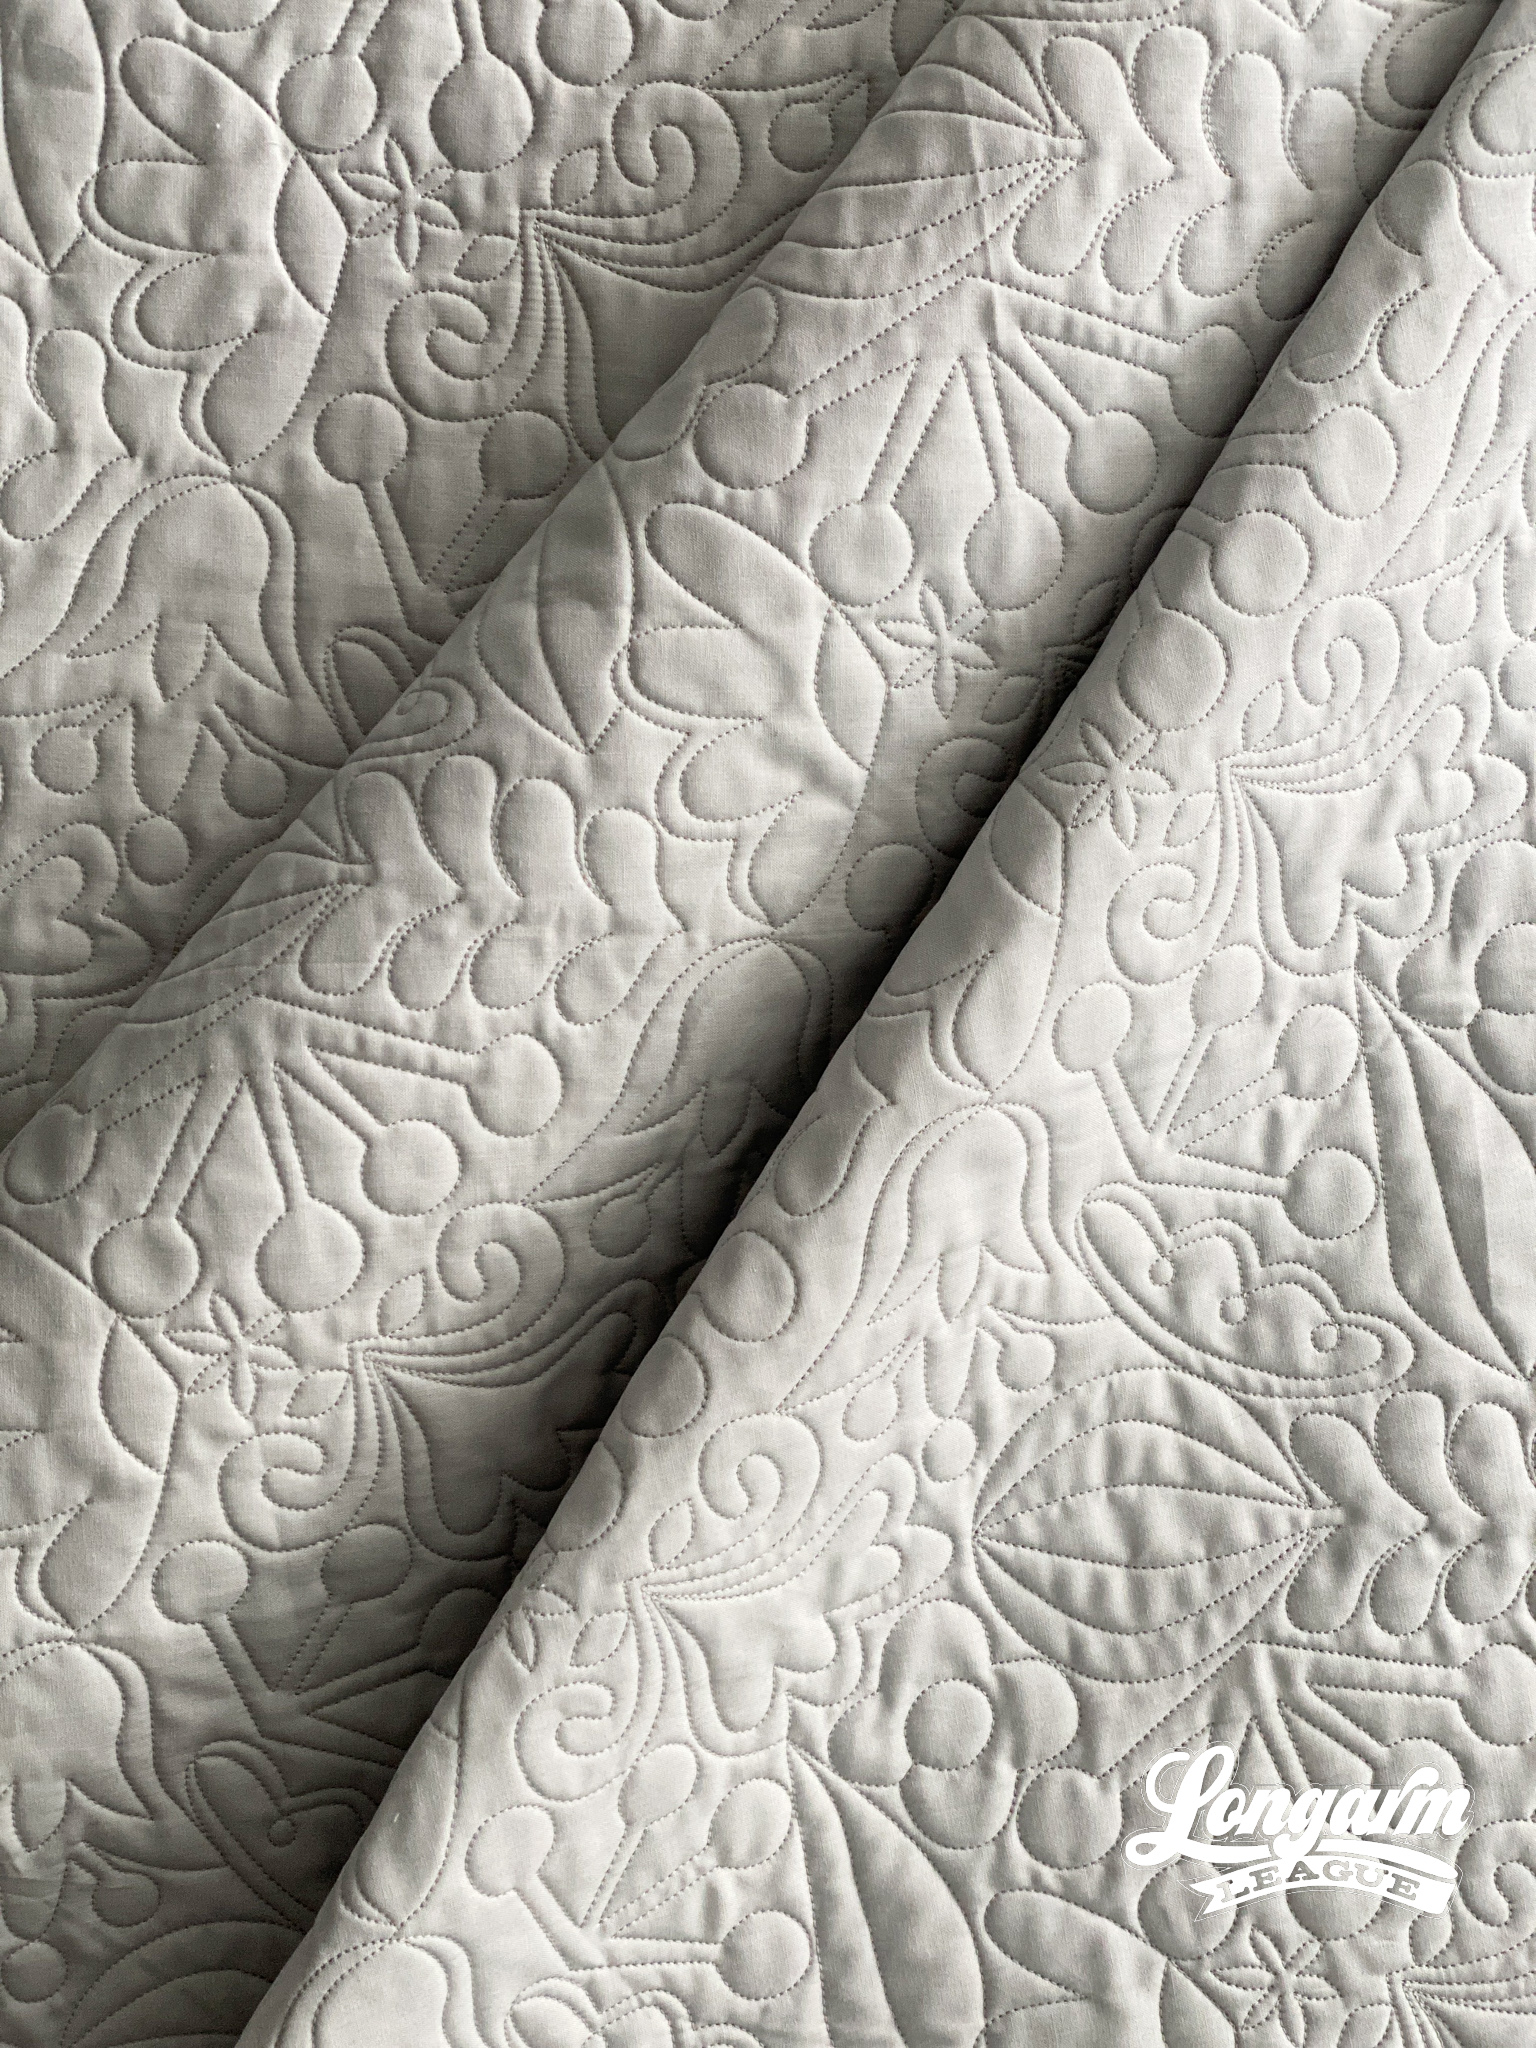
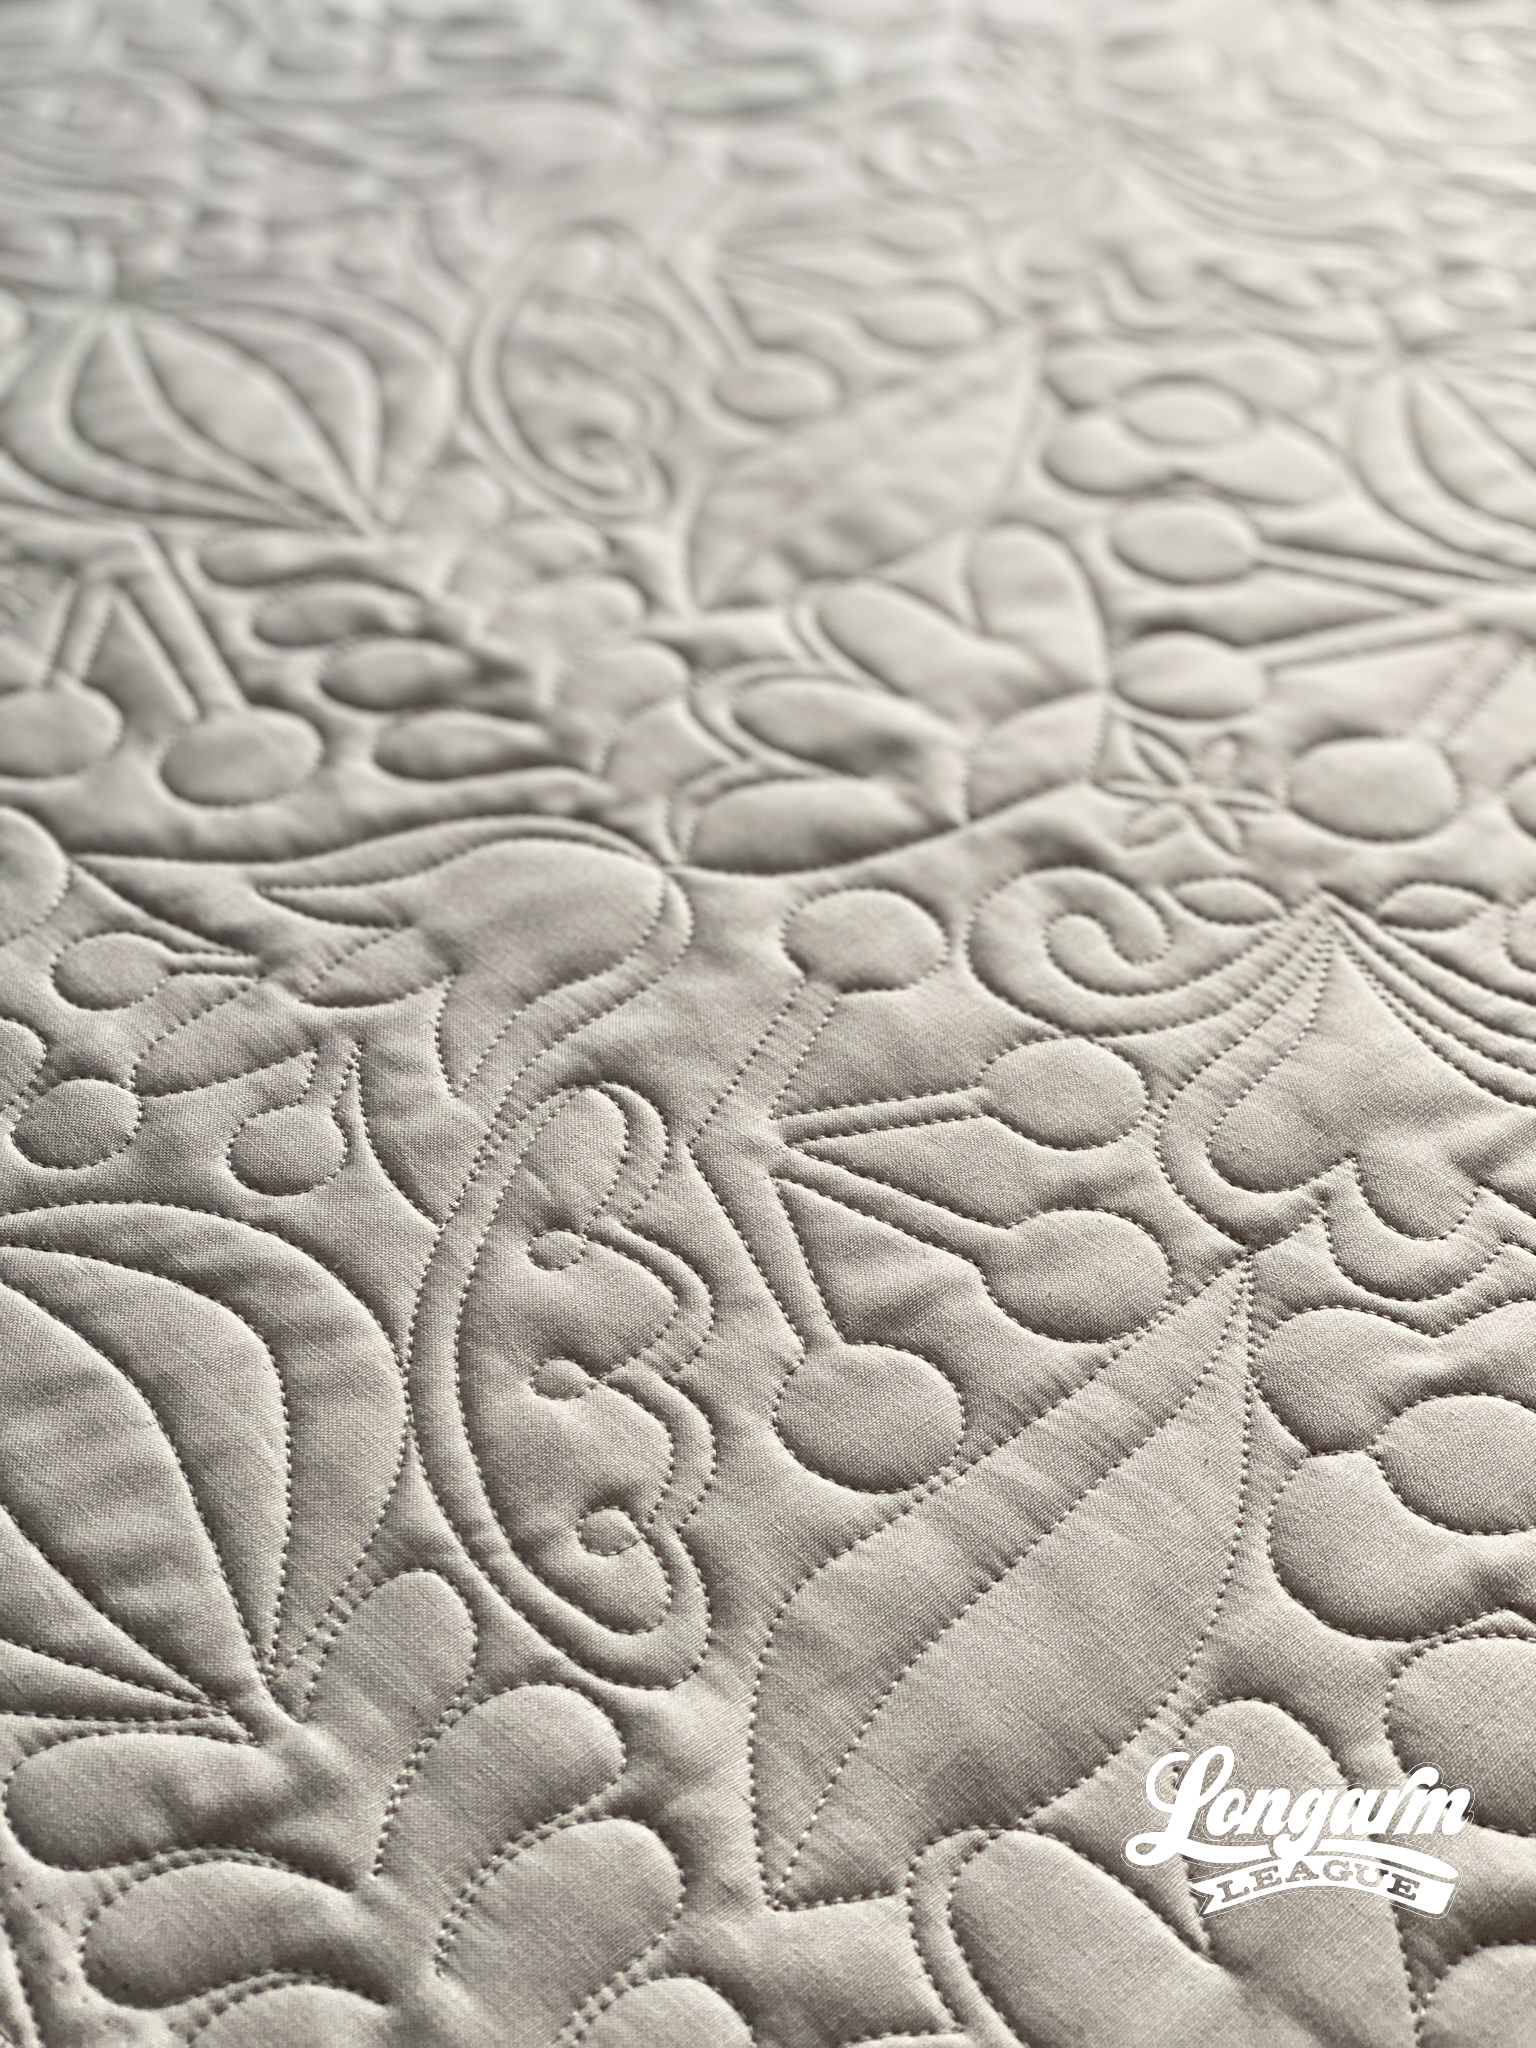
Well, part of the fun of this design is that you have some symmetry contrasted with more organic shapes, some larger motifs, some average sizes and some tiny bits. It's meant to look interesting and dynamic like that. If you size down too much, the smallest elements (like the tiny circles in the pea-pod-lookin' motif) will be really small.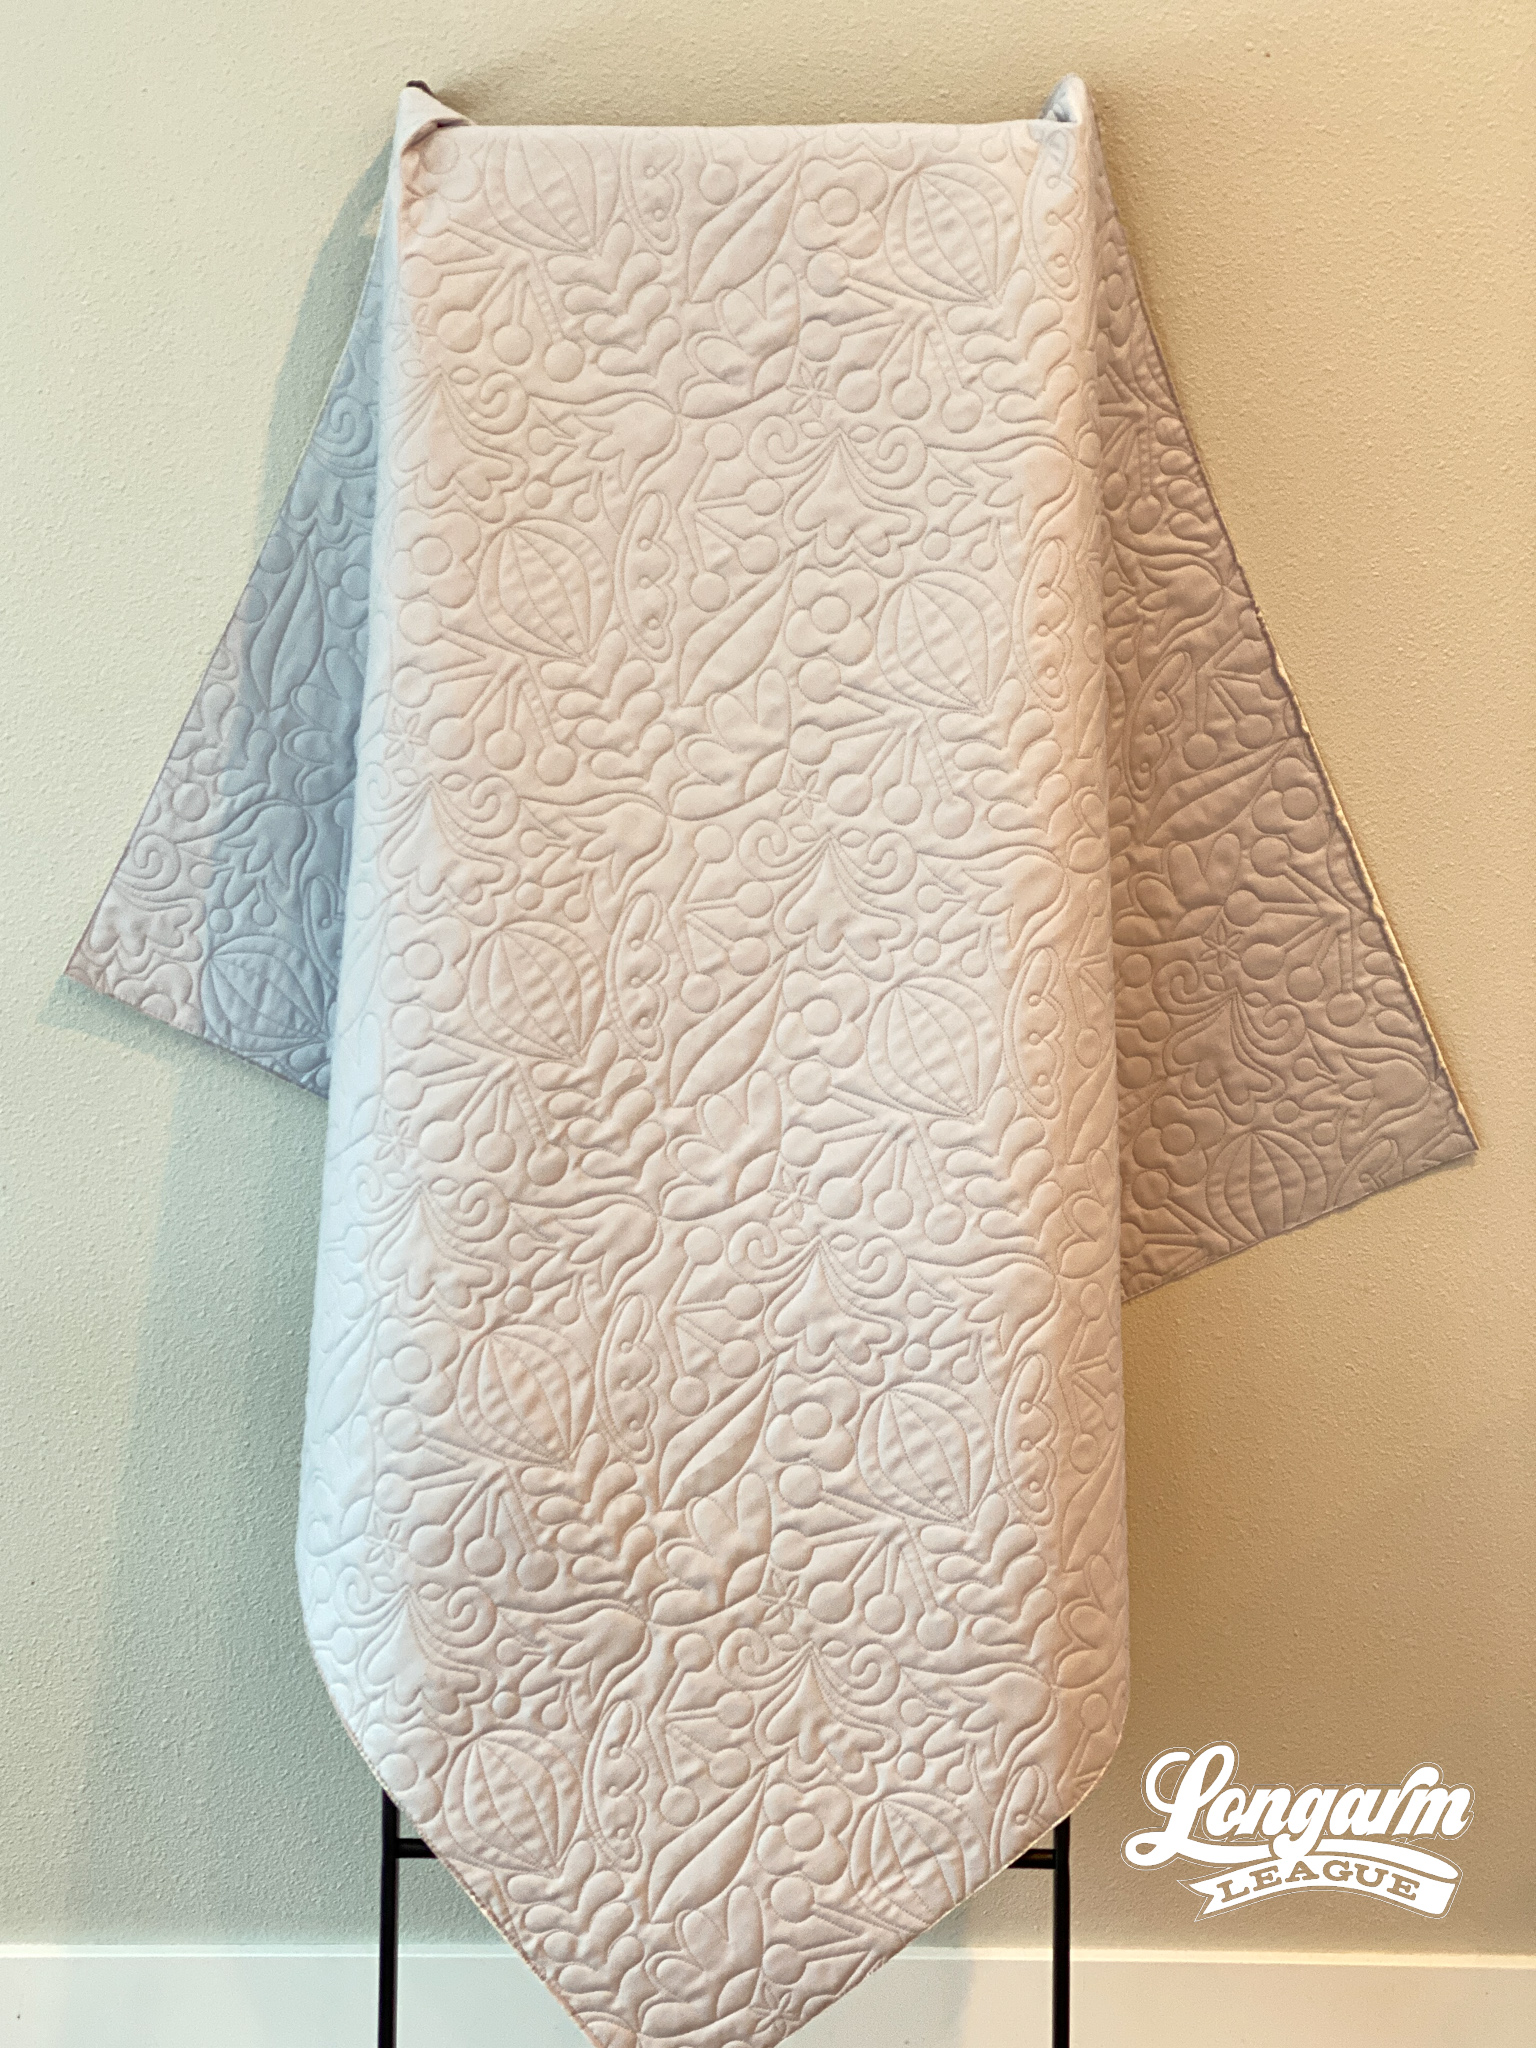
At the size shown here, those tiniest "pea pod" circles are about 1/4" in diameter. To give you a few other size references, the long leaf is roughly 5" long, and most of the circles scattered throughout are around 1" in diameter, give or take. The big "bulb-turned-beach-ball with the feathery stem" is about 7" long as shown. And the weird star thing (another small element that I expect will be a bit too small if you size down) is about 1.5" from tip to tip with those skinny star points.
Wait, are we playing I Spy now? Oops!
One last thing, if you're quilting a big quilt and experience fabric-draw up or if you are having overlapping issues because of the deeply nested rows, there are more tips to try here.
Okay! I think I've told you all you need to know about this design at this point. It's not hard, this is just me being through and wanting you to have a great experience on the first try!
If you do use Thread Garden, we'd love for you to use the hashtag #threadgardenpanto and tag @longarmleague on Instagram so we can see what you're up to!

Jess Zeigler
Longarm League Commish & Owner of Threaded Quilting Studio, LLC.


