
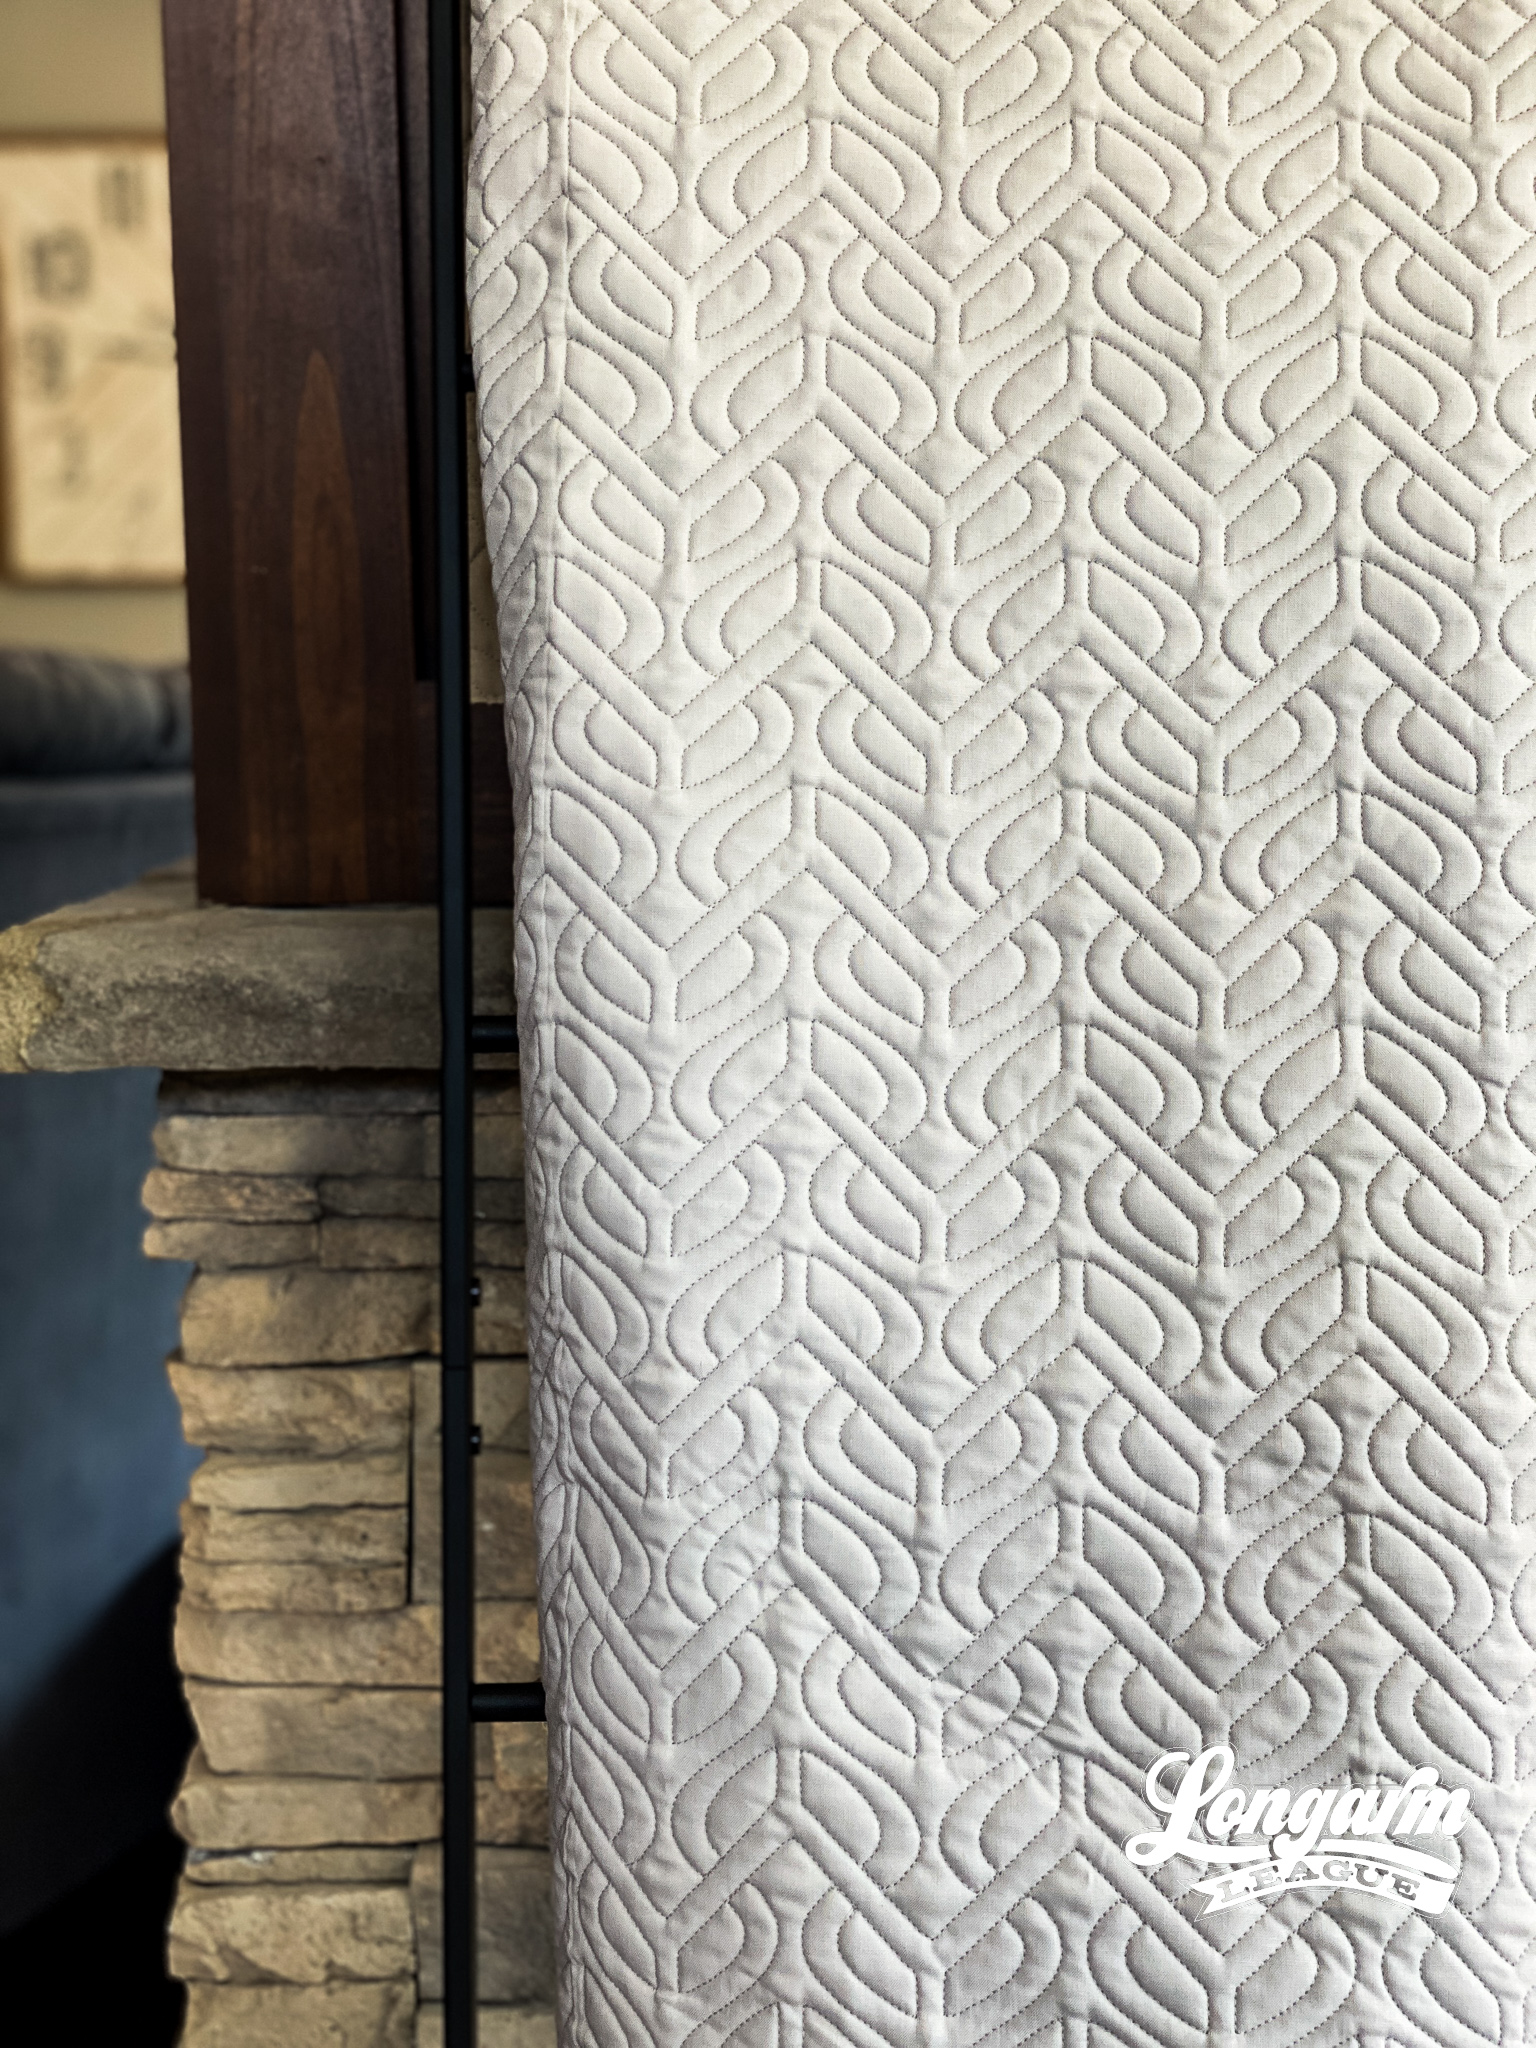
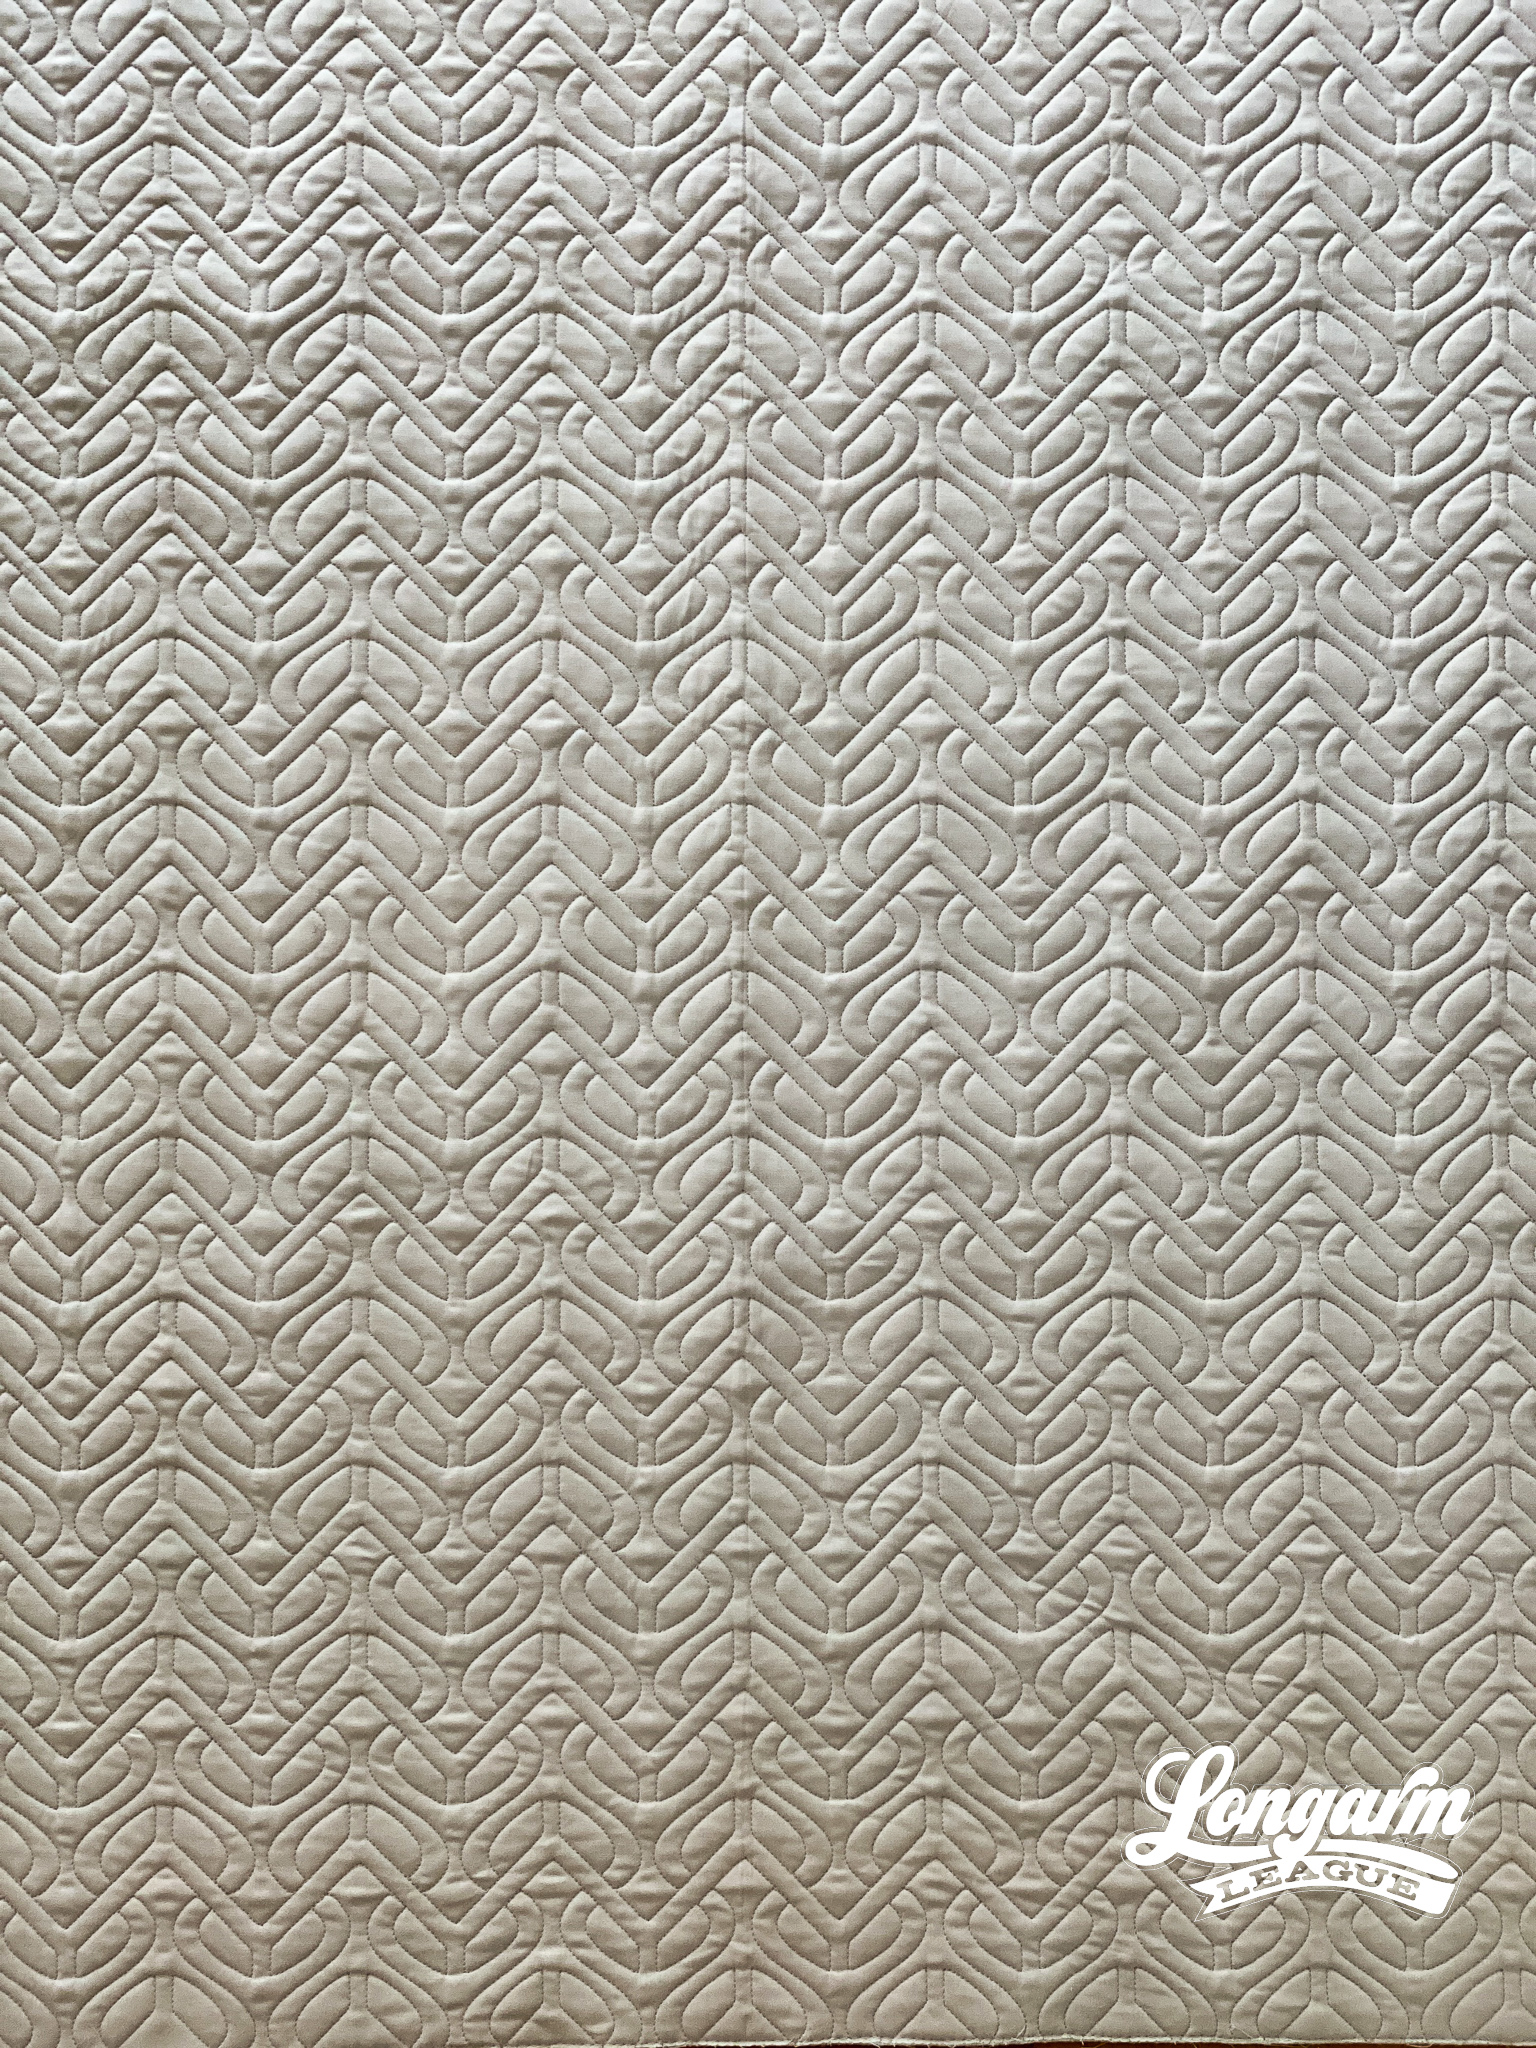
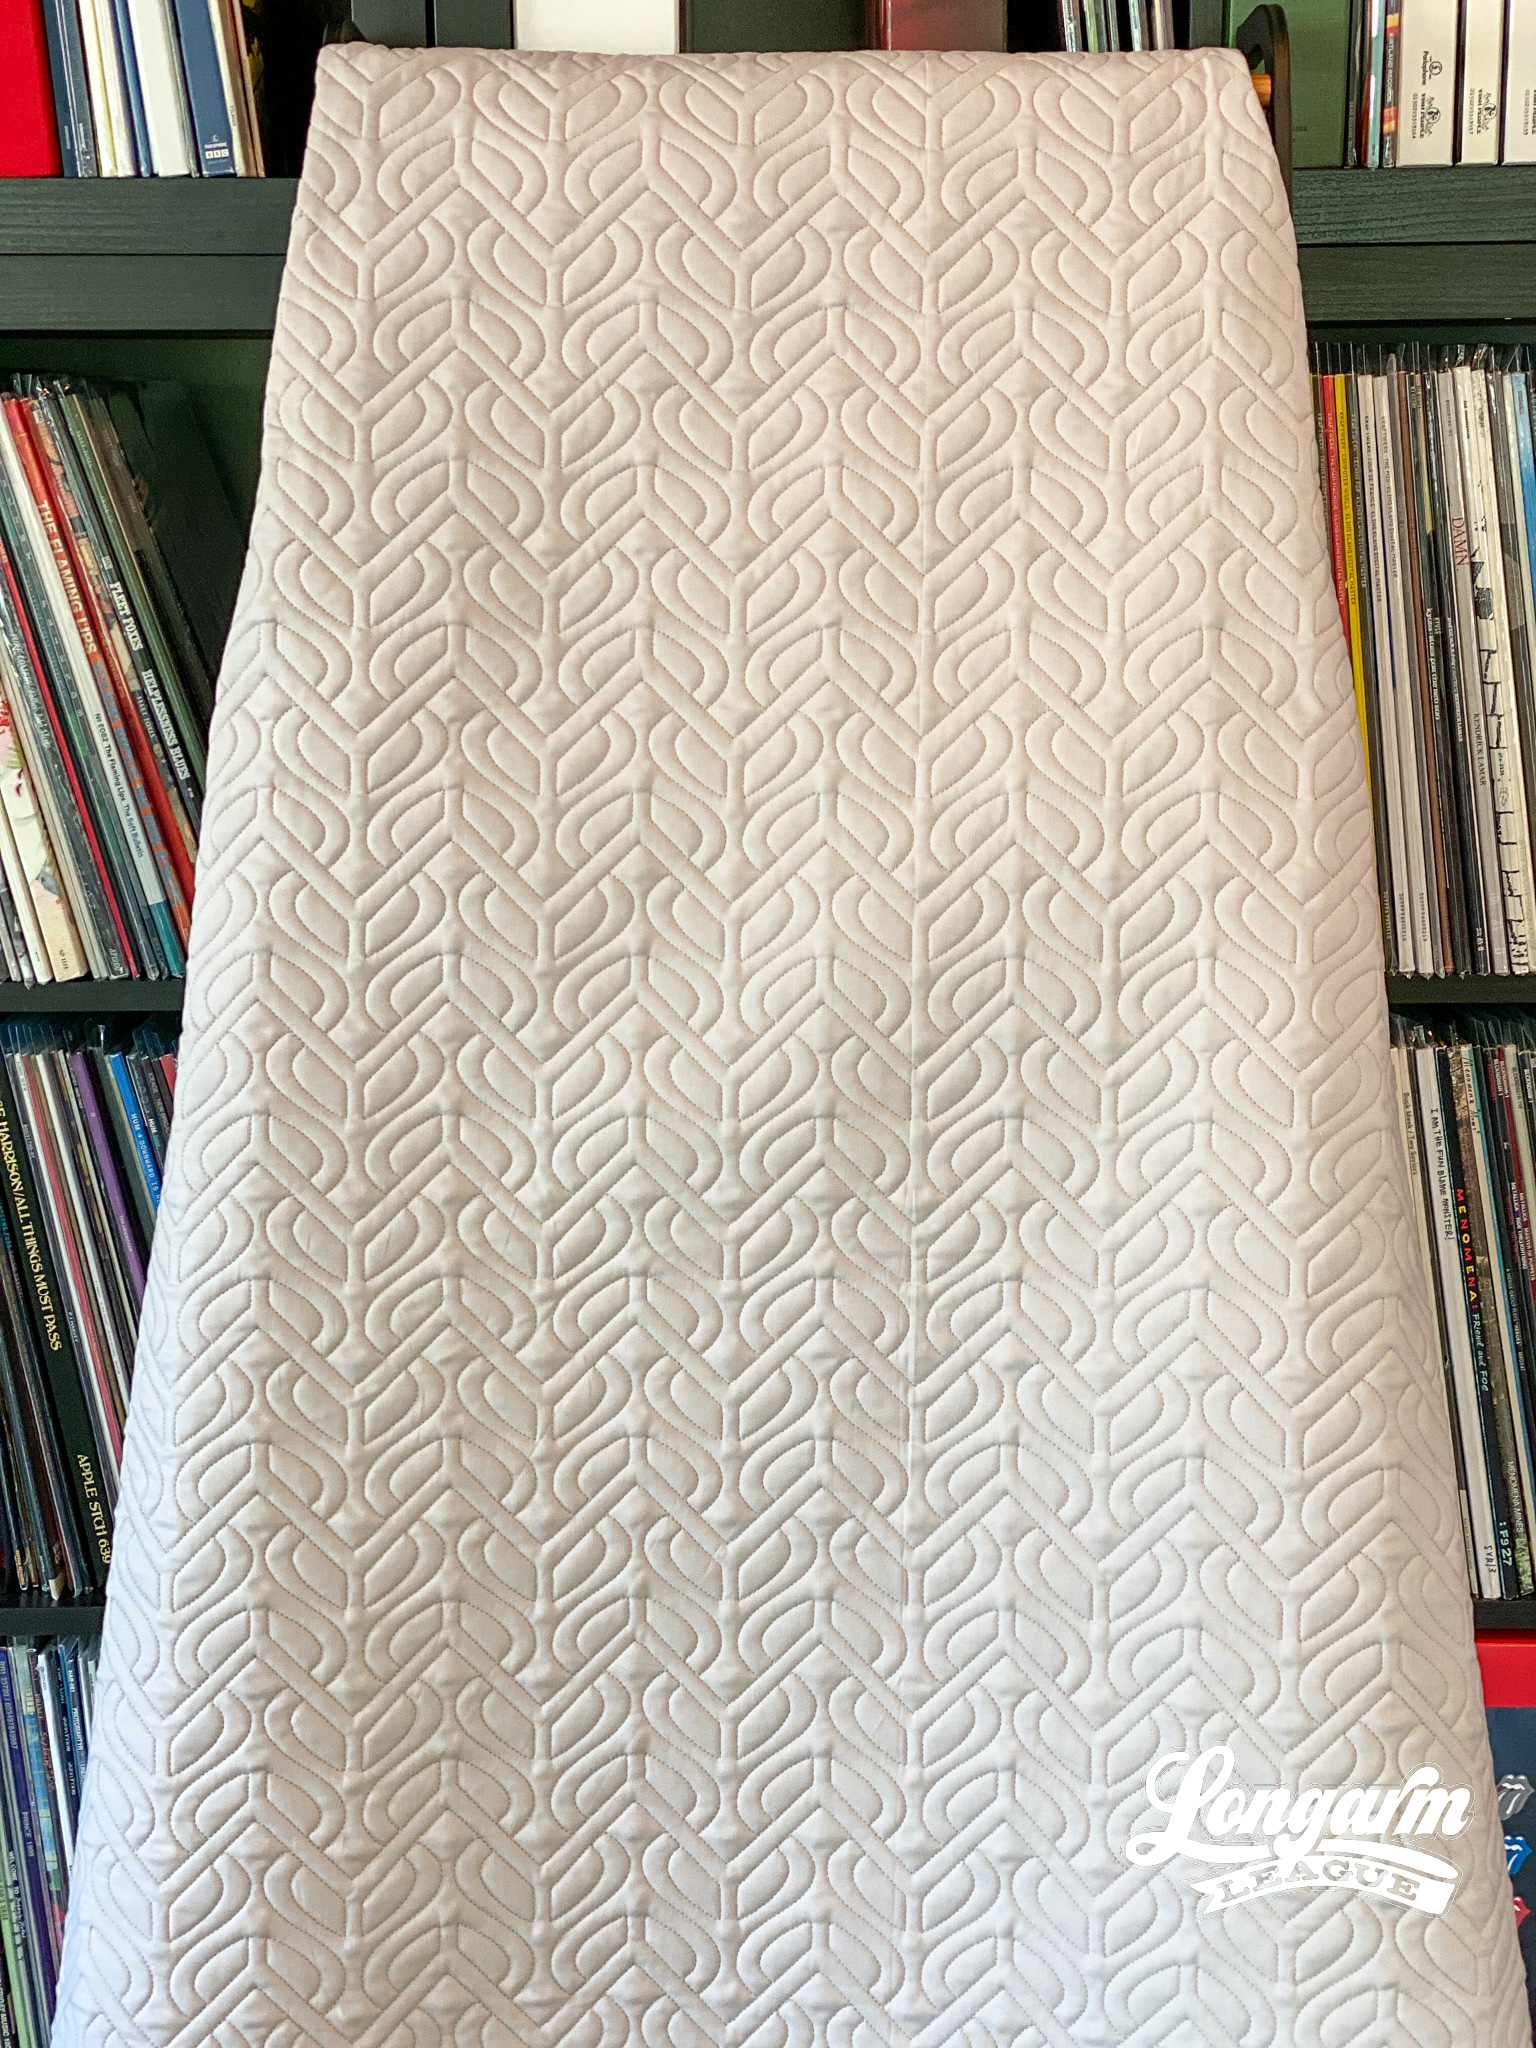
Leafy Bloom Digital Quilting Design

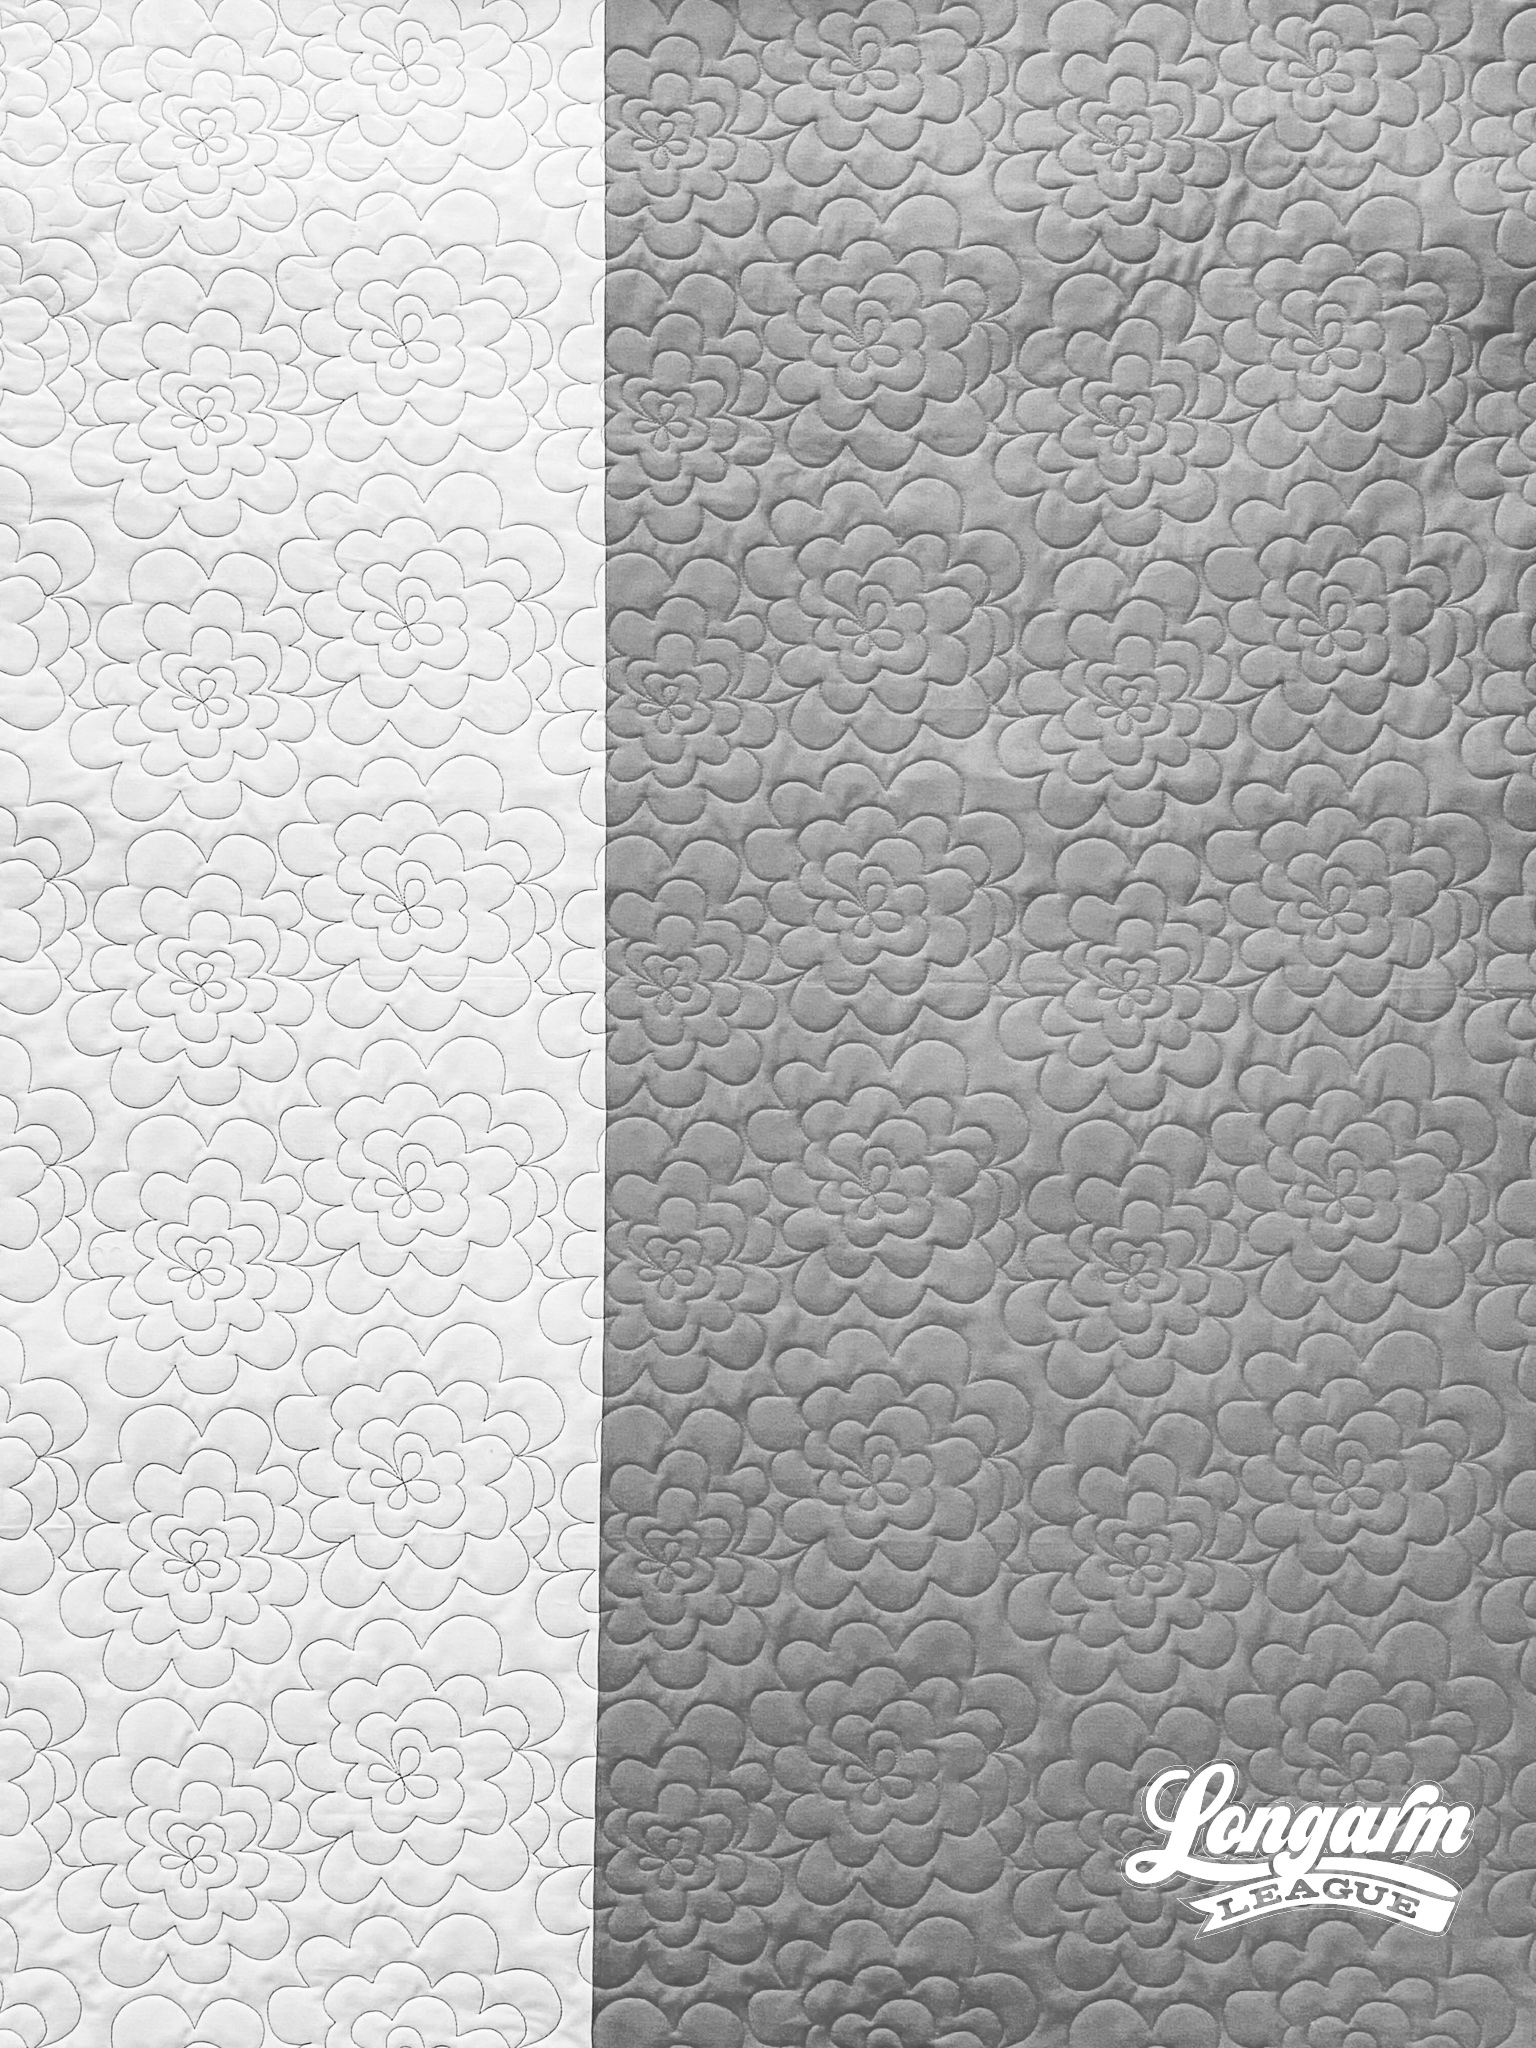
For this new design, I wanted to explore a geometric and simplified version of a flower. In general, I'm not into flowers or gardening, so I really have no idea if it looks like anything existing in nature. Also, please don't hold that against me! It feels like I'm violating a sacred quilter's code or something. Quilting and gardening seem to go hand in hand.
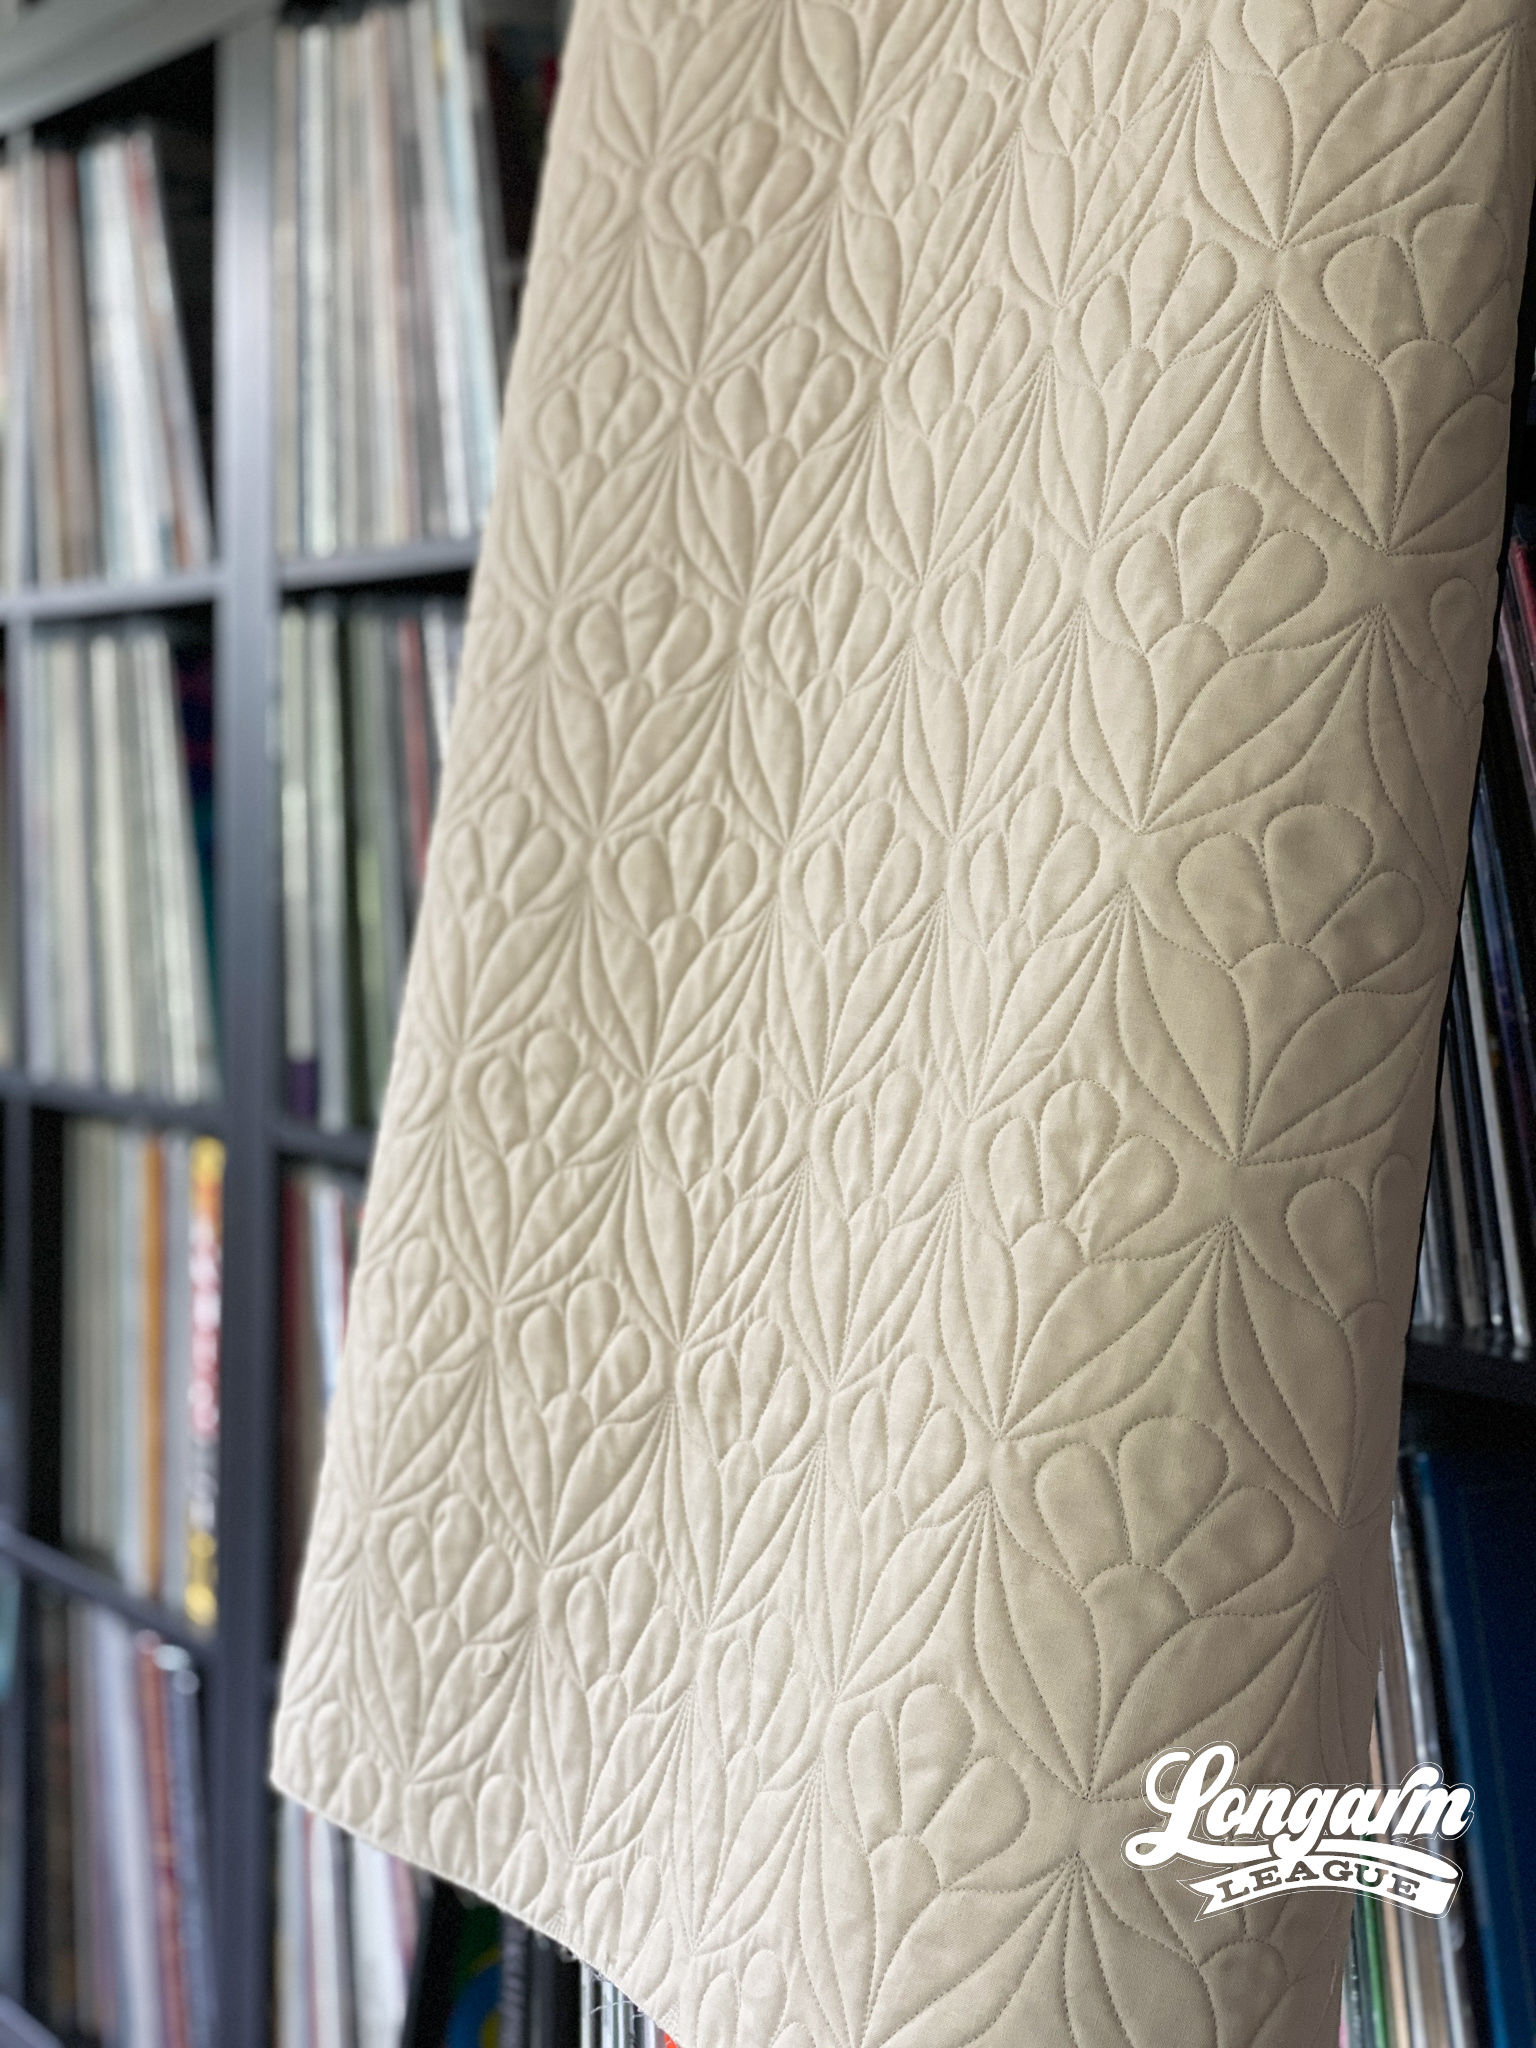
What I do really like, however, are simple repeatable shapes. I like the way the texture can recede into the background and be present, even when it doesn't have to be the star of the show.
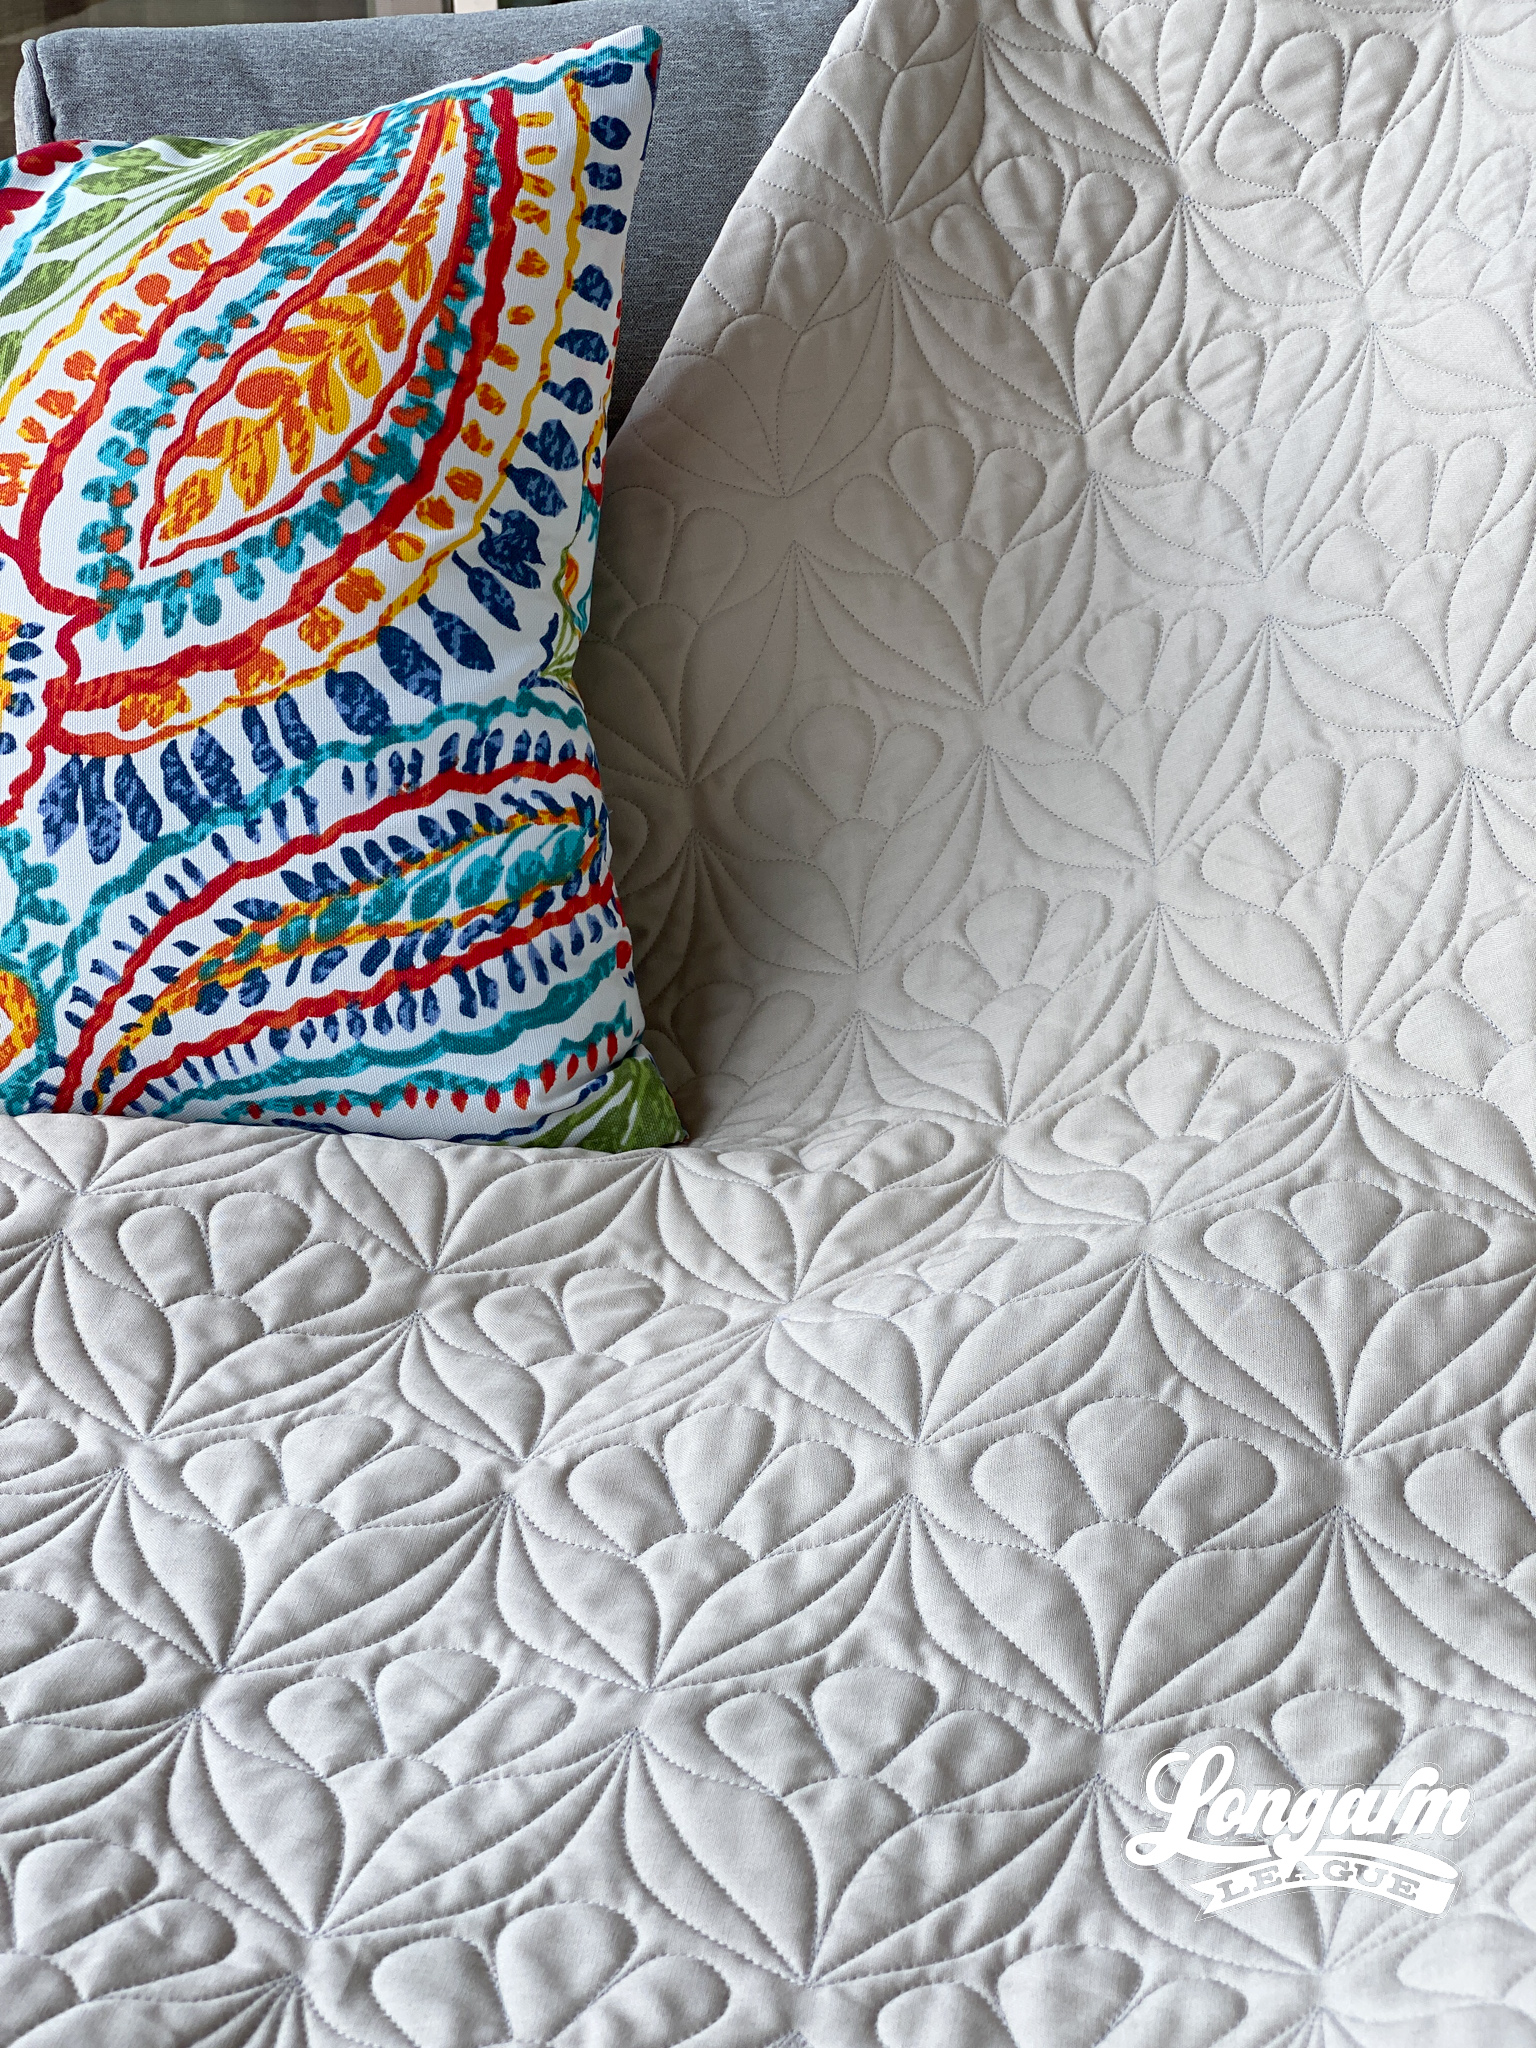
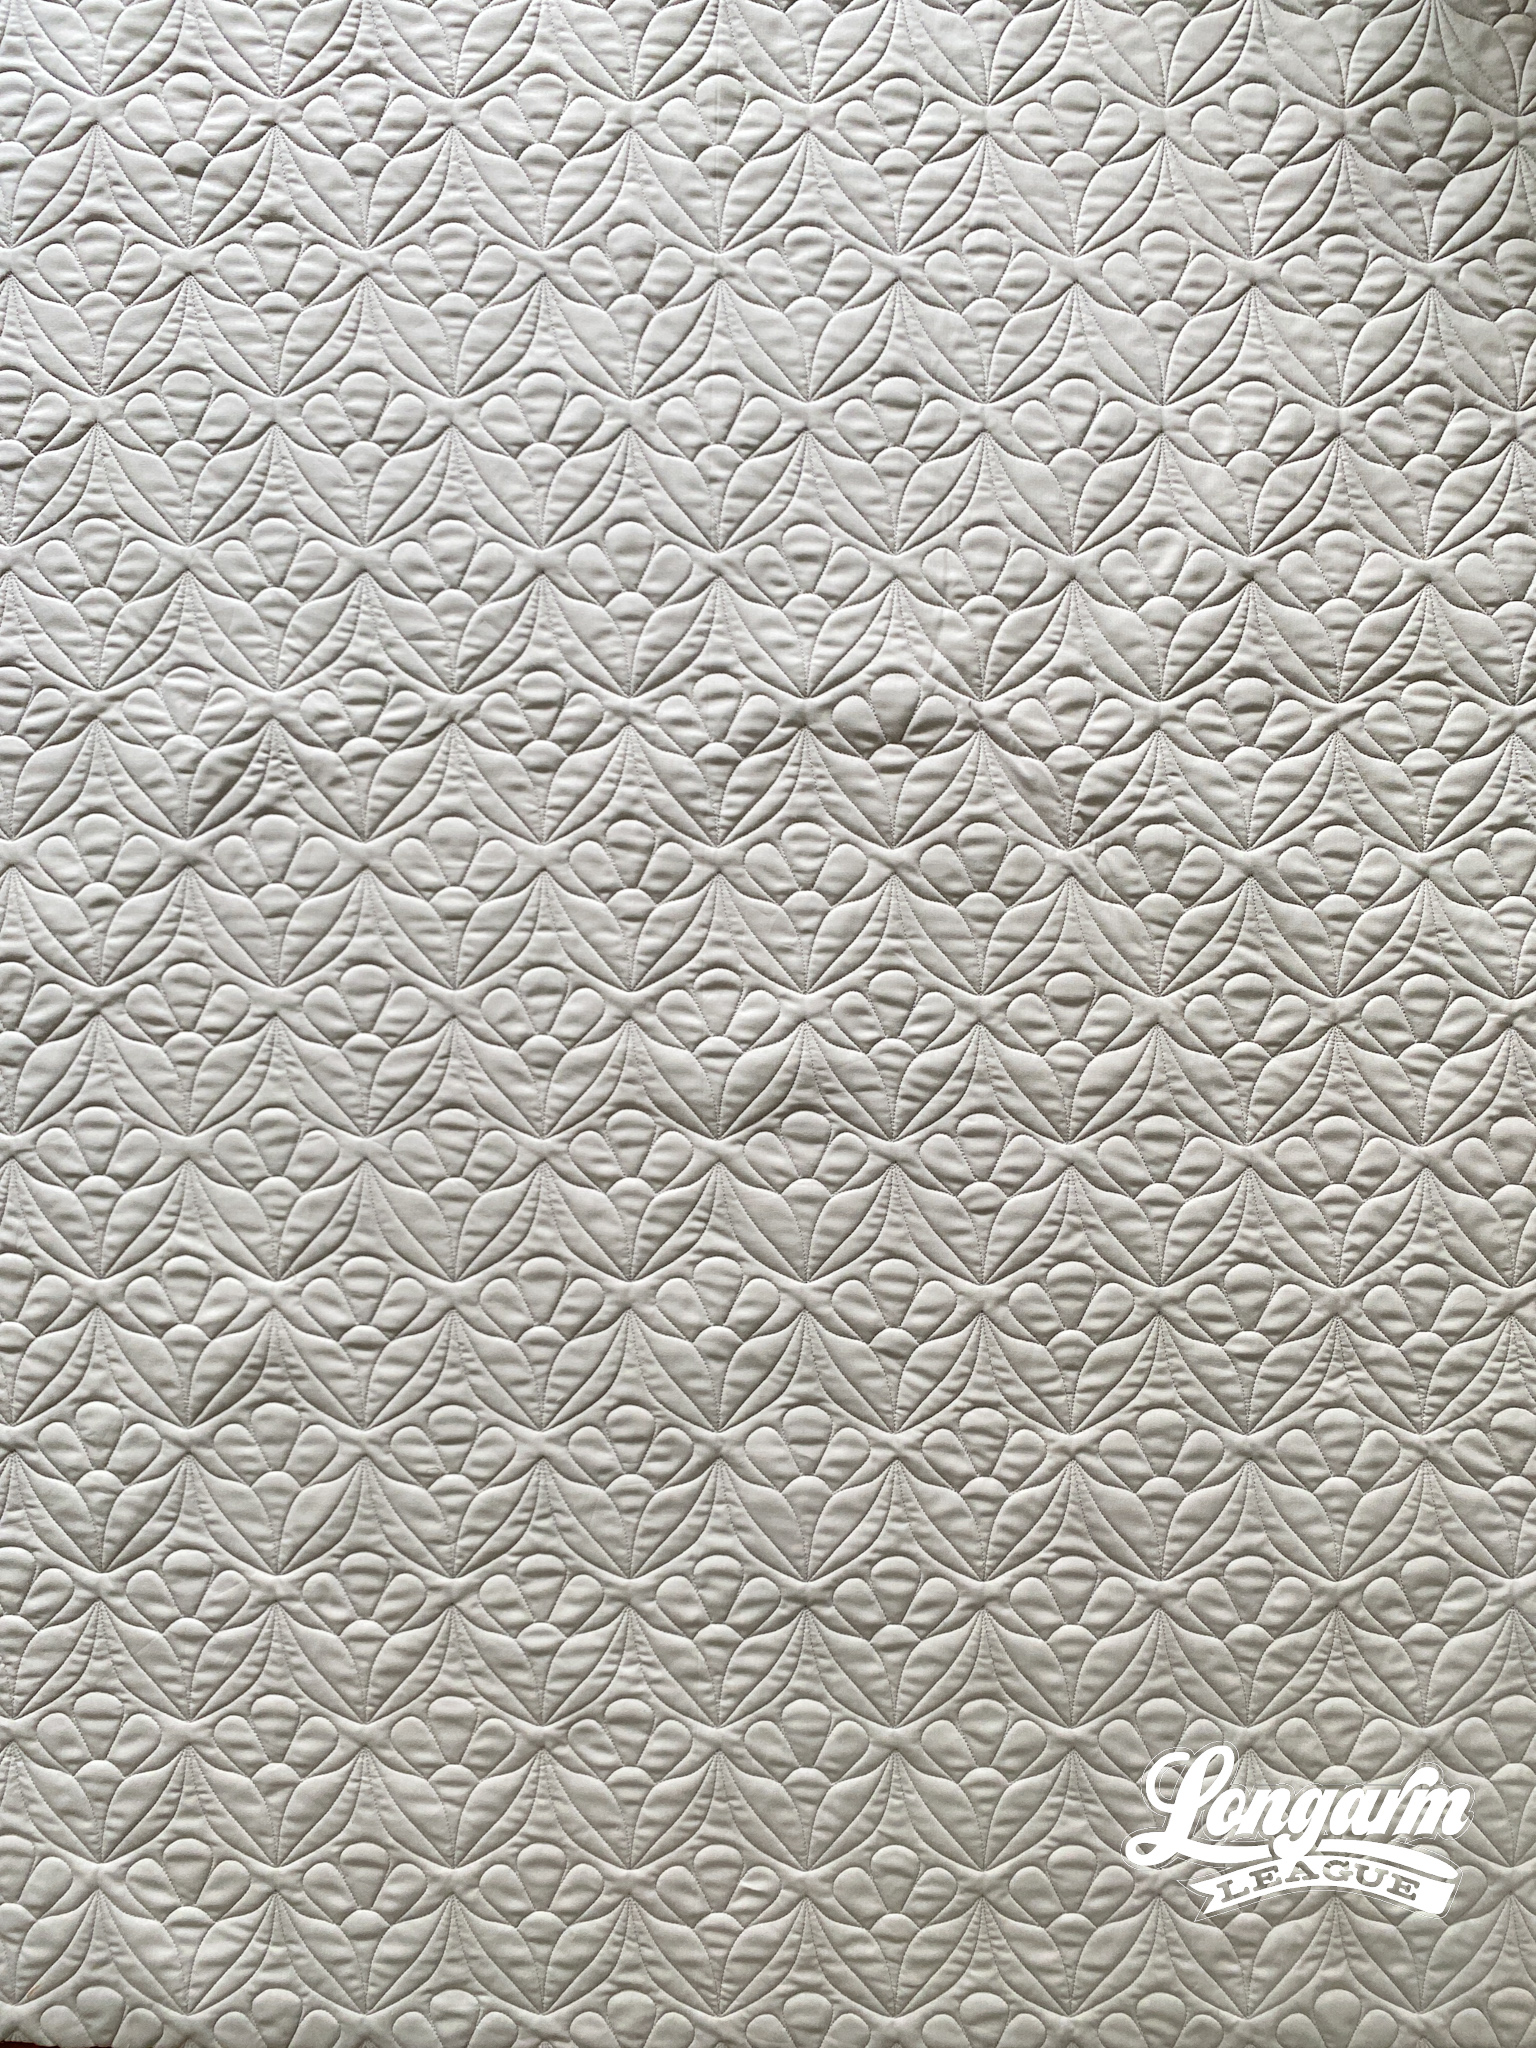
Another thing I try to watch for as a designer is that the quilting is evenly spaced, giving a nice uniform texture to an edge-to-edge design. It's the little things like this that make me happy! 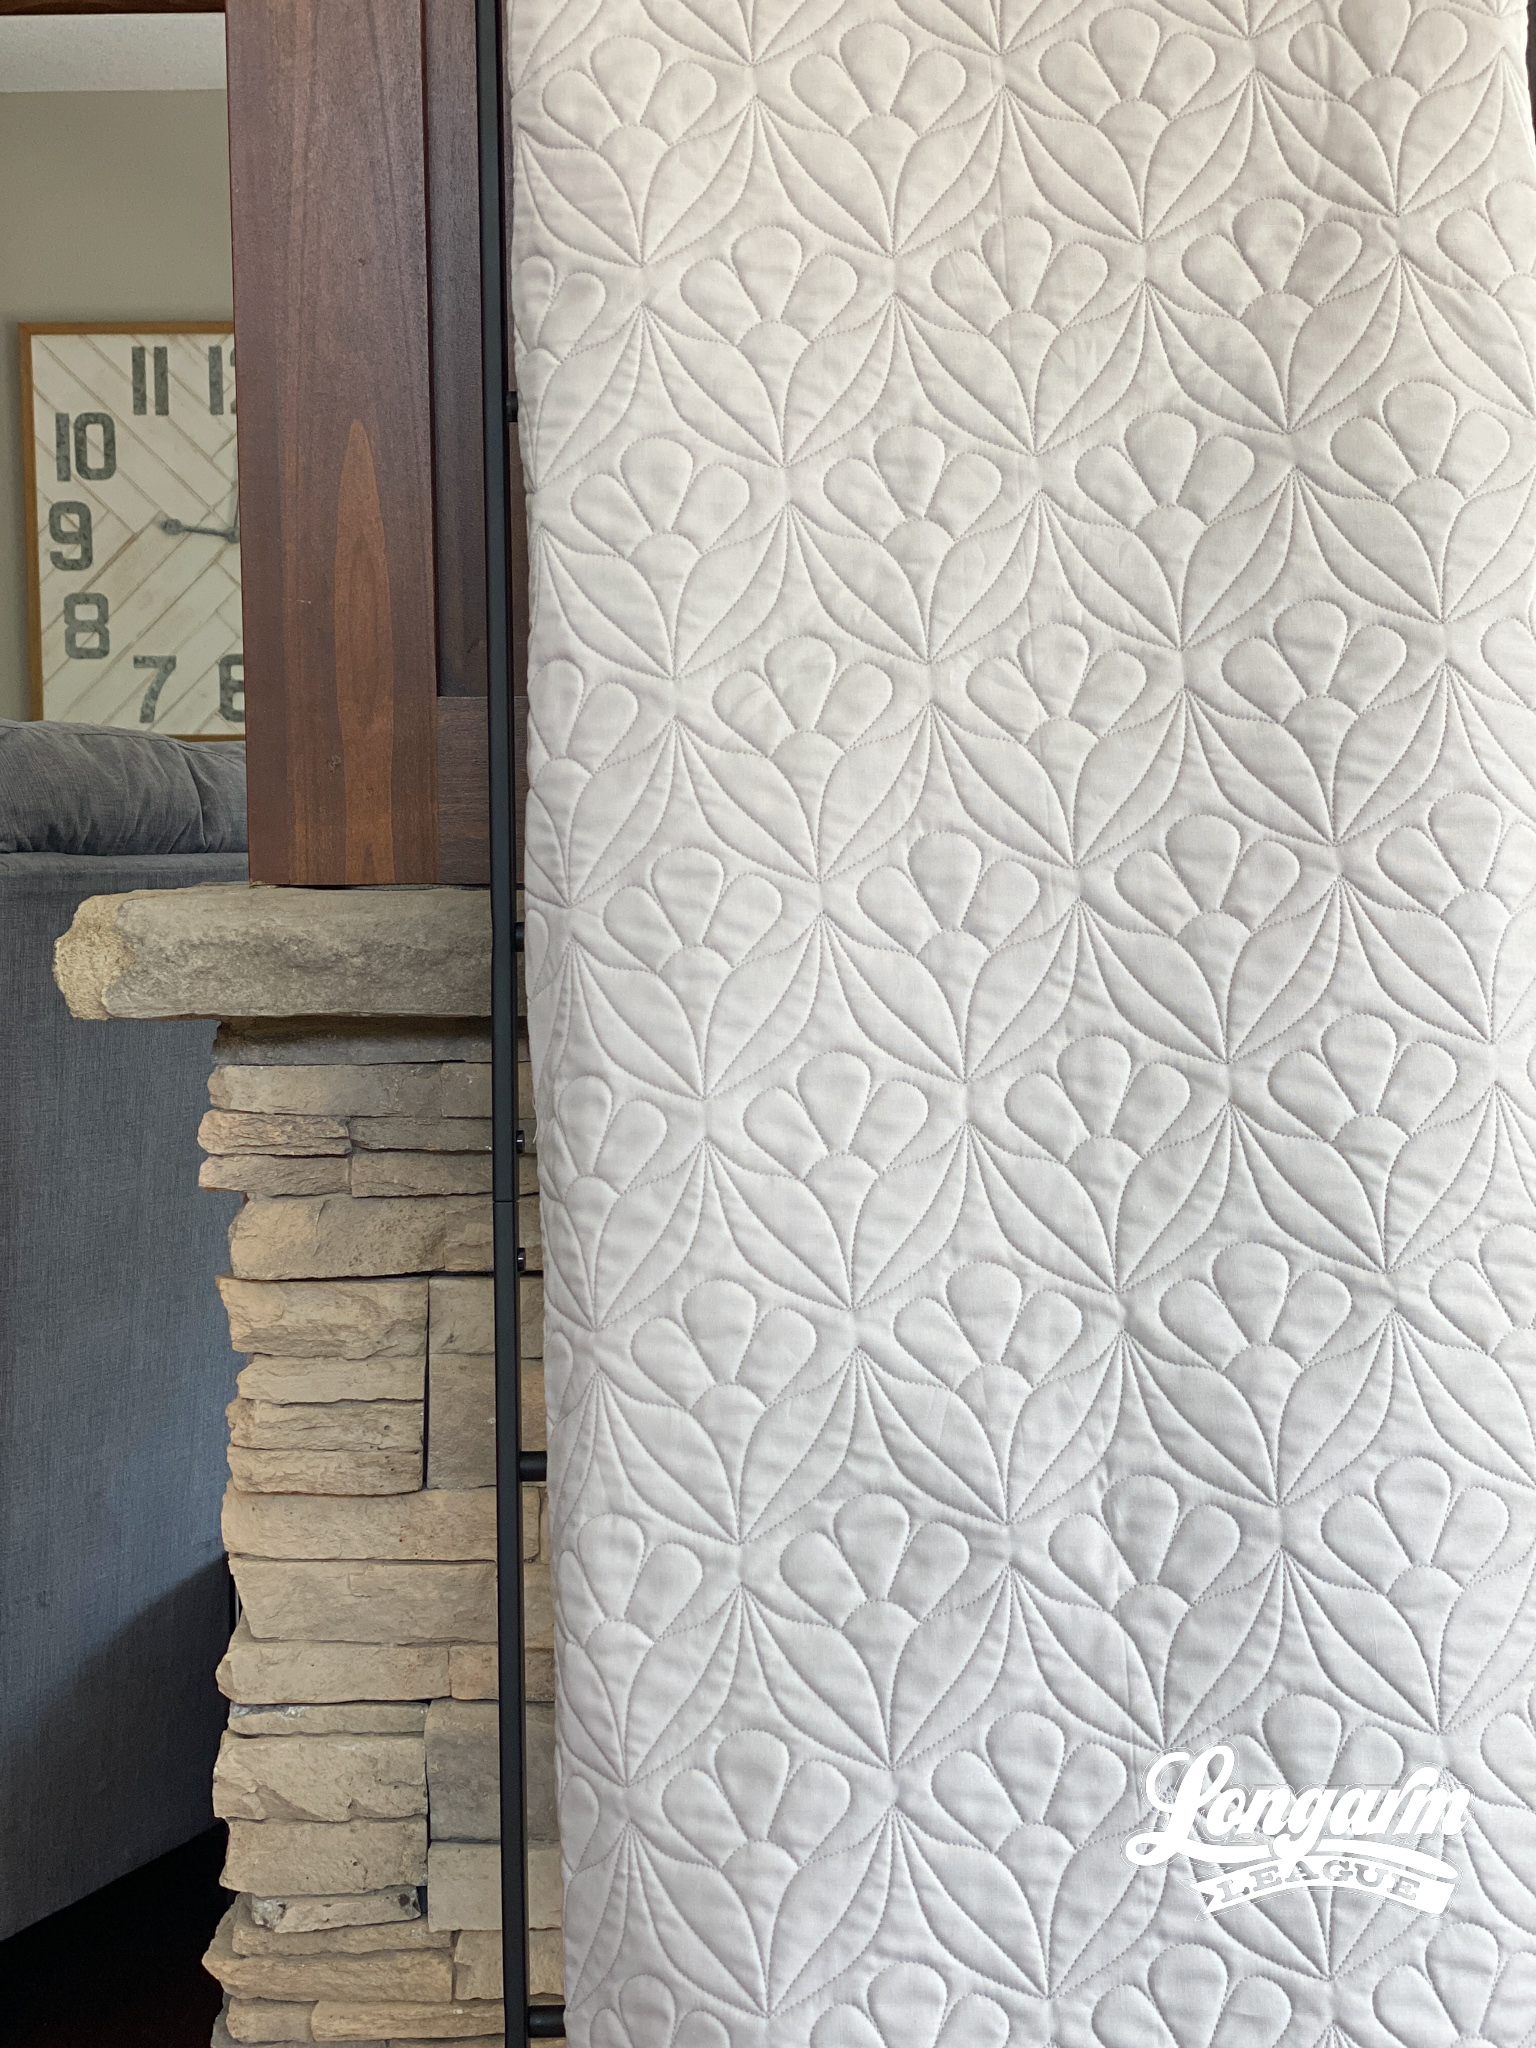
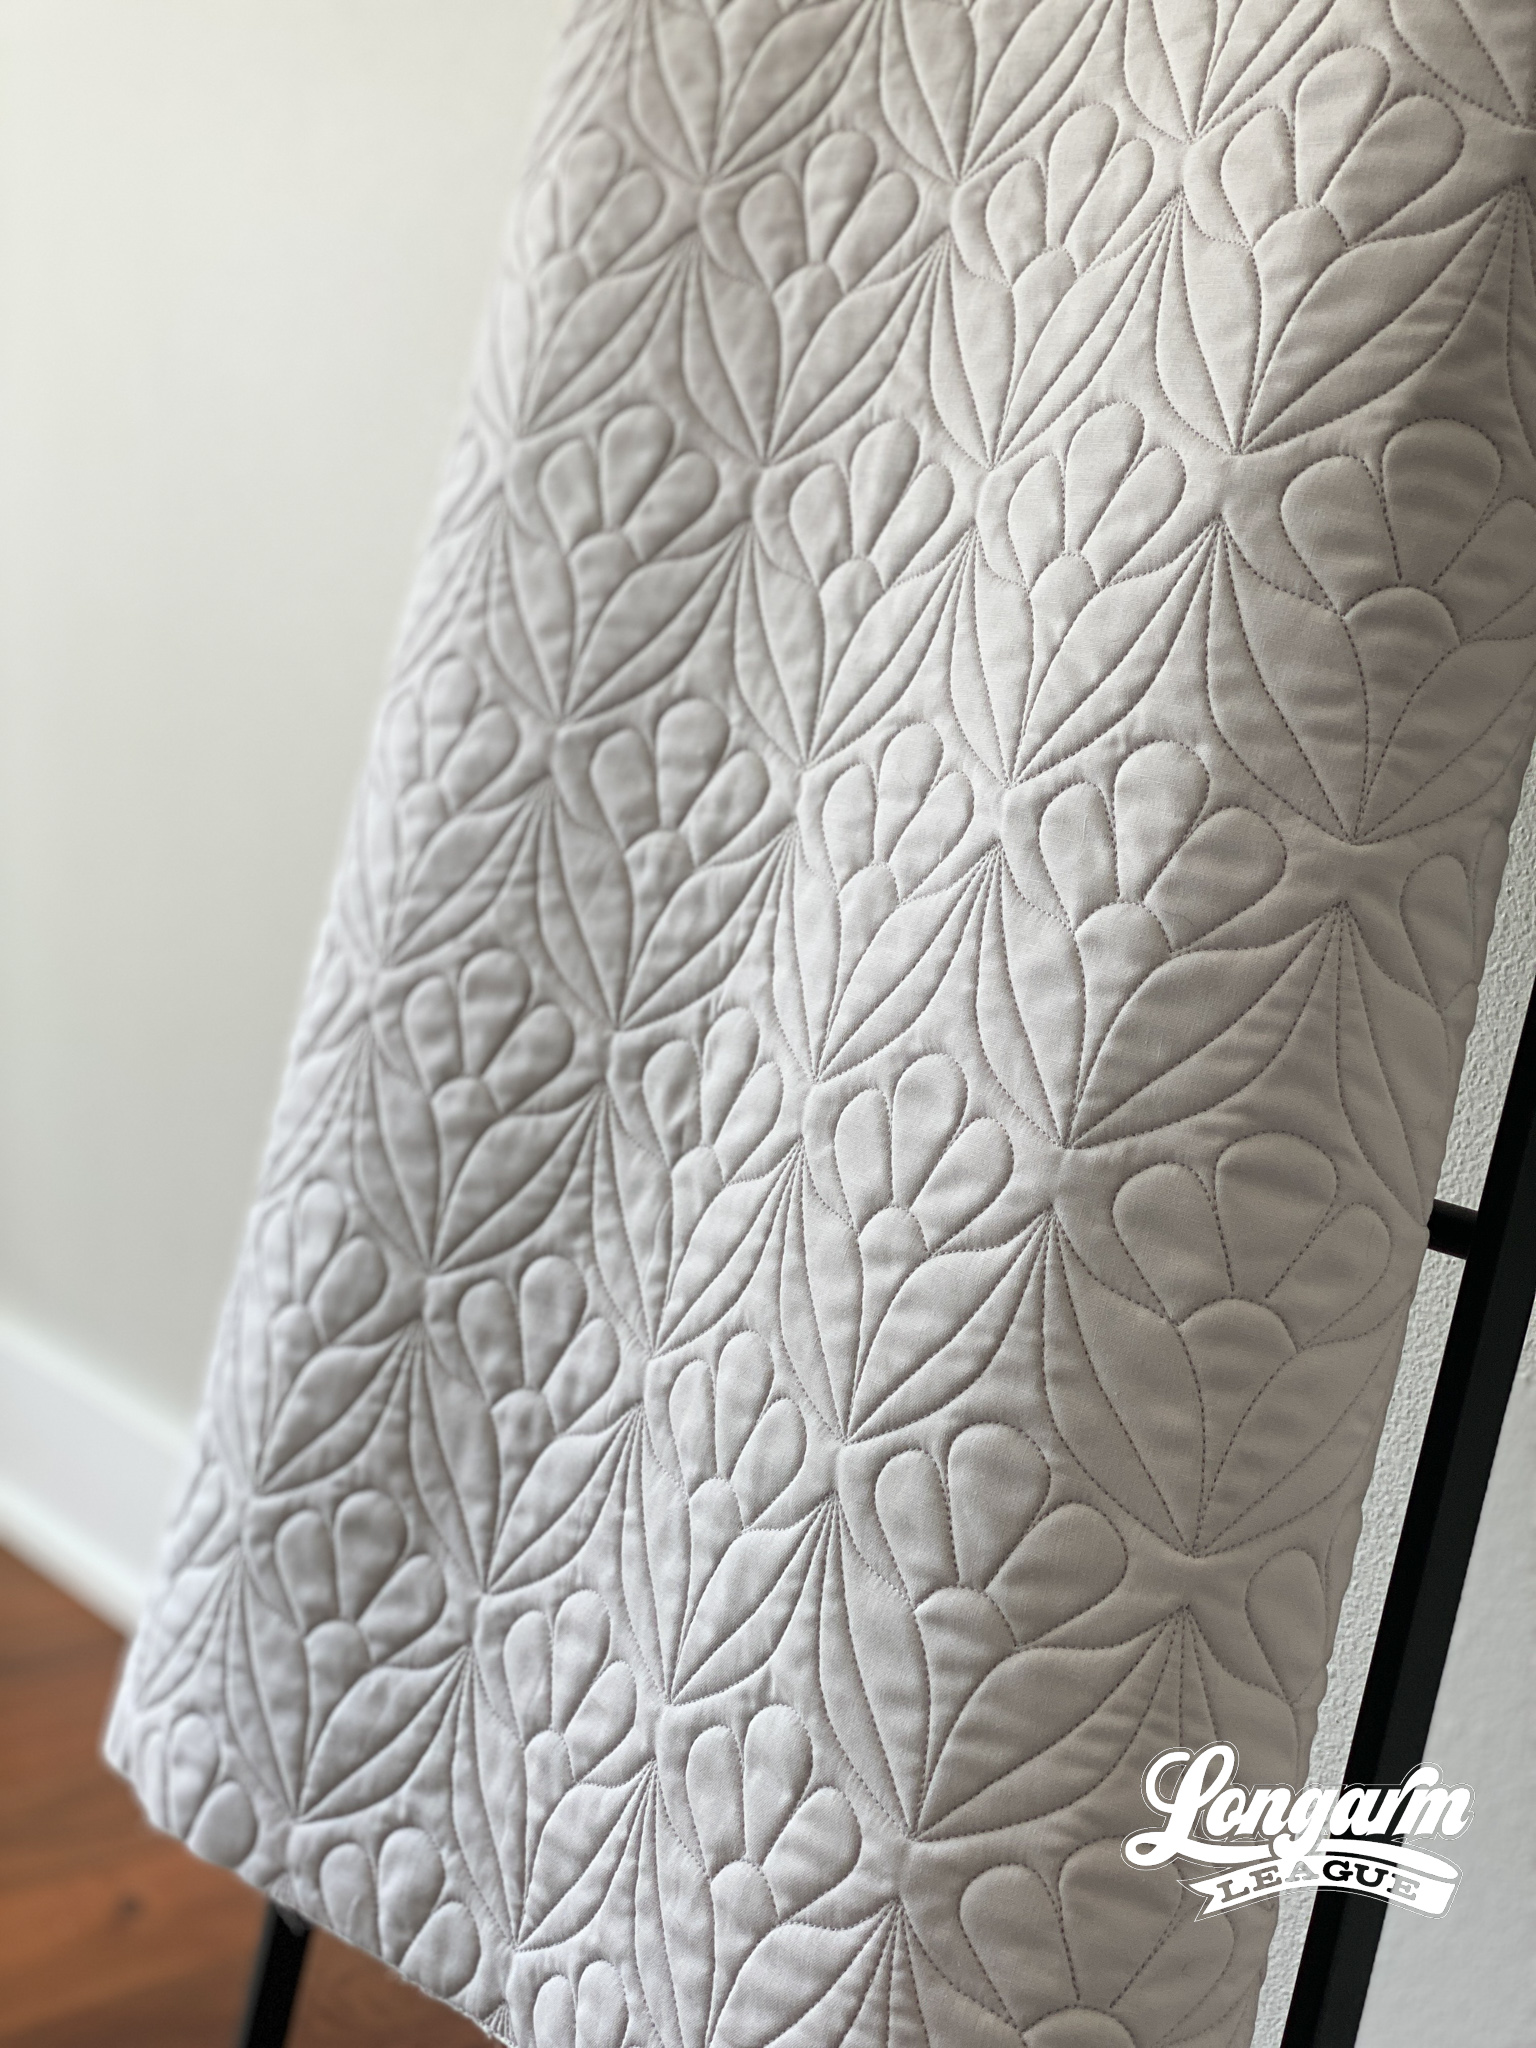
This sample quilt size is approximately 45" x 50". For reference in scaling this design, the pictures here show a row height of 3.5". If you include the gaps between the rows, the total pattern height would be 4.167". That would mean t...
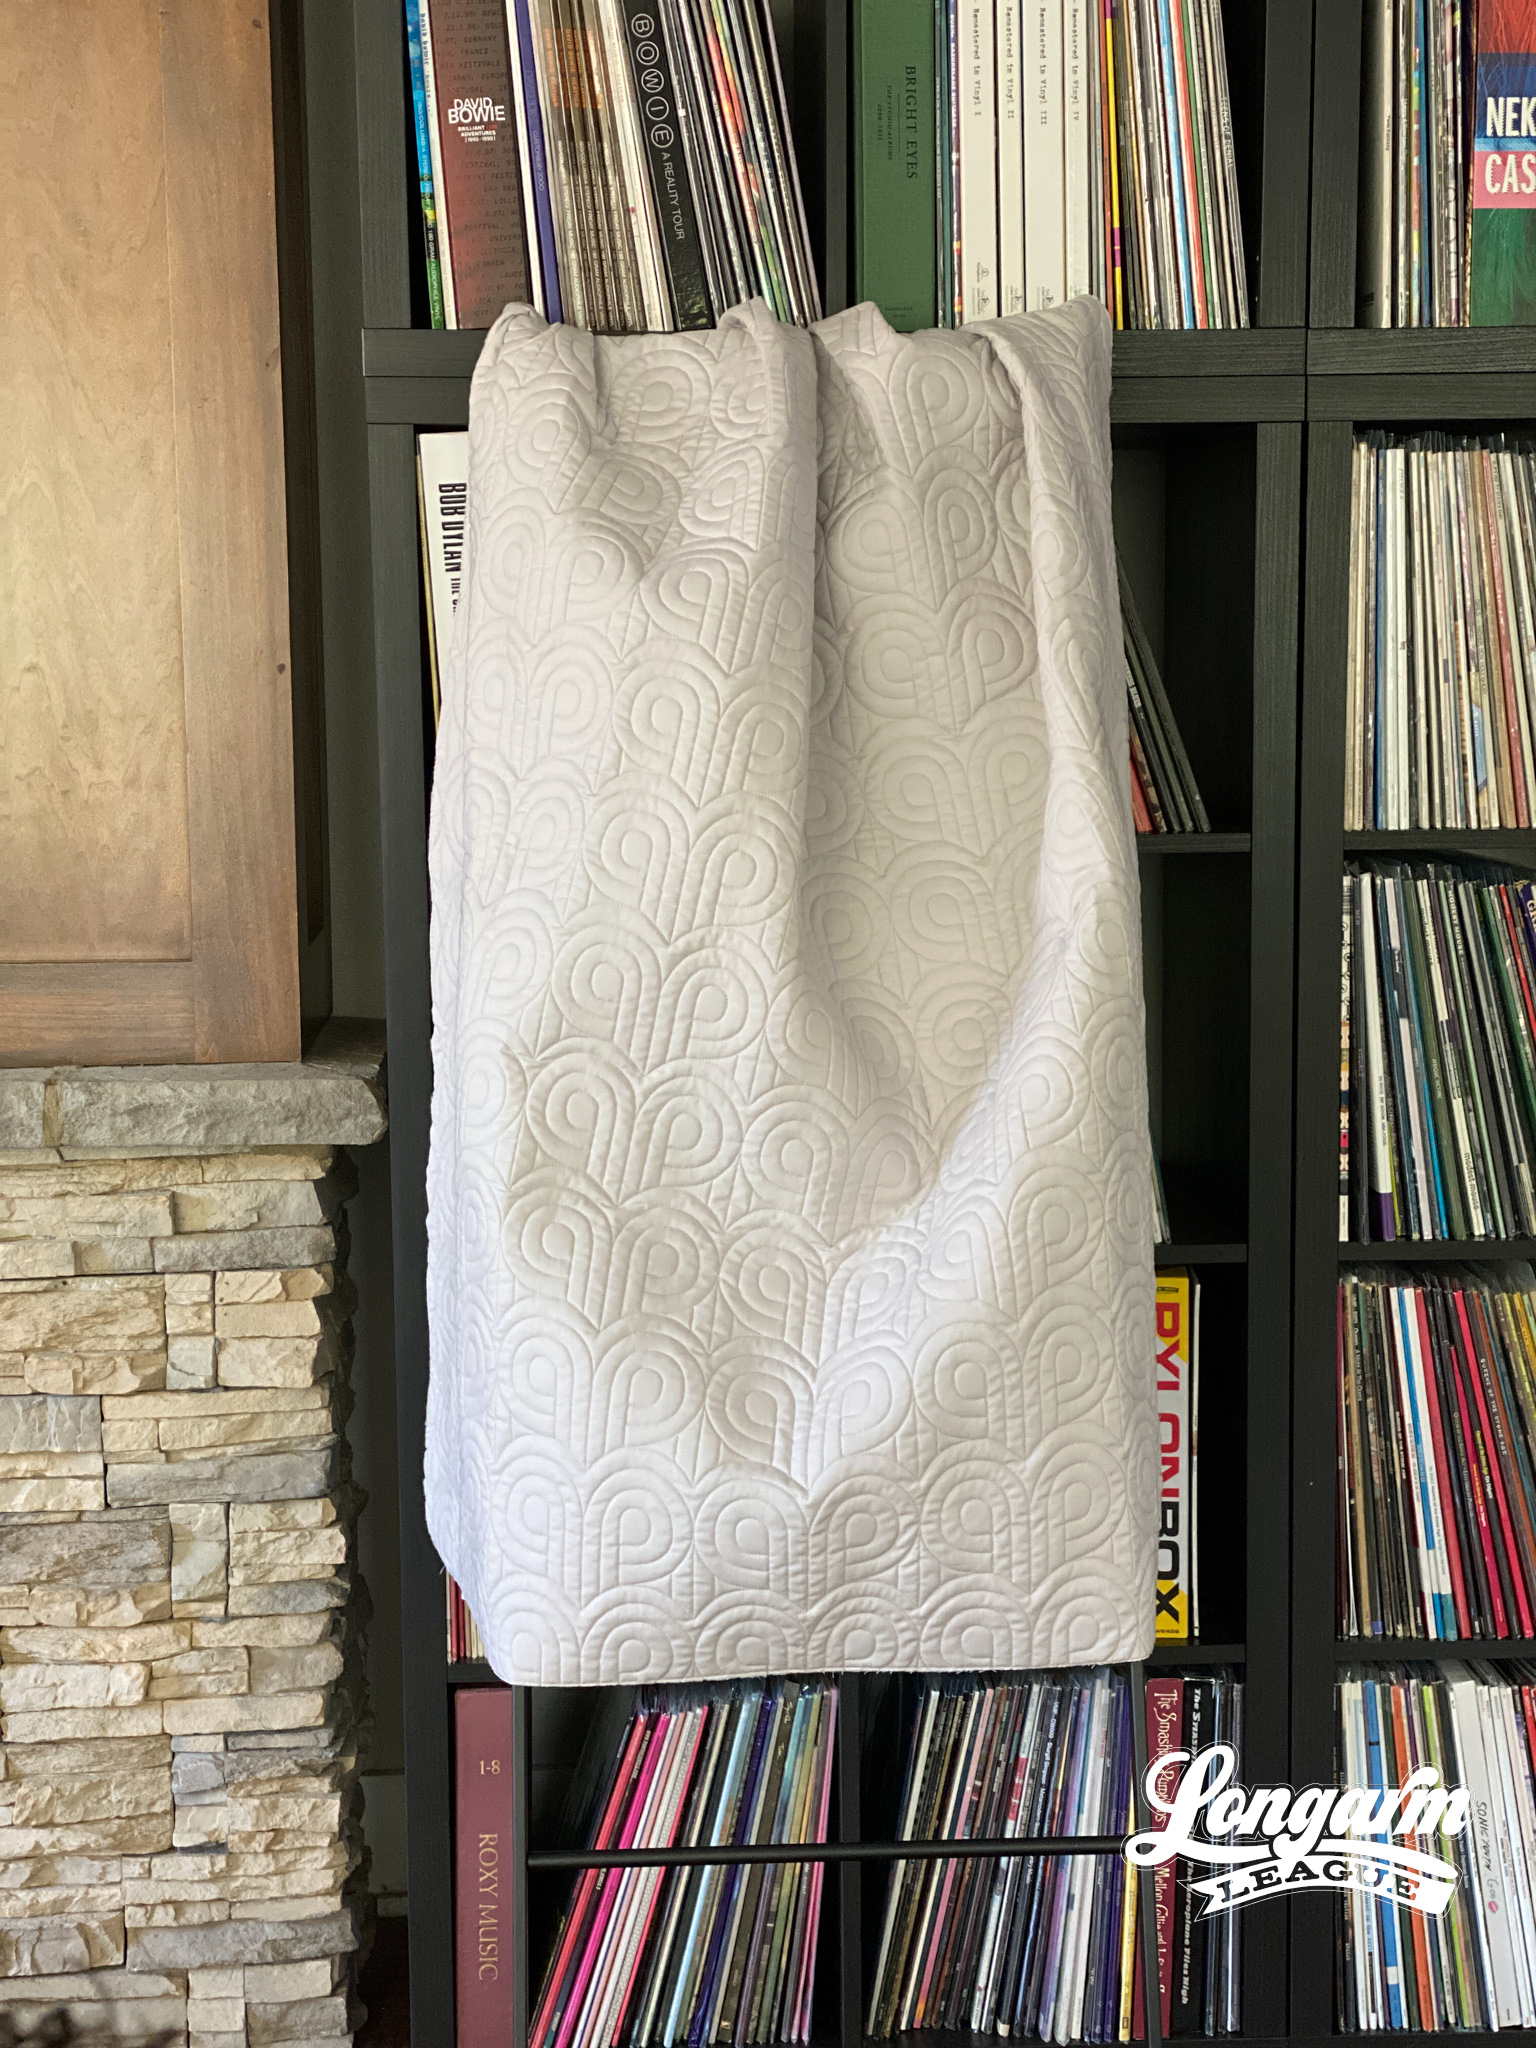
Friends of P Digital Pantograph Quilting Design
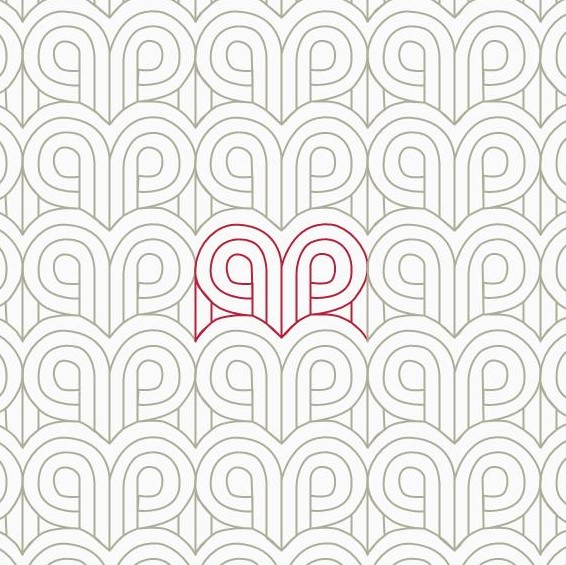
The Longarm League's latest digital pantograph release is called Friends of P. Yes, it's a strange name for a digital pantograph design, but it's also the name of a quirky and catchy song from the mid-nineties by a band called The Rentals. Watch the video here and I'm so sorry if it gets stuck in your head!
I hope it's obvious as to why Friends of P came to mind when I was trying to name this design. My maiden name starts with a P also, so I guess I'm partial to the letter.

There is certainly a "mod" vibe to this design as well, so keep it in mind for your grooviest, mid-century-looking tops! :) 

This sample quilt size is approximately 45" x 50". For a reference in scaling the design, the pictures here show a 4.0" row height with a gap between rows of -0.396" which created a pattern height of 4.396".

There are some small areas of backtracking, back-stitching, over-stitching, whatever you want to call it, but nothing that's too difficult to execute or line up. Ther...
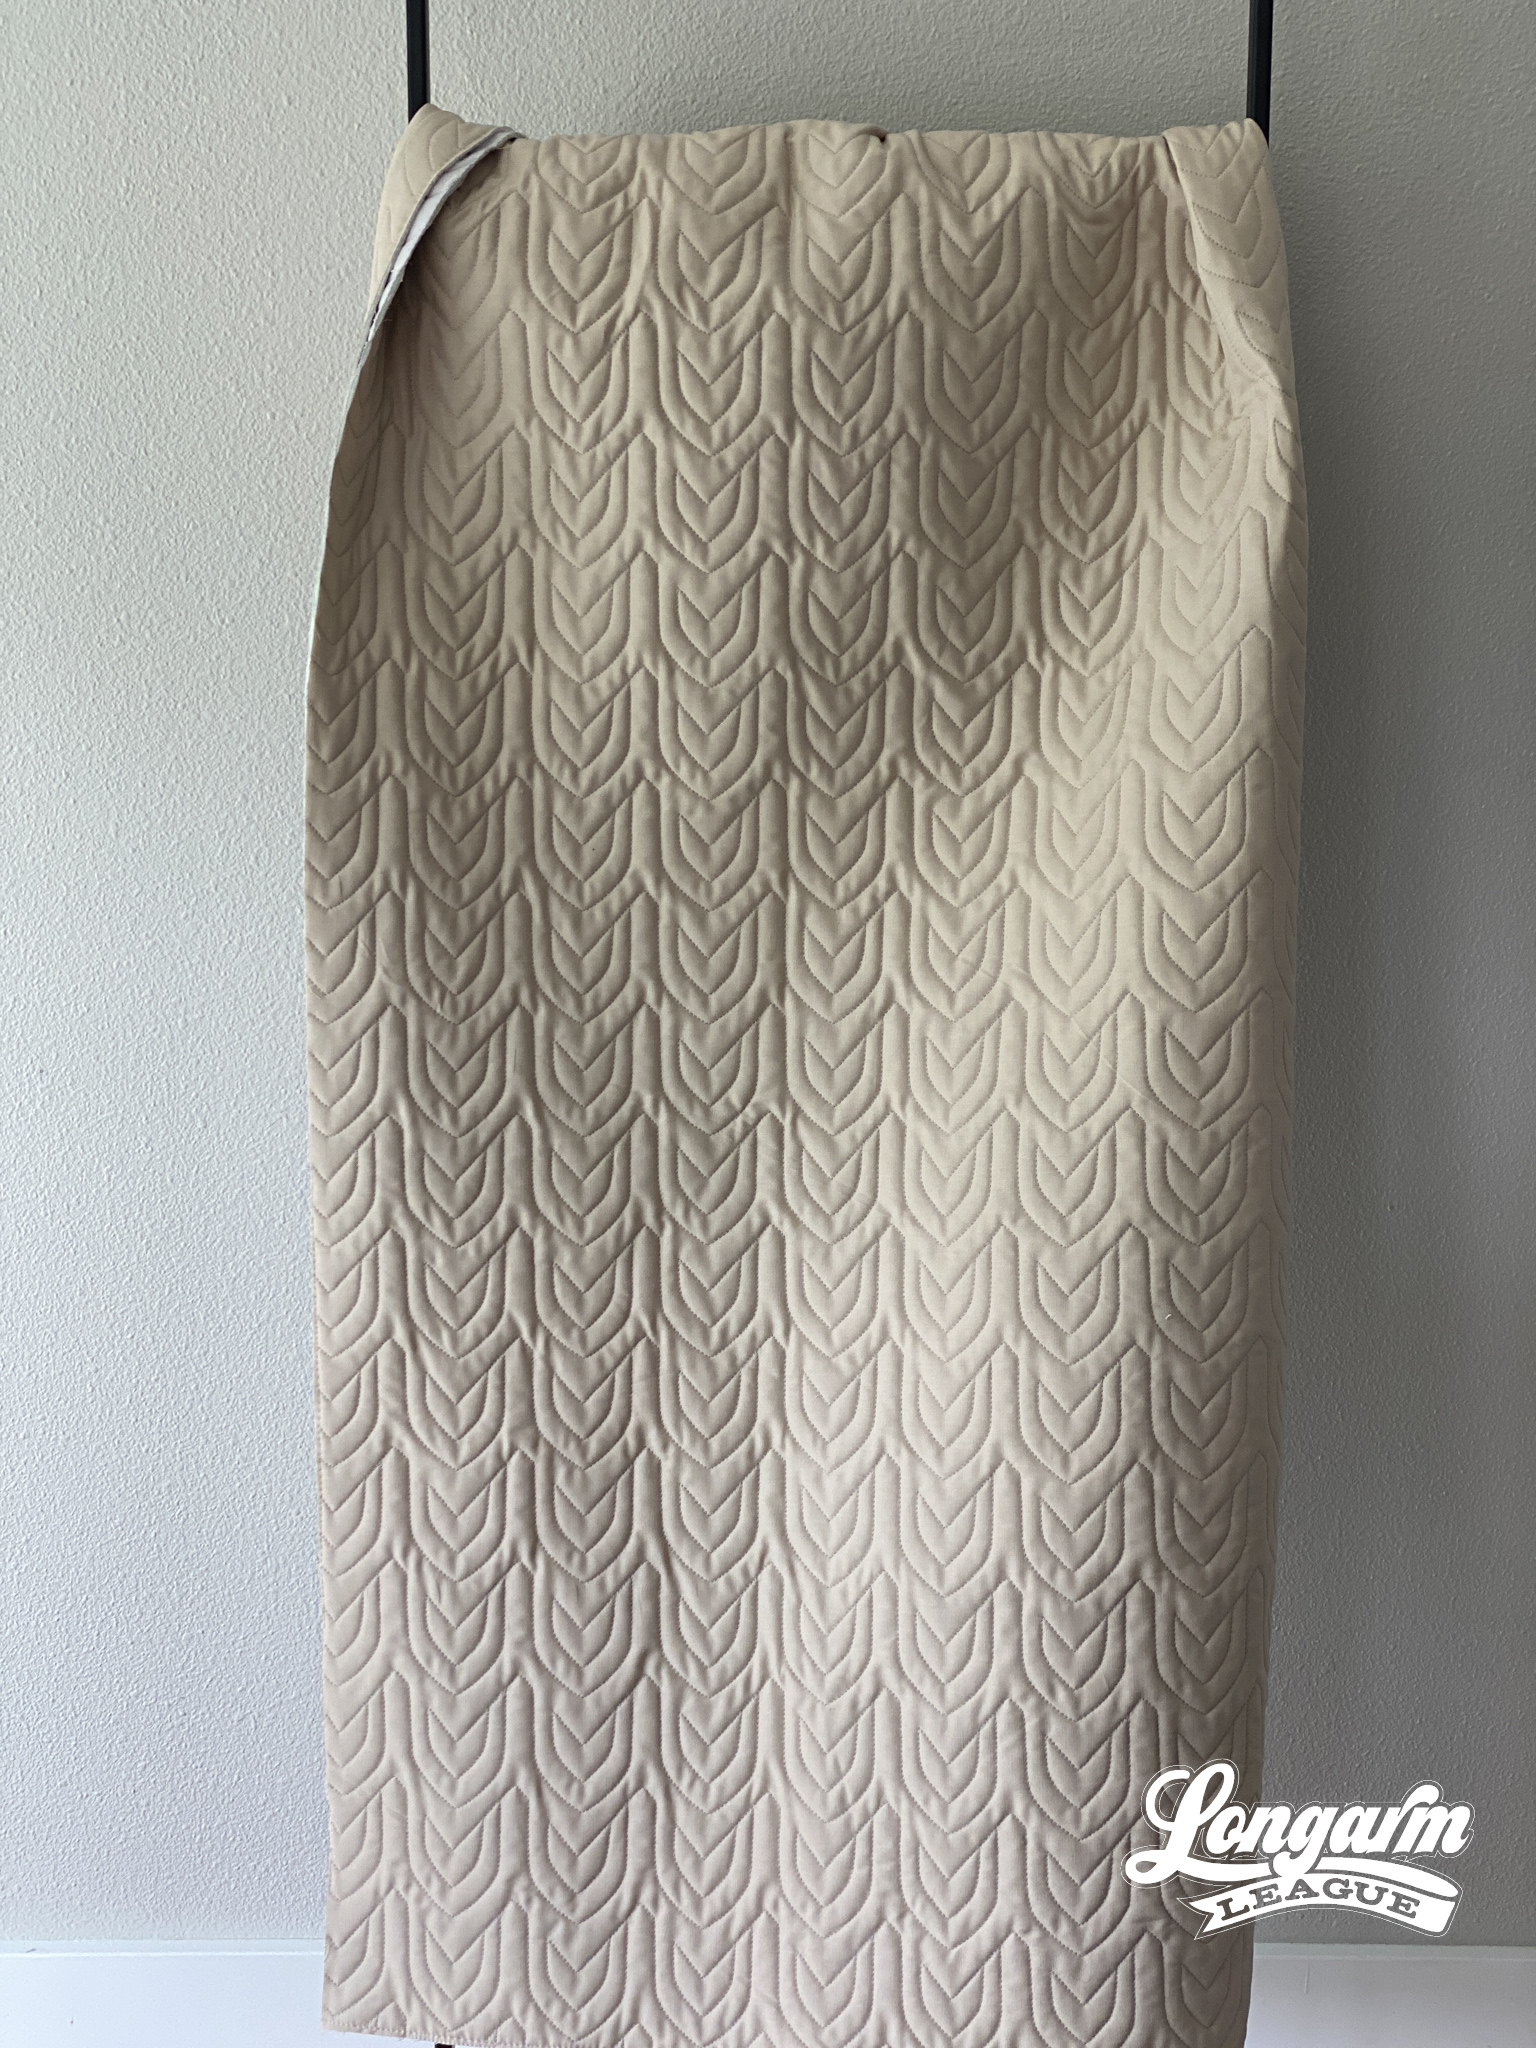
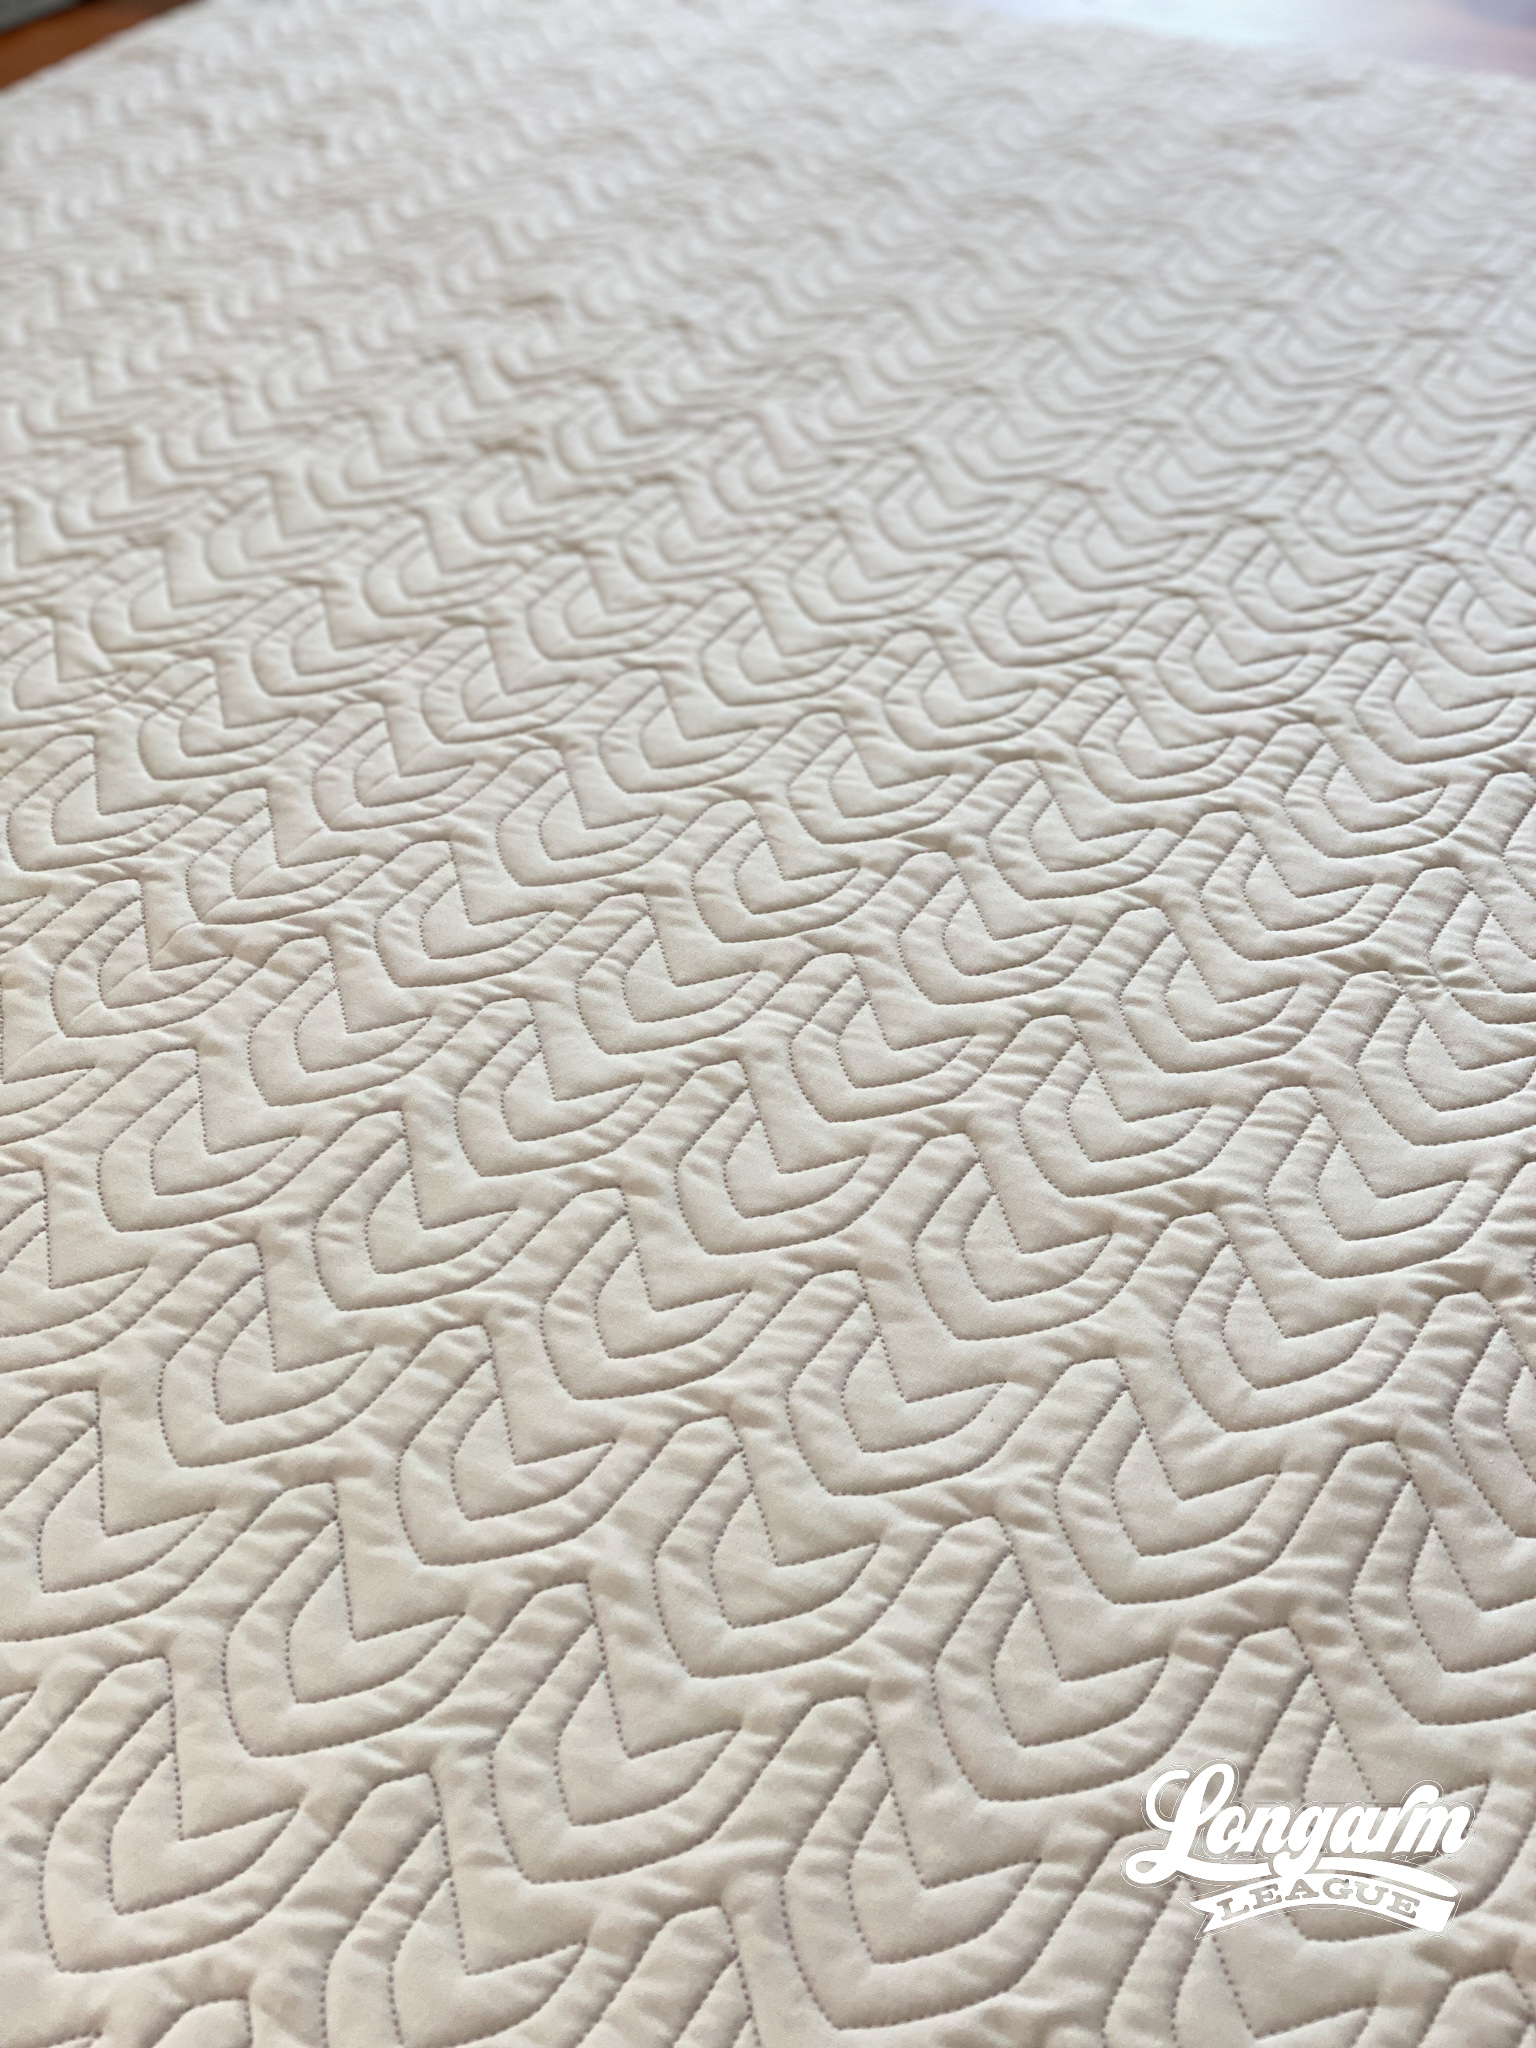
Together Digital Quilting Design
Meet the digital pantograph design released to the Longarm League membership in July of 2021. It's called Together.
I work on a lot of designs—sometimes many at once—and can't always remember what my inspiration or motivation behind them was, but I'm pretty sure this was started after seeing some wallpaper on Pinterest that I really liked. That's not the first time that's happened, either. It turns out wallpaper really gets my creative juices flowin'! When I nested the repeating rows together, I saw the possibility of them appearing to intertwine, and I was really into that idea.
I could see this design working well on a modern quilt top, and/or perhaps one with a lot of negative space - the texture really looks great!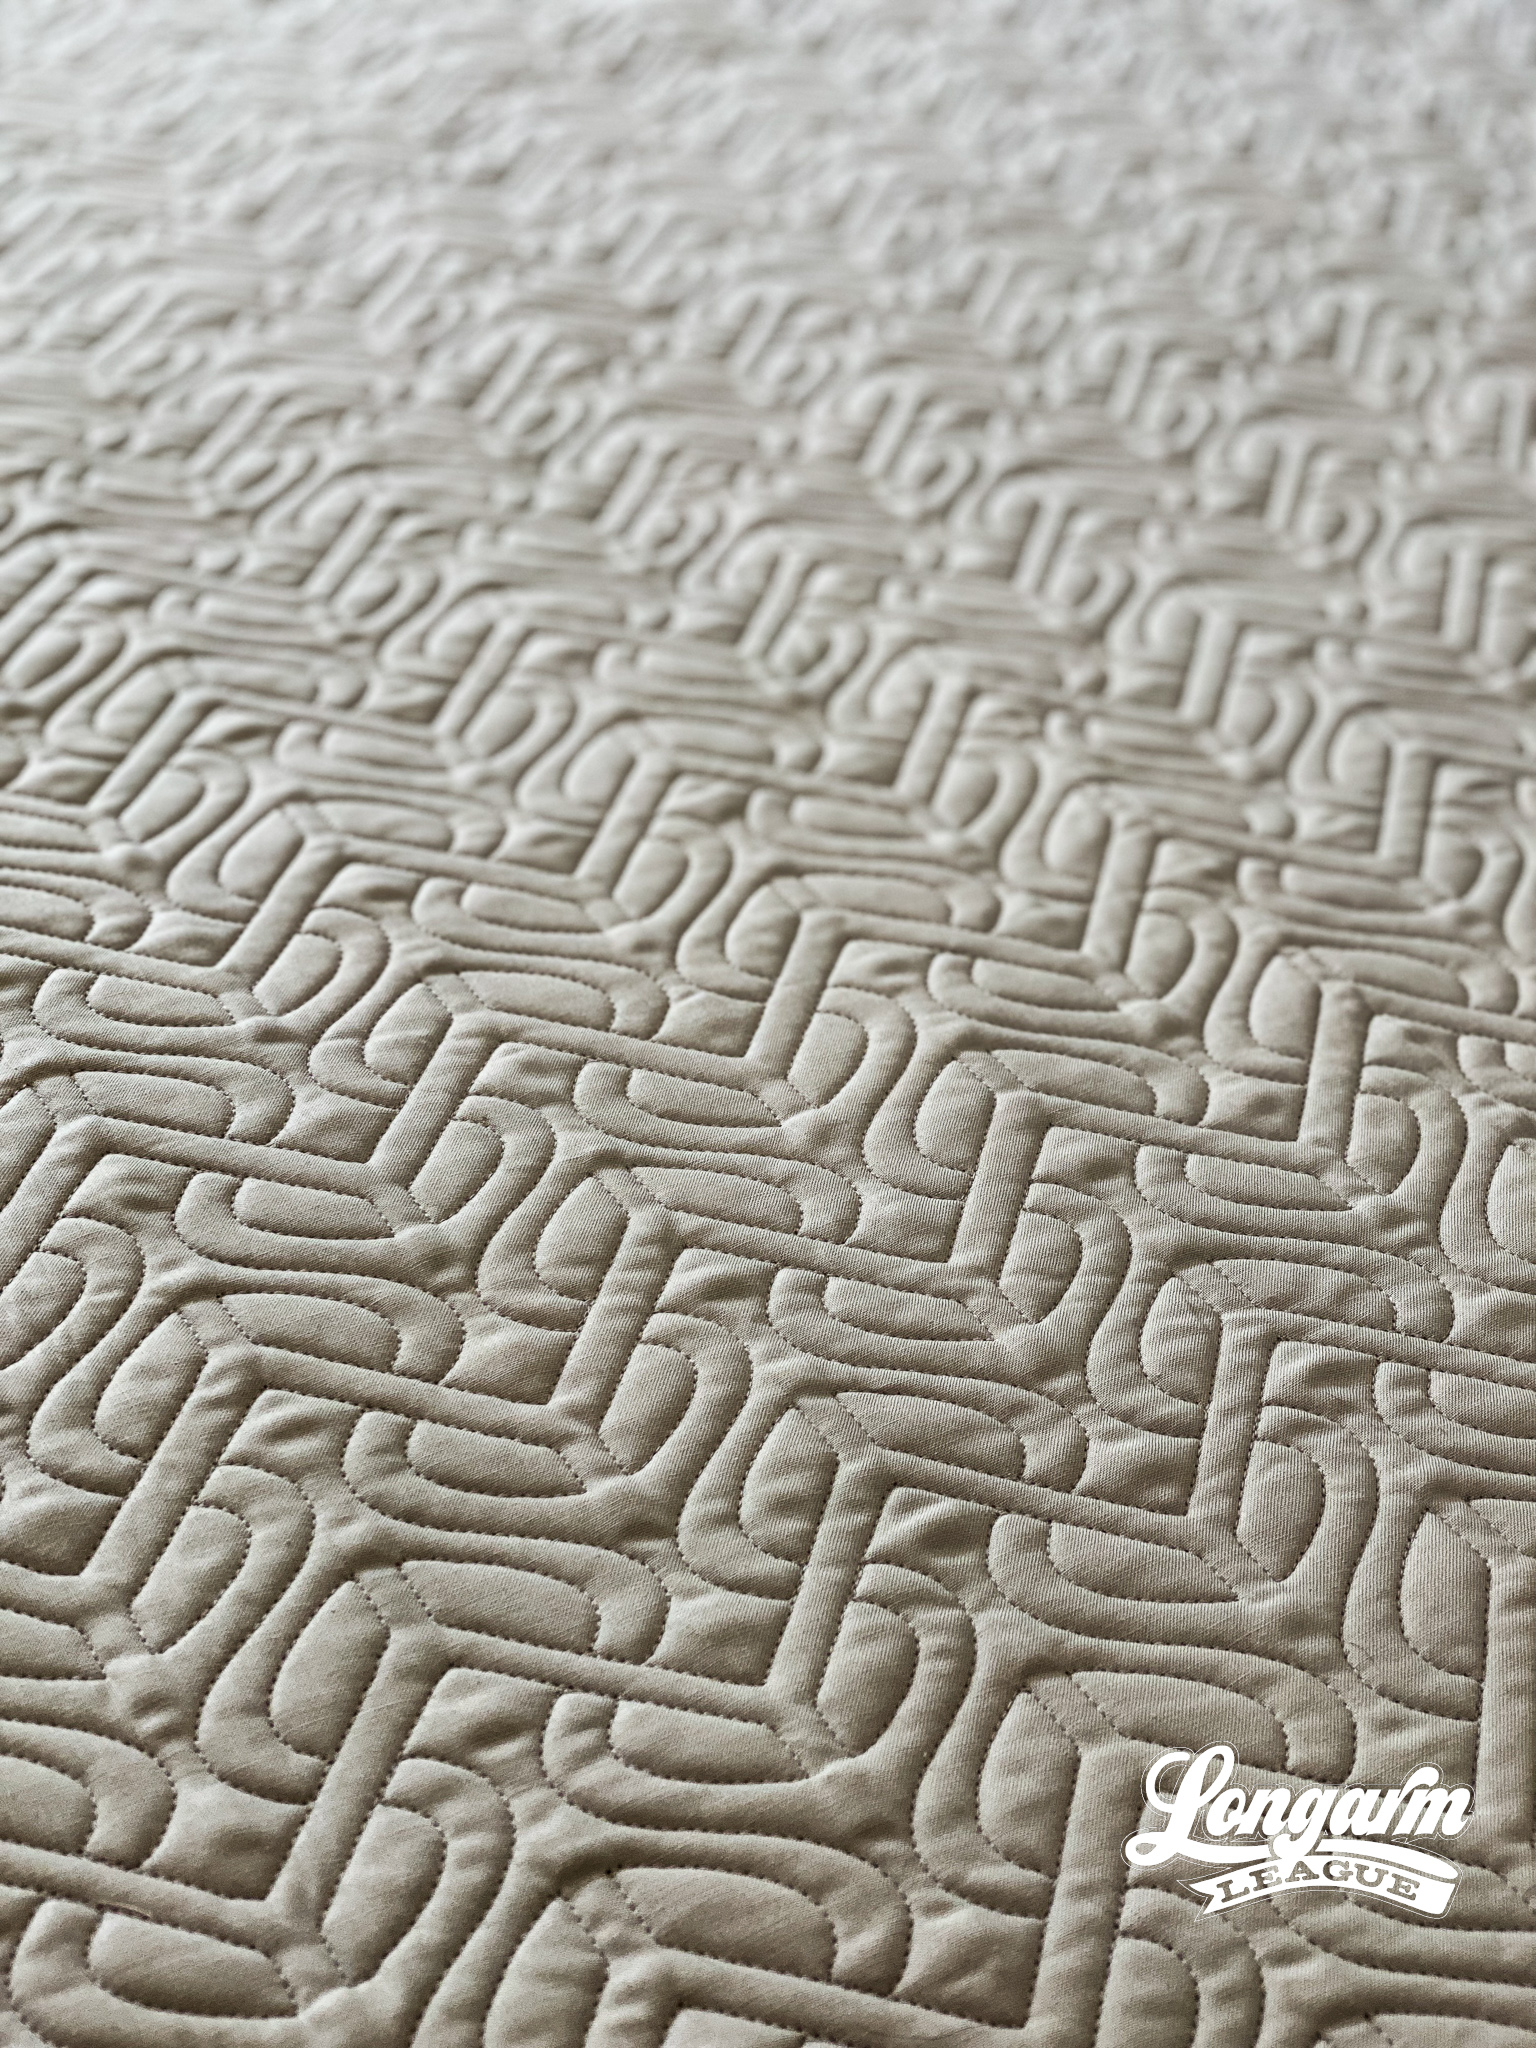

This sample quilt size is approximately 45" x 50". For a reference in scaling the design, the pictures here show a 3.0" row height with a gap between rows of -1.167" which created a pattern height of 4.167".
There are some small areas of backsti...
Glancing Digital Quilting Pantograph Design

I get naming fatigue when I'm working on lots of pantograph designs, often at the same time. I like to have practical names so that I can remember essentially what they look like without opening the files, but then those names don't often translate well to the marketplace.
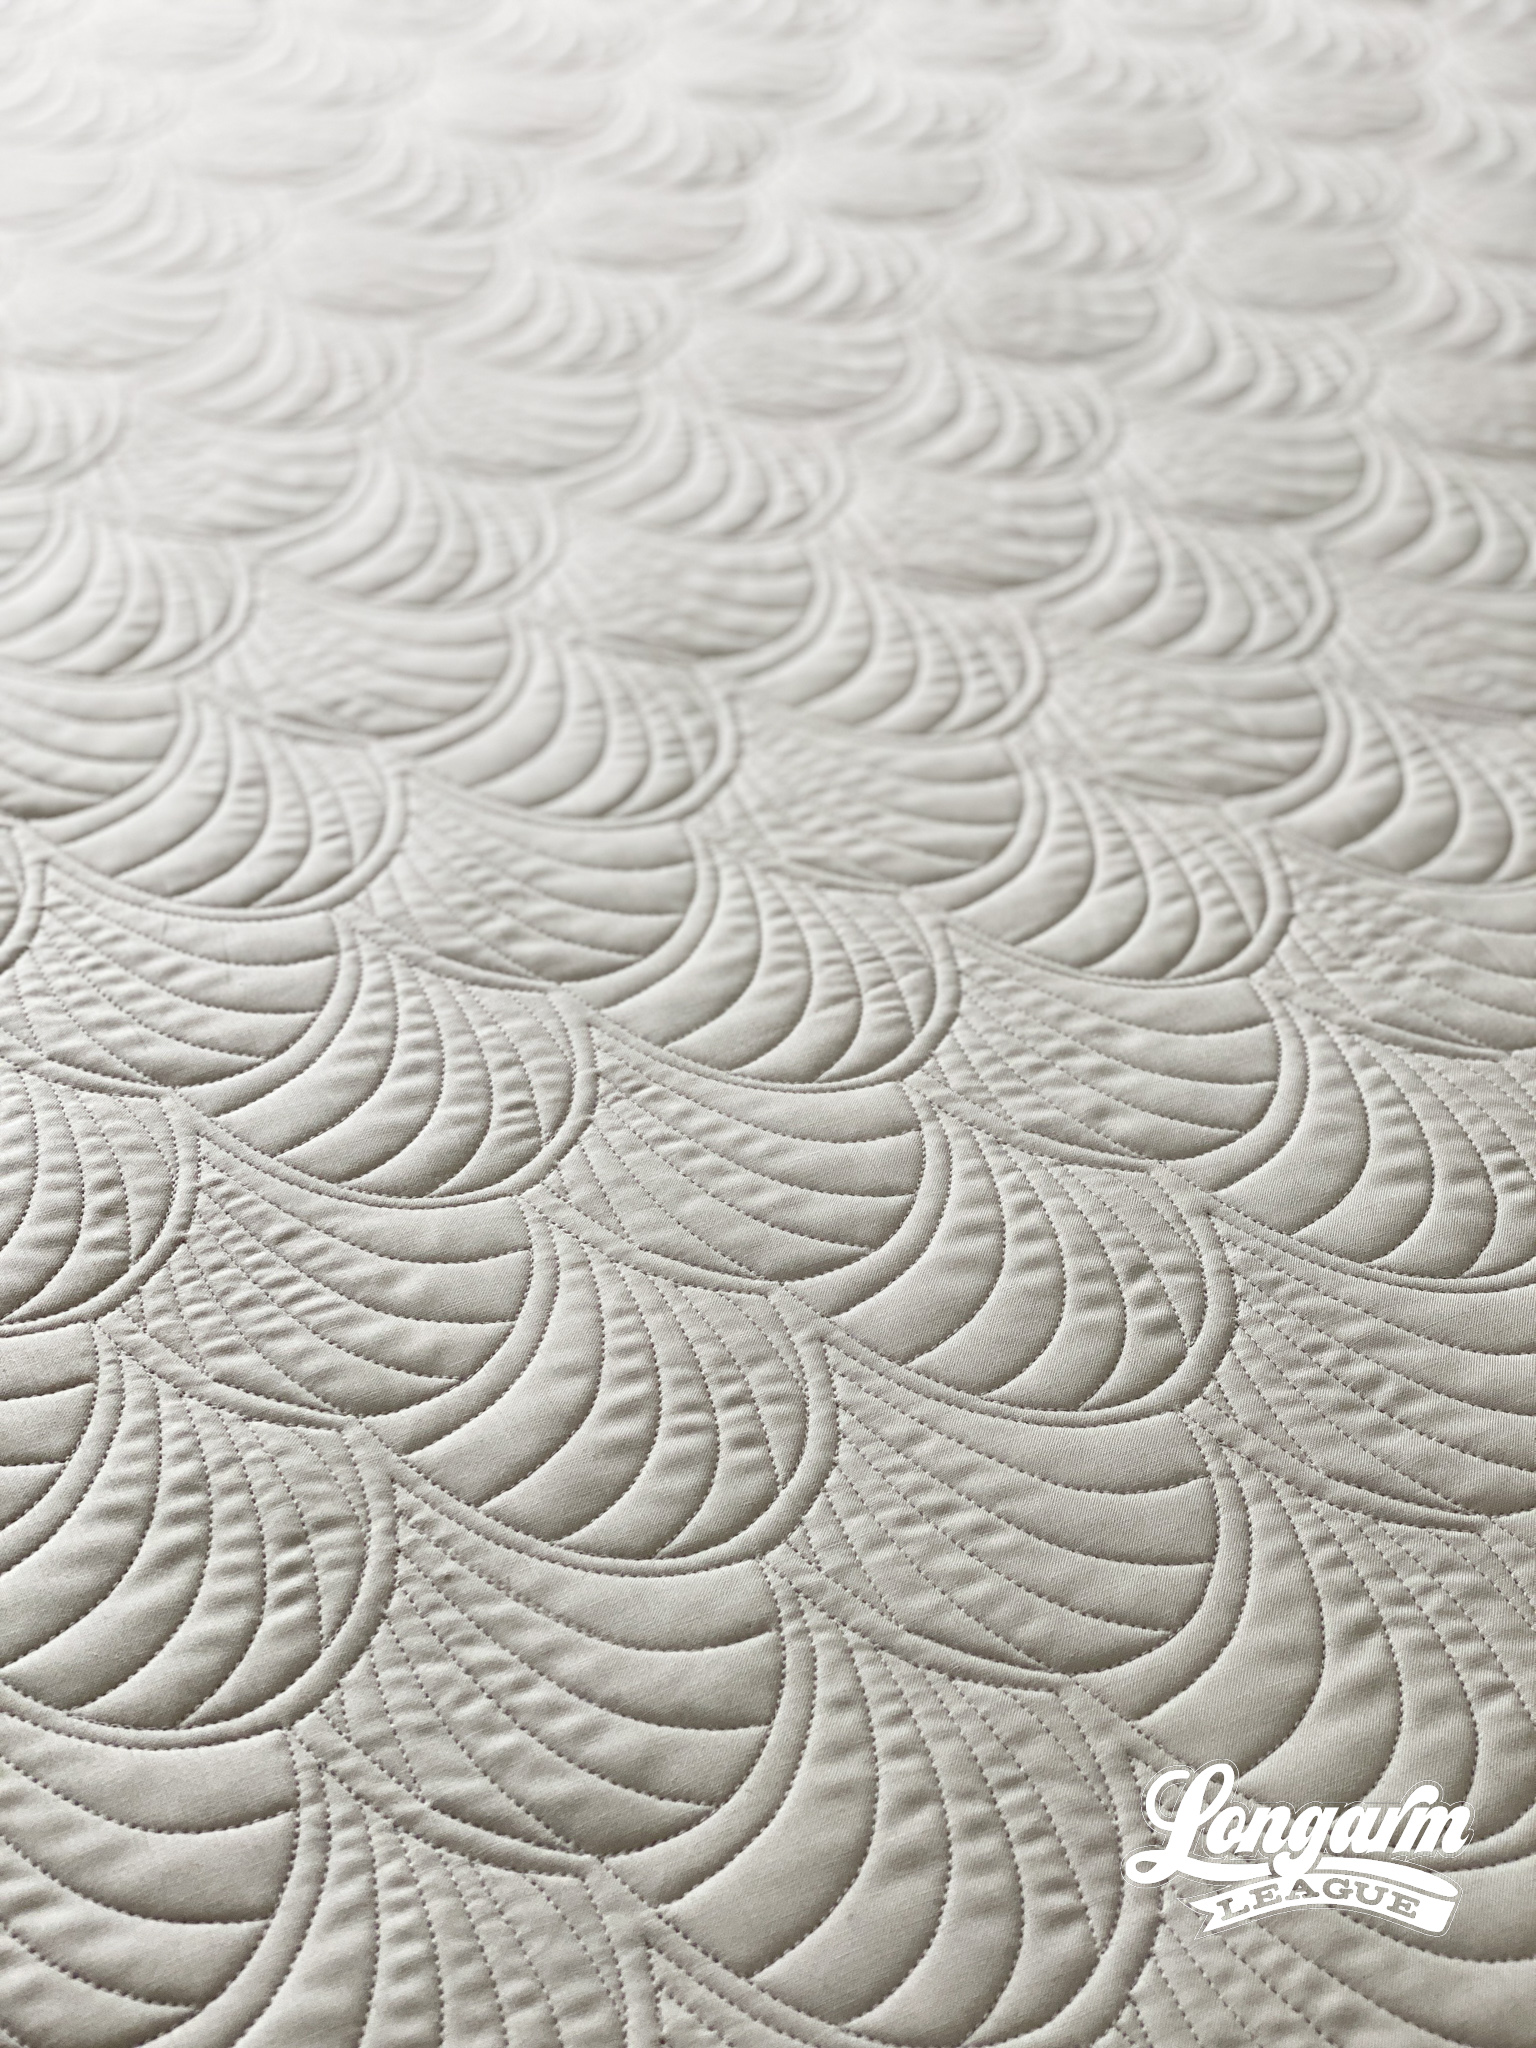
This is one of those designs that I really can't recall what it started out being, but after I saw "snake eyes" I couldn't really see anything else. Longarm League member Lin Miller suggested the name Glancing in our Slack channel and immediately I knew that it was a better title than Snake Eyes. Or maybe I should have cut right to the chase and named it Kaa after the character in Jungle Book. 😁 It wouldn't be the first time a design of mine inadvertently took on the shapes of animated Disney characters.
What I DO remember about this design is that it's easy to stitch out with no backtracking. Huzzah!
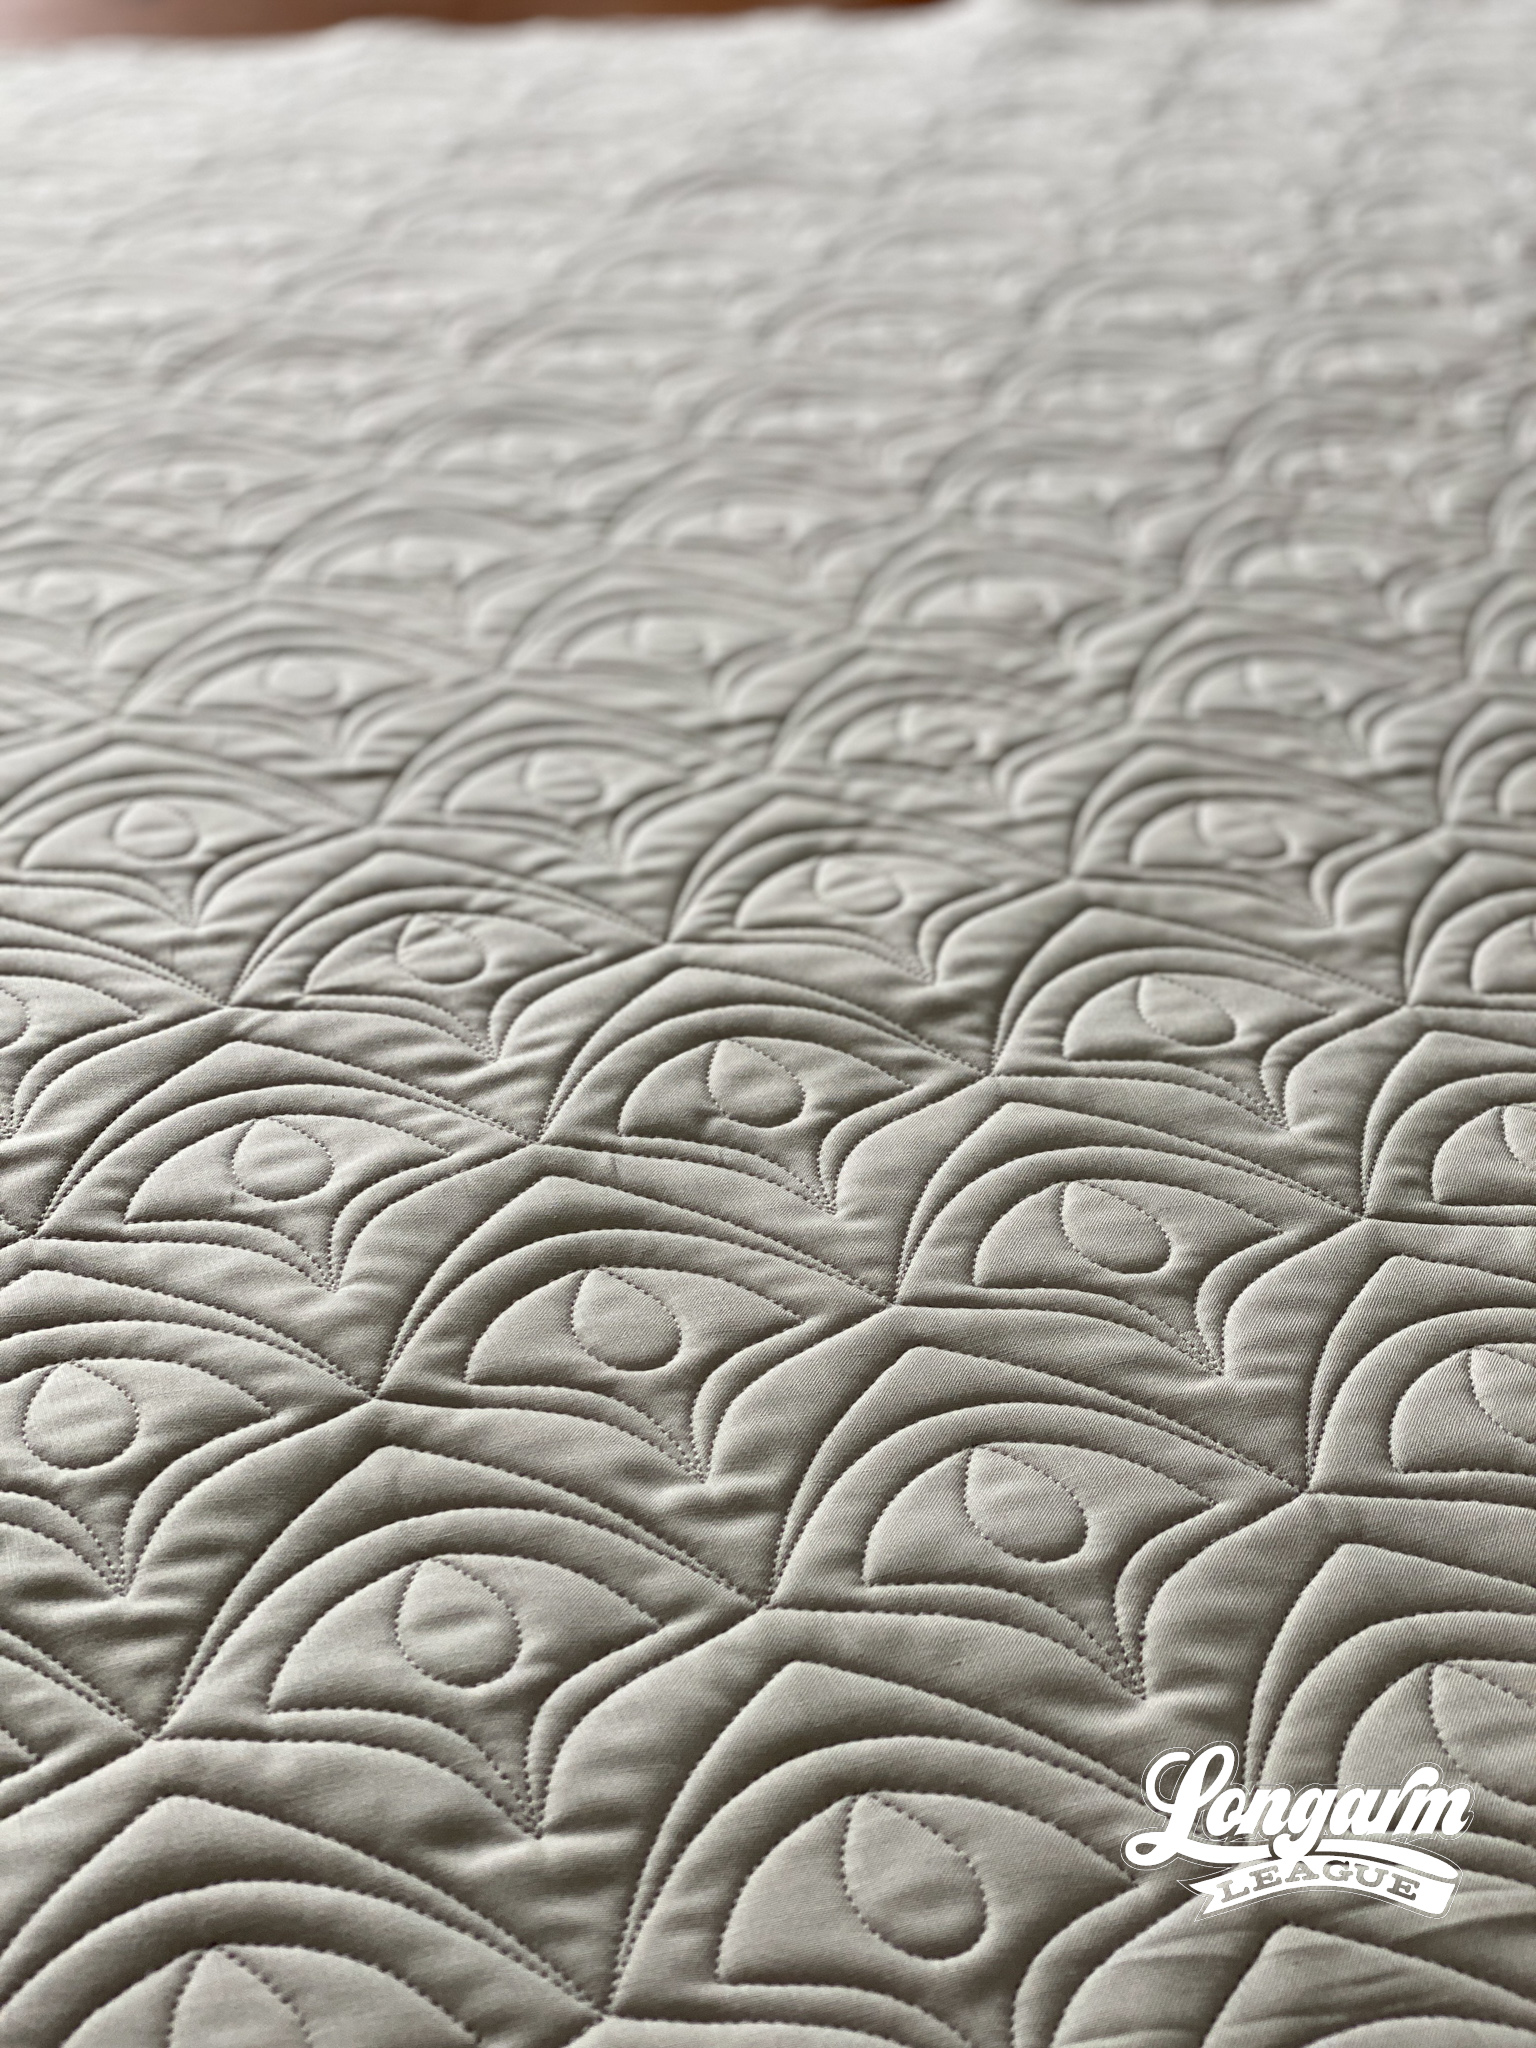
When setting the design up in a computerized system, it does require every other row to be offs...
The Making of the Peak Blooms Pantograph
Have you considered digitizing quilting patterns?
Since the Longarm League began, many of our members have been curious about digitizing. How difficult is it? What is the process involved? How does one sell designs?
In an effort to show my approach, I started recording my computer screen as I was working on my design that eventually became known as Peak Blooms.
When I started this design, I didn't know where it was going to take me, and I'm pretty sure I would have scrapped it immediately if I could see into the future and know just how L-O-N-G it would take to tweak all of my blessed petals!
But, I'm stubborn. "In for a penny, in for a pound", as they say! All told, I recorded about 10 hours of on-screen digitizing over several days. You certainly don't have that kind of time to watch it unfold, so that's why I put this video in hyperdrive to give you a look behind the scenes.
Luckily, most designs only take a fraction of the time from beginning vision to finalization. But, I also d...
Behold Digital Pantograph Quilting Design

I was so mesmerized by how this design was stitching out that I didn't realize I'd forgotten to record a snippet of the stitch path until I was on the last row! Oops! The video of the final row stitch-out is available at the top of this post.
What I really like to show in the videos is how any backtracking happens. As a designer, I try not to use backtracking too much, but it's also unavoidable at times. So, yes, there is some backtracking in this design, but it's not too intense. If it helps me accomplish a pretty result? Sign me up! I'm okay with that.
The upside-down clamshells are staggered a bit—one higher than the other on the repeat—so that you can set it up on your computer without offsetting. Once the rows are placed, you'll want to nest the rows closely, but they shouldn't touch. The space between the rows will give a little bit of margin and help hide any inconsistencies during realignment. It needs to be close, but placement does not have to perfectly meet the prior ro...
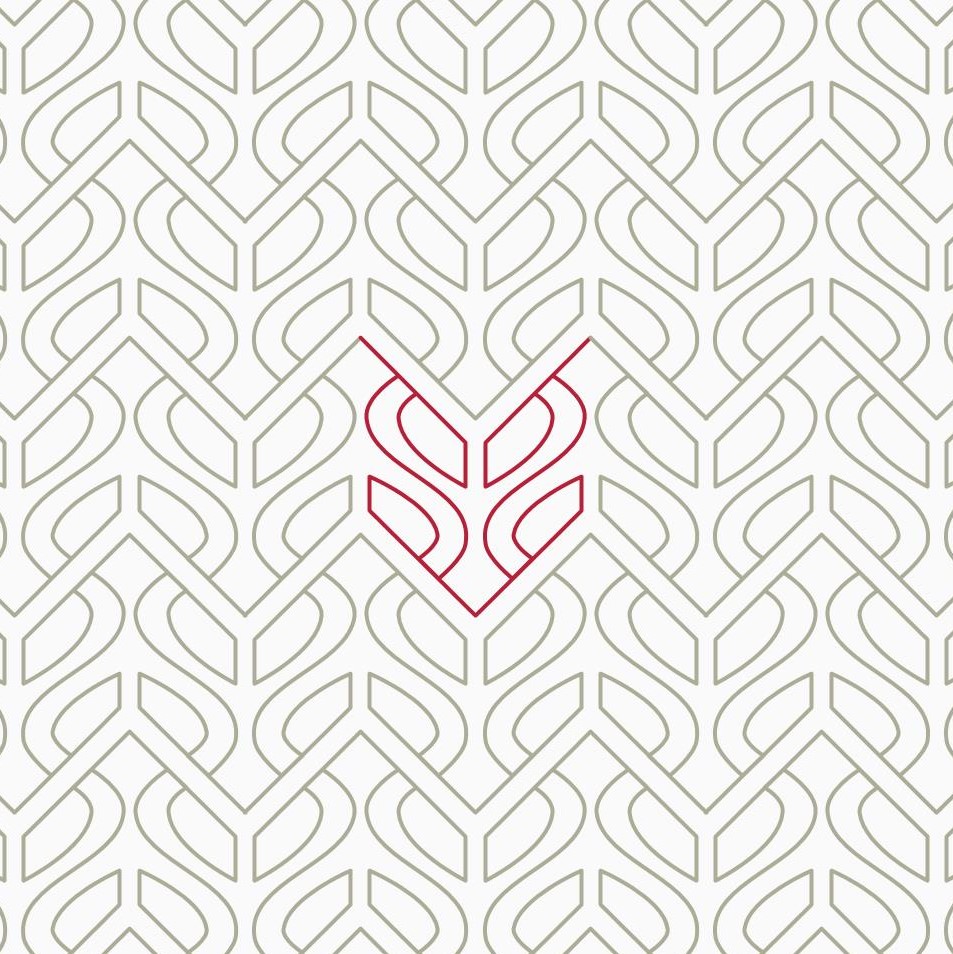
Shields Digital Pantograph Quilting Design
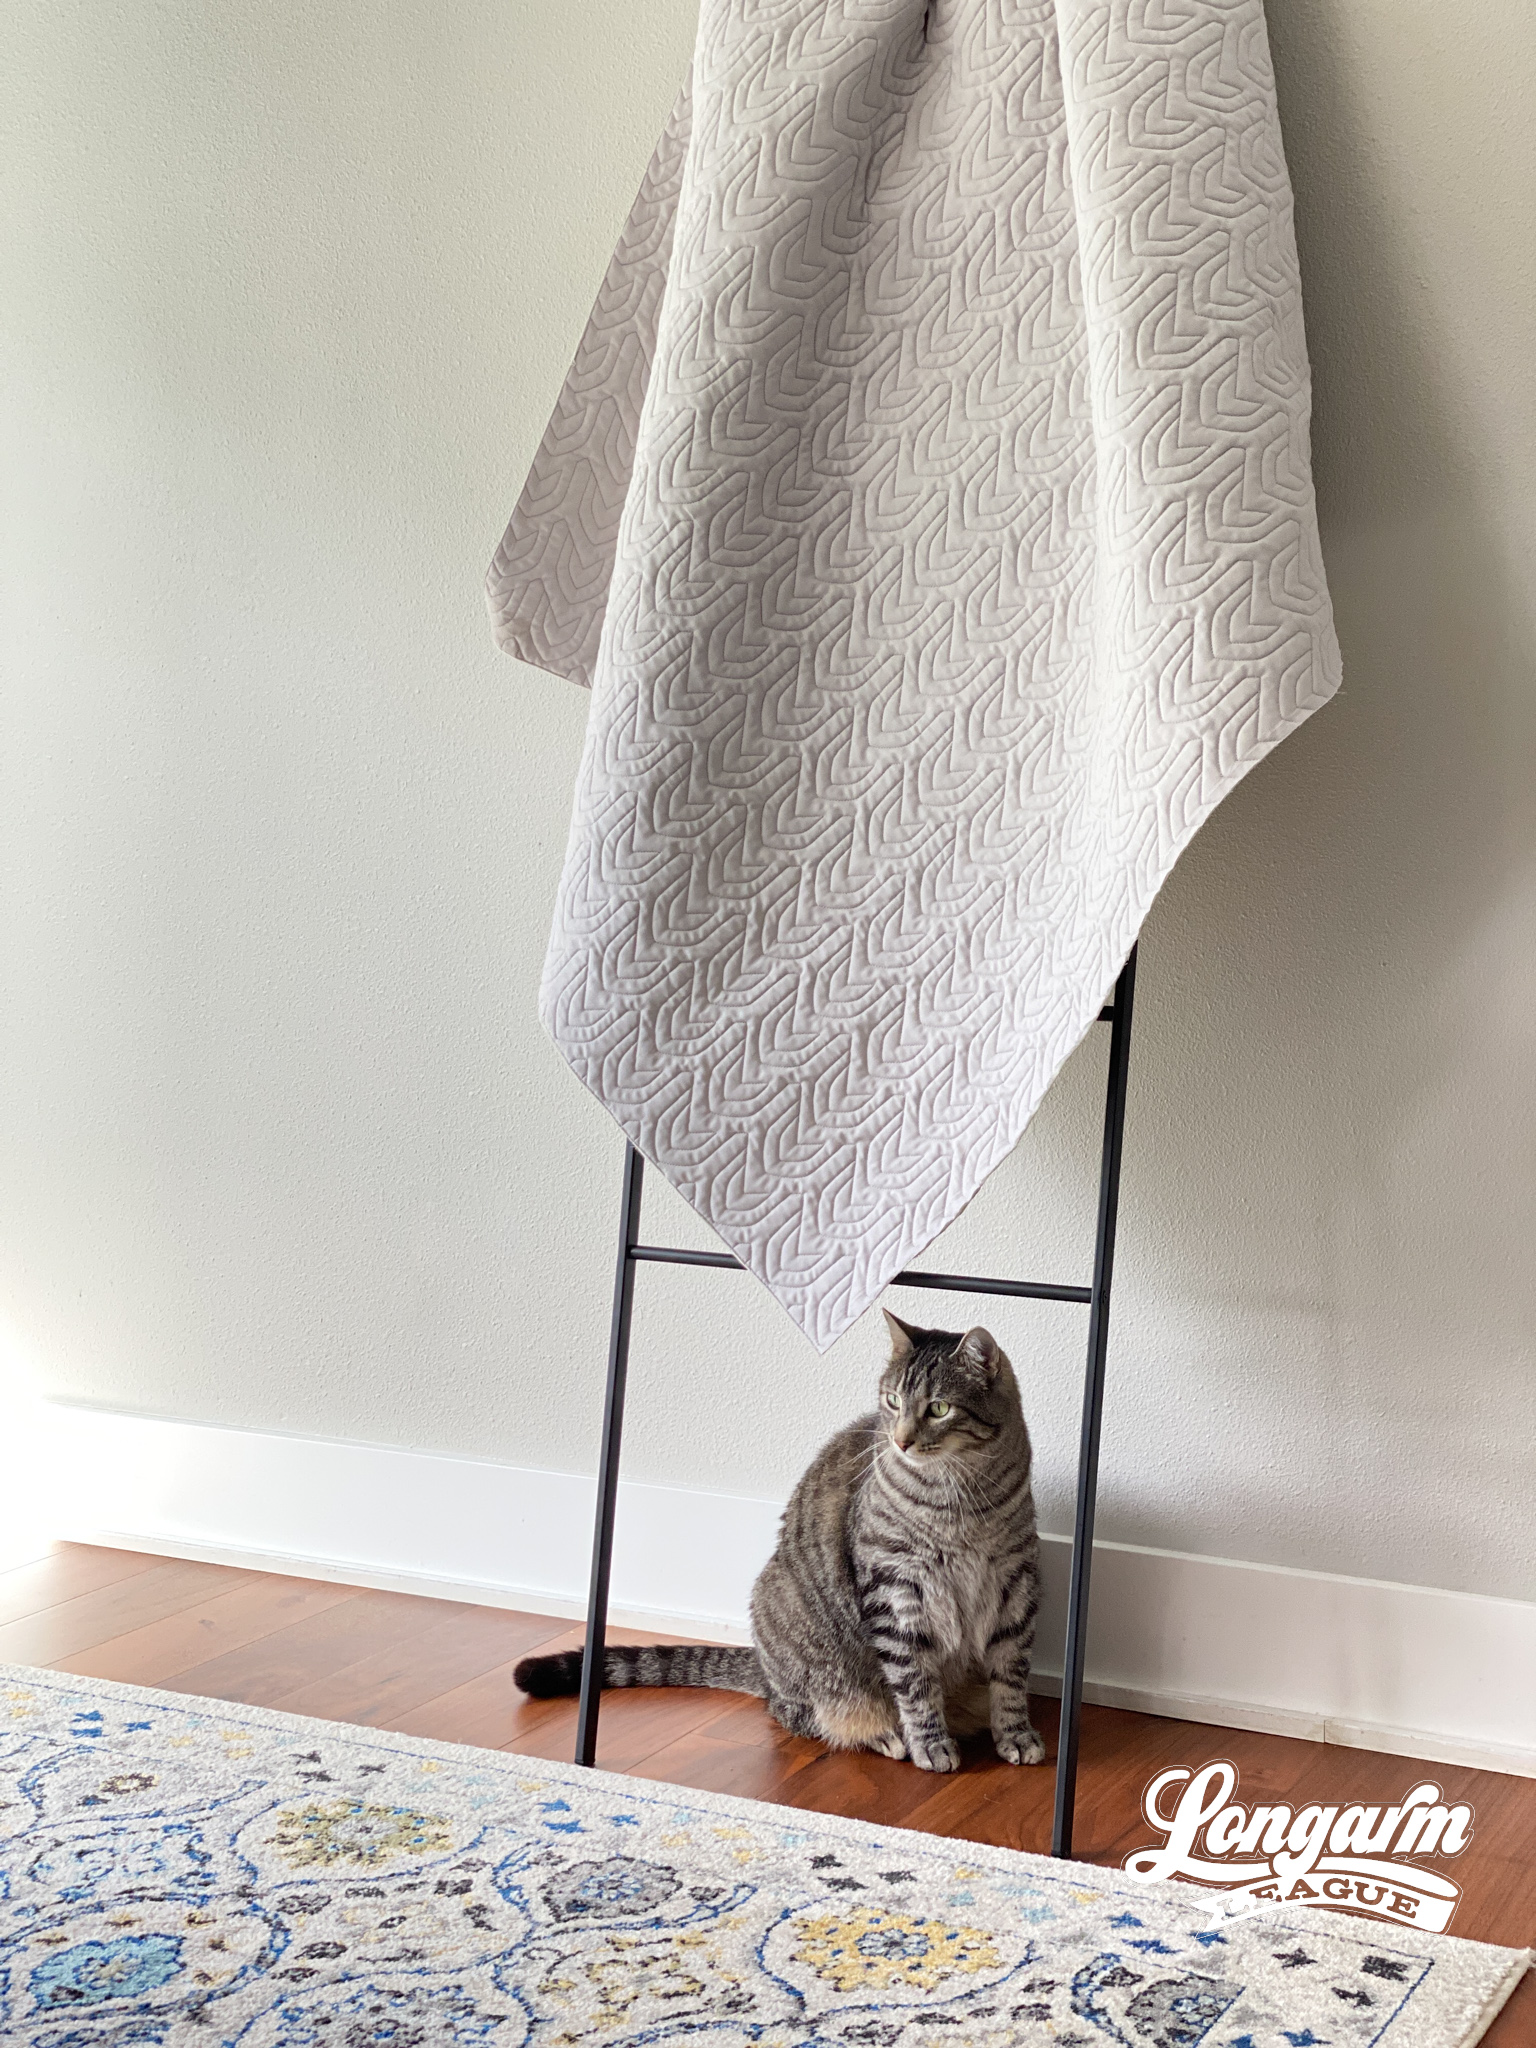
Shields is a digital pantograph design by Jess Zeigler (that's me!) for Longarm League.

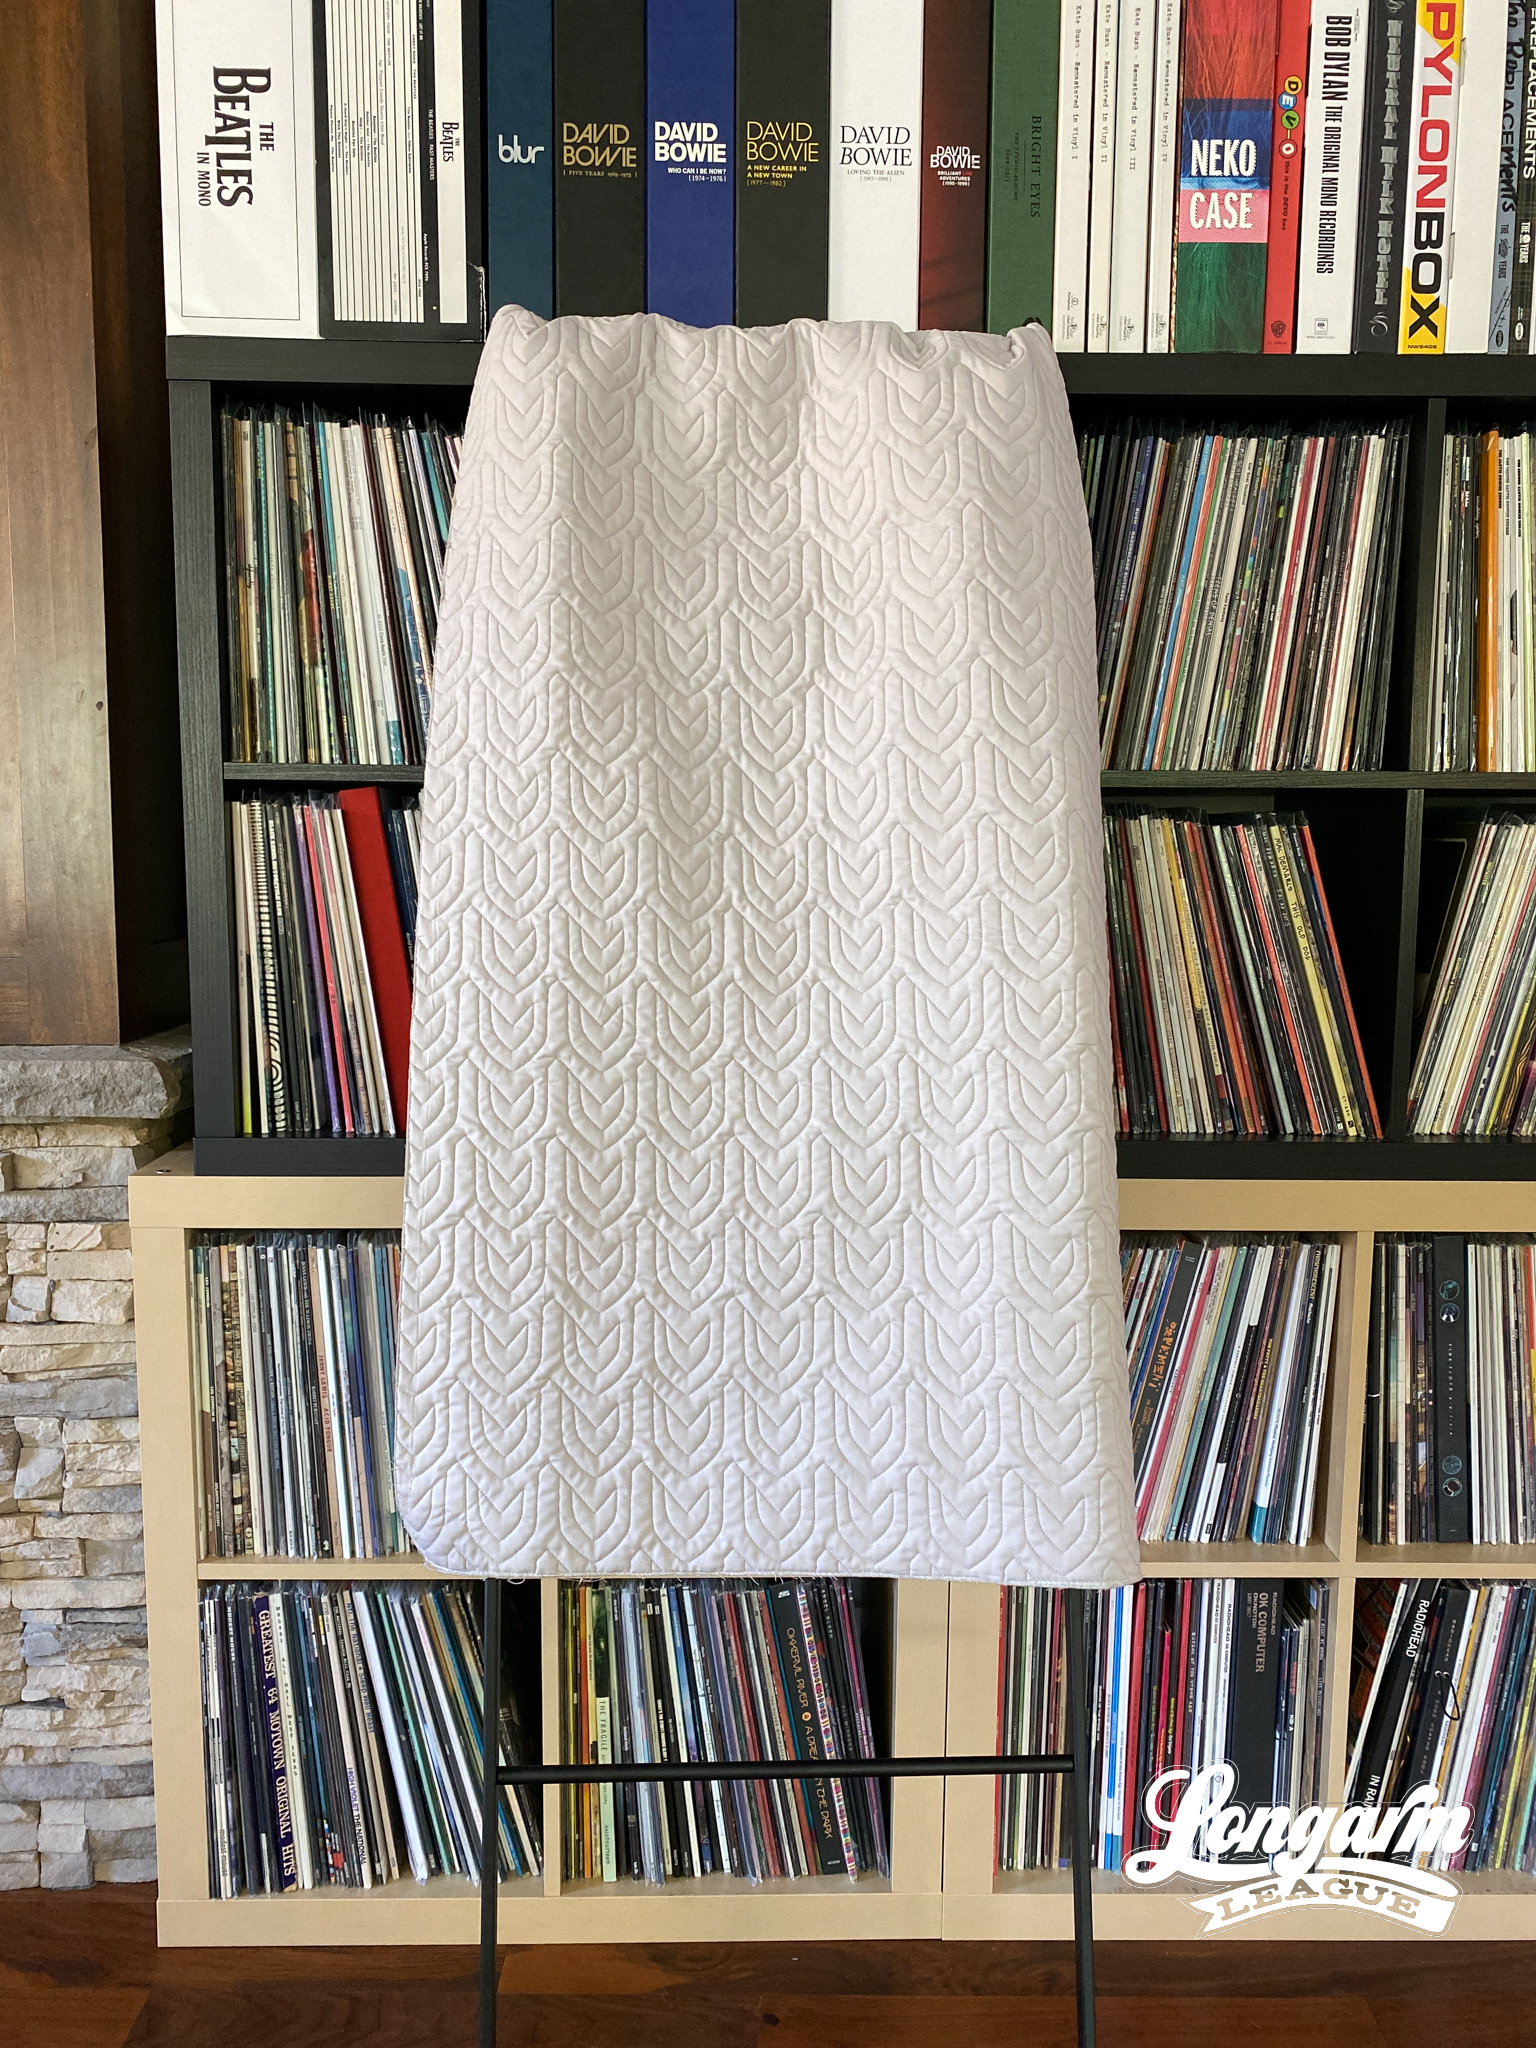
I find myself frequently recommending pantos comprised of simple shapes, especially for quilt tops that have a lot of piecing, color, and/or fabrics. I find these simpler quilting designs to be the most versatile because they have a way of bringing calm and a cohesive element to a "busy" top. They lend beautiful texture without complicating the quilt.
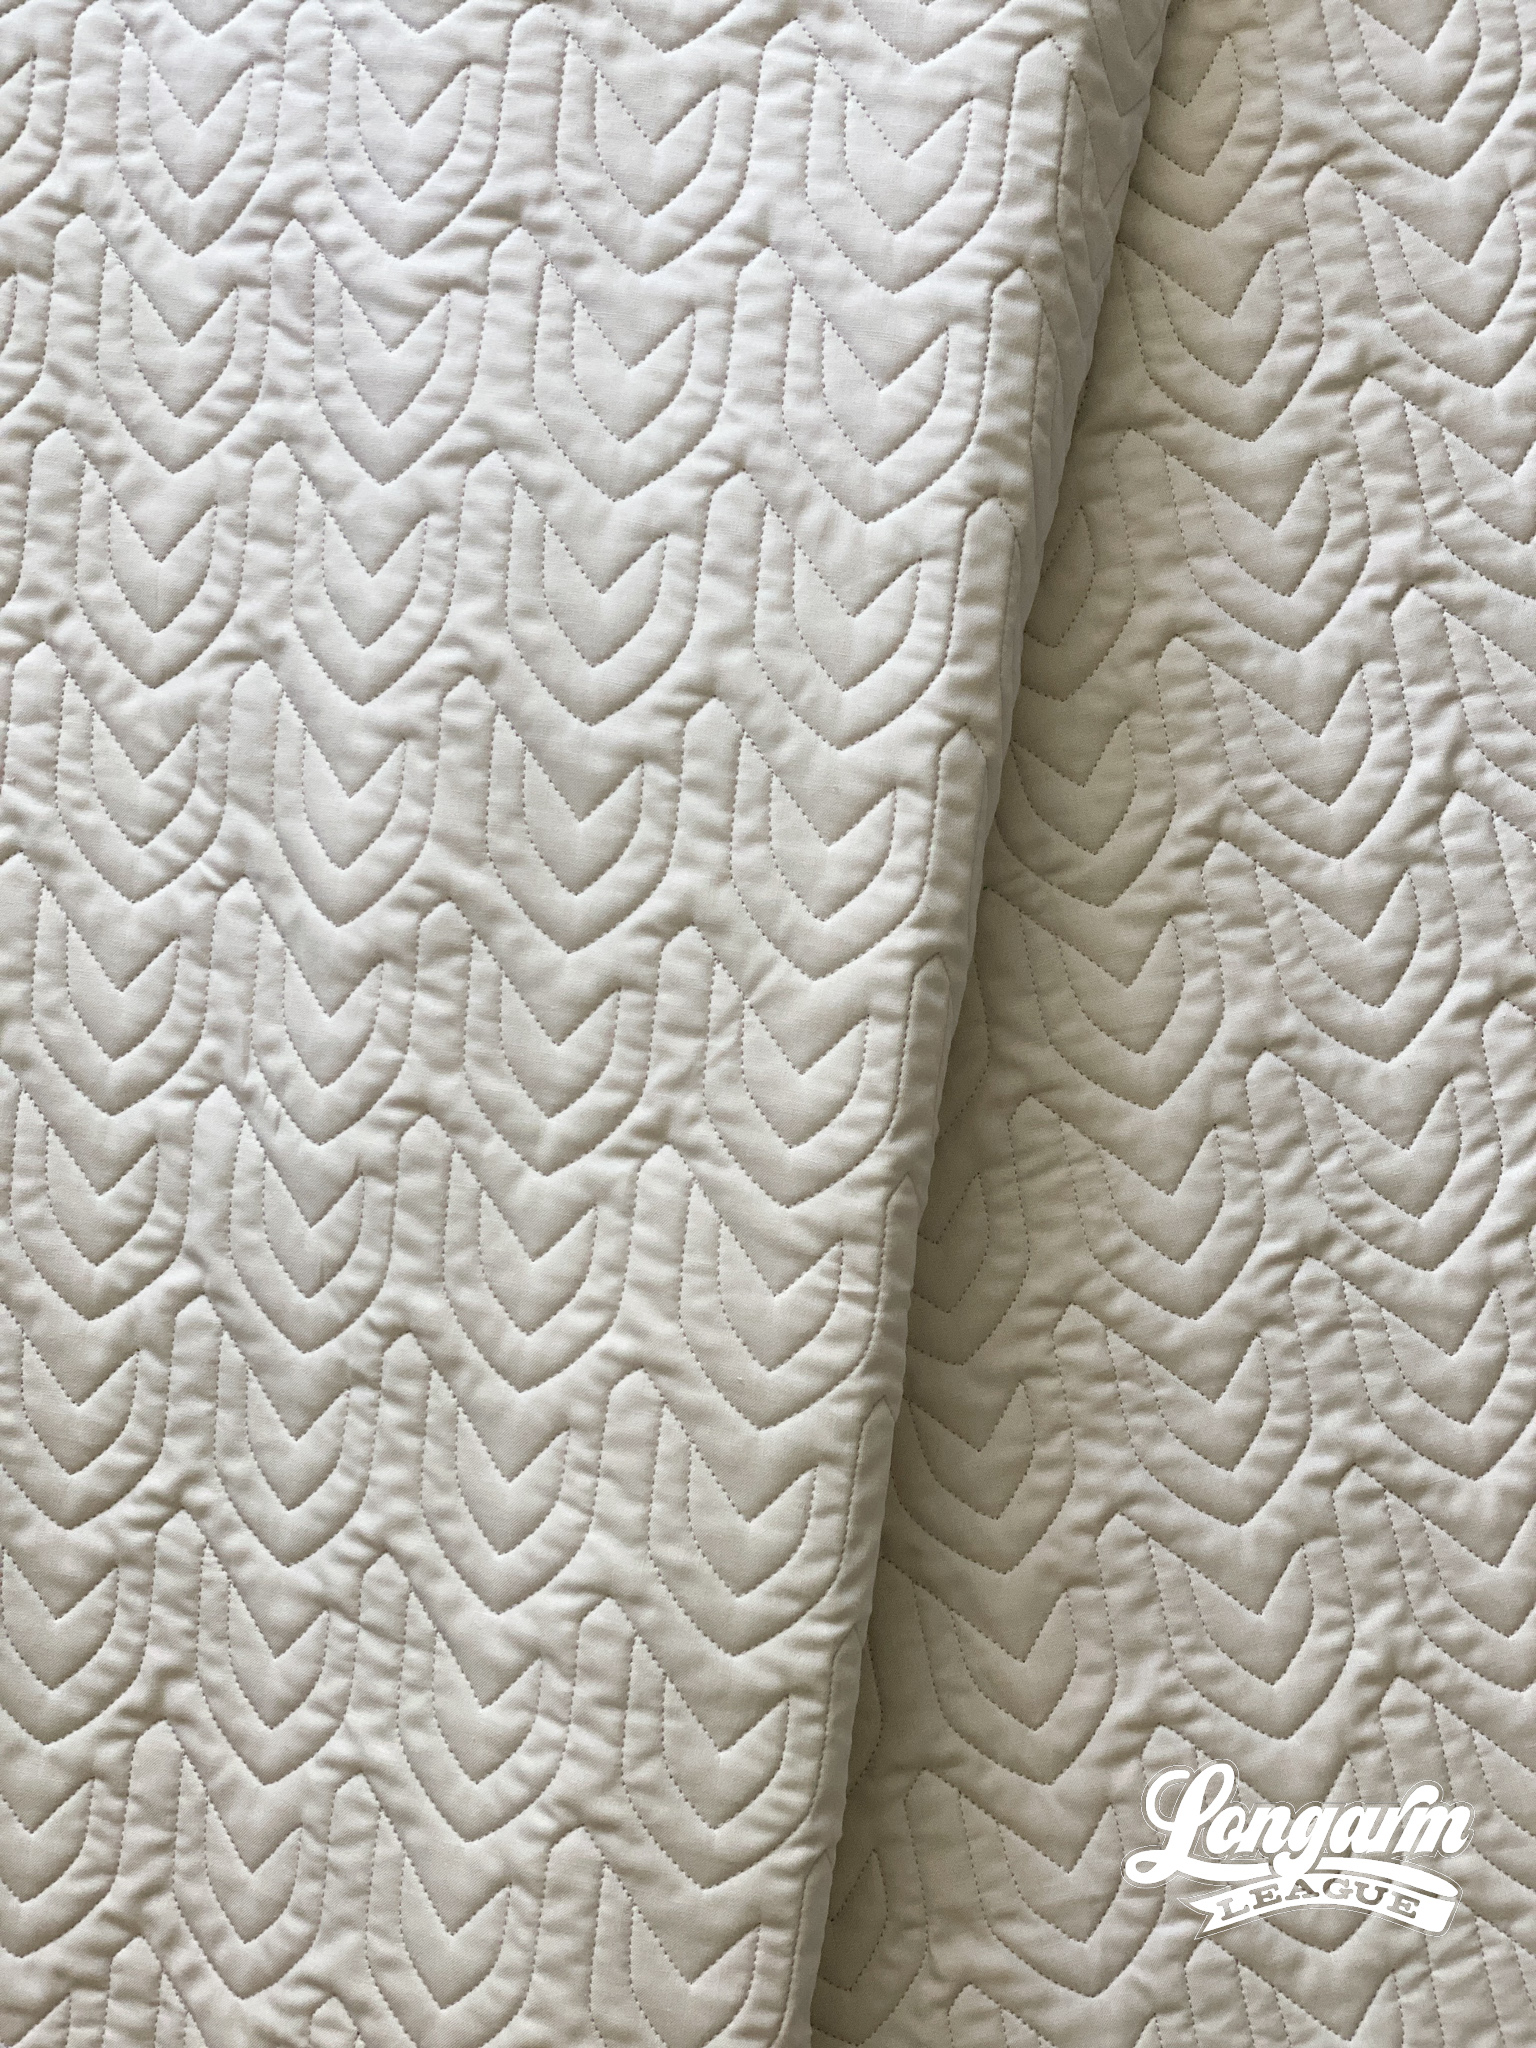
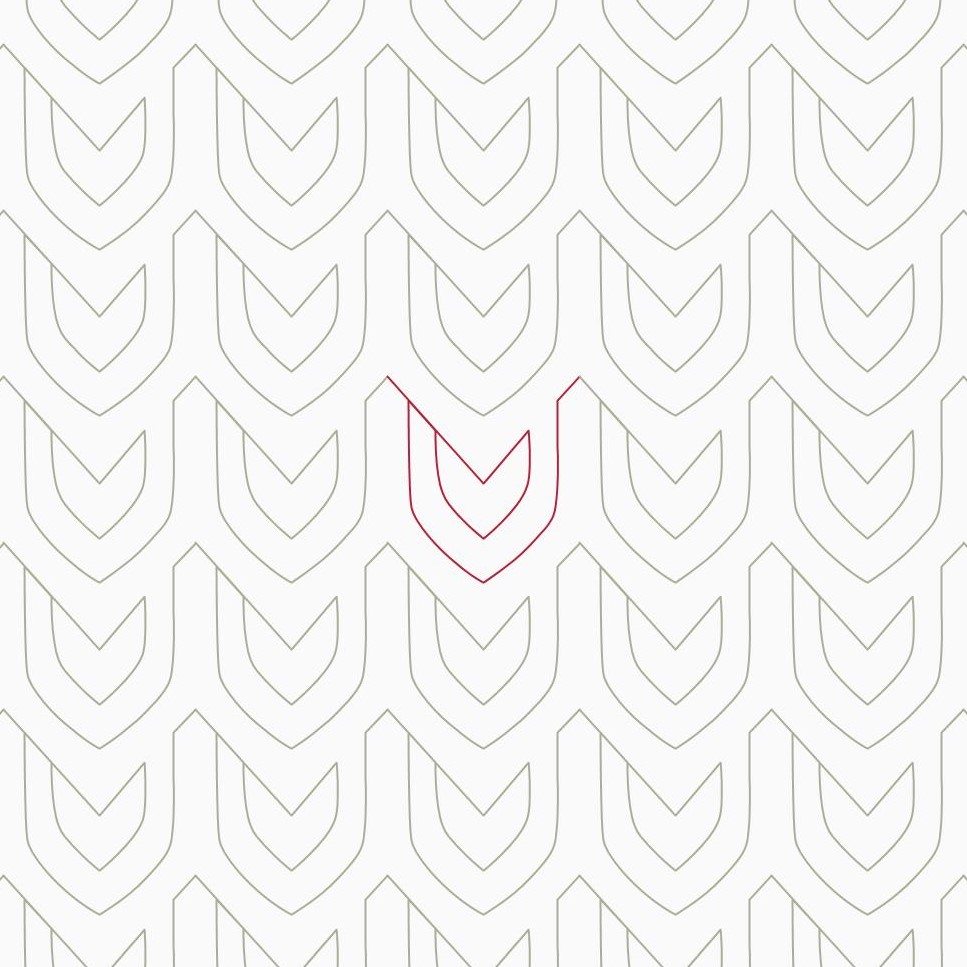
This little motif reminded me of an abstract and somewhat asymmetrical shield. Or scales. Panning out and looking at the overall effect resembled a braid of some kind.
As you can see from the video of the stitch-out at the top of this post, there is only a tiny bit of backtracking. When you set up the design in your computerized system, it does not need any offsetting.
When quilting this baby-sized sample approximately 45" x 50", I set the row height at 2.5" and used a gap of -0.512" for a total pattern height of 3.012". I ...
Fancy Feathers Digital Quilting Pantograph
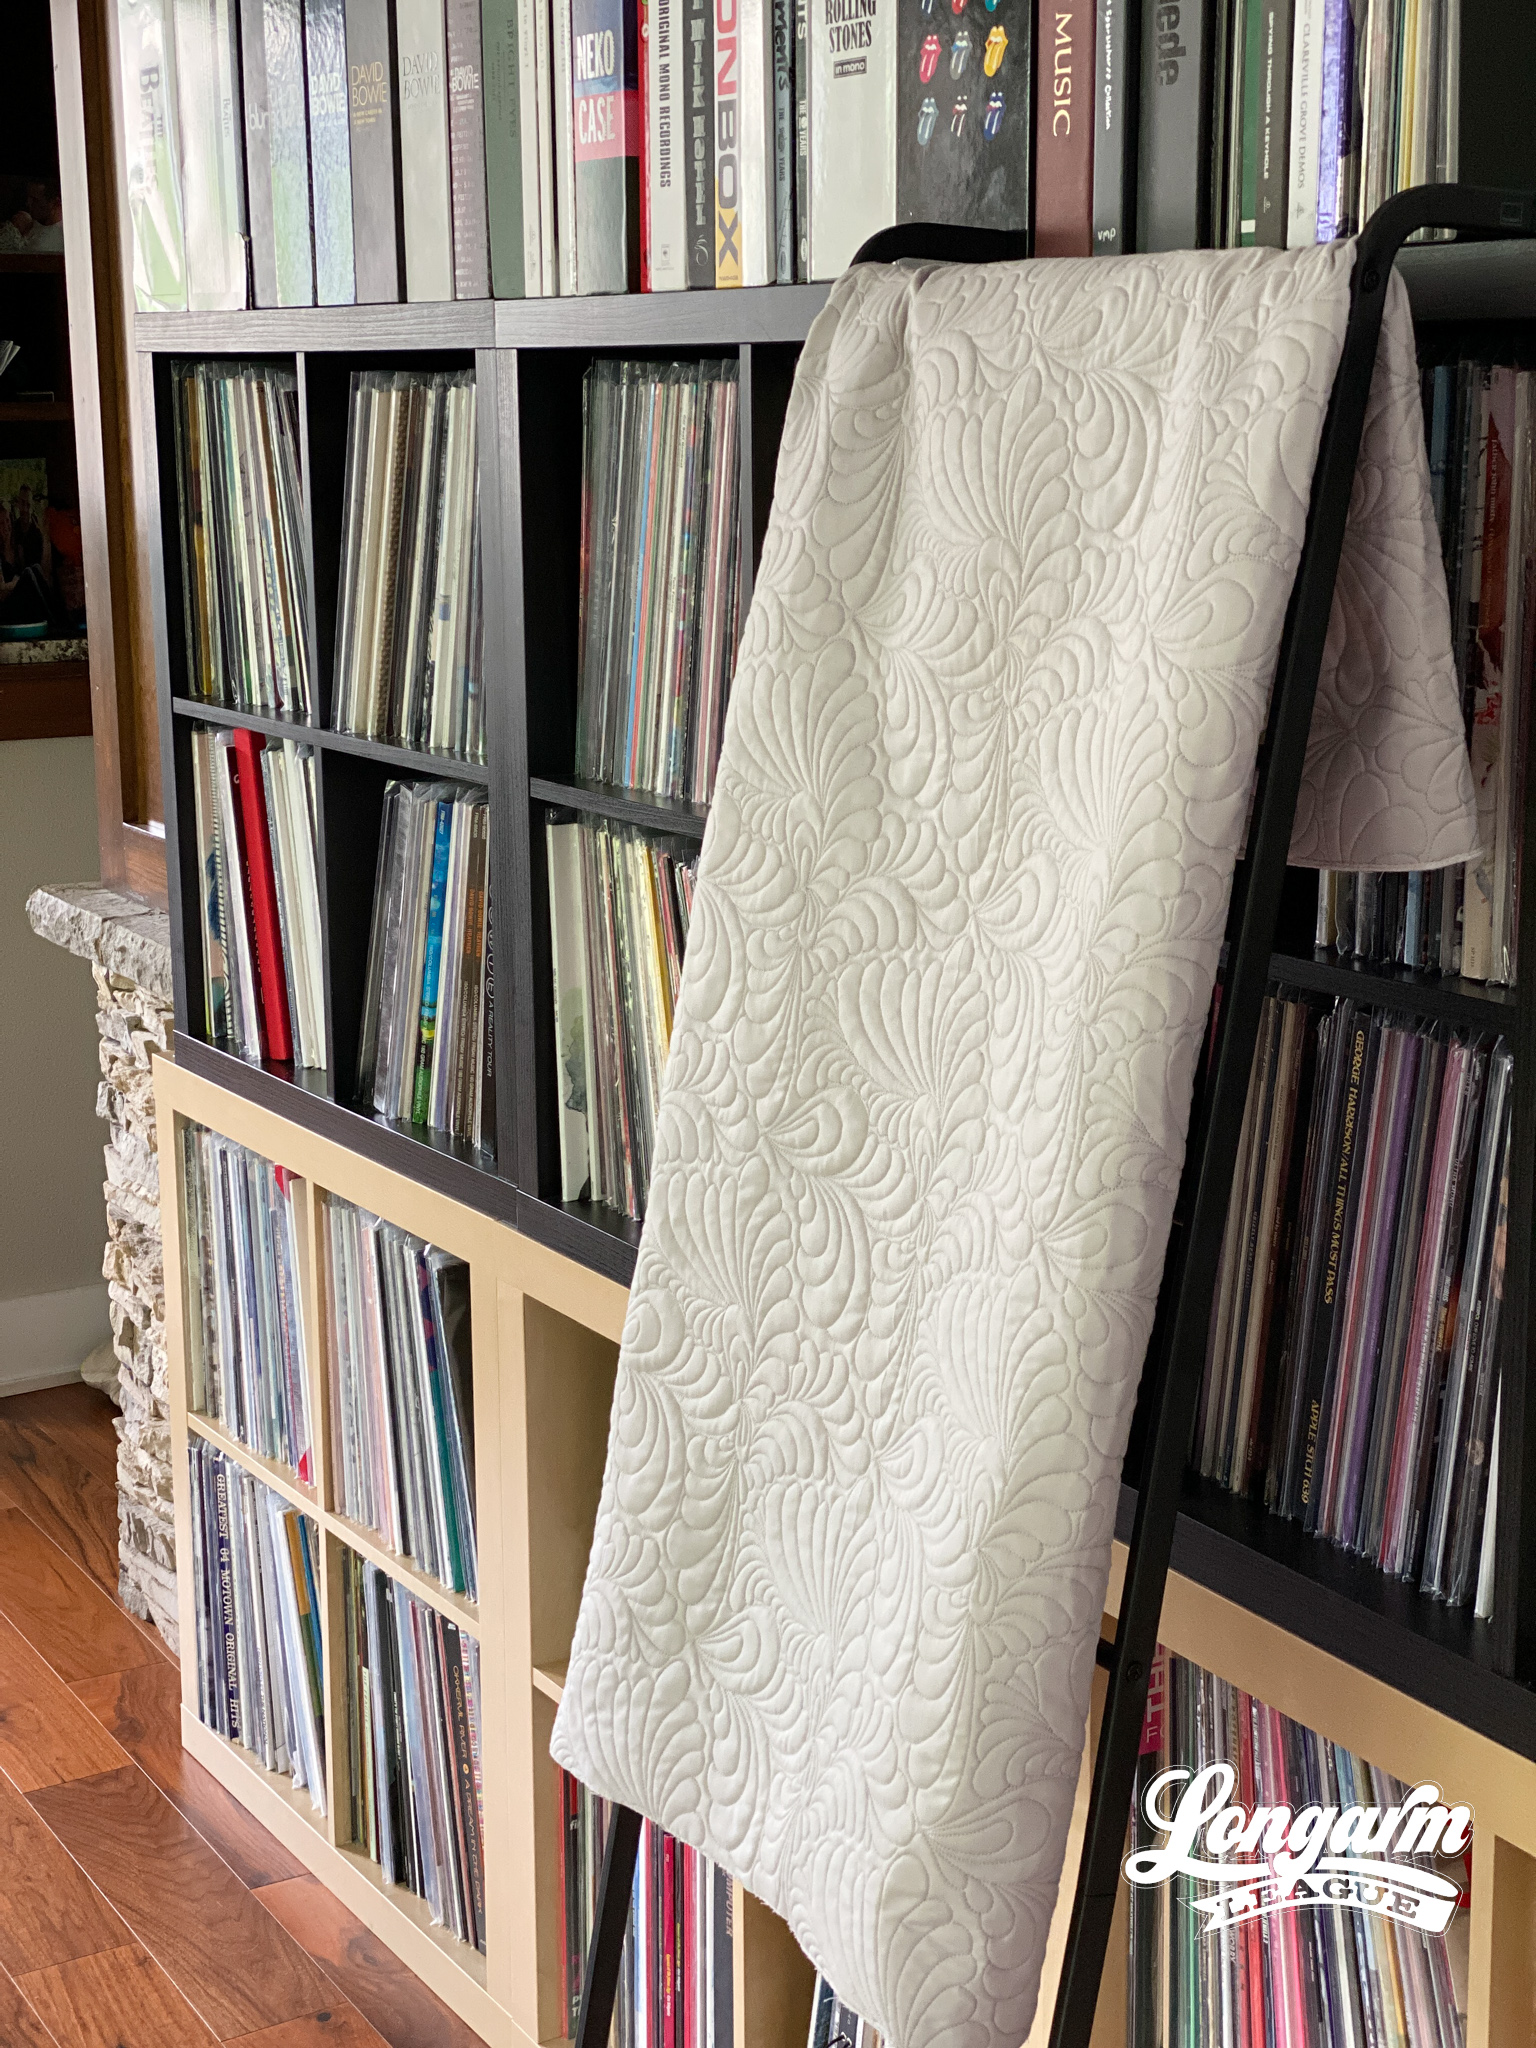
This design called Fancy Feathers is a digital pantograph design that was released to Longarm League members in February 2020. Our designs are not exclusive to members, though. Anyone can buy our pantographs from our shop.
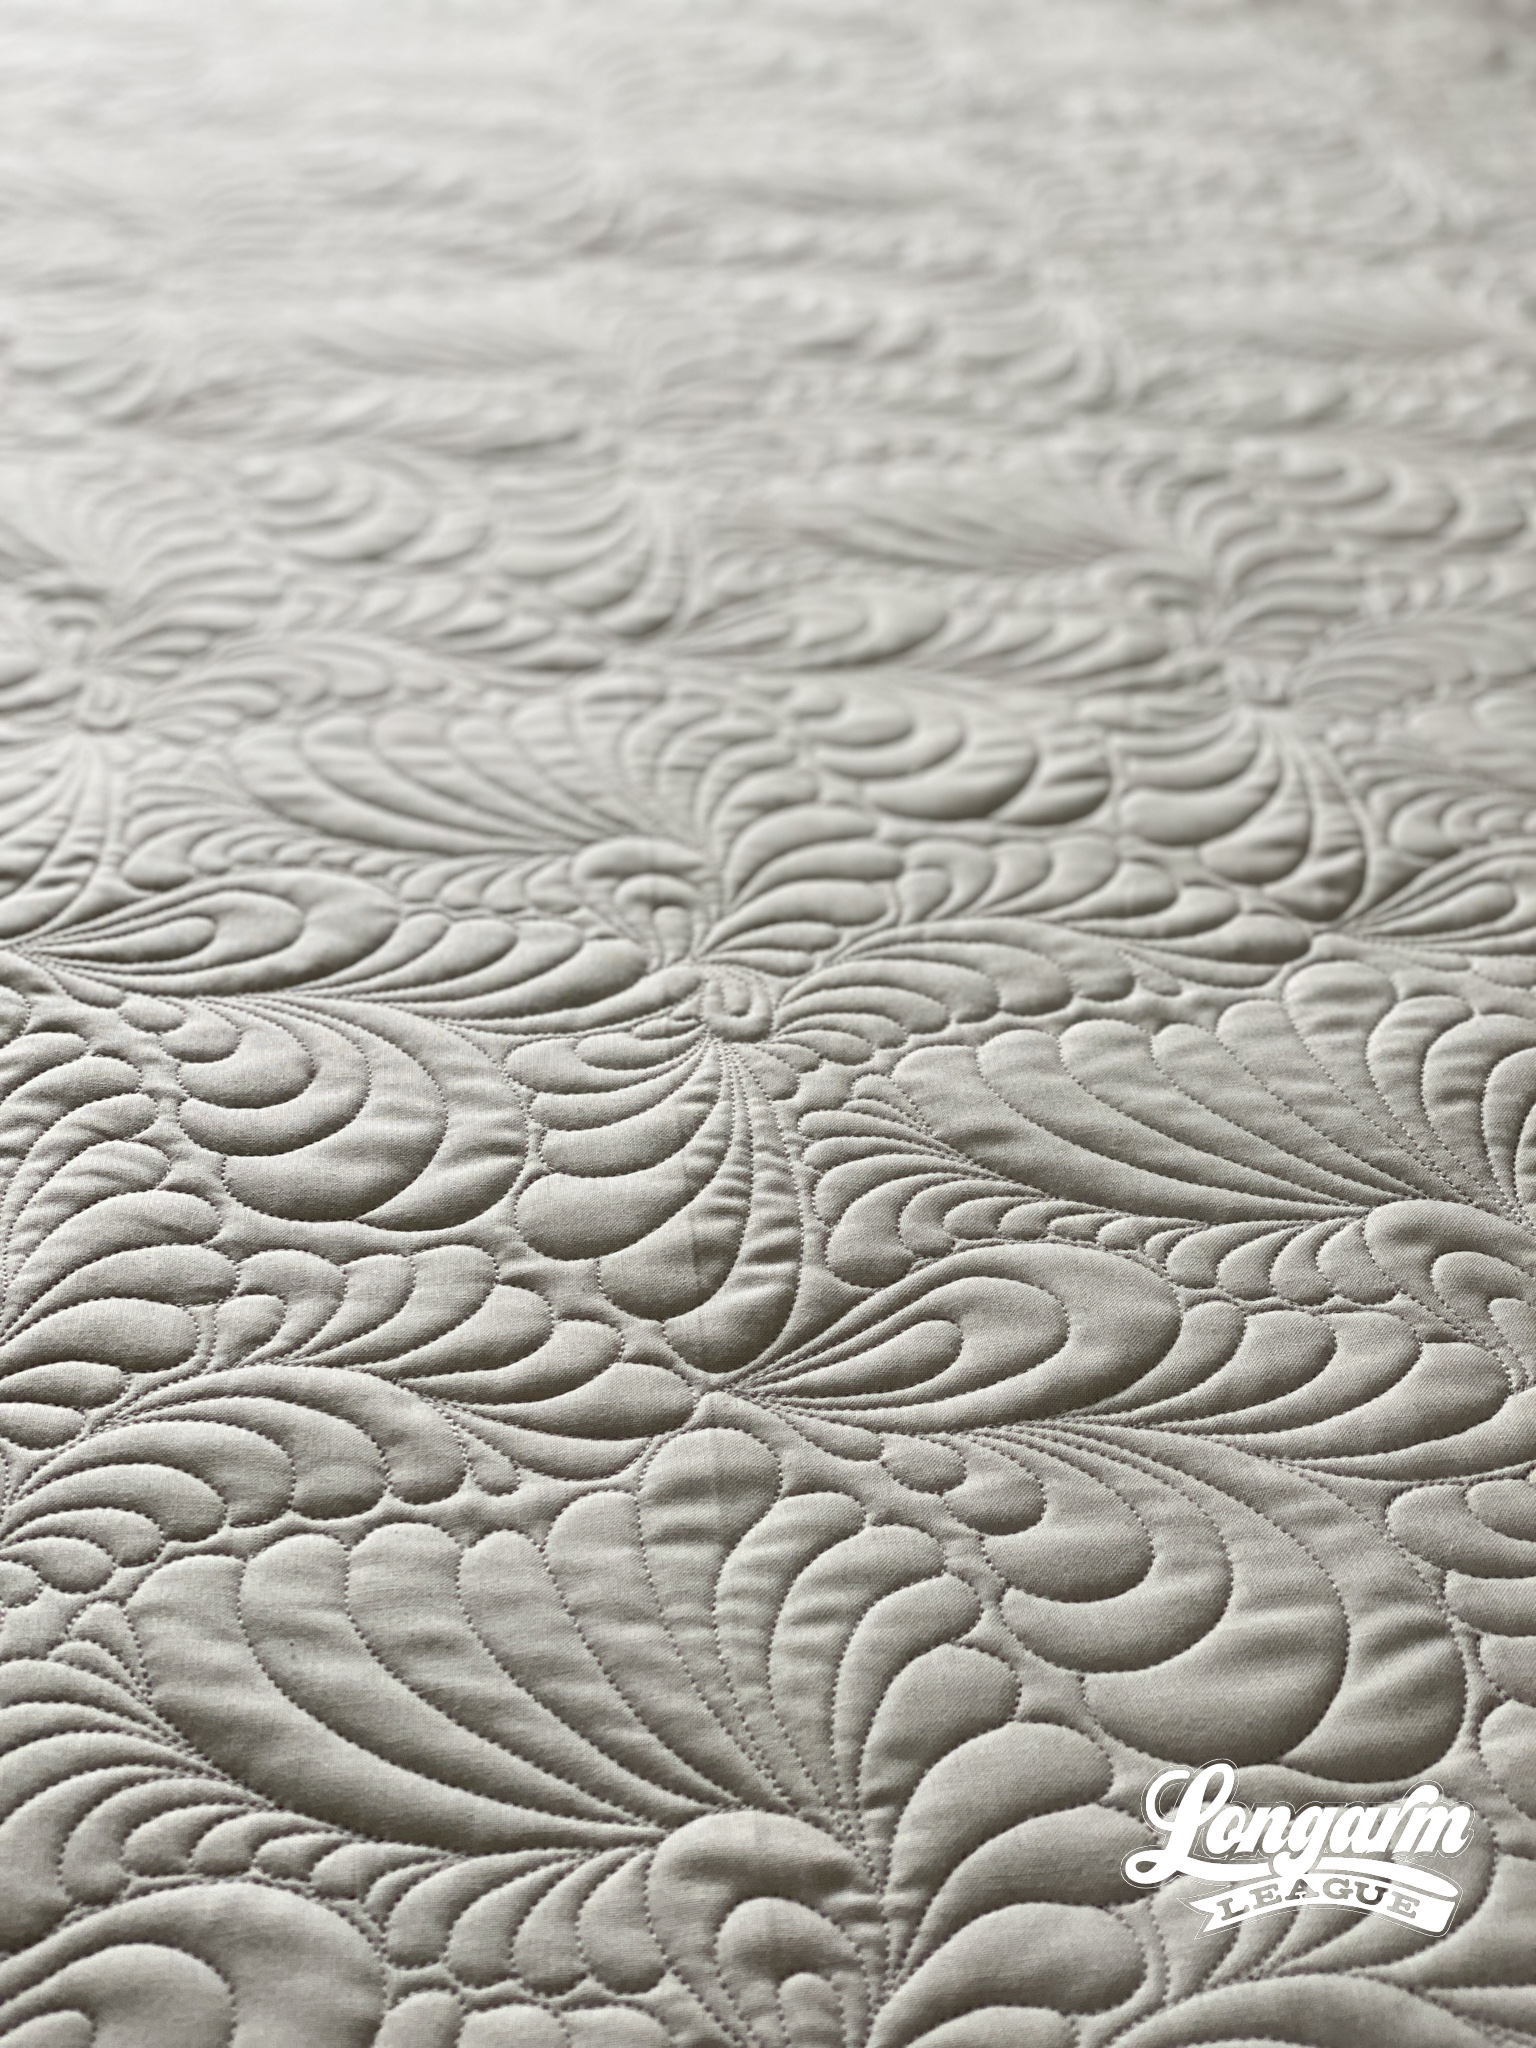
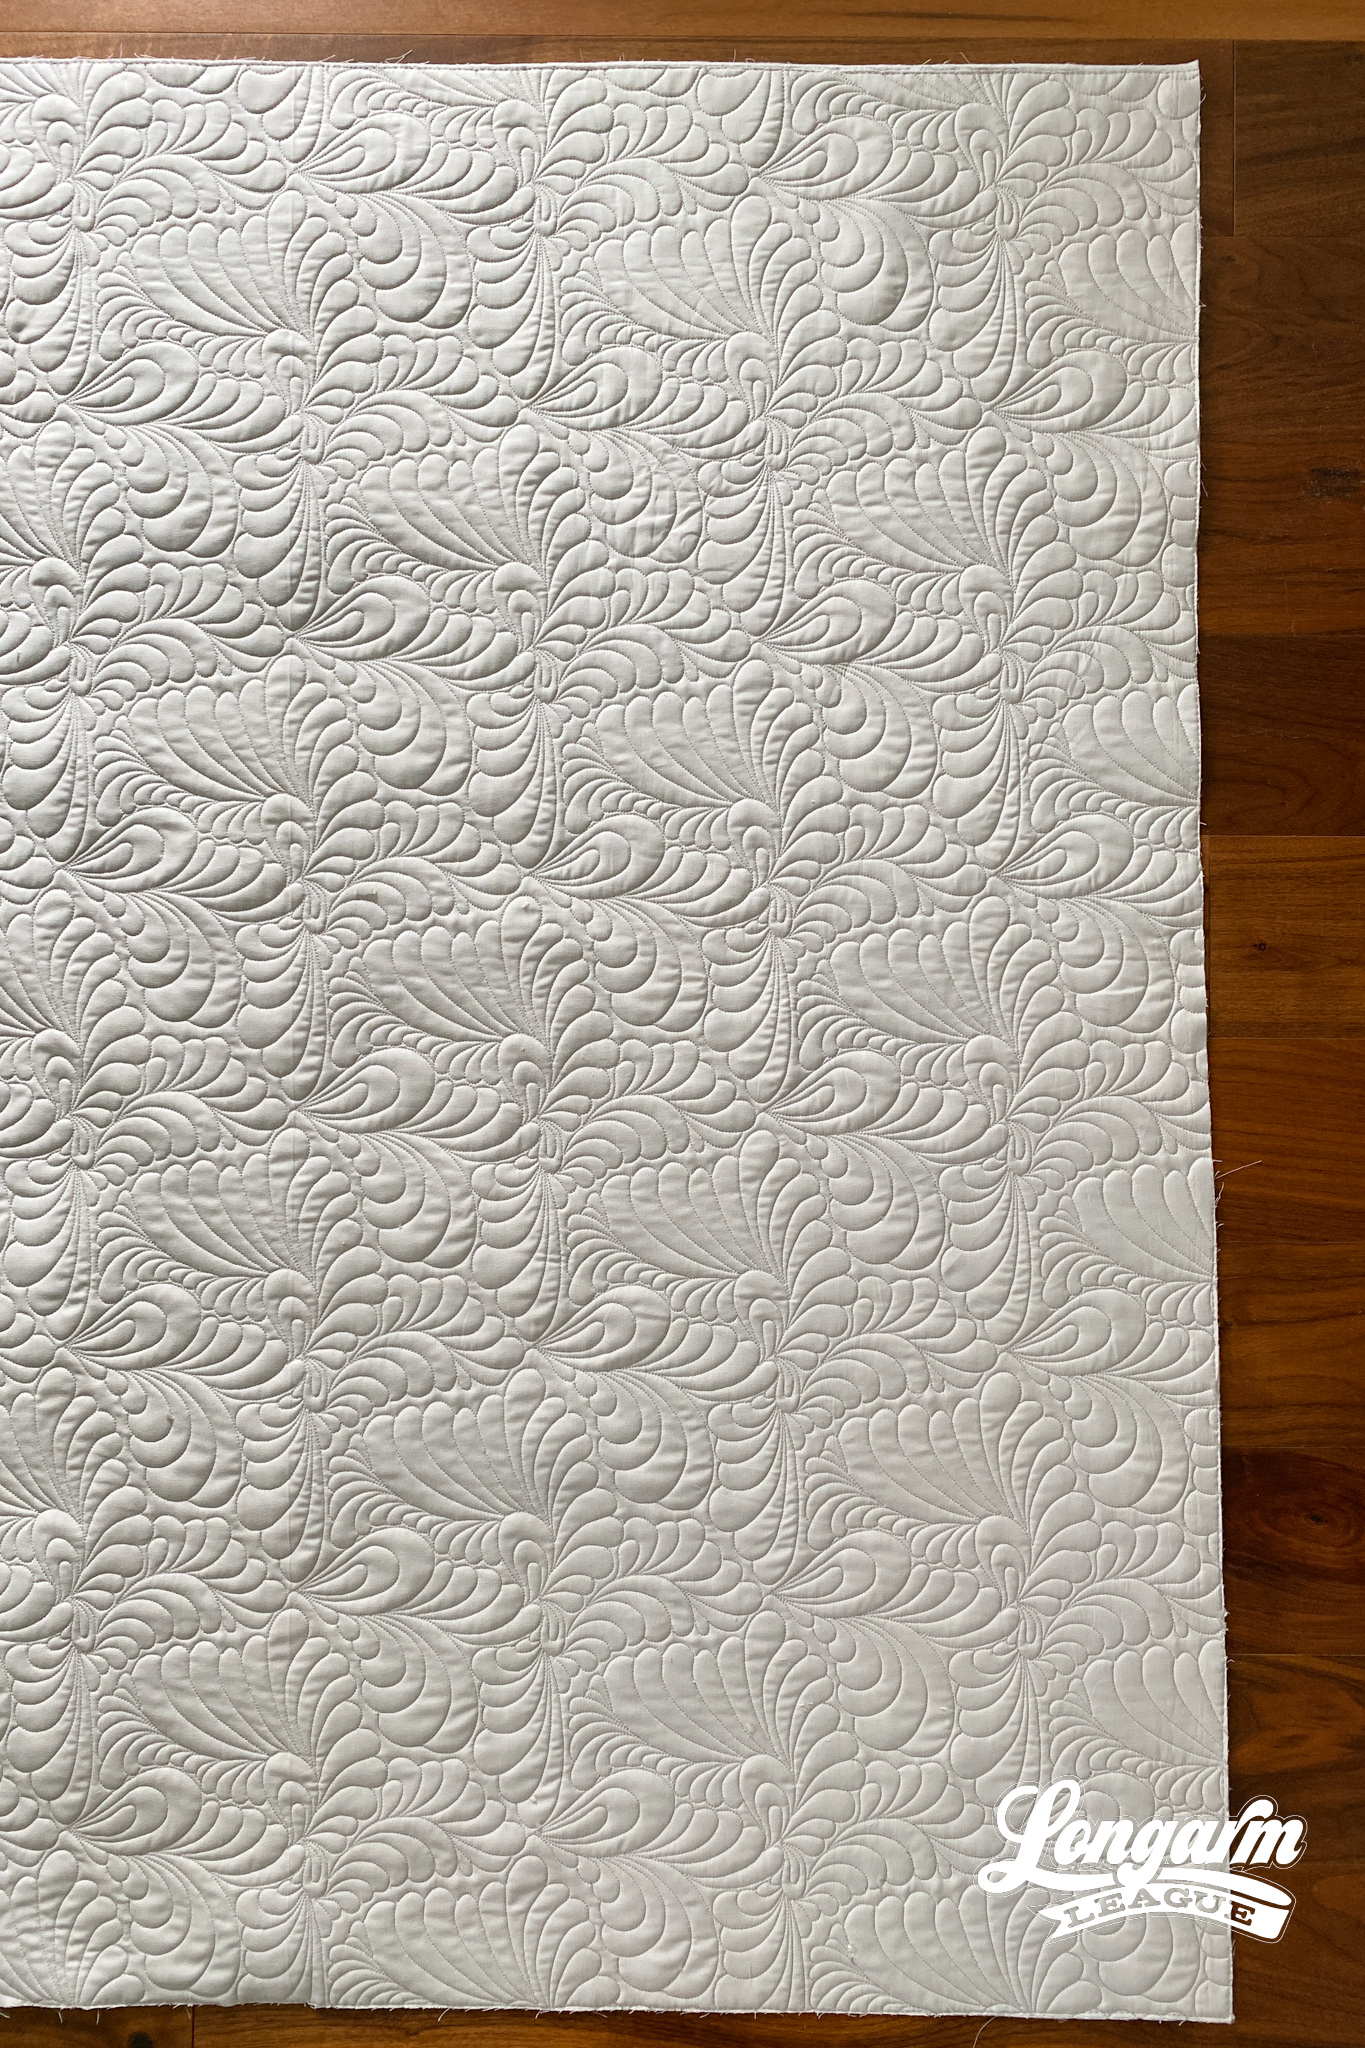
My story as a longarm quilter began by operating a non-computerized APQS machine. I was able to apply the quilting motifs I had practiced so hard to master on my domestic sewing machine by "translating" them to free-motion quilting on a longarm. This feather design came about from yet again "translating" the fmq design to a digital, repeatable pantograph.
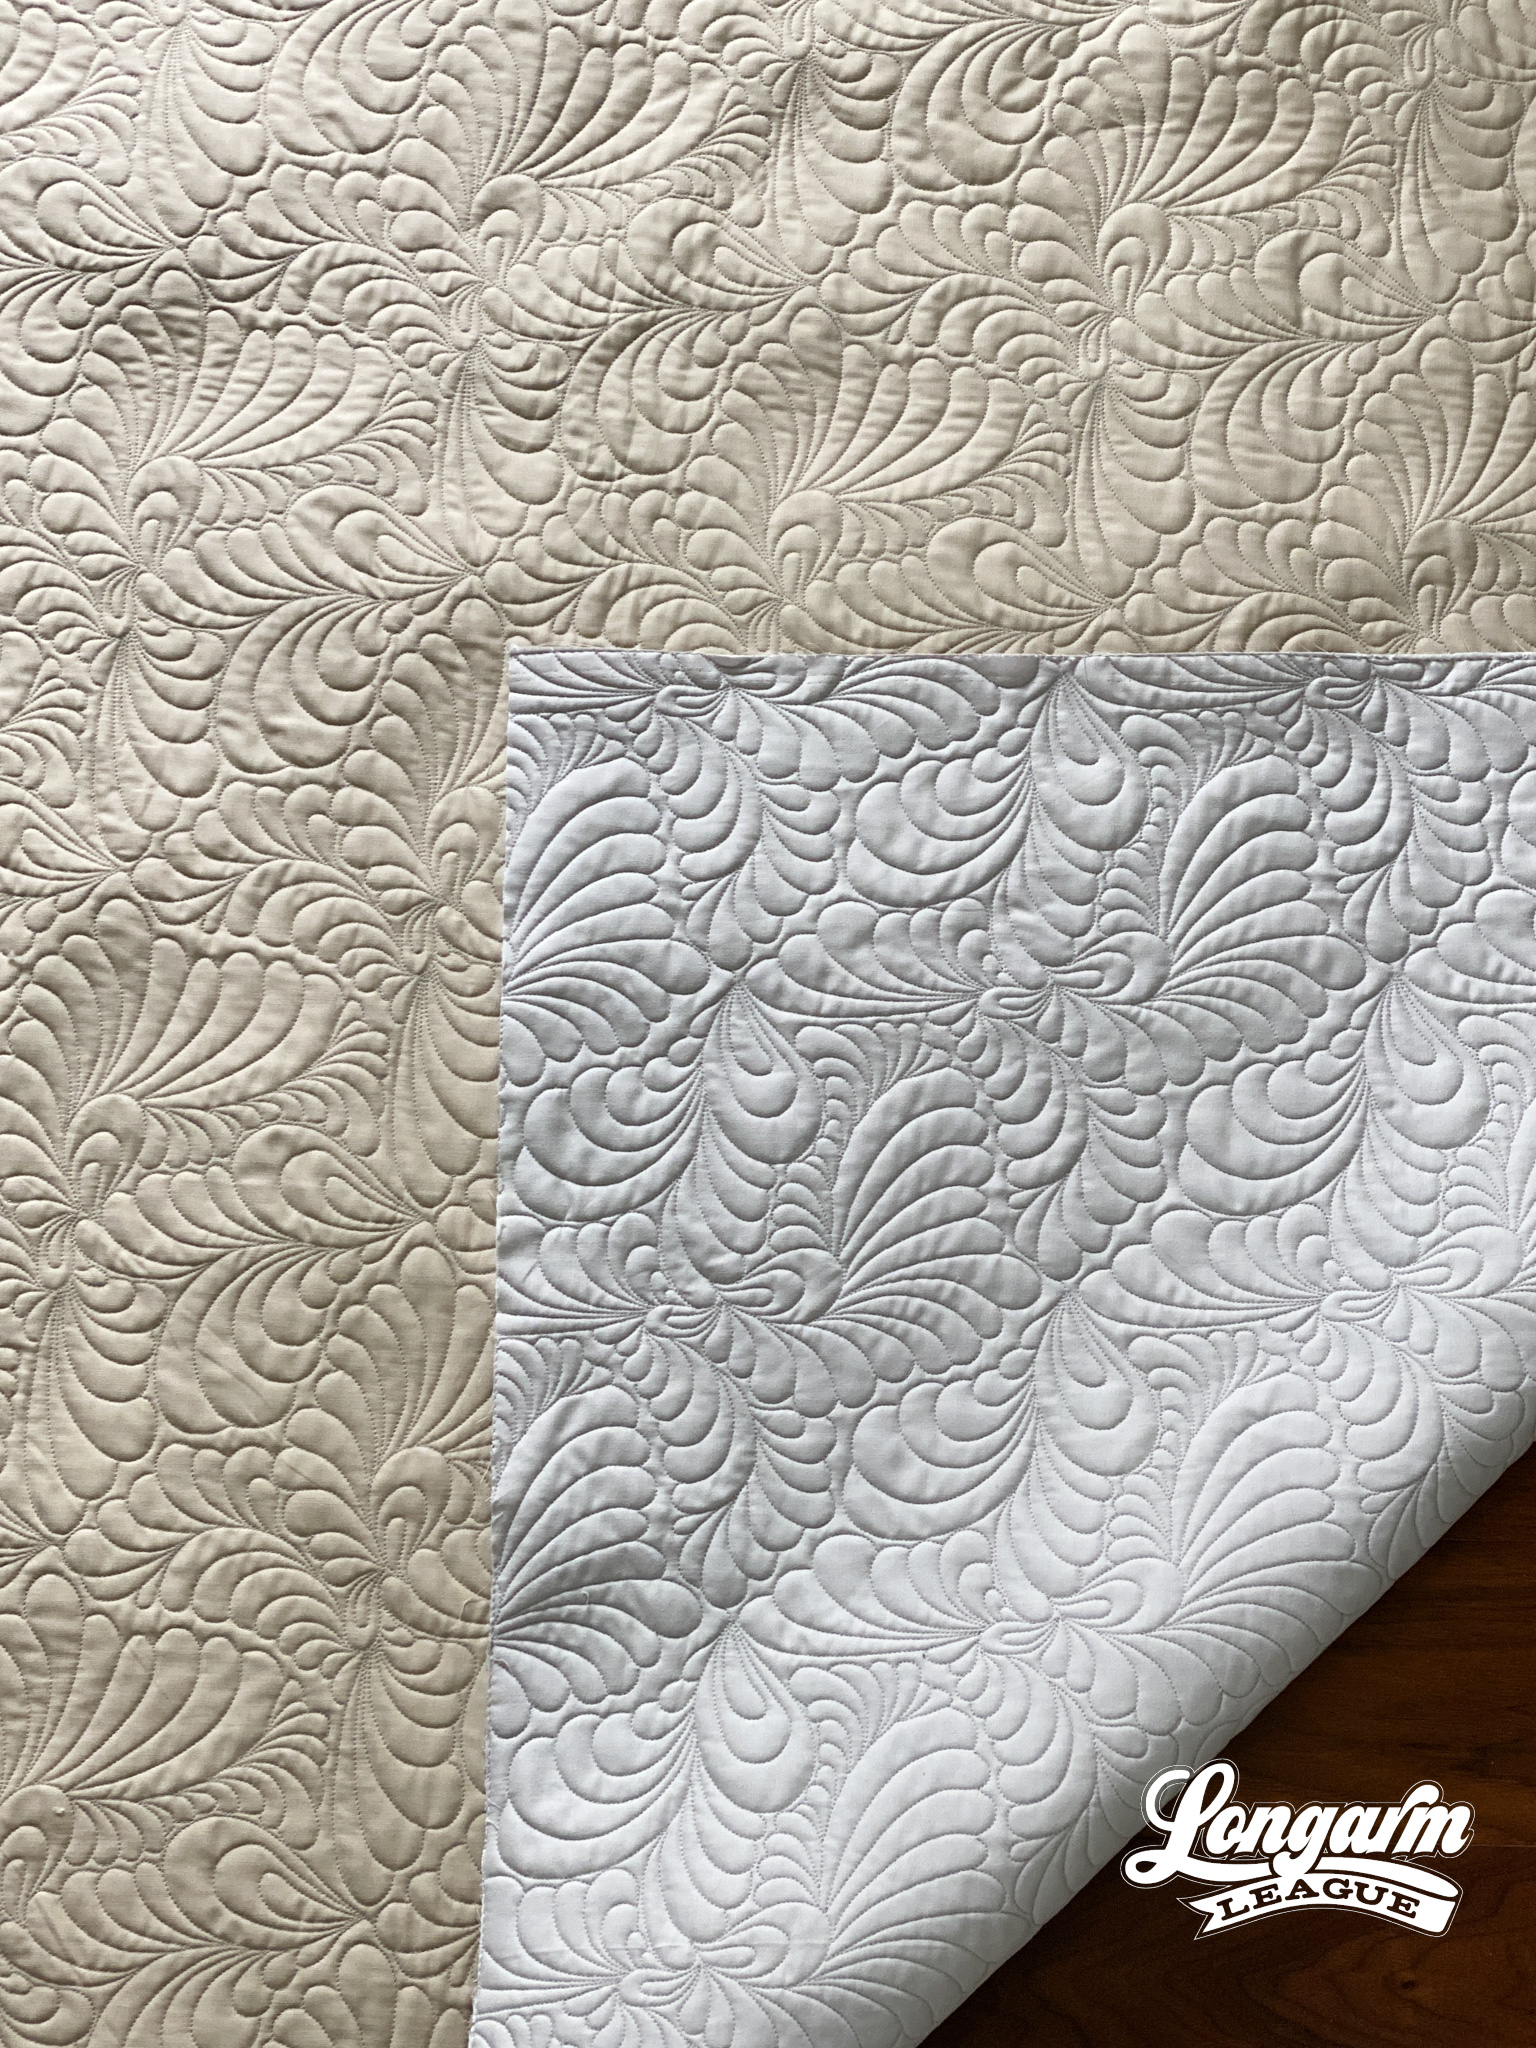
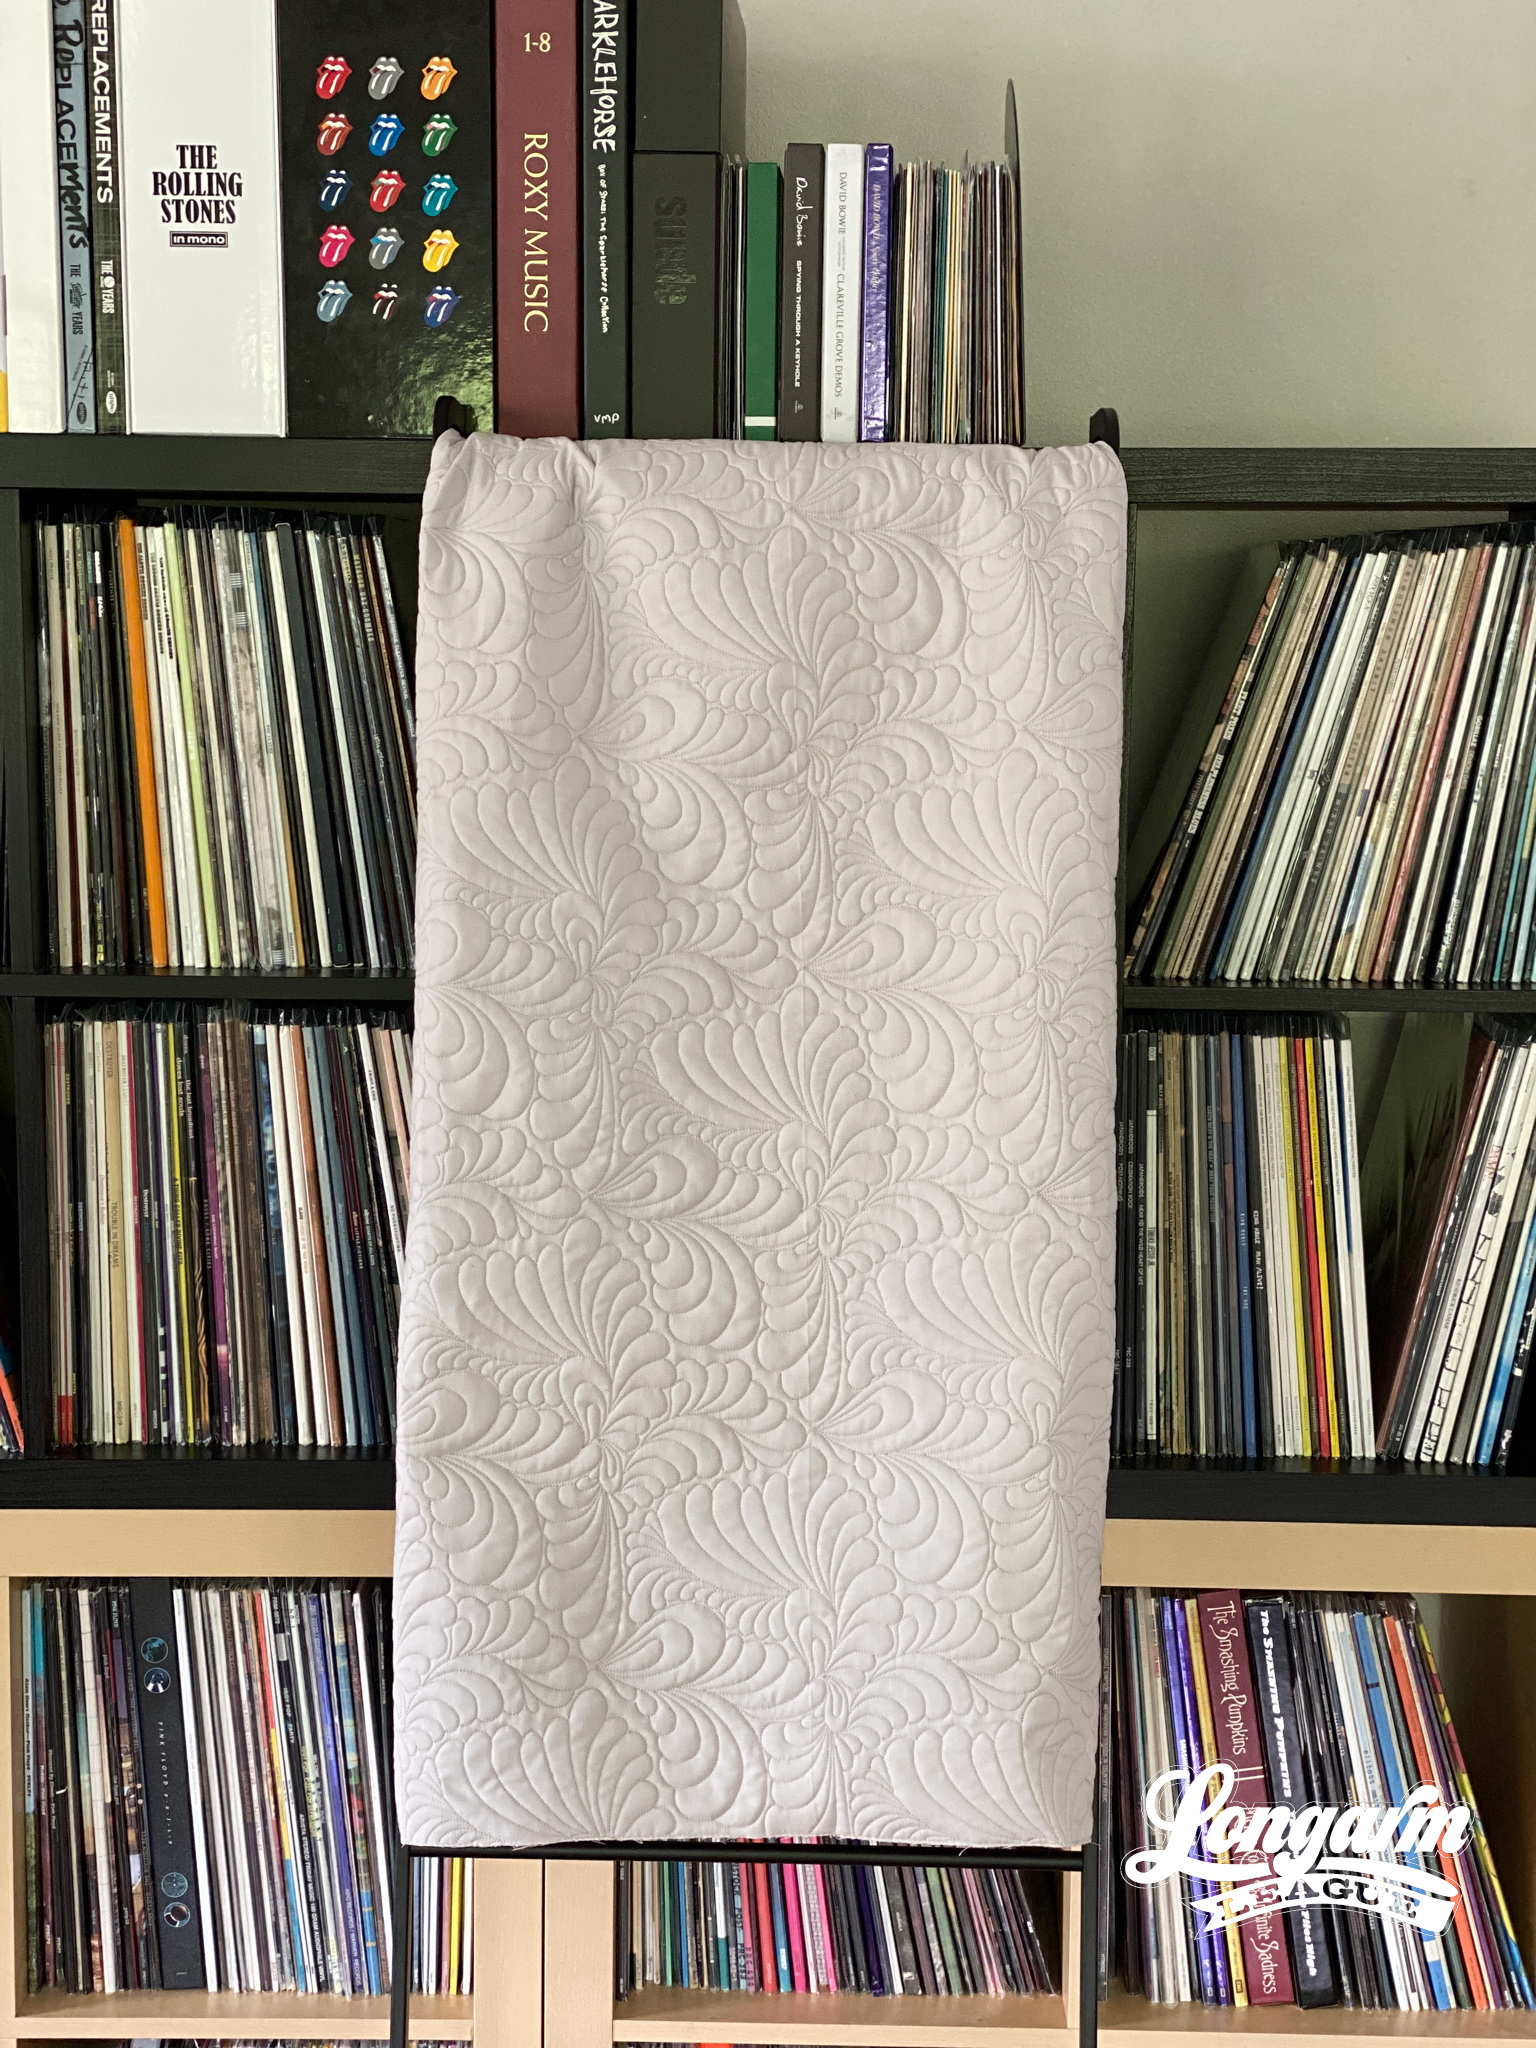
I really wanted to make the rows as invisible as possible, and so I created diamond-like repeats. This means that when setting up the design digitally, every other row needs to be offset at 50% and then nested closely so the gaps aren't too obvious.
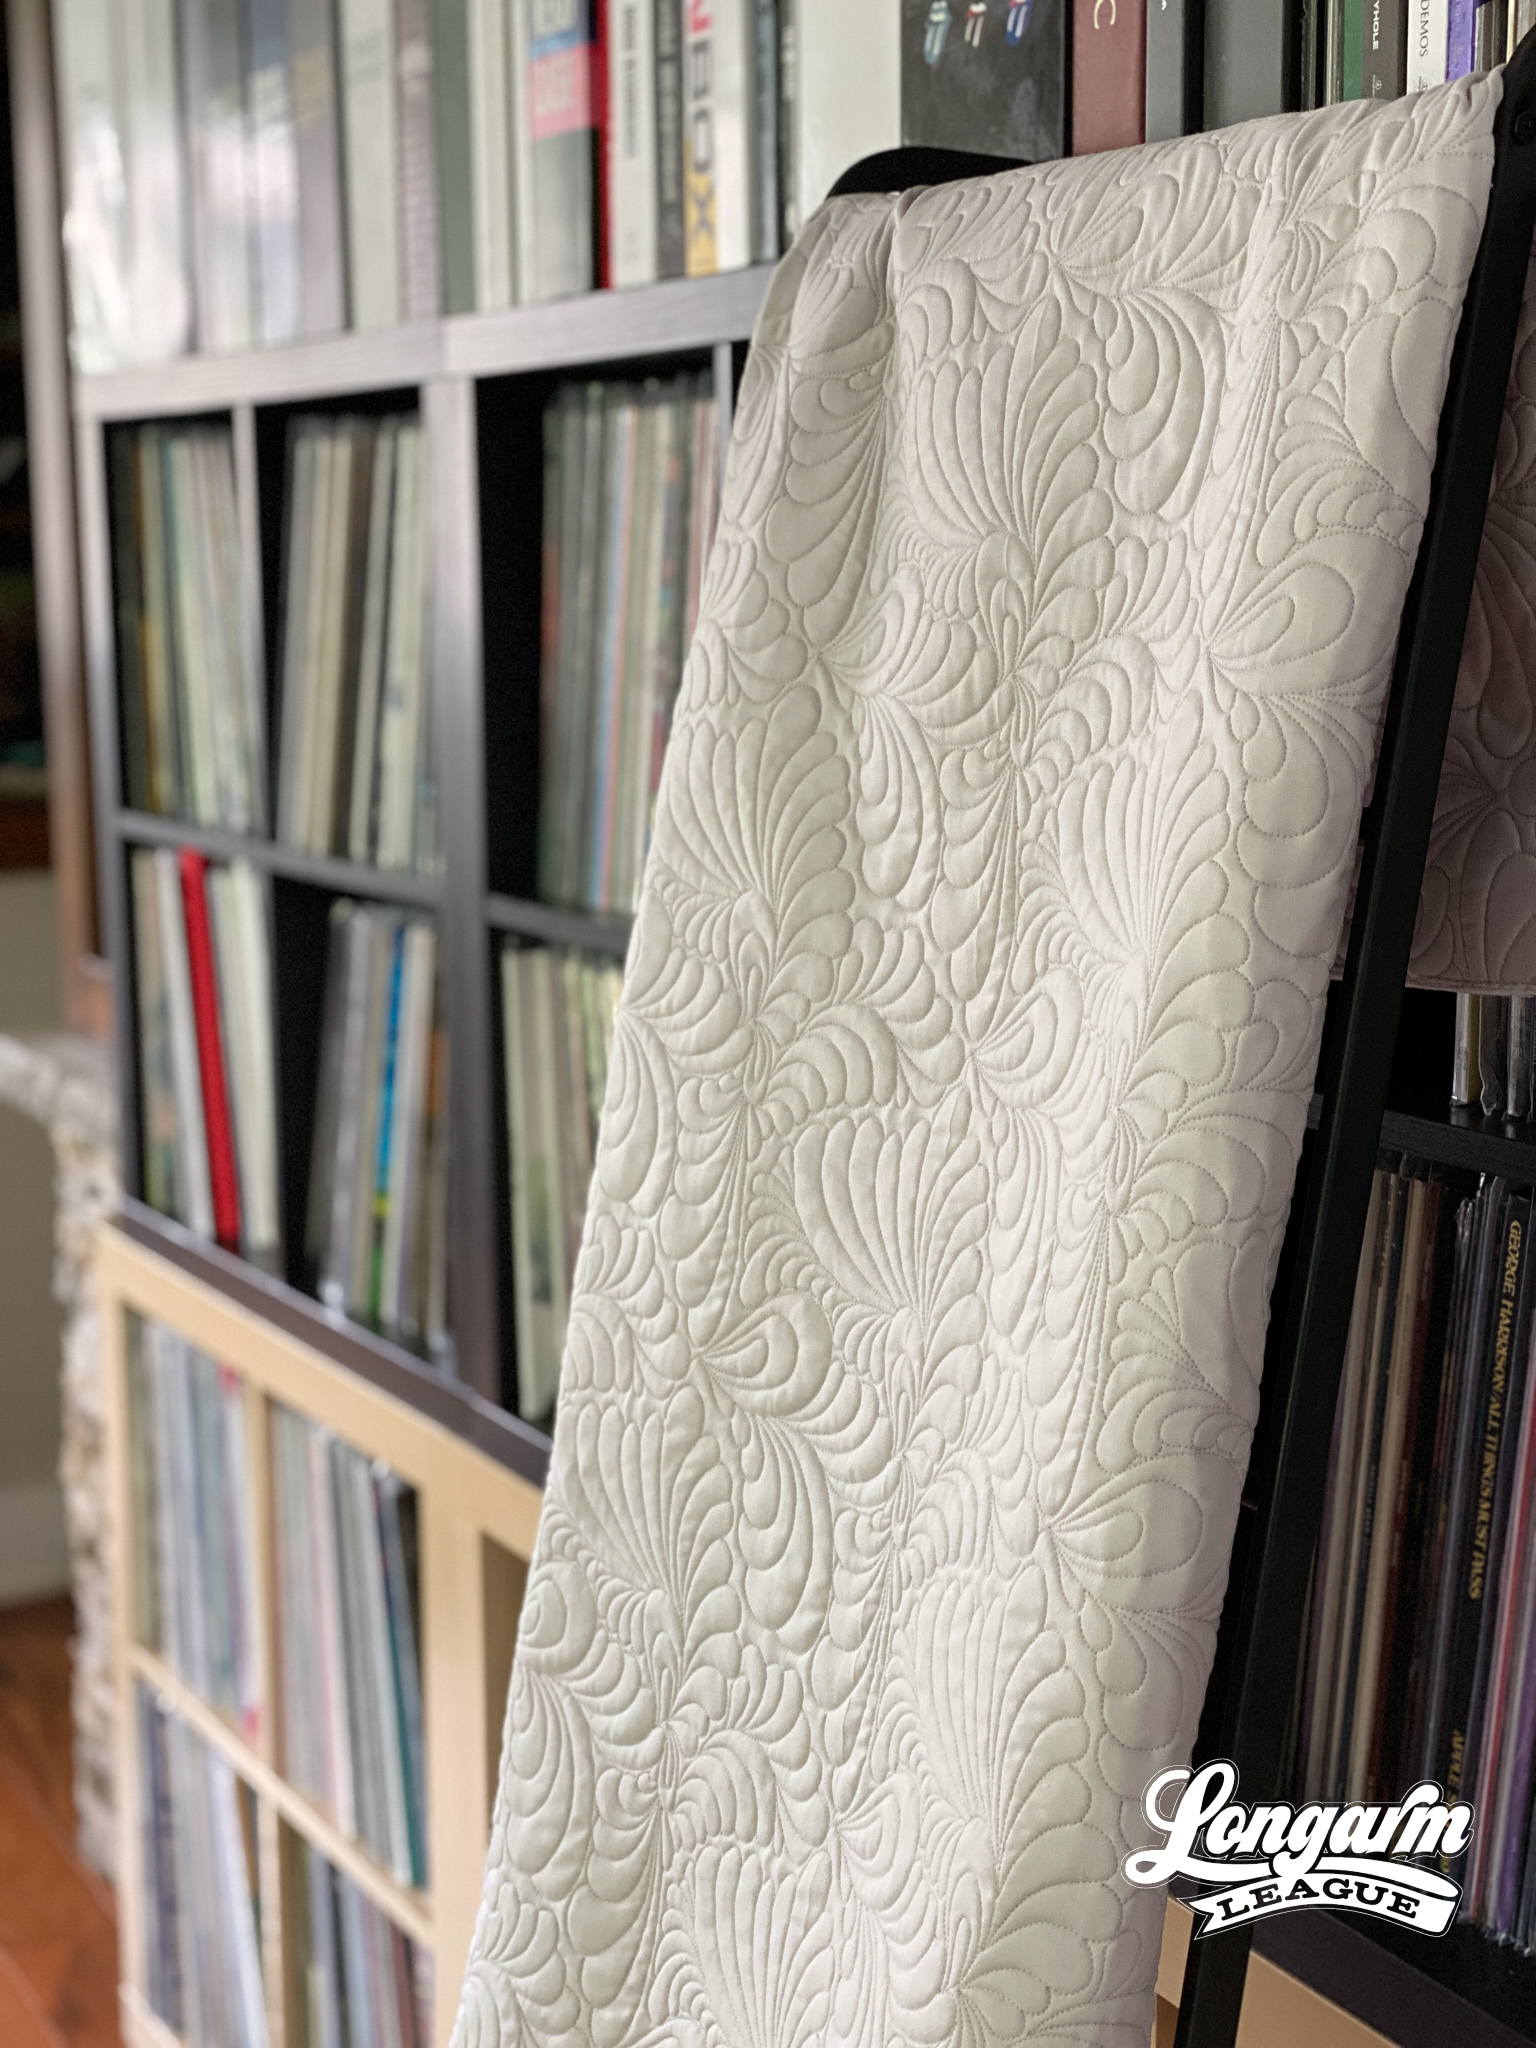
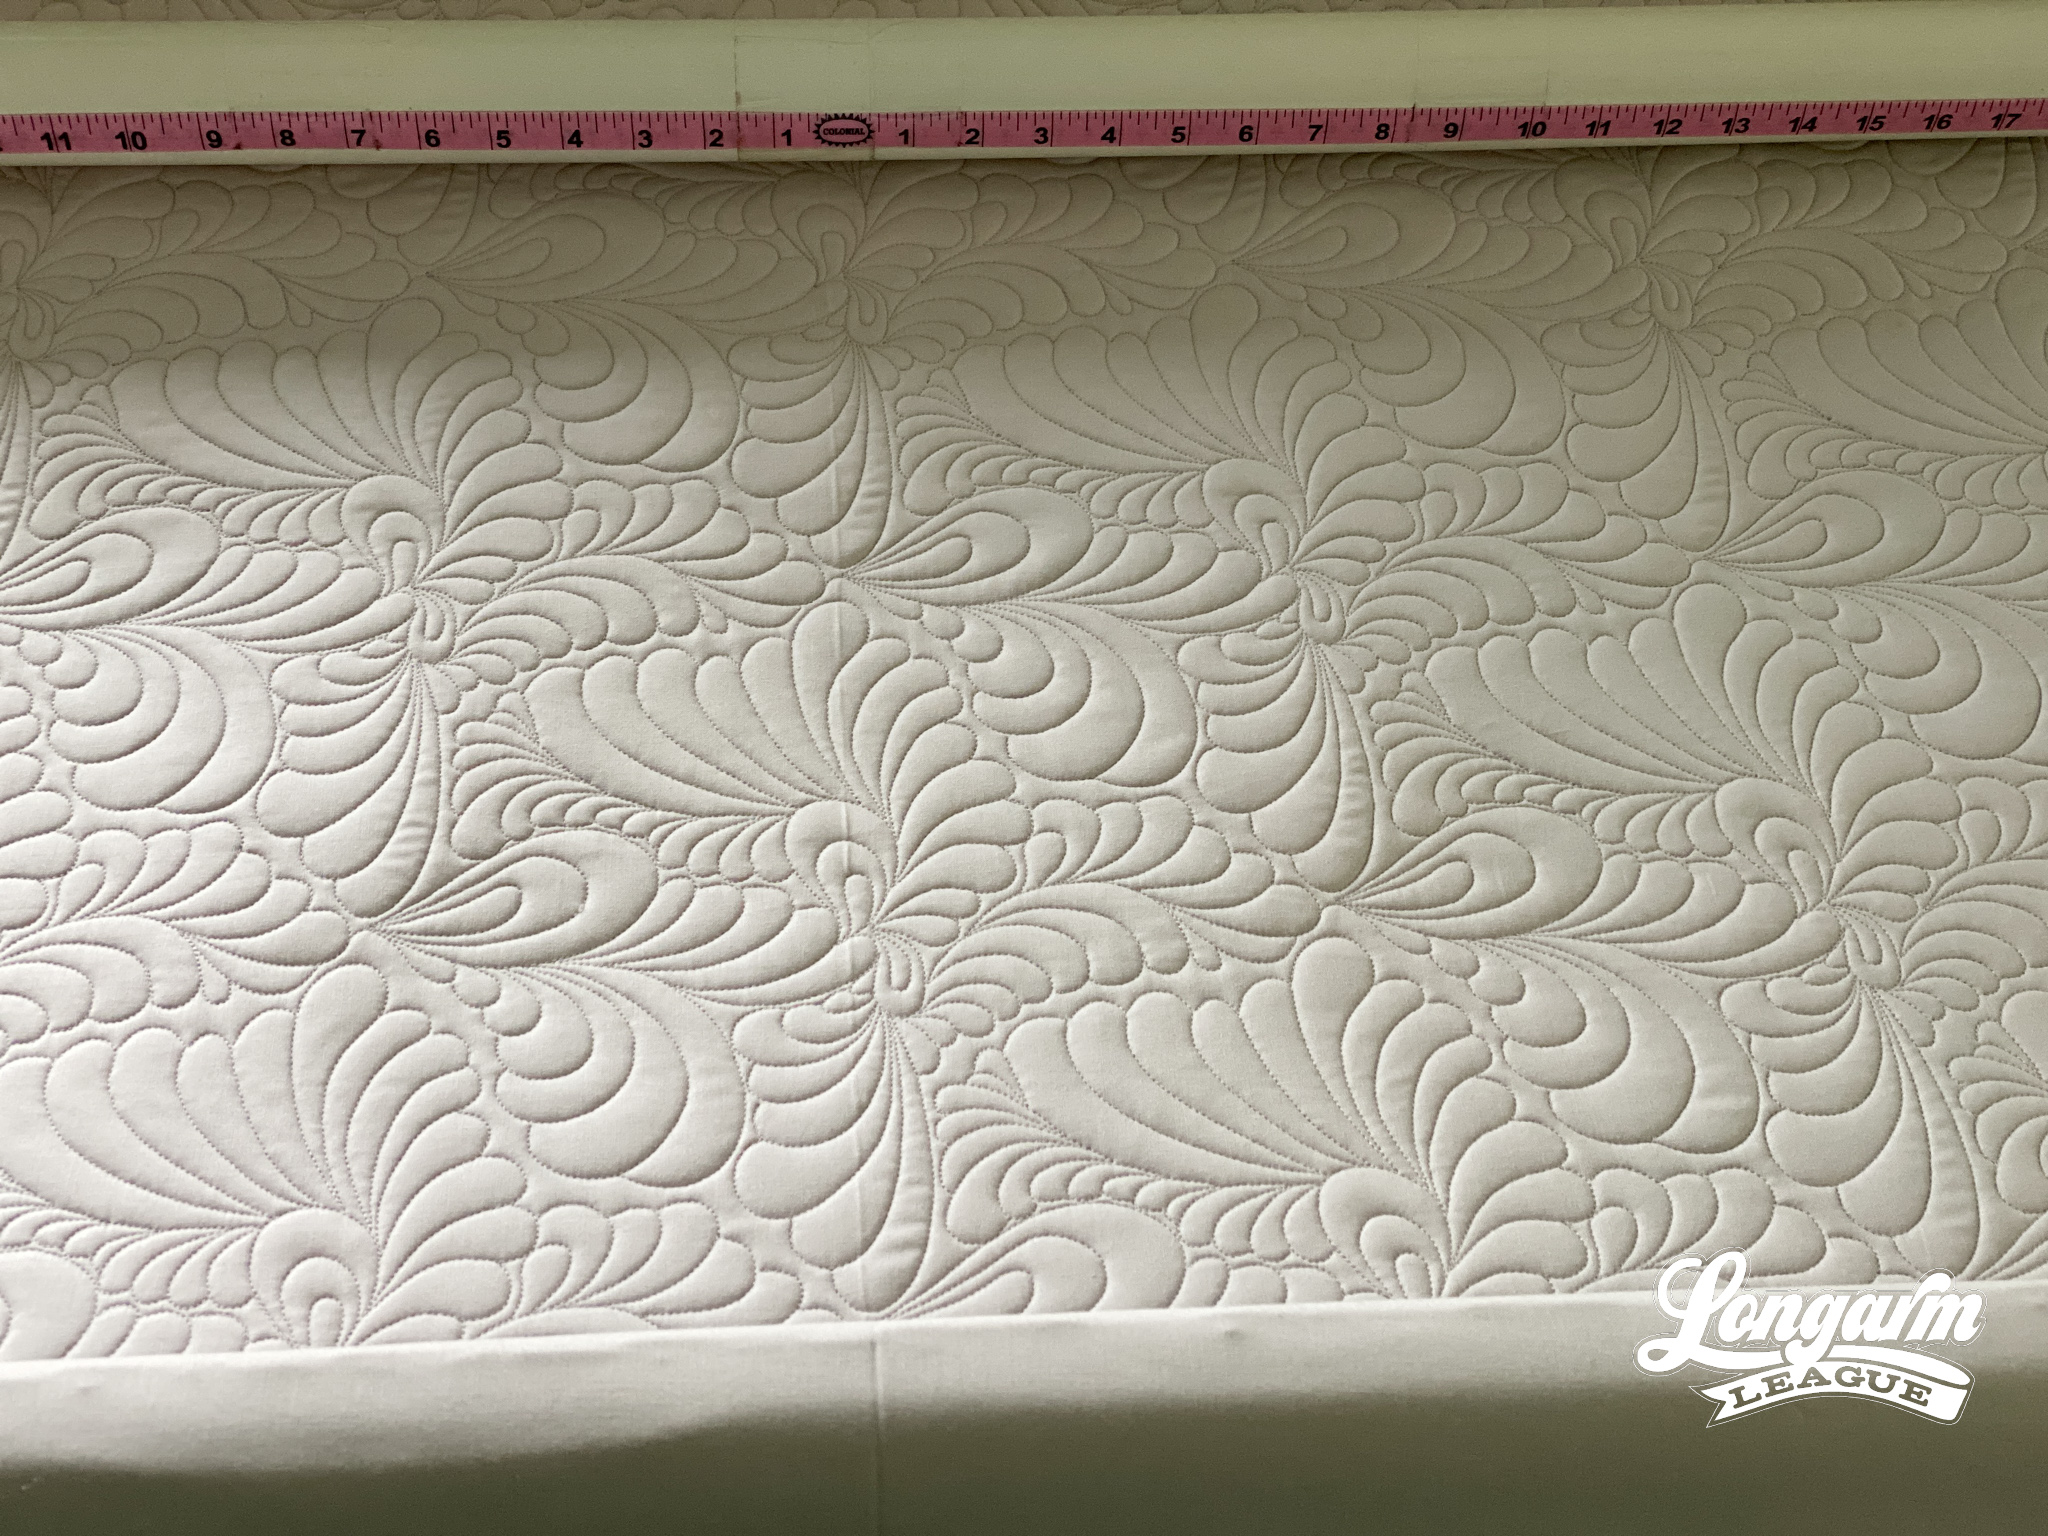
I think the multidirectional feathers help disguise the repeats and the rows. The dynamic feathers—some are big and long, some are small and...
Tweak Function for Intelliquilter
In this demonstration, we'll talk about the Tweak function for Intelliquilter. Tweak is perfect for expanding or contracting a pantograph to fit a space. I tend to use this for dense pantograph designs or ones that need to match up precisely.
The digital pantograph design I'm using in the video is called Fancy Feathers. I thought this one would be a good example to use for demonstration purposes because it's a dense design and it requires every other row to be offset at 50%. When I first started learning how to use the Tweak function, I could not figure out how to make it work when the rows required offsetting! So, what I'm saying is that if you learn it this way, the steps for using Tweak will be even more straightforward when working with a digital pantograph that requires no offsetting. :)
Before we even start stitching, let's talk about the initial setup of the quilt in IQ.
I select Pantograph and then Enter Rectangle Manually. I usually add a full 10" to both the width and the he...
Geoglyph Extended Width Digital Quilting Design
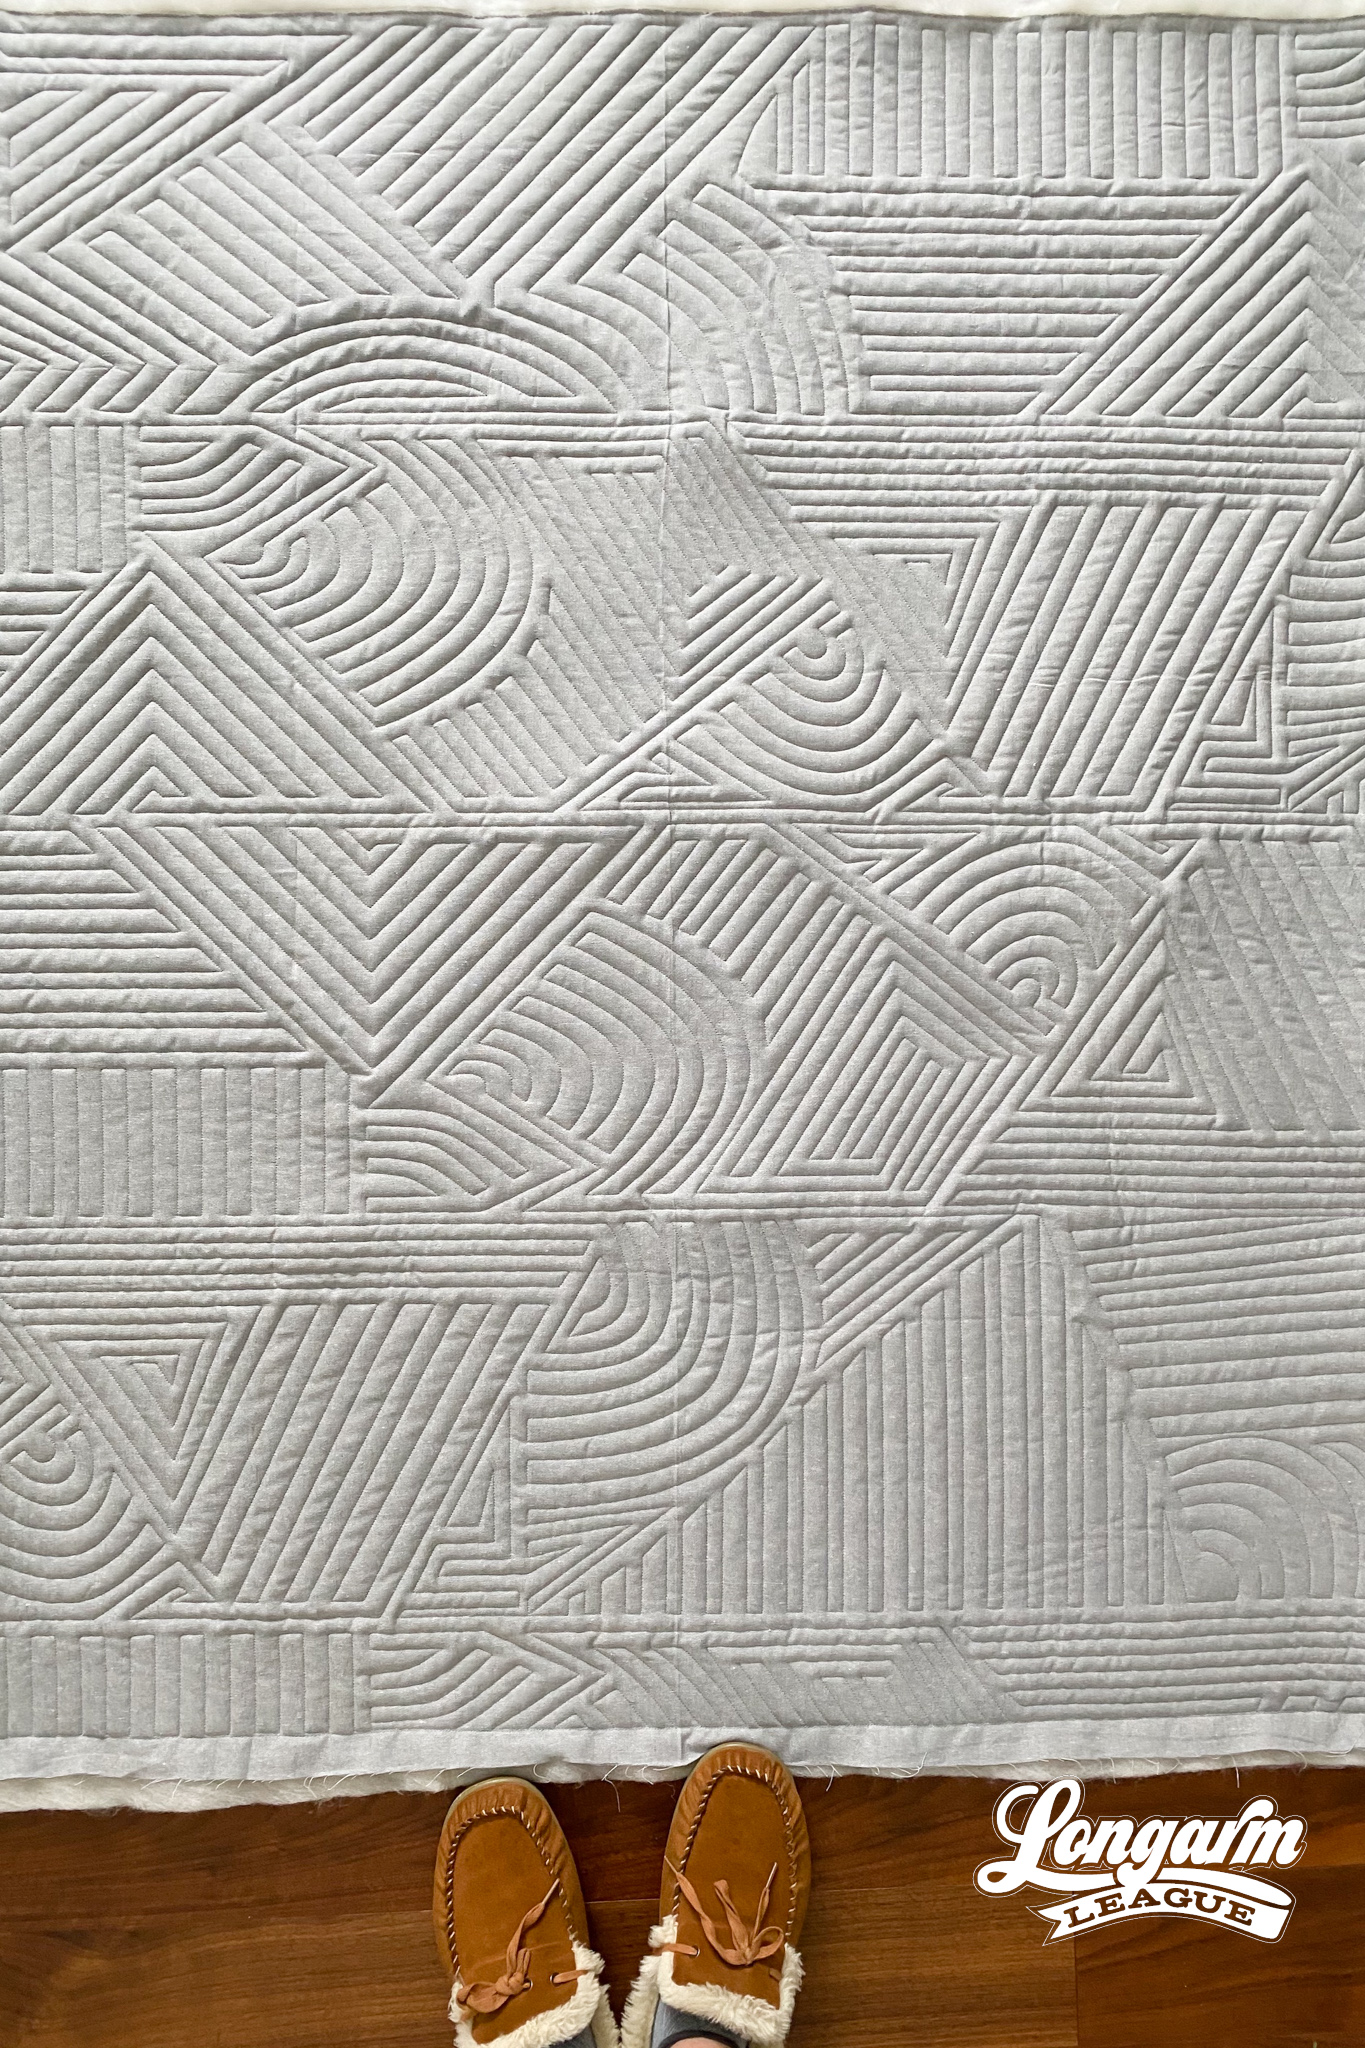
Geoglyph is a large 120" wide x 12" tall extended-width design. Watch the video above for just one example of how to use this design file. I think you'll see how many permutations are possible!
For more information about extended-width designs, check out our blog post here.
You'll see this in the video, but when I imported the design, it was resized by Intelliquilter to have a row height of about 7". I scaled to 100% for the row height of 12" before I began placing the blocks. Make sure to maintain the ratio of the design to avoid distortion and clip or trim away the part of the design that's not needed when you actually quilt it out.

To give you an idea of the density of the designs at 12", the spacing of the lines ranged from 1/2" to 1", so there is room to scale up or down depending on the density you'd like to accomplish. The wholecloth baby quilt I stitched out shown above is roughly 43" x 53".
There's no backtracking and blocks do not have to be placed precisely unless...

Jess Zeigler
Longarm League Commish & Owner of Threaded Quilting Studio, LLC.


